Showing posts with label Assemblage & Diorama. Show all posts

Friday, 2 July 2021

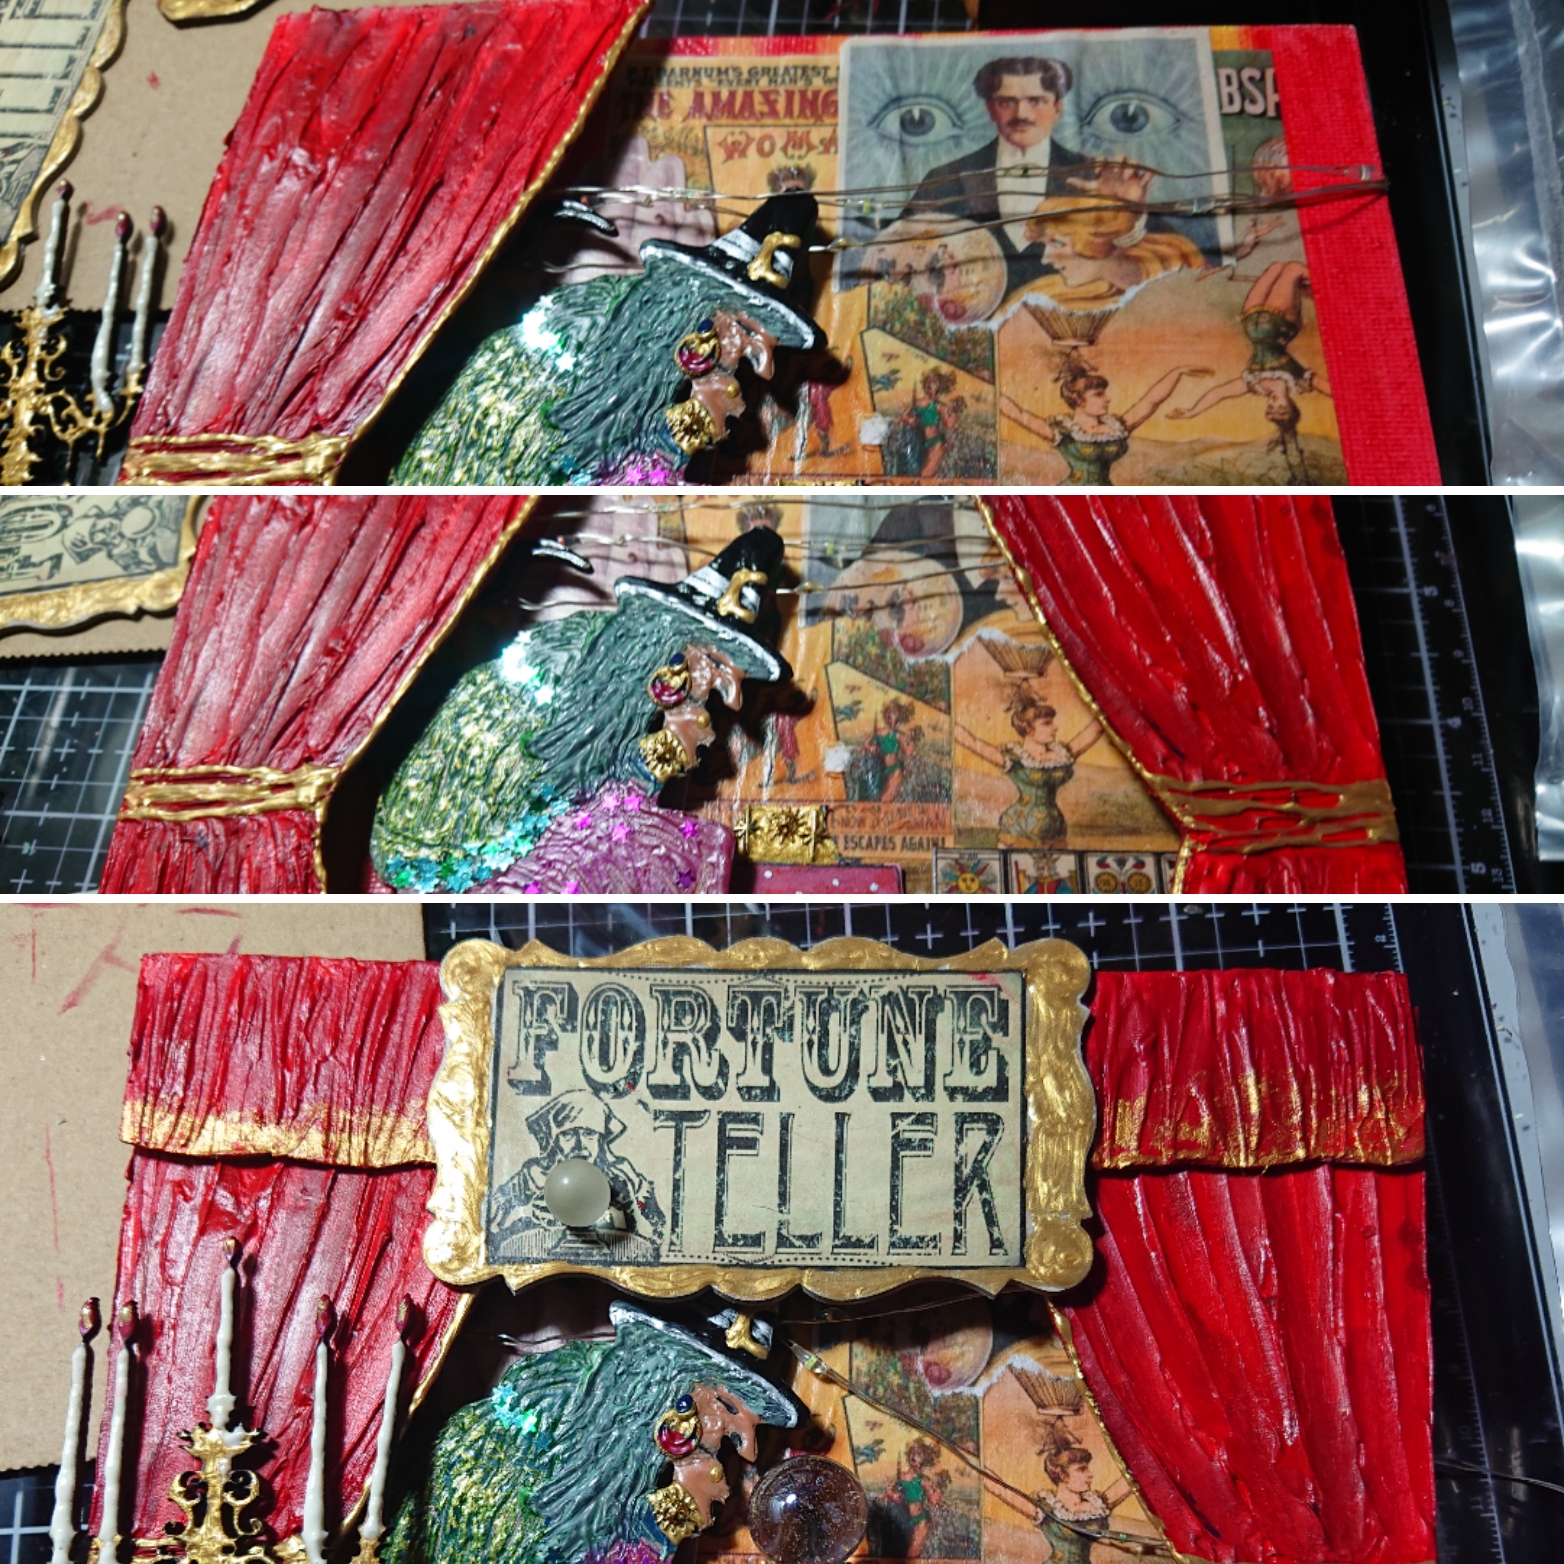
Madame Maud Fortune Teller by Kat Hazelton.

 "Roll up, roll up, get your palm read, gaze into the crystal ball or have a tarot reading! She sees all, knows all, please come in and have your future told!" 


This fun project was inspired by a book I own called The Fortune Teller and Dreamer's Dictionary by Madame Le Marchand. In this wonderful book it shows you all sorts of different ways to tell fortunes from tarot cards to reading tea leaves. However, it is the wonderful front cover that I particularly love. Instead of traditional imagery on the cover it has a fortune telling witch sitting on a chair gazing into a crystal ball! This gave me a fantastic idea and using a wonderful witch sitting on a chair from Calico Craft Parts, I made Madame Maud's Fabulous Fortune telling tent! 

Firstly to make my Madame Maud a tent I used a piece of cardboard to create the back of the tent, you could use a flat piece of mdf. This was firstly painted with white gesso and once dry I used distressed crayons to create the traditional Circus/Fairground red and yellow stripes. I also added some dark brown crayon round the bottom to make it look mud splattered. To add some extra Circus details I researched online for posters. I resized the images to make them smaller, then printed and glued them onto my tent wall. I then made a start on painting some accessories and making the tent curtains. 


To make the curtains I used stiff grey board, the type you often get in packaging. I often recycle old packaging to use in crafting especially cardboard. With a pen I drew a rough curtain shape. To make sure I could see Madame Maud I used her as a positioning model.

I painted Maud using acrylic paints. Instead of painting her in traditional witch clothes I painted her in brighter colours with the addition of glittery 'bling' to make her look more Fortune Teller in appearance! 

To give the curtains folds I used sculpting paste and a cocktail stick. I applied a thin layer of sculpting past onto the curtain area and using the cocktail stick as a tool I addes fold lines.
Once dry I painted the curtains with red acrylic paint.


Once the paint was dry I glued on some small mdf circles on the back to help to give the scene a raised 3D effect. I also did the same for Madame Maud. 

I also added a string of real mini battery operated lights! I wrapped these around the backboard and taped them into place on the back. 


Once Maud and the curtains were glued in place I added lots of other details including a beautiful candelabra, sign, crystal ball and curtain pelmet, made in the same way as the curtains. The crystal ball was a pretty marble gifted to me by my friend Debbie. Thank you Debbie it makes a perfect crystal ball! 


Lights on! 
Madame Maud is now set up and ready for business! 


Will you have your future told? 

Well I hope you all enjoyed another 'Kat Make' if you have any questions please do message me and of course if you like it please do let me know. Always nice to hear from you. 


Monday, 13 July 2020

Summer Garden by Jannet


A quiet Summer spent at home, is my inspiration for my little project today.

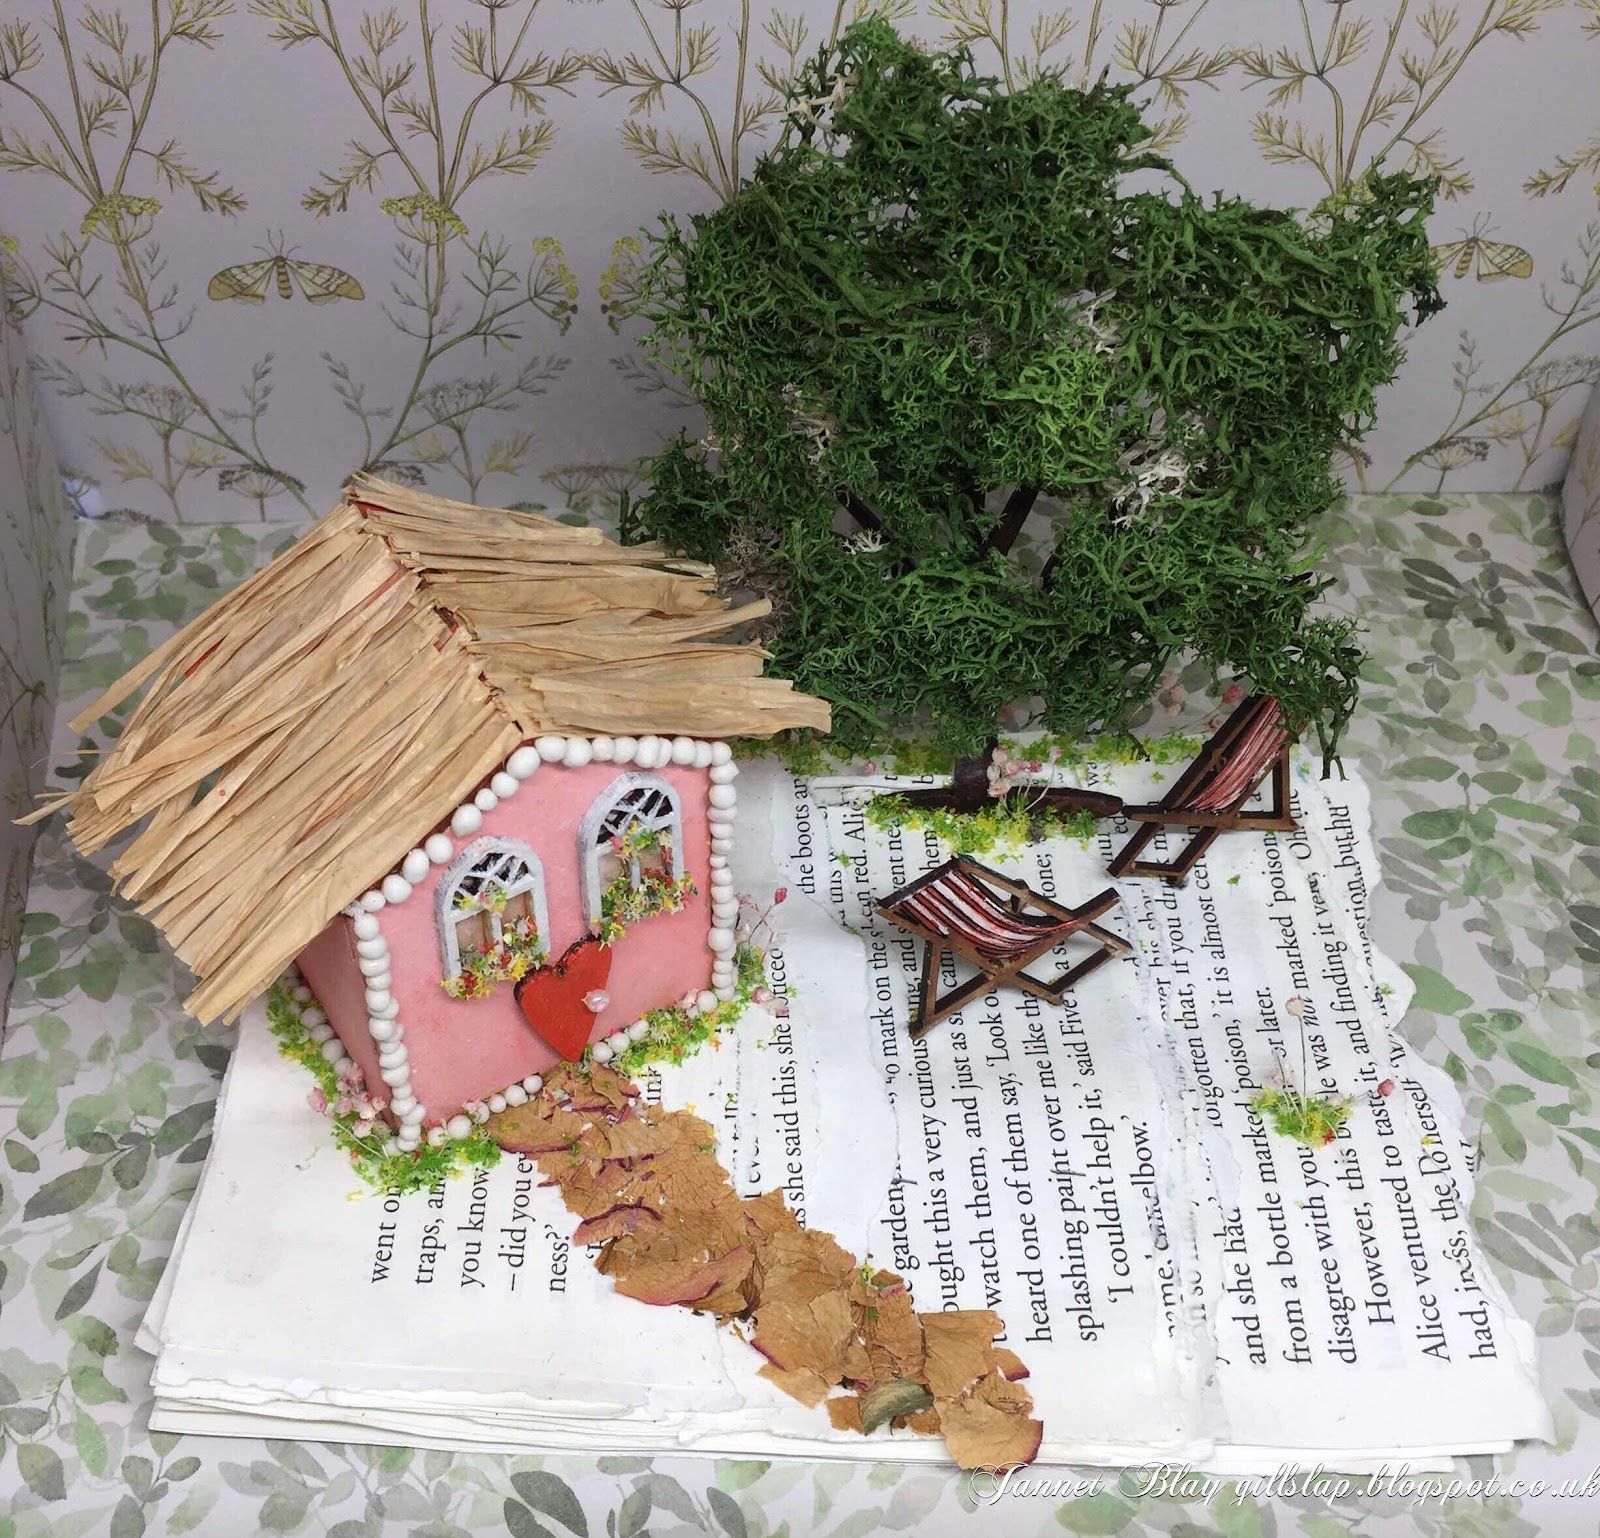
I began by making my base, with some book pages which I had left over from a previous project.  For the  first layer I used almost the full size page, for the next layer I tore the length a little shorter and the final piece a little shorter again. I glued them down so I ended up with a slightly stepped base.

I painted the house before assembling it. A heart made a perfect door to my summer house and a little bead became its handle. I adhered it along with the windows to the front of the house. I had kept some raffia which came wrapped around a bunch of  flowers, which was useful to cut into strips to adorn the roof. I outlined the house with some art stones. I adhered the house to the base, and used pressed rose petals to make a path to the door, so visitors would be welcomed with the scent of gorgeous roses. 


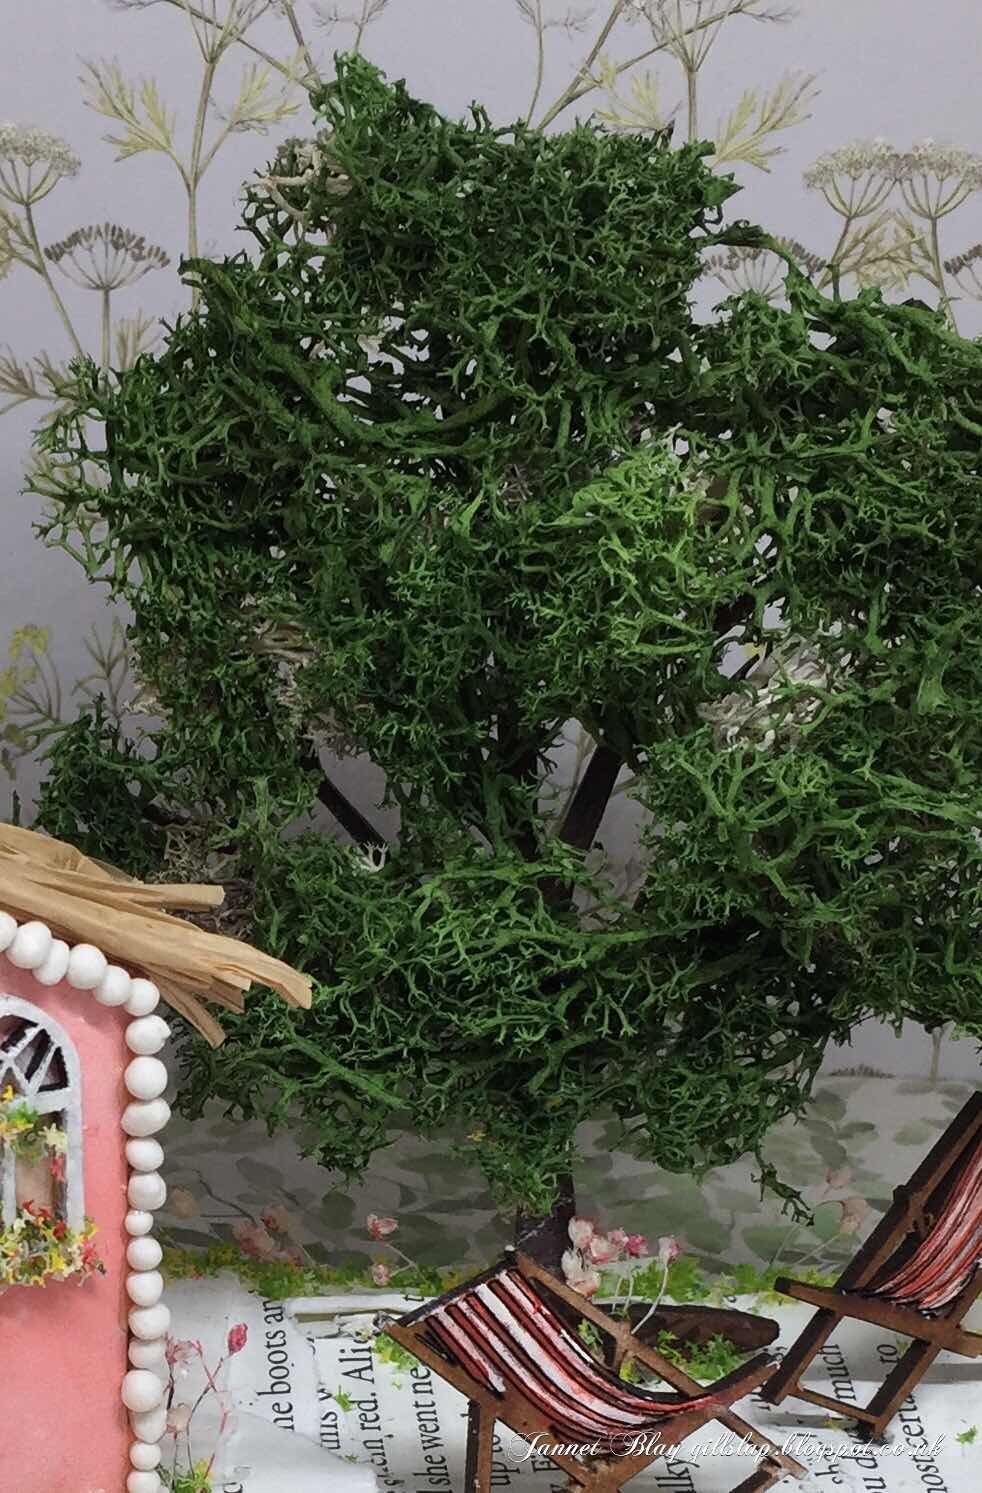
After painting the tree, I added some moss to the branches to represent the leaves. Using a craft knife I cut a slit into the book pages for my tree to nestle in with some glue. I added some tiny dried flowers around the base of the tree, and also around the house. 

For summer garden days you definitely need a deck chair to sit out in, so I painted two chairs with acrylic paints. I used a pokey tool to make small holes in the book pages for the chairs to stand in with some glue to hold them in place. I adhered a row of little flowers along the back of the garden.

I may add some additional features to my garden later, but for now it is a peaceful, tranquil garden to sit in and relax. 


This could be a fun project to make with children this summer. You could replicate your own garden or create a garden of your dreams, there are lots of Calico Craft parts to choose from in all different styles and sizes. 

Stay safe xx

Calico Craft Parts used


Monday, 15 June 2020

Beside The Seaside - Beach Scene by Jannet


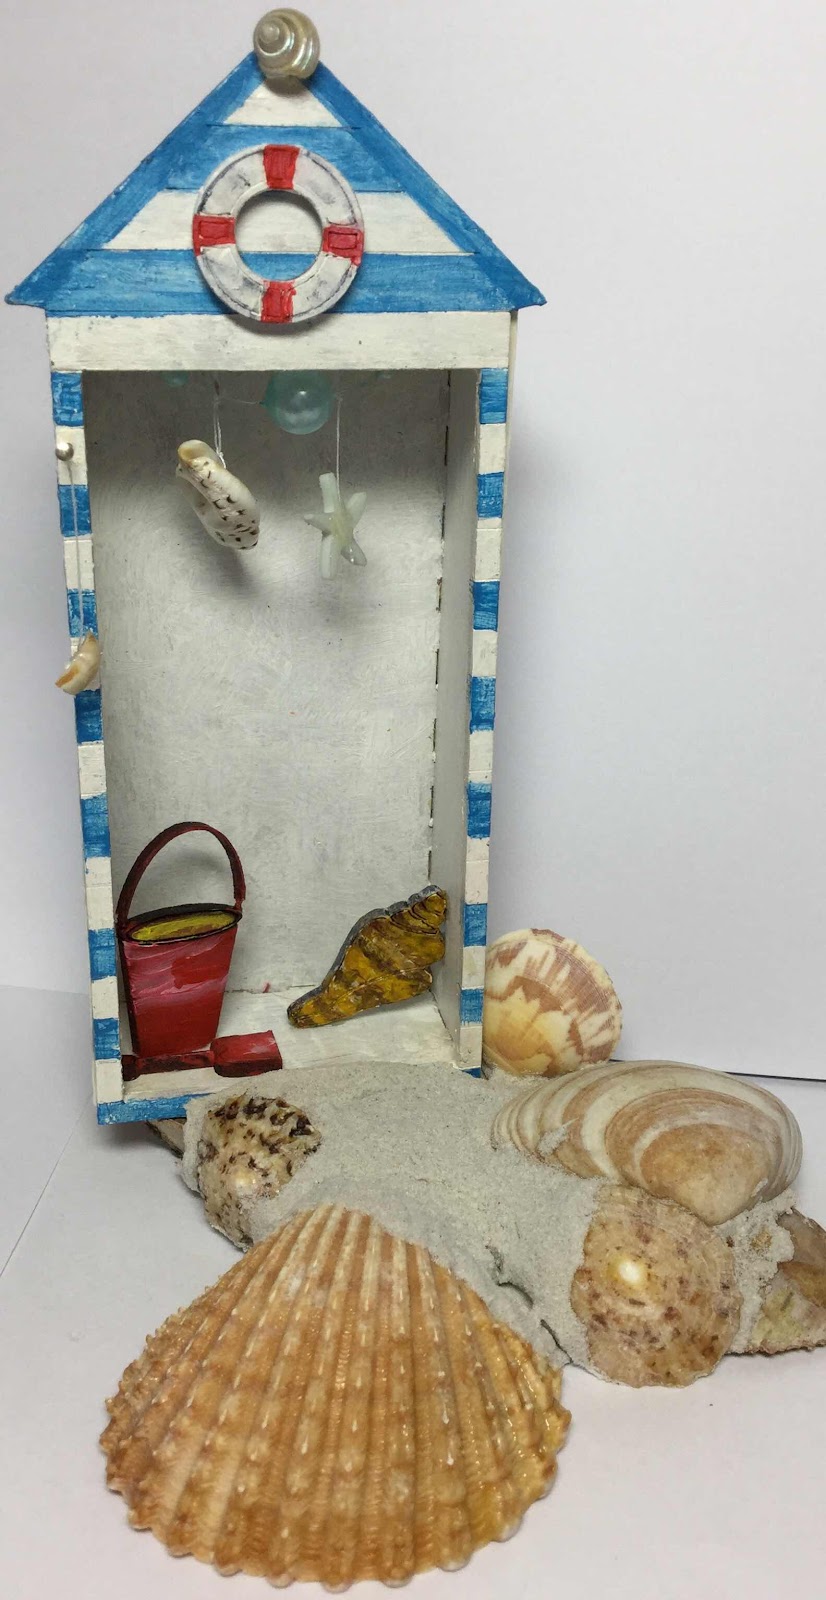
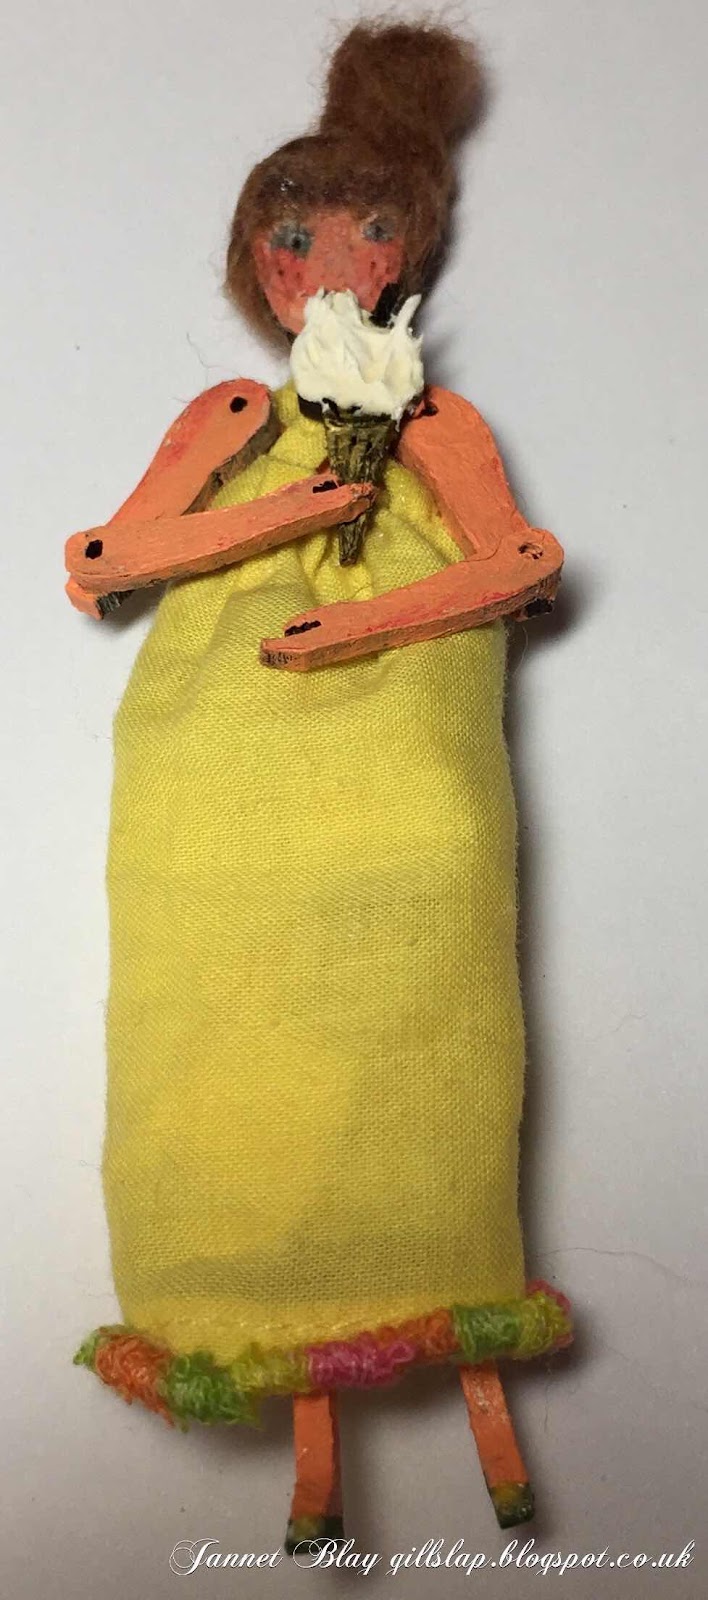
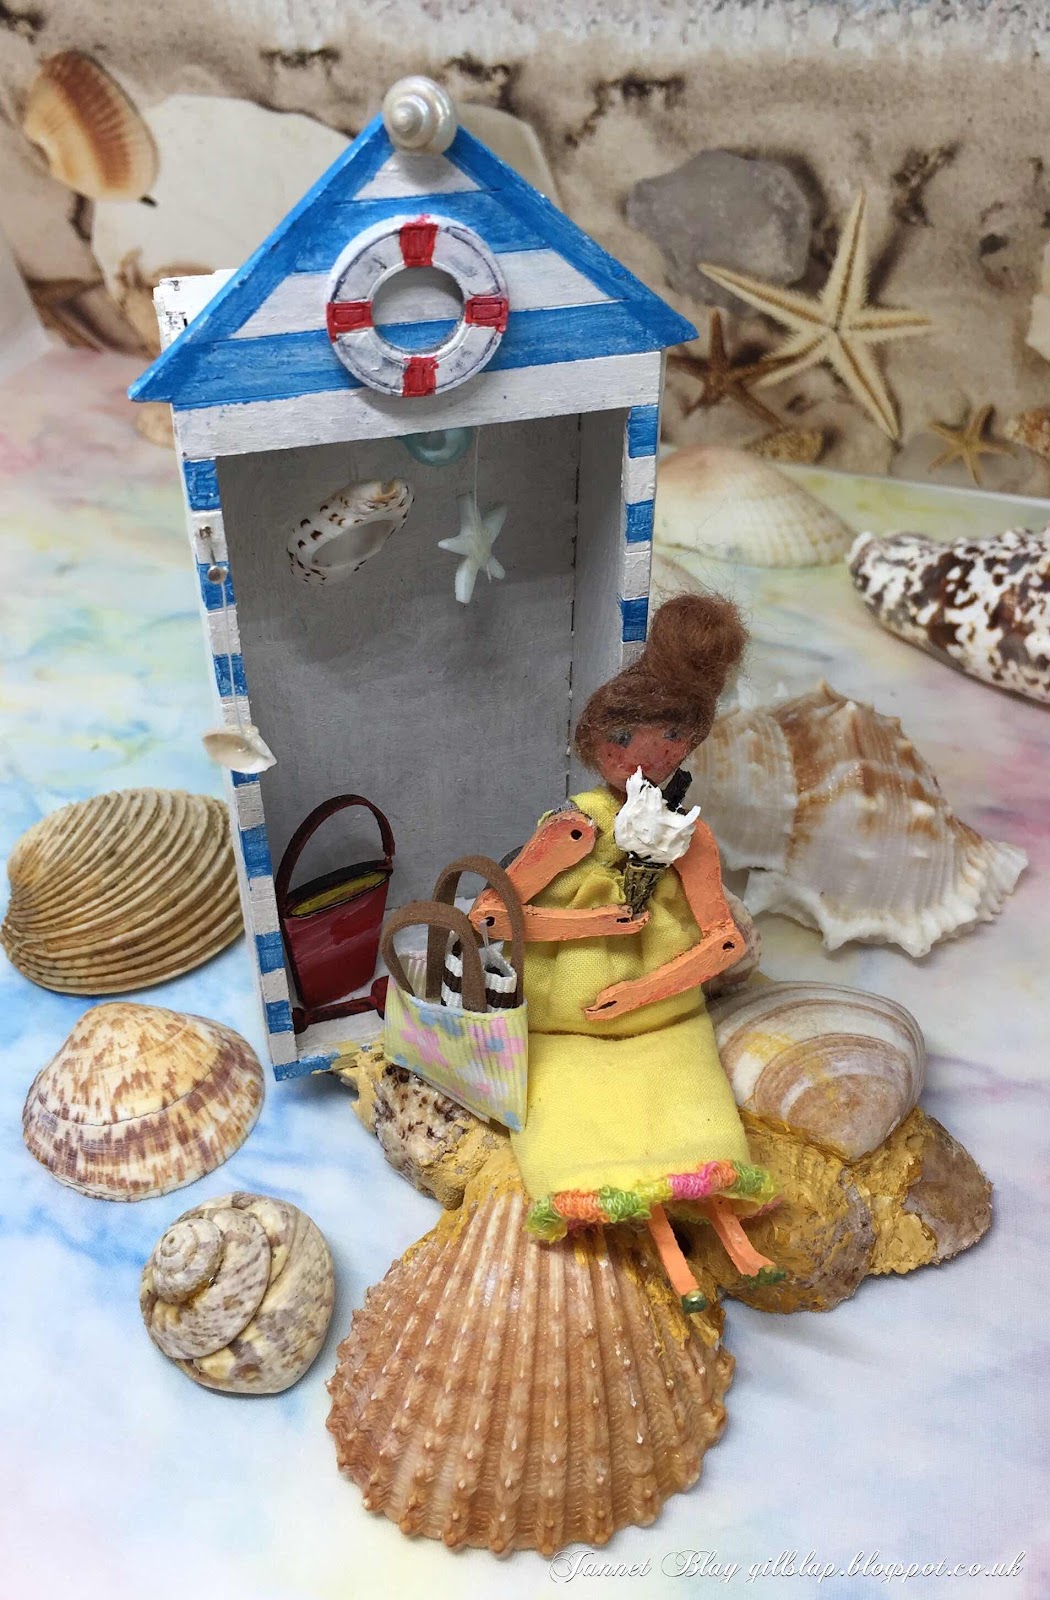
Dreaming of the Seaside is my inspiration for this months project. My little art doll is happily sitting next to her beach hut, and enjoying a yummy ice cream. Let’s hope the seagulls don’t come and pinch it out of her hand! 


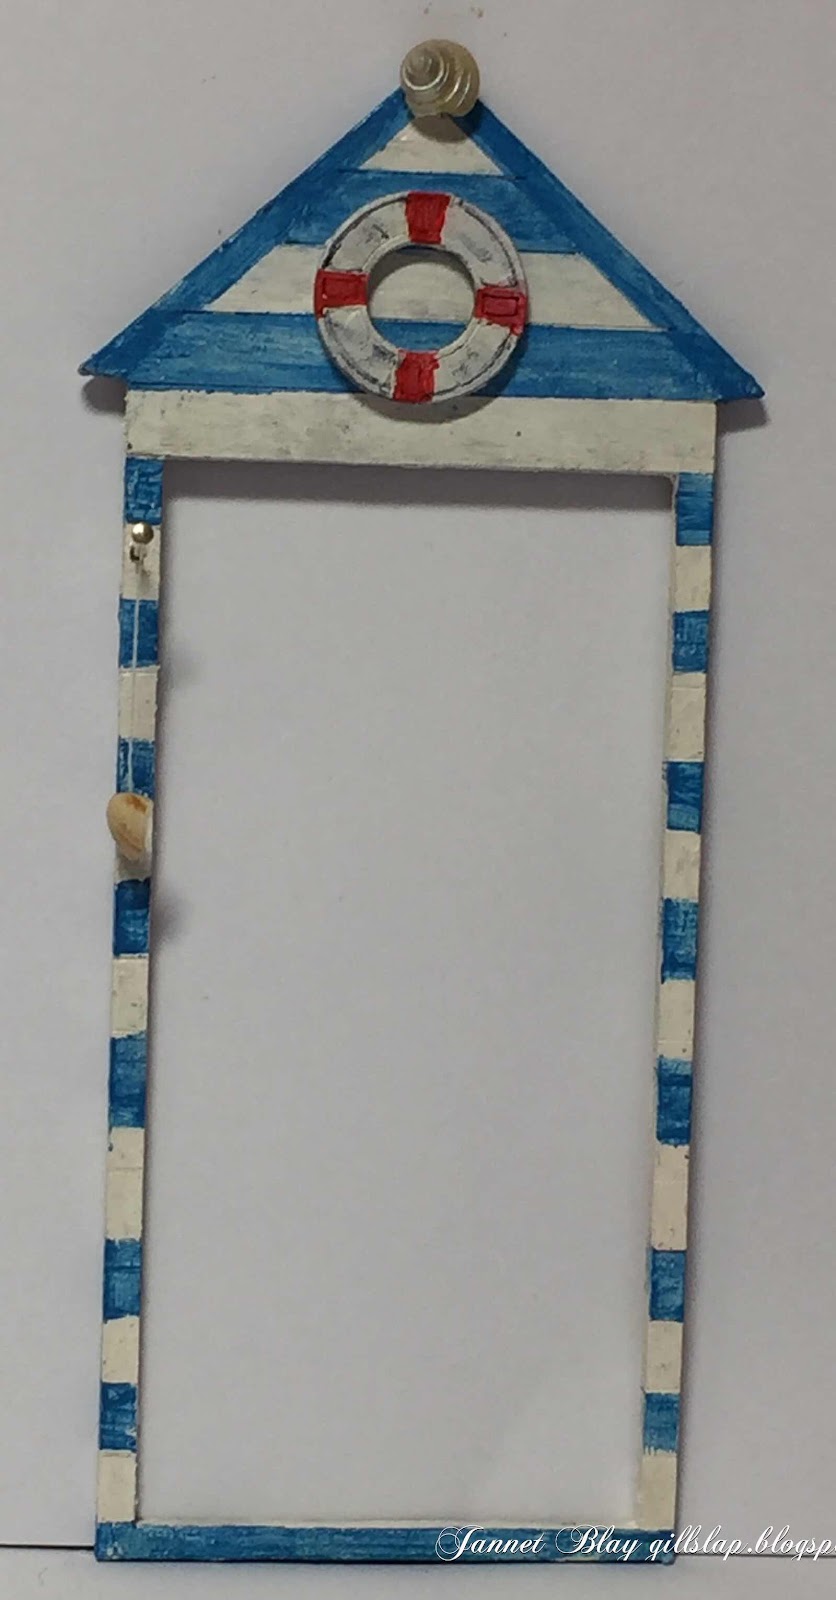
After painting the beach hut I used a pokey tool to make a small hole in the front of the hut and pushed a piece of wire into it. I have a collection of shells, and picked out a tiny one to hang from the wire, and adhered another one no the very top of the roof. The beach hut also comes with a lifebuoy ring which I adhered to the top. 


I glued the beach hut together and hung some shells inside and painted a bucket and spade, and a sea shell to sit inside. I used a piece of wood as a base and adhered the beach hut onto it, and surrounded it closely with some shells. I used Decoart Sand Texture paste in between the shells to hold them together. I applied the texture paste quite thickly so I left it to dry overnight. The following day I painted over it.


My small art doll said she wanted to wear a summer dress to the beach, so I found some scraps of fabric and made her a little dress, and used some fibres around the hem. She reminded me that she needed a Beach bag to carry her towel, sun cream etc to the beach, so I quickly made her one with some ribbon. It was a hot day so she wore her needle felting wool hair up in a bun.  After painting the cone, I added some cream paste to the ice cream which swirled nicely like a real ice cream - yum! 


I adhered the little lady in place, and set her beach bag next to her, she is there for the day now! 

I love Calico Craft Parts art dolls, there are lots of different shapes and sizes to select from, and you can easily transform them into so many different characters.

Calico Craft Parts used


Monday, 8 June 2020

Be Still and Listen! - by Claudia

Hi, servus and welcome to "my" Monday over here on the Calico Craft Parts Blog!

This time I went quite romantic and created a little, forgotten garden arbour that seems to have been conquered by birds, ivy and other garden plants over time - so it has become a peaceful place where you can go and just listen to the birds and take a break from everyday life.


The little cupid on its pedestal will also patiently listen to whatever sorrows you want to tell him about (and he will keep them safe).


Calico Craft Parts used: 

- MDF Shrine Kit - Garden Arbour with Trellis (with open front) - small
- Songbirds in Spring Branches MDF Wood Shape - medium
- Robin on Winter Fir Bough - MDF Bird Wood Shape - small
- Summer Gazebo Scene - MDF Wood Shape - large
- Ivy Leaf Corner Garland - MDF Wood Shape - small
- Ivy Leaf Garland - MDF Wood Shape - small
- Sheet of Mini MDF Keys & Escutcheons Wood Shapes
- Leaf and Twig Wood Shapes
- Wrought Iron Style Pair of Gates Wood Shape - Style 4


I started by dry brushing all the pieces I wanted to use on both sides using DecoArt Americana Chalky Finish paint "lace". First I painted the arbour's insides - and then I used matte DecoArt Decou-Page to glue the arbour together.


While that dried, I painted all the other bits I wanted to use. I only added a thin layer so the MDF would still kind of tint the paint and make it look more shabby and "forgotten".


The Gazebo Scene wood shape only got painted around the outer edges as I was going to glue that behind the arbour - this way it looked even more overgrown and the Gazebo piece also worked a bit like a stage and created the feel of garden surroundings. The iron gate was cut in half using a precision knife and a cutting mat - this way I got two iron gate wings that would close in the middle.

To fix my little cupid (a frozen charlotte) to the pillar (which is a little bobbin actually), I glued a cut to size top piece of a skewer into the bobbin's hole, leaving the very tip of the skewer to snuggle right into the crevice of the backside of cupid's legs. Then I used super glue to glue cupid to that stand.


I also die cut some additional ivy and other twines from heavy Kraft paper that I then also painted with "lace" Chalky Finish paint. This way all the elements used had the same feel to them and fused just beautifully.


Time to assemble my "little garden scene with birds and cupid". I used a worn small detail brush and matte Decou-Page again and first glued cupid on his stand in place. Once that had dried, I added the MDF and die cut paper twines one by one. The iron gate was glued in place by simply generously adding glue all along the vertical edges and "leaning" the gates against the arbour in the desired position. While the glue dried, I thought I still needed more birds...


...so I decided to cut some off the beautiful "Songbirds in Spring Branches" wood shape. Of course these needed to be dry brushed with "lace" Chalky Finish paint too.


Yes! That looked even more lively! 


I finished my garden arbour off by adding a word sticker. 

Done! 


The ivy wood shapes, the die cut twines and the twines from the Gazebo scene that got glued behind the arbour all create the impression of an overgrown, secret hiding place in a beautiful garden that has been conquered by nature. I really love how it all came together.

There is still a key there, neatly hung up in its original place - but no one obviously wanted to lock poor cupid in.


And so he gets visits from garden birds and other little garden animals and already starts to get covered by ivy and other climbers. I like to think that this keeps him warm and safe in some way. ;)


But let's have the close ups tell the story...


And if you take the time to get still and just listen to what's all around you, you will very likely feel the magic of this place...


Just little cupid, the birds - and you. 


I hope you like my little arbour scene!


Thanks for stopping by
and as always
hugs and happy crafting!

Claudia
xxx


Monday, 18 May 2020

Alice In Wonderland Tea Party by Jannet

.

I am sorry that I have been absent for a little while, the post in London has been very random which is understandable in these very sad circumstances. So my Calico Craft goodies took some time to find their way to me, but oh my goodness  they were well worth waiting for! 

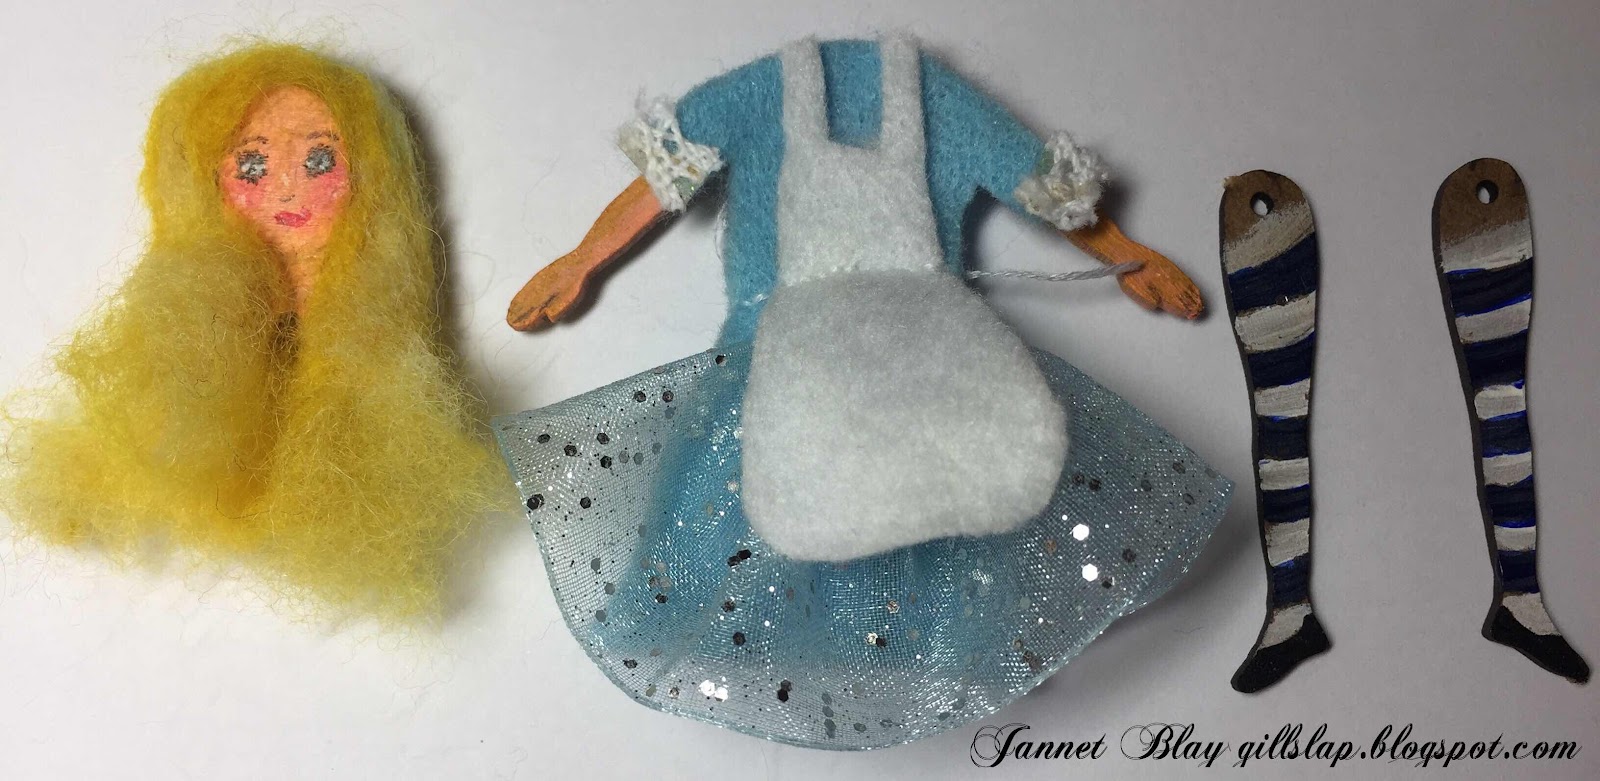
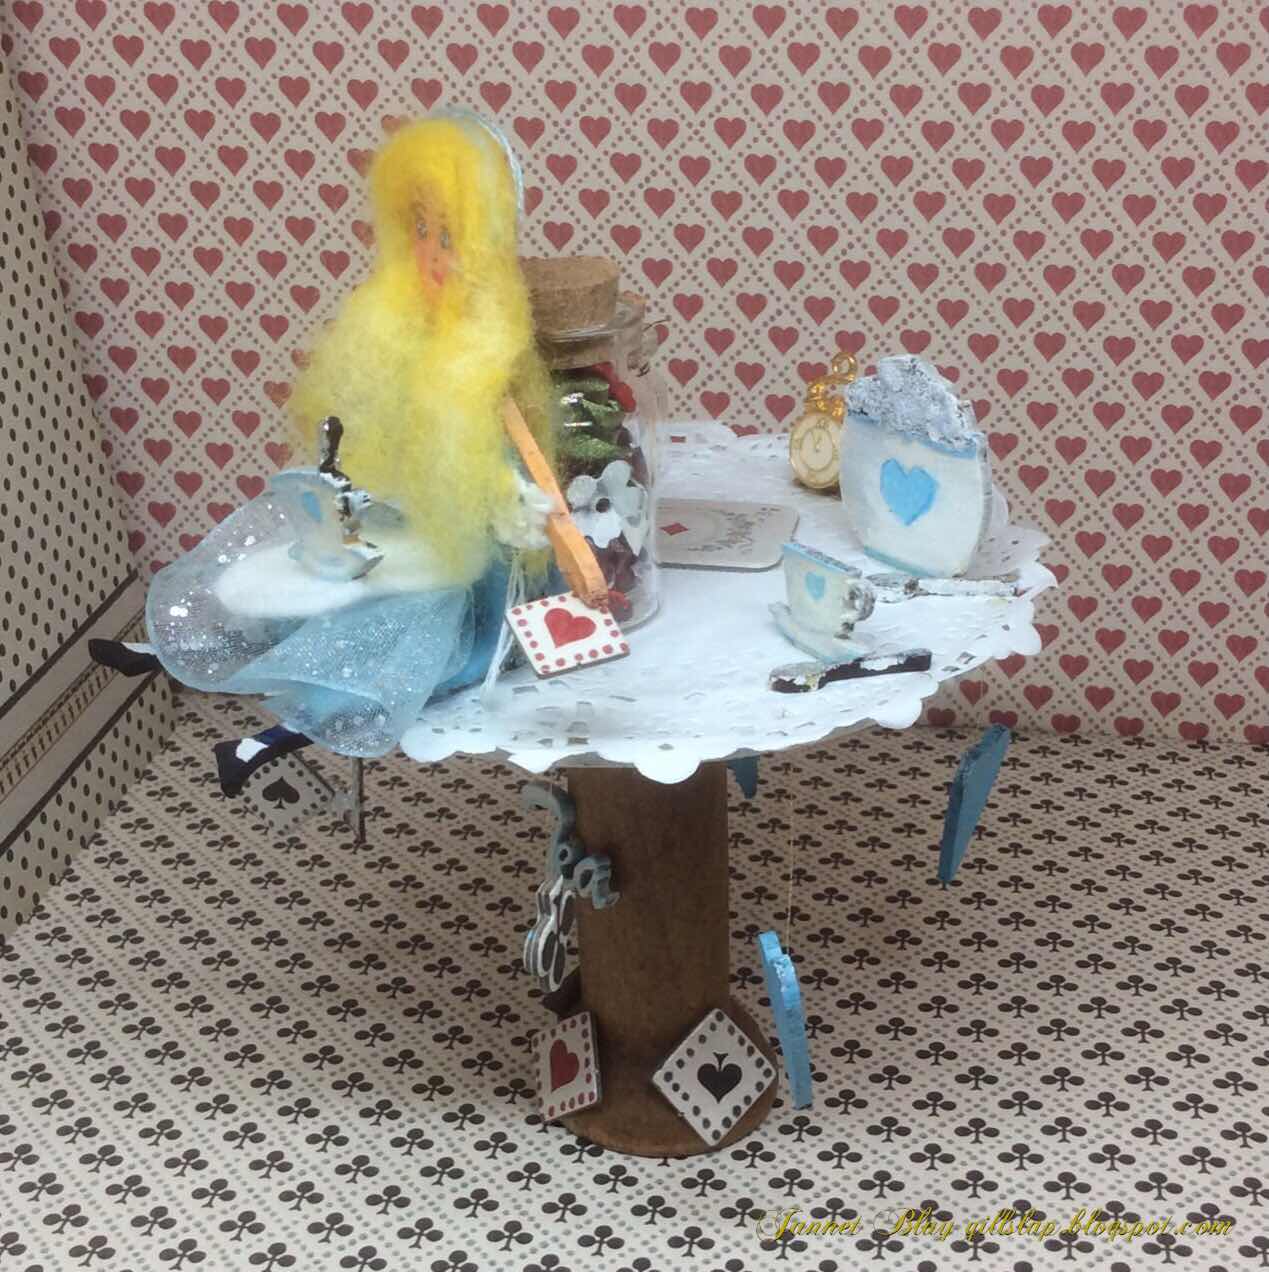
As soon as I saw the 100mm tall art doll, I knew it would be perfect for Alice In Wonderland of course after she had consumed  the “drink me”  drink. 


I began by painting her face and arms, and giving her legs stripes for her traditional stockings. She needed golden locks which I made from some needle felting wool.I used her body to measure, and cut a dress from blue felt.I added a ruffle of ribbon to give Alice some dimension. Her famous white pinny completed her look. 


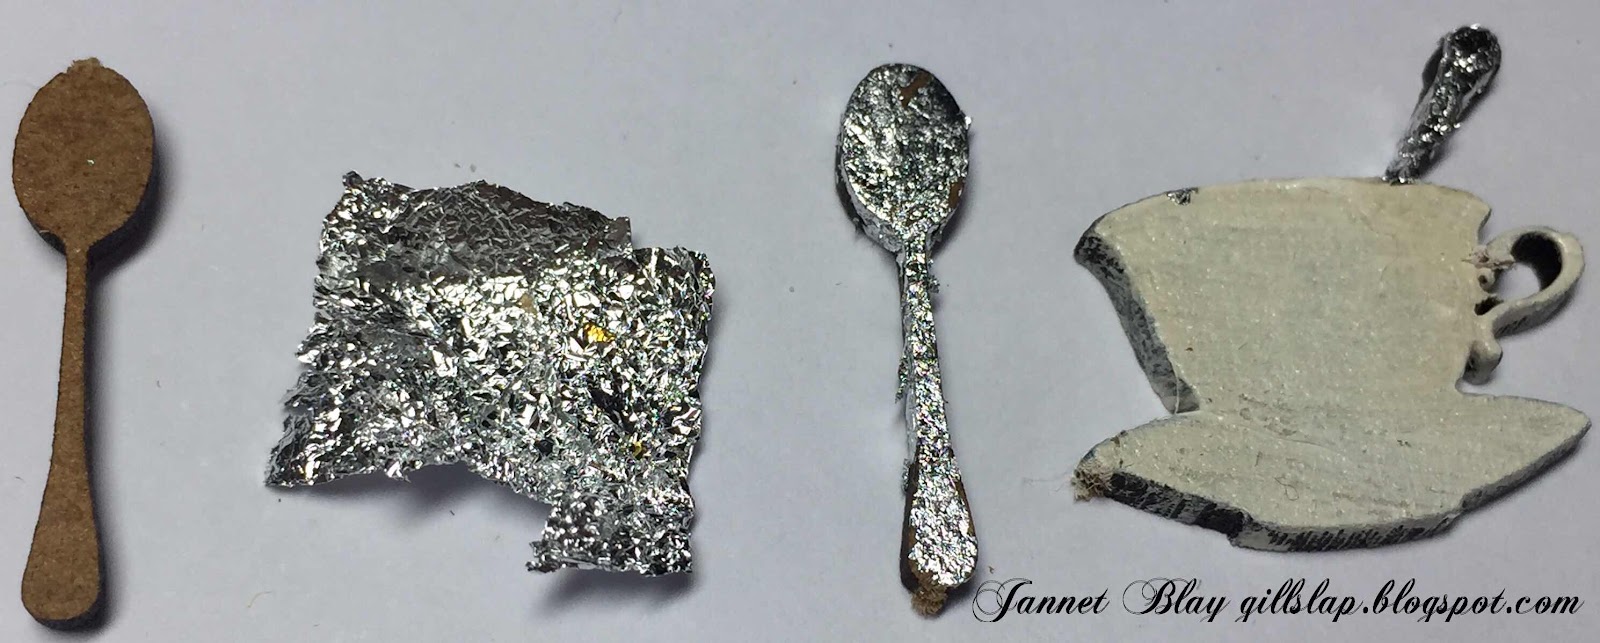
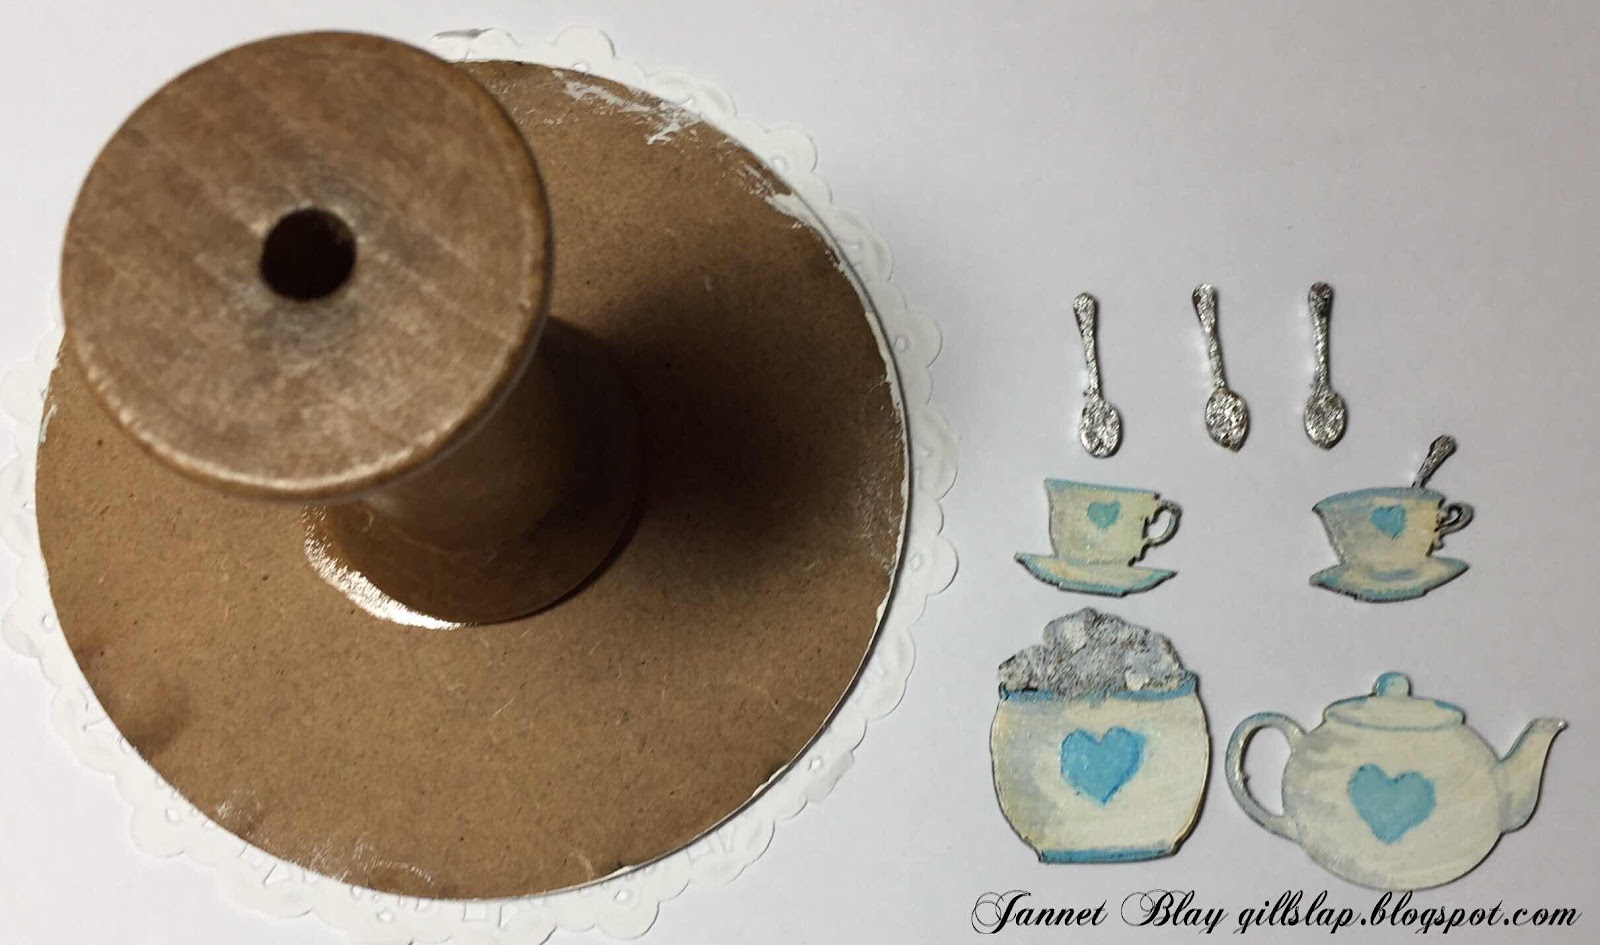
As soon as she was made Alice decided that she needed to have  tea. I found the lovely tea set which comes with lots of cups, teapots, and little tiny spoons too! To give the spoons a metallic shiny look I foiled them with some silver gilding flakes. I covered the spoon in glue and then laid the foil over, and after it adhered I buffed it up to get a silvery shine.I then  painted the cups and teapots and added some Decoart texture paste to the sugar cubes to give them a gritty sugary look.  You can paint any design you like to the tea set, I choose to do a simple blue heart. 

The tea set needed a table, so Alice could sit down and enjoy her tea. I used a 100 mm mixed media circle for the top of the table and a cotton reel for the pedestal. After painting some mini hearts I hung them with some golden thread and adhered them onto the top of the table so they would dangle down from the table.  A doily made a pretty table cloth. I adhered Alice and the tea set in place. I used a plastic bottle to sit Alice against for support. I added lots of little Alice embellishments, a clock, a bottle with “drink Me “ stamped onto it’s label, and some playing cards. There are many things you could make to go with Alice, roses, jam tarts, toadstools..... so many possibilities. I finished by painting the word Tea, and adhering it to the pedestal 


Of course you can turn your art dolls into any character you want to, maybe you could make one to look like a friend or relative that would be a very personal and lovely gift. The art doll kits  come in various shapes and sizes, you are sure to find just the one you need. 
Take care xx

Calico Craft Parts Used


Saturday, 2 May 2020

Maritime scenes - 3D Shadow canvas by Kerstin

Welcome, creative friends!

 I love projects with a 3D depth and wanted to make a shadow frame from a canvas.
As you could already see in my last project, 
I love the combination of the sea theme with a touch of steampunk, so
today I am sharing a new inspiration with some casts, MDF shapes and a wonderful delicate background paper.

I created my canvas in a vintage grunge style in rusty appearance.


 In the Aquatic & Marine Wood Shapes department of Calico Craft Parts' store you can find a lot of awesome corals and other extraordinary maritime parts - 
 a veritable treasure trove that I can highly recommend!


Tips & Tricks


1 I used a discarded wedge frame that our kids hadn't wanted to paint.
With a carpet knife I cut out the middle part

2 I wanted to have a very old frayed looking edge and used a burning candle

3 I glued on some casts matching the MDF jellyfish, also cats that were made with the help of moulds

4 Then everything was primed with a Chalky Finish paint (DecoArt 'Yesteryear')


5 I left everything to dry thoroughly

6 Next I added some paper coloured laser cuts

Nautical Multi Frame


7 Firstly I added some Crackle Glaze. Onto the still wet medium I sprinkled some mini Artstones here and there 

8 After that had dried, I highlighted the frame with brown and black metallic waxes and glued a curved paper band onto the frame

9 Finally I added some natural elements like sea shells, lichen, gauze and some Artstones


some close up's


Calico Craft Parts used: 

Nautical Multi Frame - Seahorses & Seafoam

 Bull Kelp - MDF Seaweed Wood Shape Style 4

 Jellyfish MDF Wood Shape Style 3 in two sizes


 Thanks for your visit!

Stay safe everyone and take care of yourselves and your loved ones…

Kerstin