Showing posts with label Dates & Special Occasions. Show all posts

Thursday, 29 July 2021

From Me To You by Liz

  Hi Guys, I want to show you a MDF Trug from Calico Craft Parts that  I've put together which I think would make a lovely gift for anyone special,


I put it together then gave it all a coat of white gesso, when dry I went over with two layers of acrylic paint,

I took a stamp from my stash and randomly stamped a little text here and there on all four sides of the Trug,


I then took a Rose flower head stencil I have in my stash and with some transparent medium stencilled the Rose heads here and there too,


When all the media was dry I added this lovely MDF Ashleaf and twig keeping it in it's natural colour as a focal point for the front,

MDF - Trug 

MDF - Ashleaf and twig 

Happy Crafting!!

Hugs Liz xx

Monday, 1 June 2020

Rainbow Bridge by Jannet


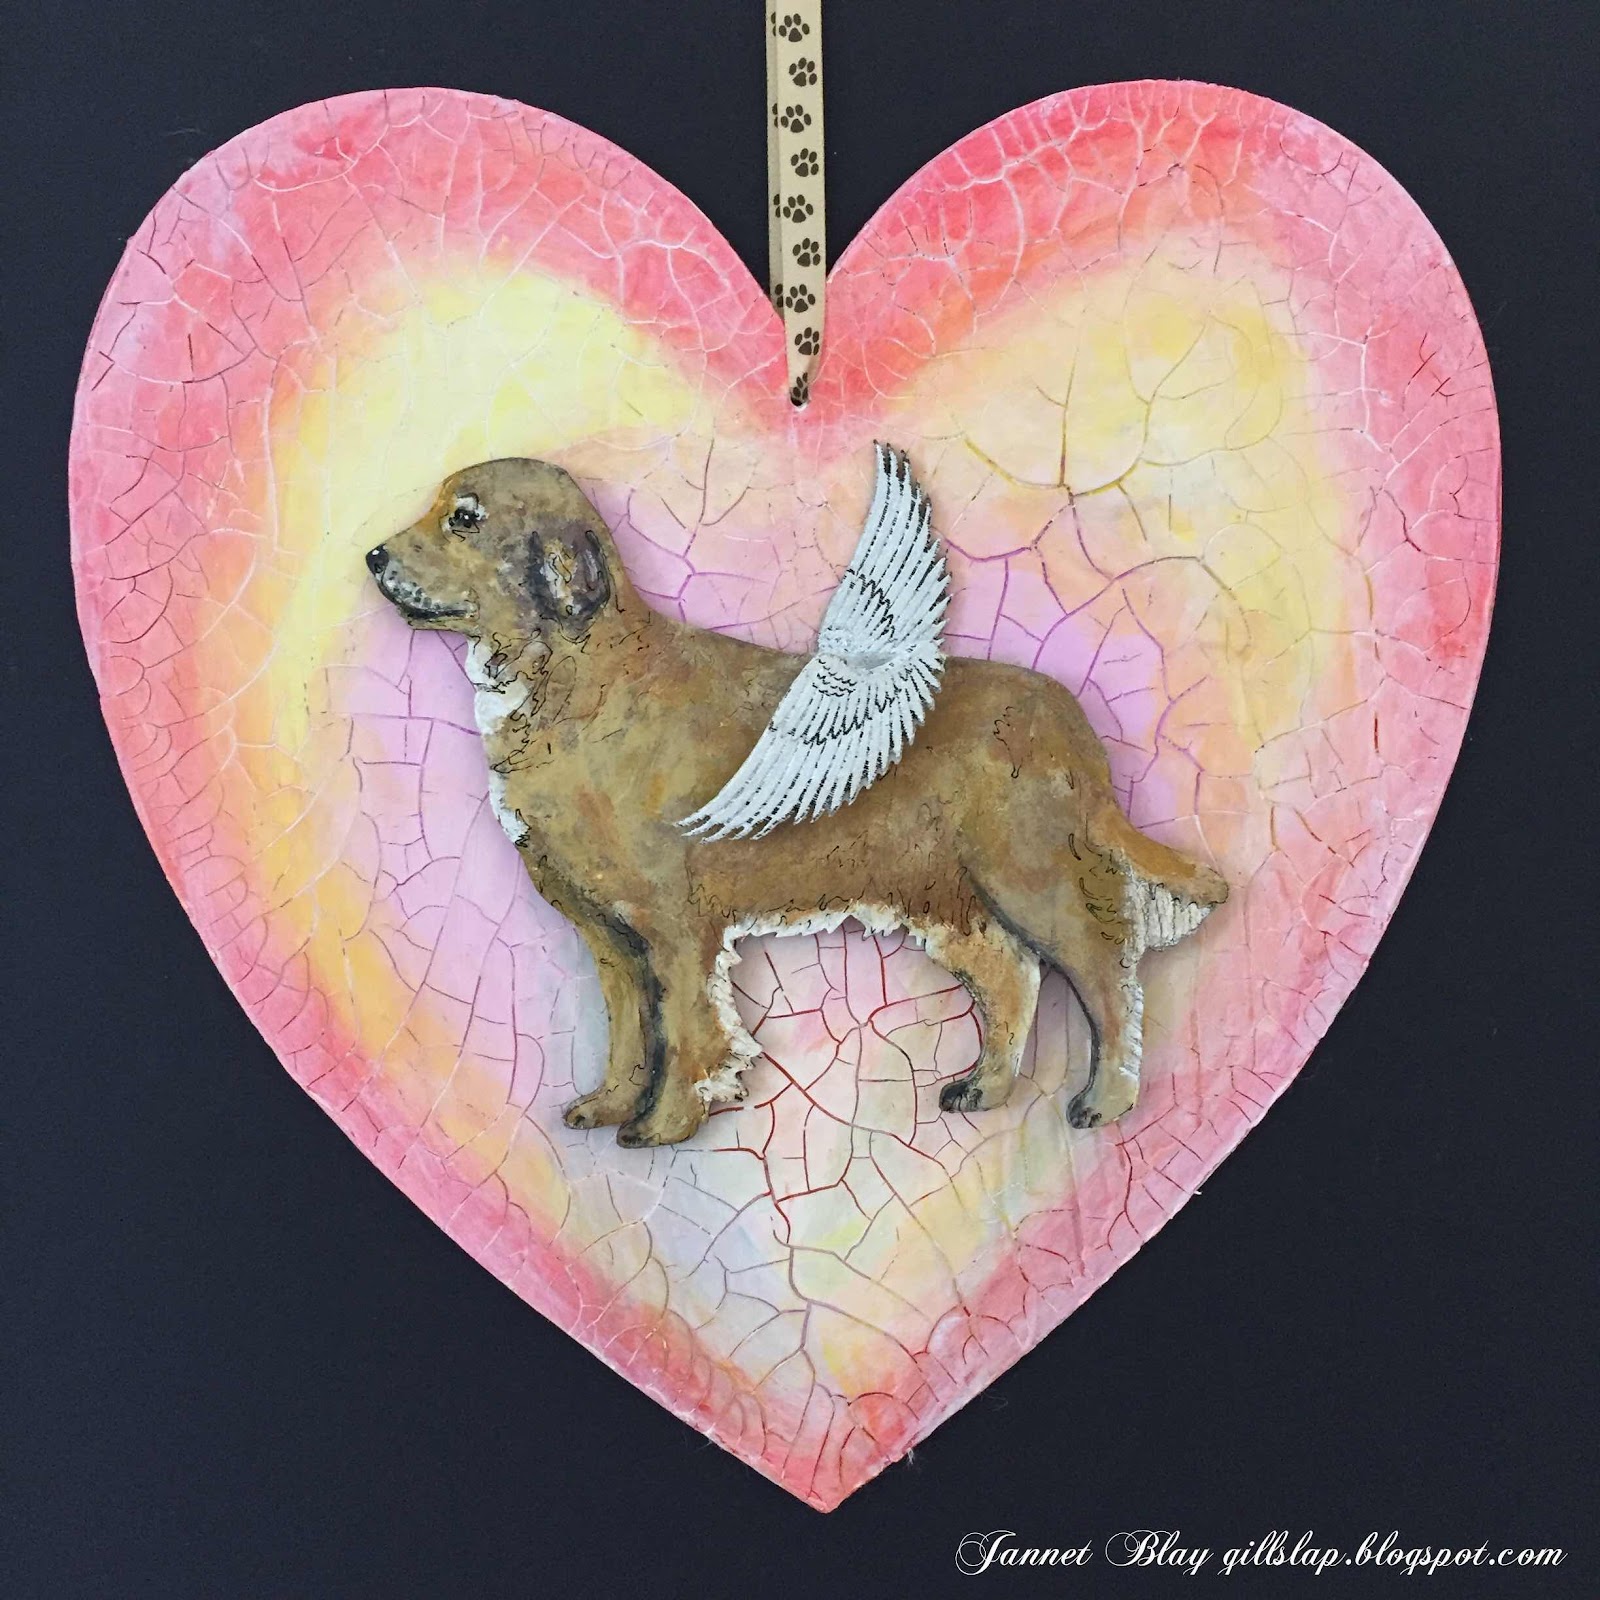
Hello, I hope you are staying safe and well. My inspiration today is The Rainbow Bridge Poem. When a beloved pet dies they go to the Rainbow Bridge to wait for their best friend to join them, then they will never be parted again. Calico Craft Parts have a large variety of dog breeds to choose from, and a selection of cats


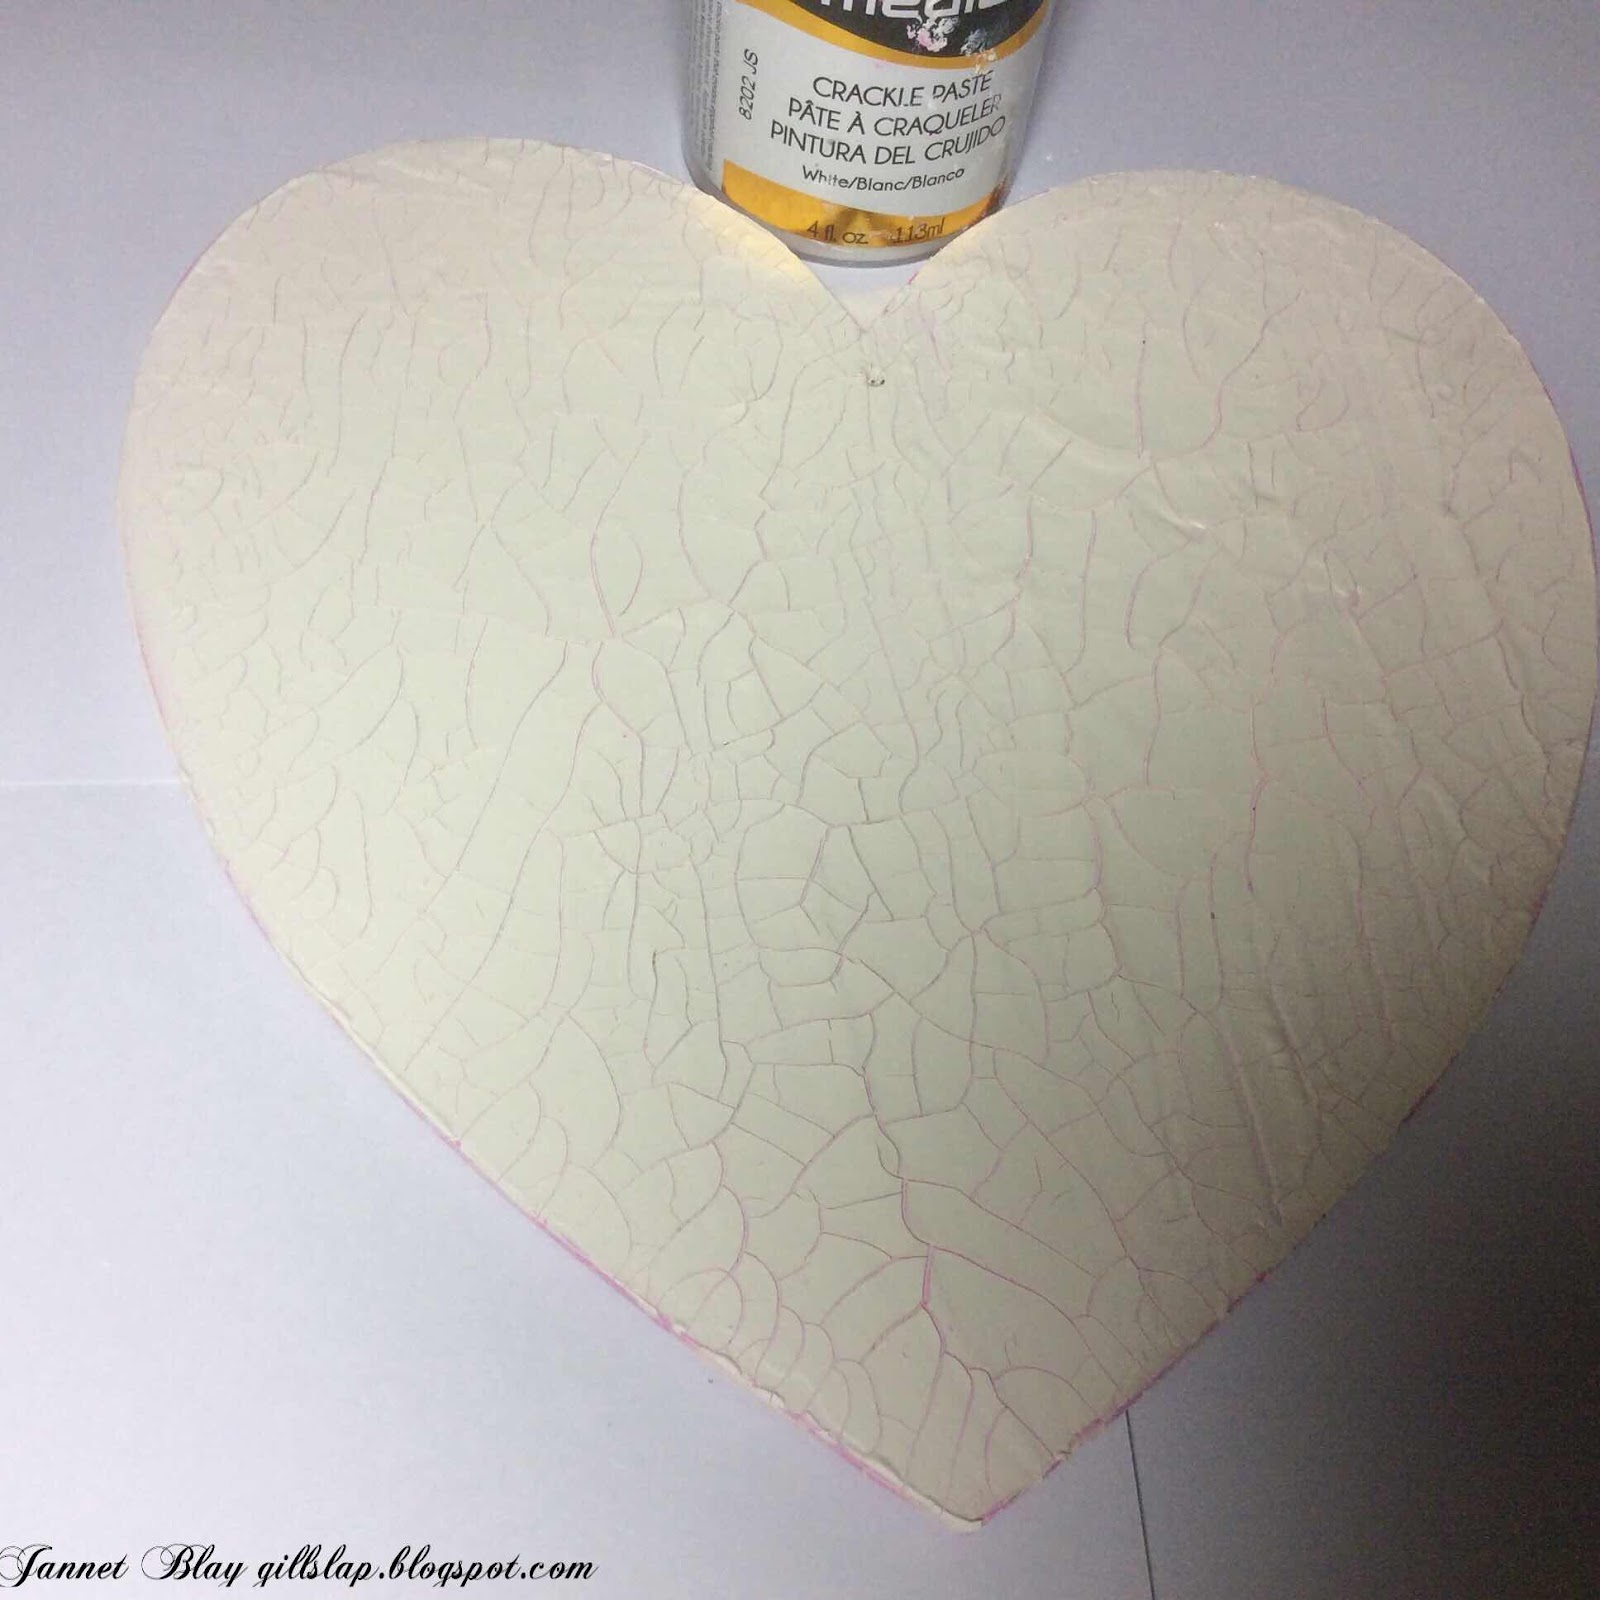
Our hearts feel broken when we lose our beloved pet, so I wanted to show lots of cracks on the hearts to represent this feeling. I coated the hearts in a fairly thick layer of Deco Art Crackle Paste. 


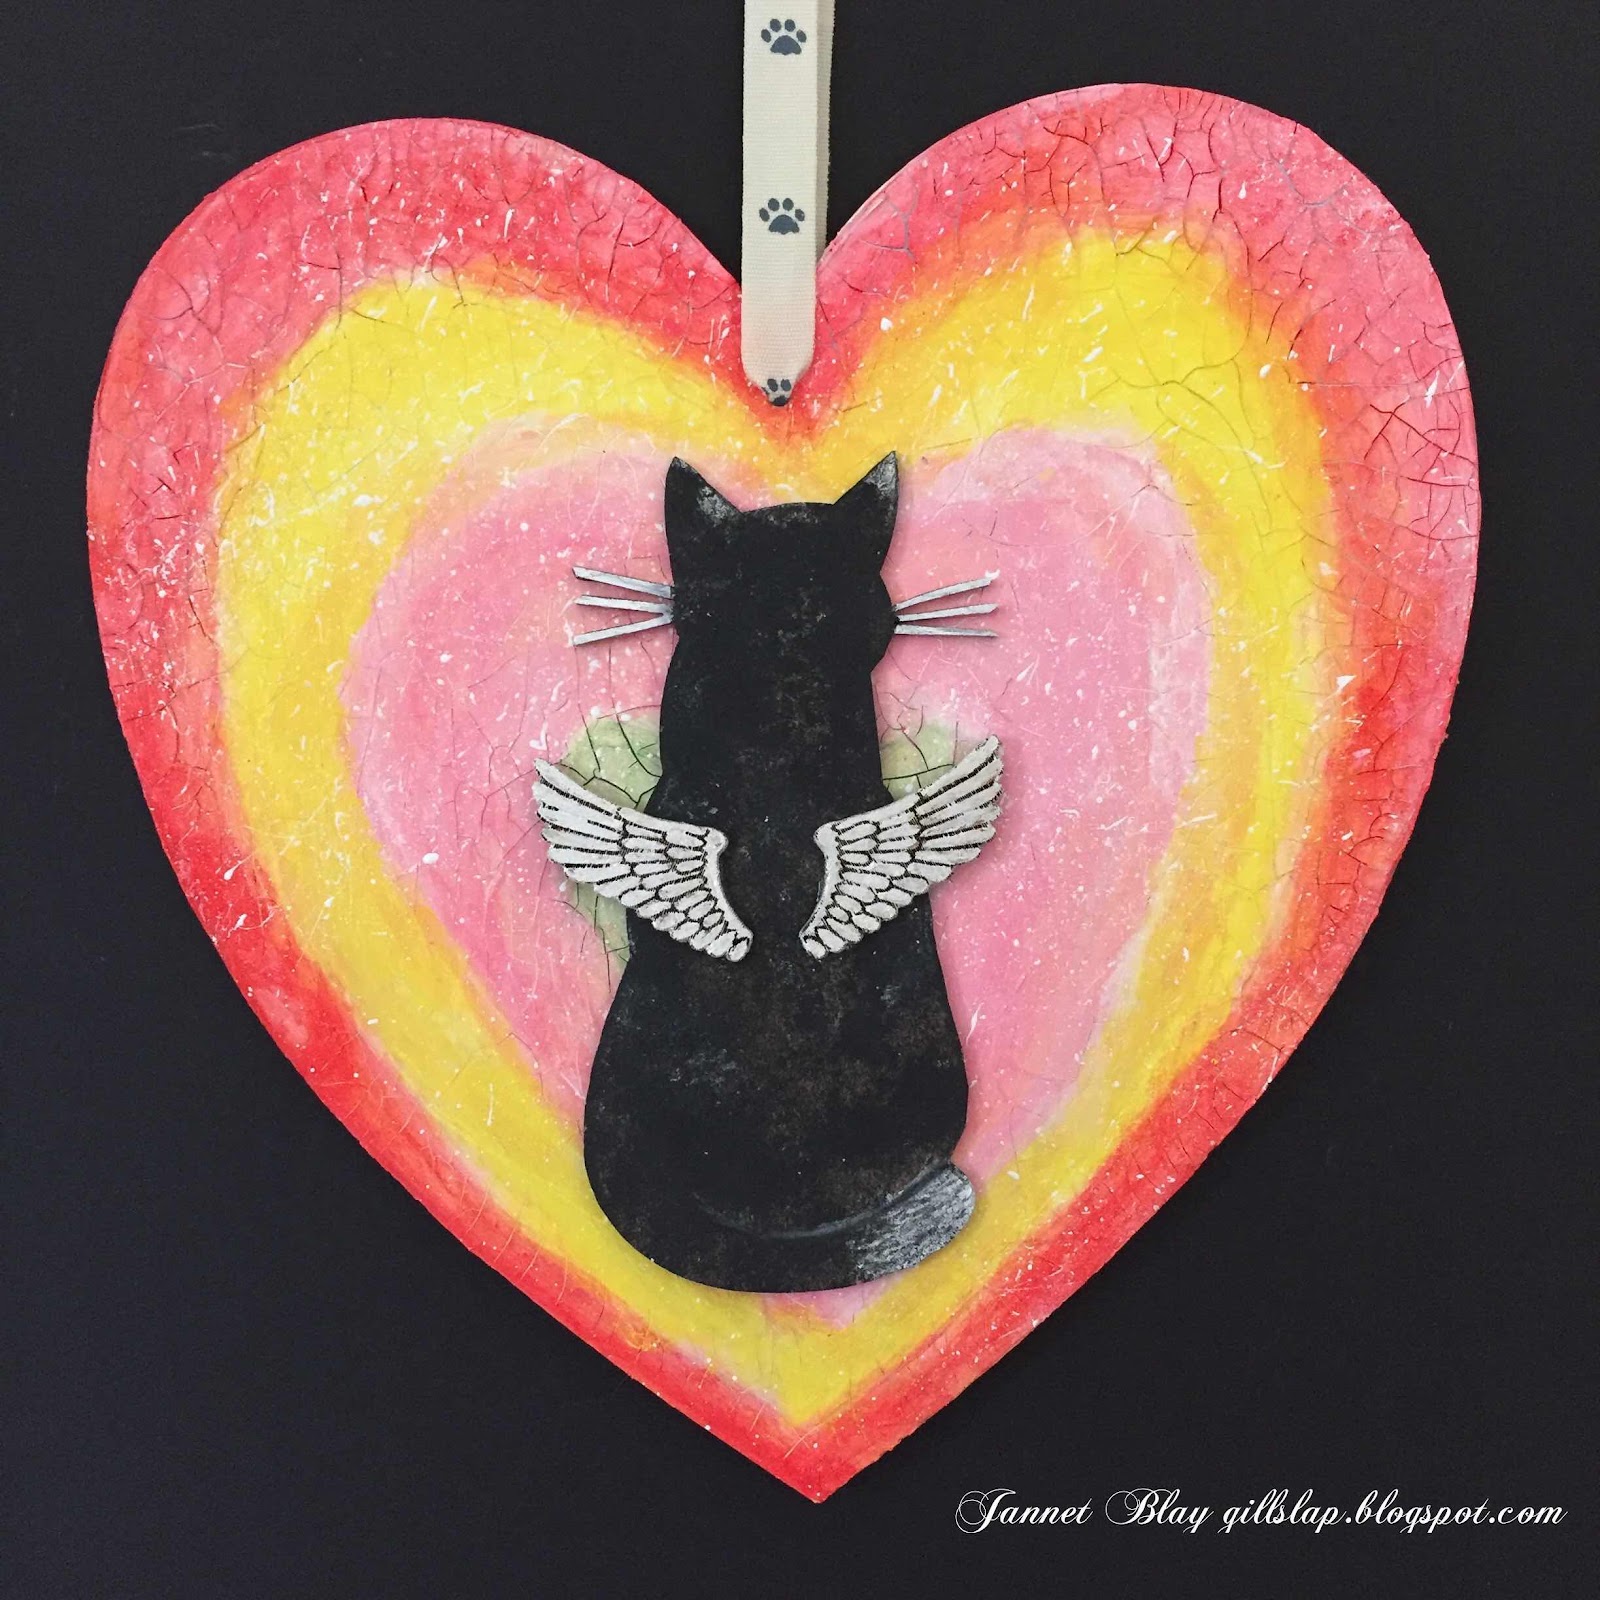
I painted the beautiful Golden Retriever, and the lovely cat with acrylic paints. You can paint details to look like your own pet, or paint it all in black to create a silhouette.


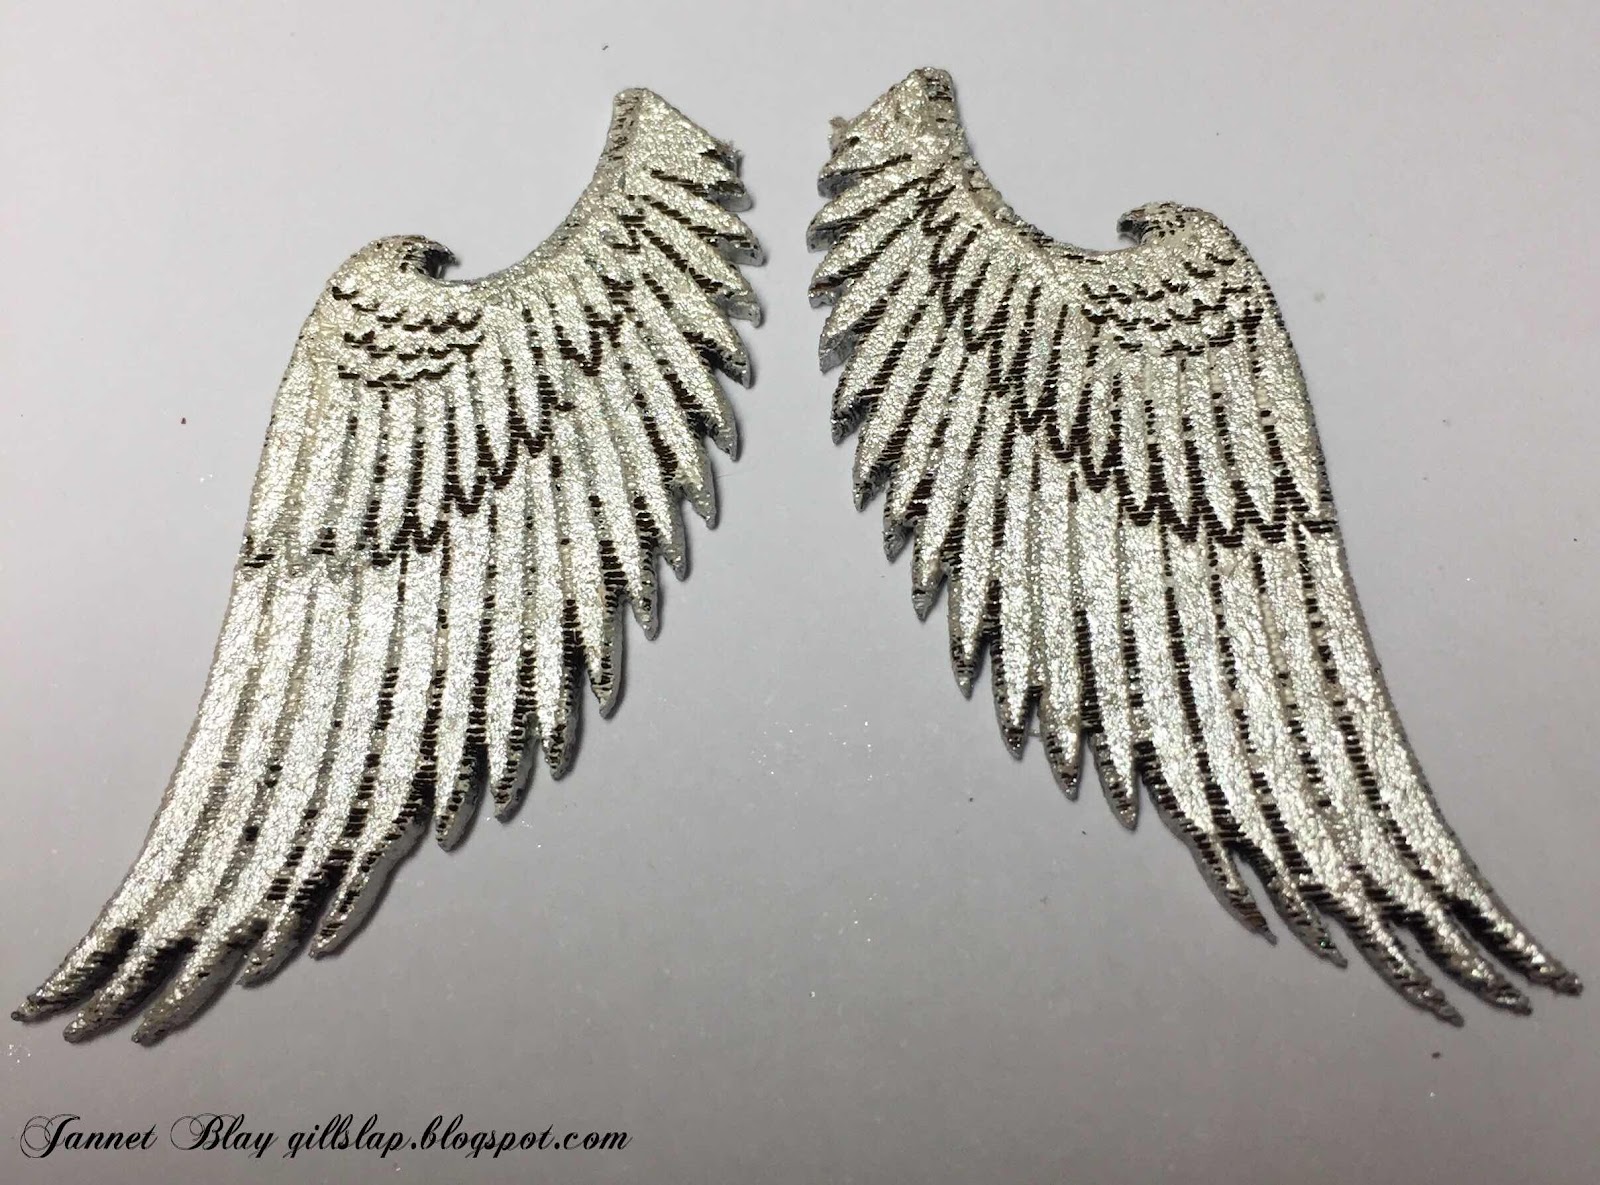
I painted the wings with white acrylic paint, and then I mixed a white pigment powder with a little water. I painted it over the top of the paint  to give the wings a glimmering sparkle.


I painted Rainbow colours onto the cracked heart, and adhered the dog in the middle of the heart and then gave her wings. I repeated the process for the cat, but I also added a few splatters of white. 

If you know someone who has lost a beloved pet this would make a thoughtful memorial for them 

Take care xx

Calico Craft Parts used 

Monday, 16 March 2020

Hoppy Easter Tag - by Claudia

Hi, servus and welcome to my first Easter themed project for this year!


This time I have created a watercolour look on the gorgeous Calico Craft Parts that was  mainly inspired by the look of the lovely clock face. 

Calico Craft Parts used:


As always I started with priming the wood shapes - this time with a loosely brushed on layer of DecoArt media white Gesso. 


Then I borrowed Kerstin's fabulous idea of building a little shelf for my rabbit to sit on using two of the blank Word Elements - one as the shelf and the other to kind of "squeeze in" the shelf between the ATC frame on top and the Word Element below.


From the Spring themed ATC wood blank I only used the frame and glued that to a Classic MDF Tag instead to its original ATC back panel. As I had "lost" the two tiny flowers at the sides of the ATC frame during gesso-ing, I glued these back in place now before I primed them carefully with white Gesso as well.


At that point I had already glued the ATC frame to the tag and the clock face on top of the ATC frame. The clock hands, screw head and rabbit had to wait until I had finished painting my tag.


I used DecoArt media fluid acrylics Green Gold, Hansa Yellow Light, Cobalt Teal Hue, Phtalo Green-Blue and Naphtal Red Light with loads of spritzed on water to create a watercolour look.


Adding Titanium White, Phtalo Green-Yellow and a mix of the Yellow and Red I painted the tinier shapes using a detail brush. I also added outlines here and there and my "hoppy Easter" quote.


In the top right corner you can see some left overs from used up Mini Wood Shapes sheets - I love to use these for building up layers and stack them where necessary to create more depth and dimension - in this case I stacked two tiny bits to glue the rabbit in place. It was also time to fix the clock hands and screw head to the finished clock face.


Finally I went in with more Hansa Light Yellow, Cobalt Teal Hue and Naphtal Red Light to paint some blossoms and add borders here and there. 


Done!

Some detail shots:


and once more the finished

"hoppy Easter" 
tag. 


Thanks so much for stopping by!
Easter is fast approaching and there are loads of gorgeous new
in the Calico Craft Parts online store! 


Claudia
xxx


Monday, 9 March 2020

Easter Card by Jannet


The first daffodils are coming up, so Spring must soon be here... we hope! I have been thinking about starting to make my Easter cards. The mini Caico Craft parts are so small and lightweight they go very nicely onto a card. 


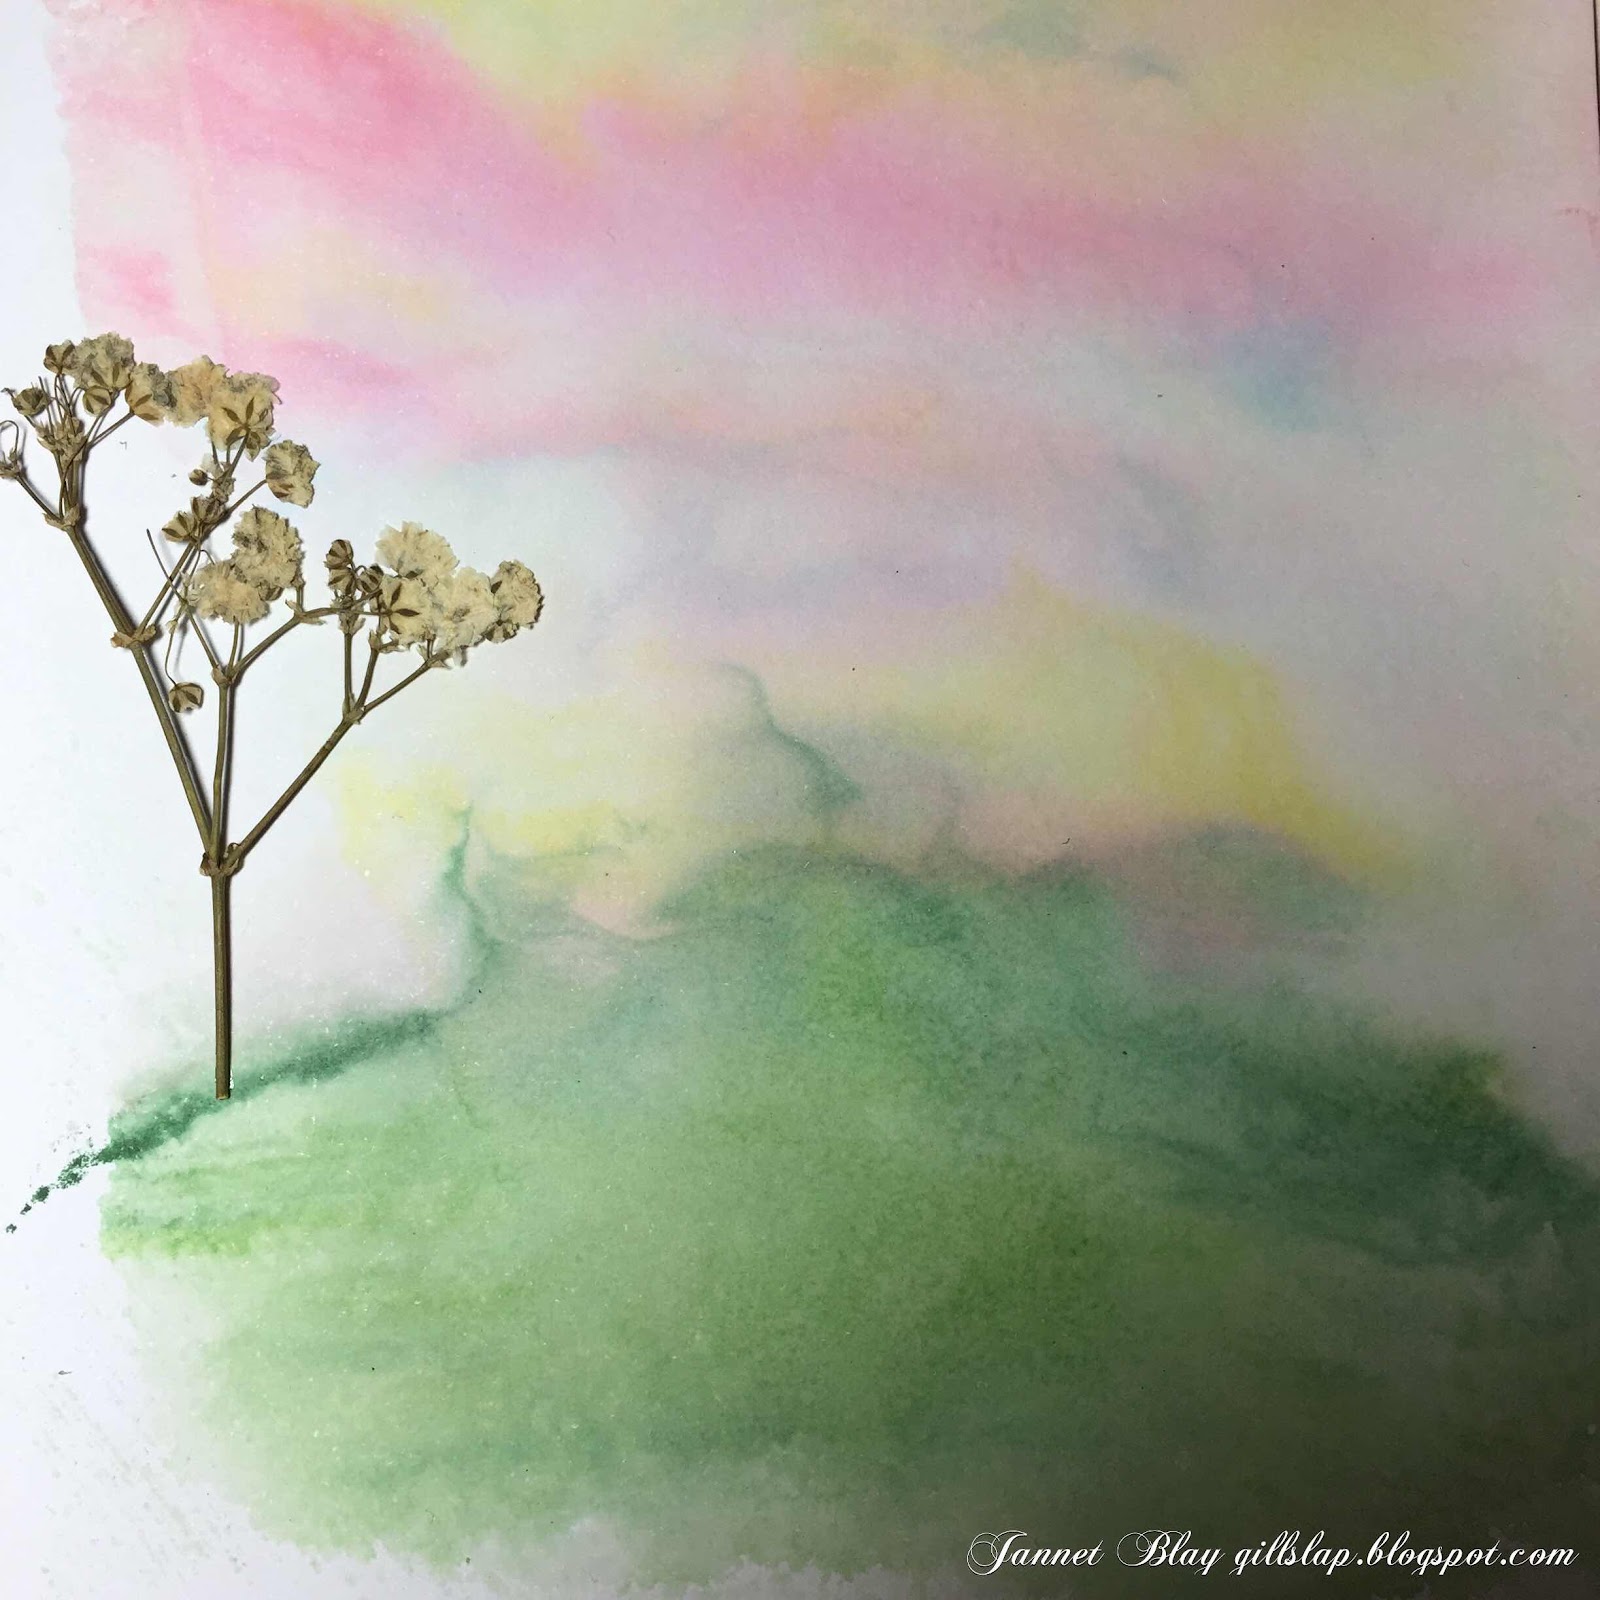
I decided to start by creating  a watercolor background.


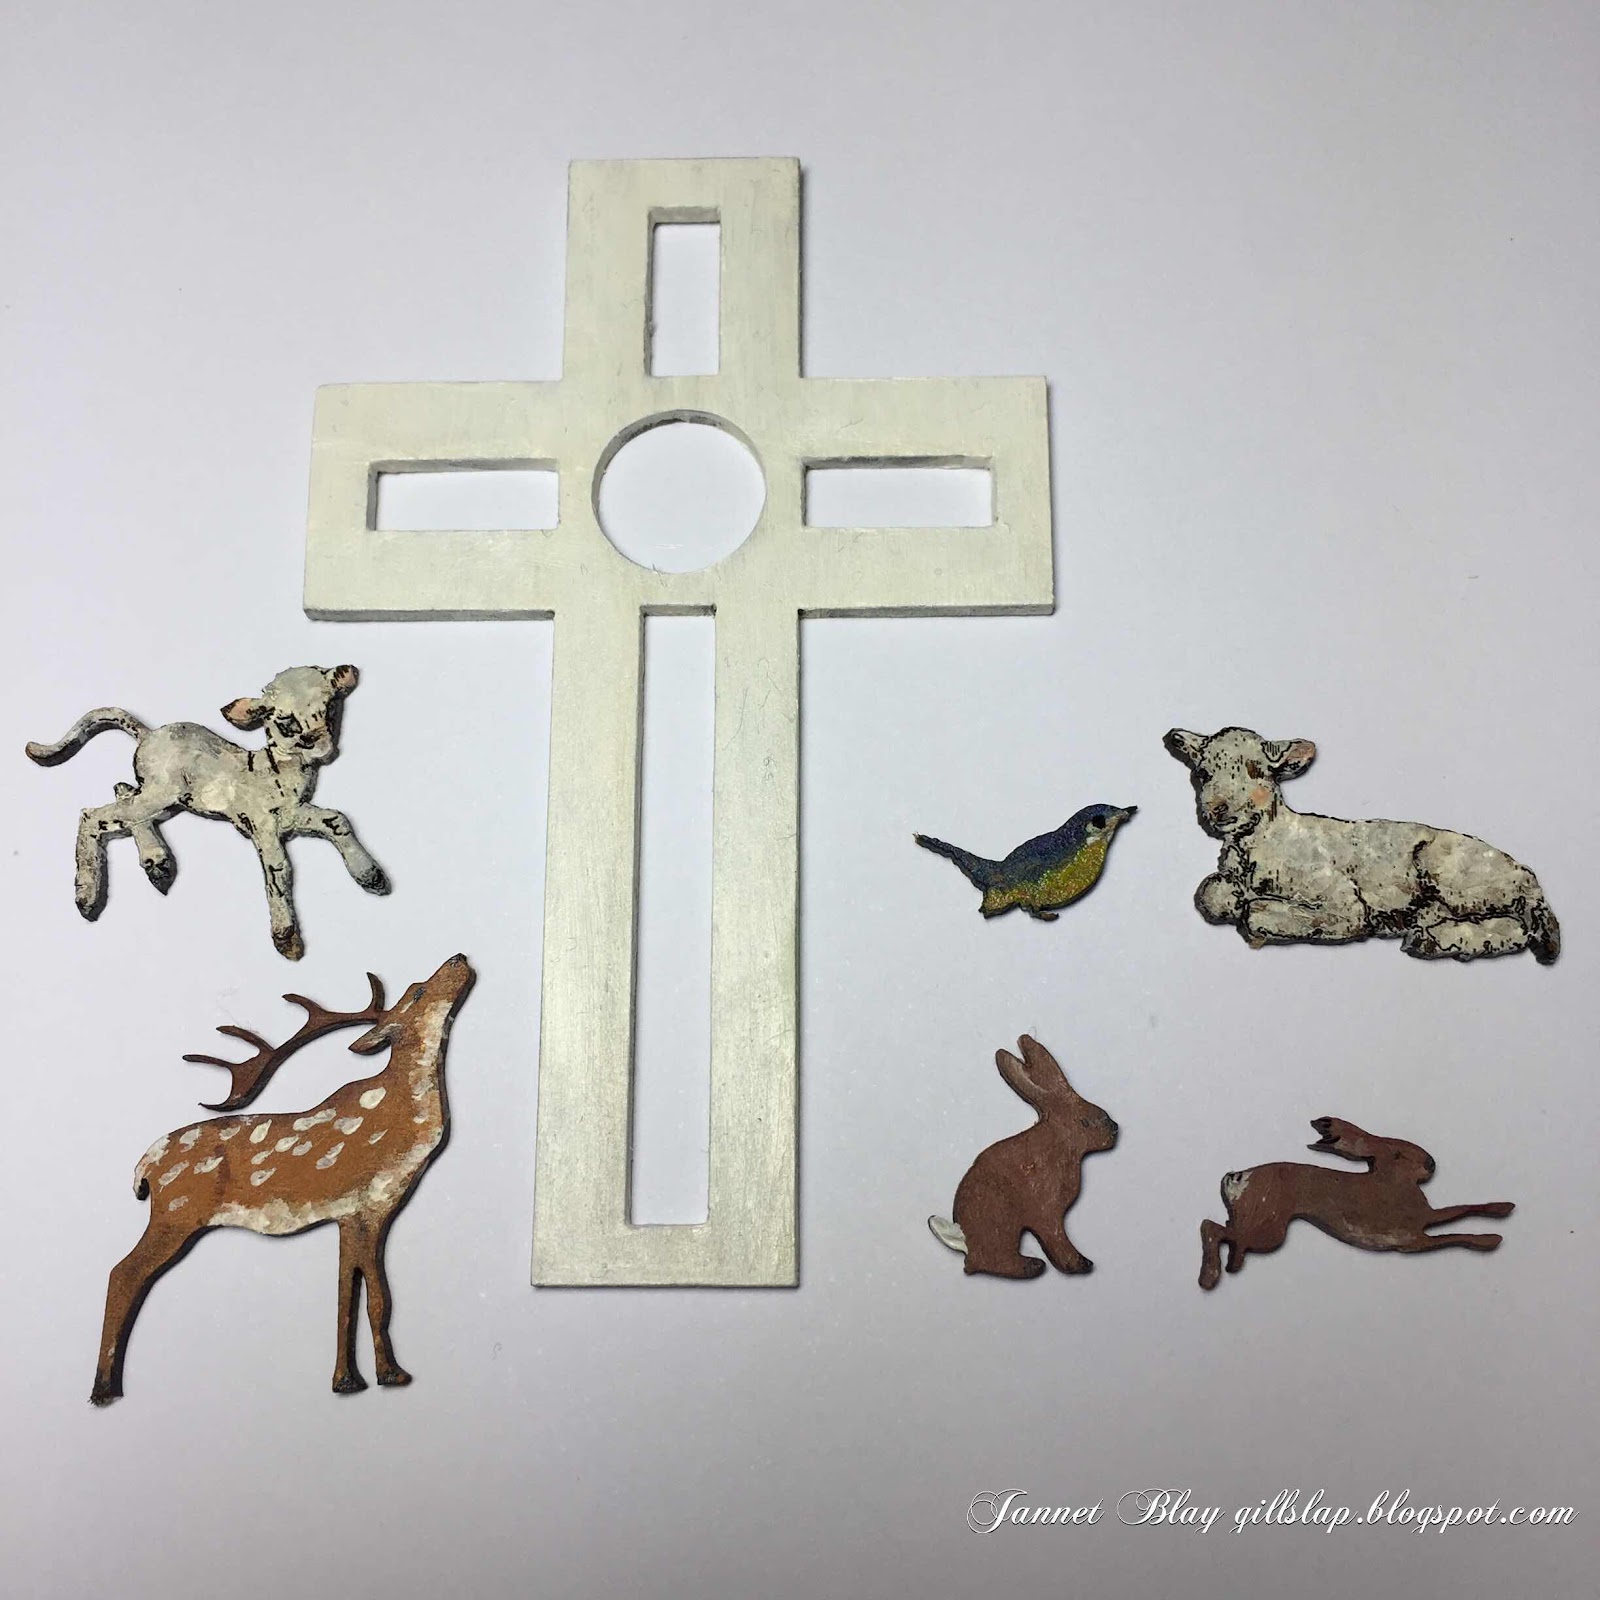
After selecting my cross and animals, I painted them with acrylic paints. 


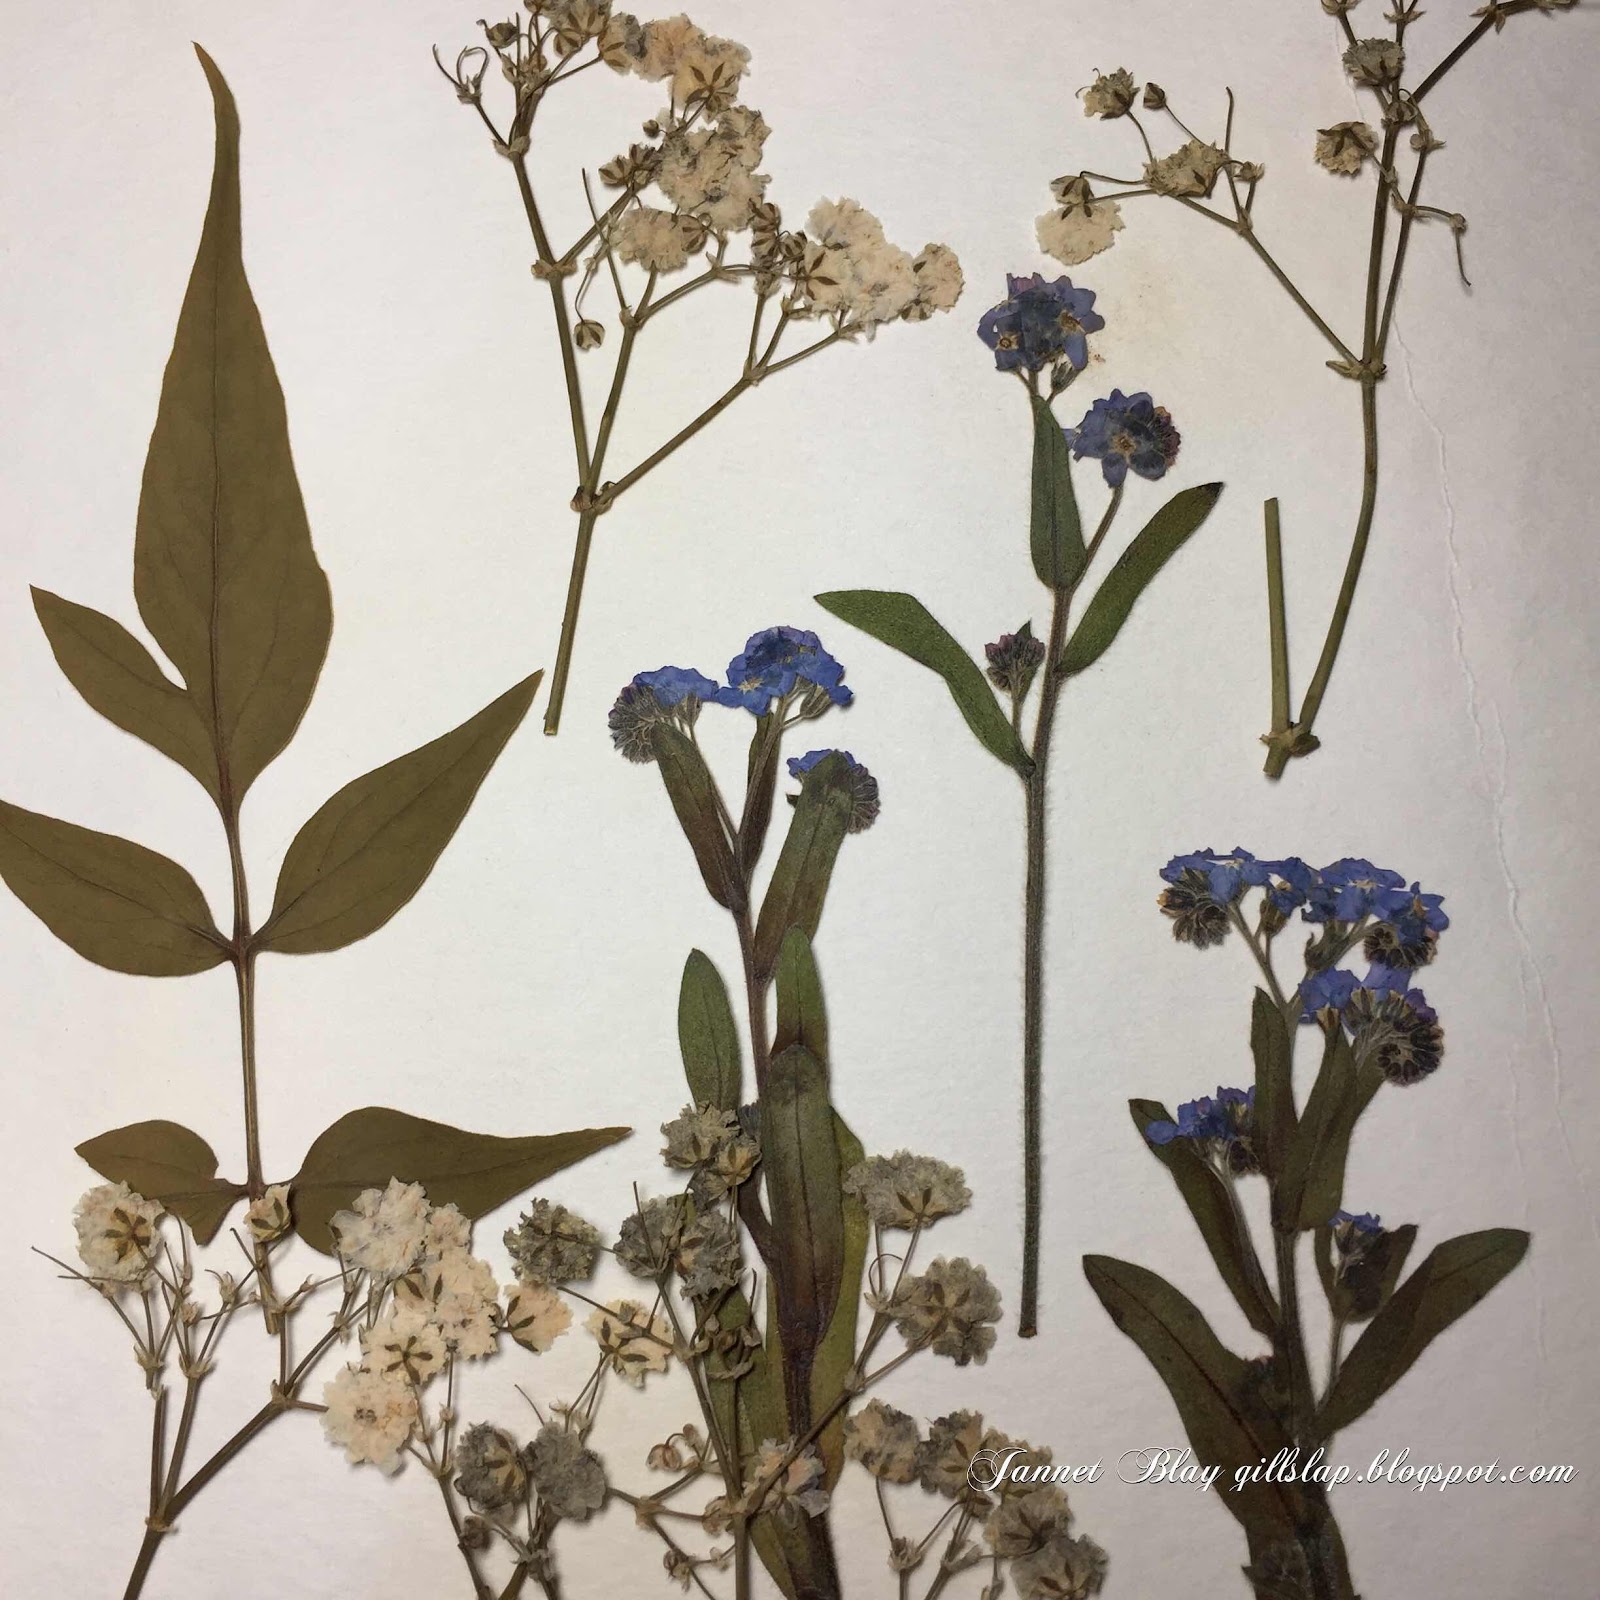
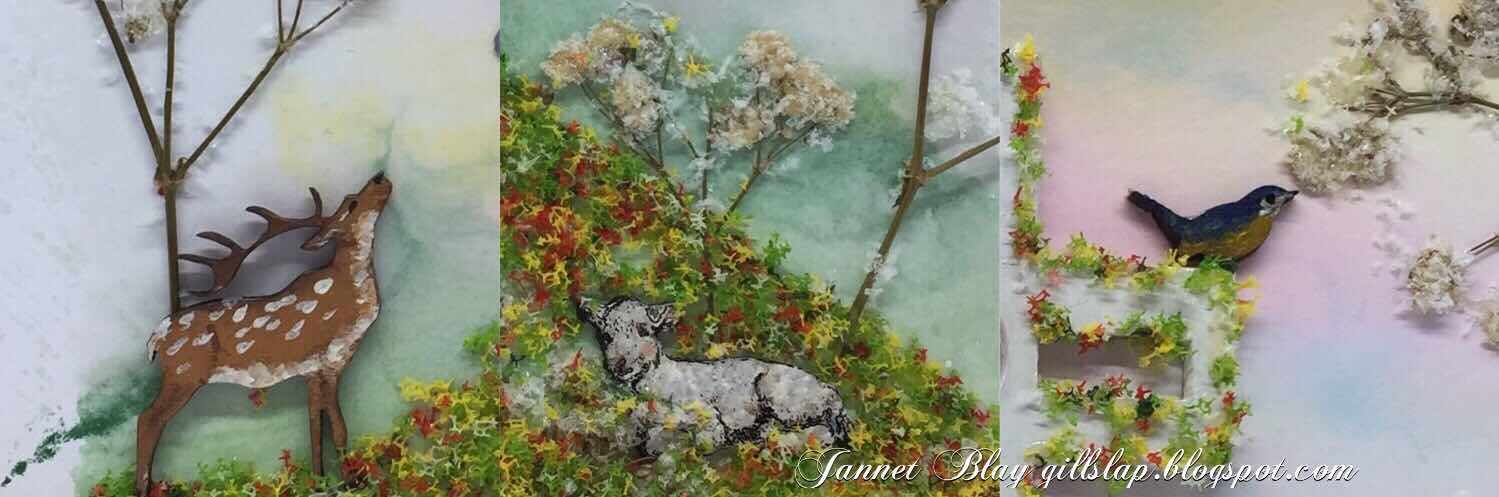
During the summer I like to press lots of flowers from the garden.They are always lovely to use in various crafts. I looked through my box of dried flowers and selected some Forget-Me-Nots, gypsophila, and various green leaves. I shuffled all of the animals and flowers around on my background until they looked ok, and then of course I shuffled them all around again! Finally when I was happy  I adhered everything in place. I used flowersoft around the cross, and also to create the hill.

Thank you for visiting today, I hope you will enjoy making some Spring/Easter cards with these gorgeous mini animals.
The Calico Crafts Parts I used  

Monday, 10 February 2020

Valentine Animals Printer Tray by Jannet


I am so happy to join the very talented Calico Craft Parts team.

For my first project I decided to make a printers tray with a topical Love theme. I adore animals, so the the gorgeous mini Calico animals are the focus of my tray. 


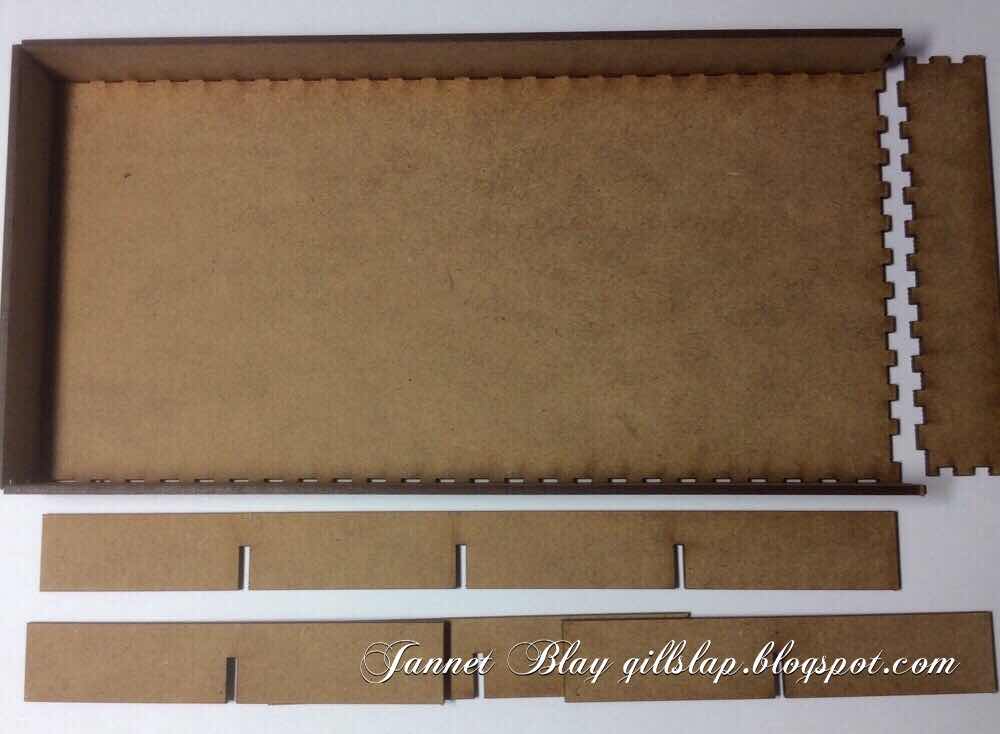
It takes no time at all to assemble the printer tray. The pieces pop out really easily, and then they slot together perfectly. You can also add an optional frame to the tray.


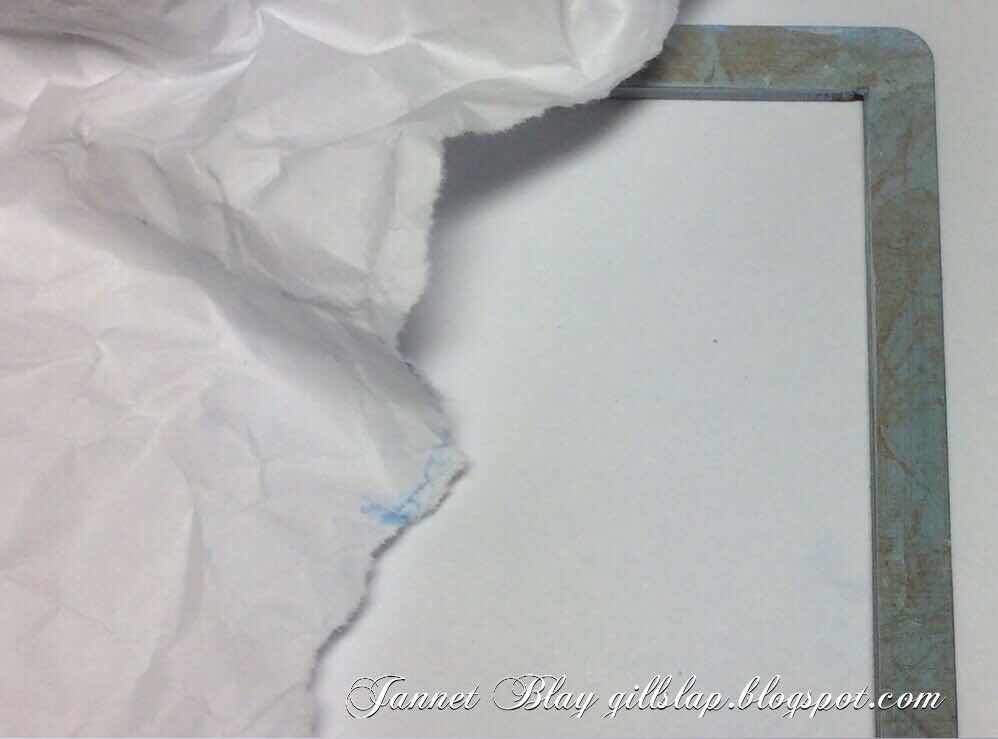
I used acrylic paints to add some colour, my favourite technique to add some texture to the painted surface is to scrunch up some plain paper and then unfold it before pressing it
 down onto the wet paint. It leaves lots of lovely lines and textures. This also works well with water colour paints.


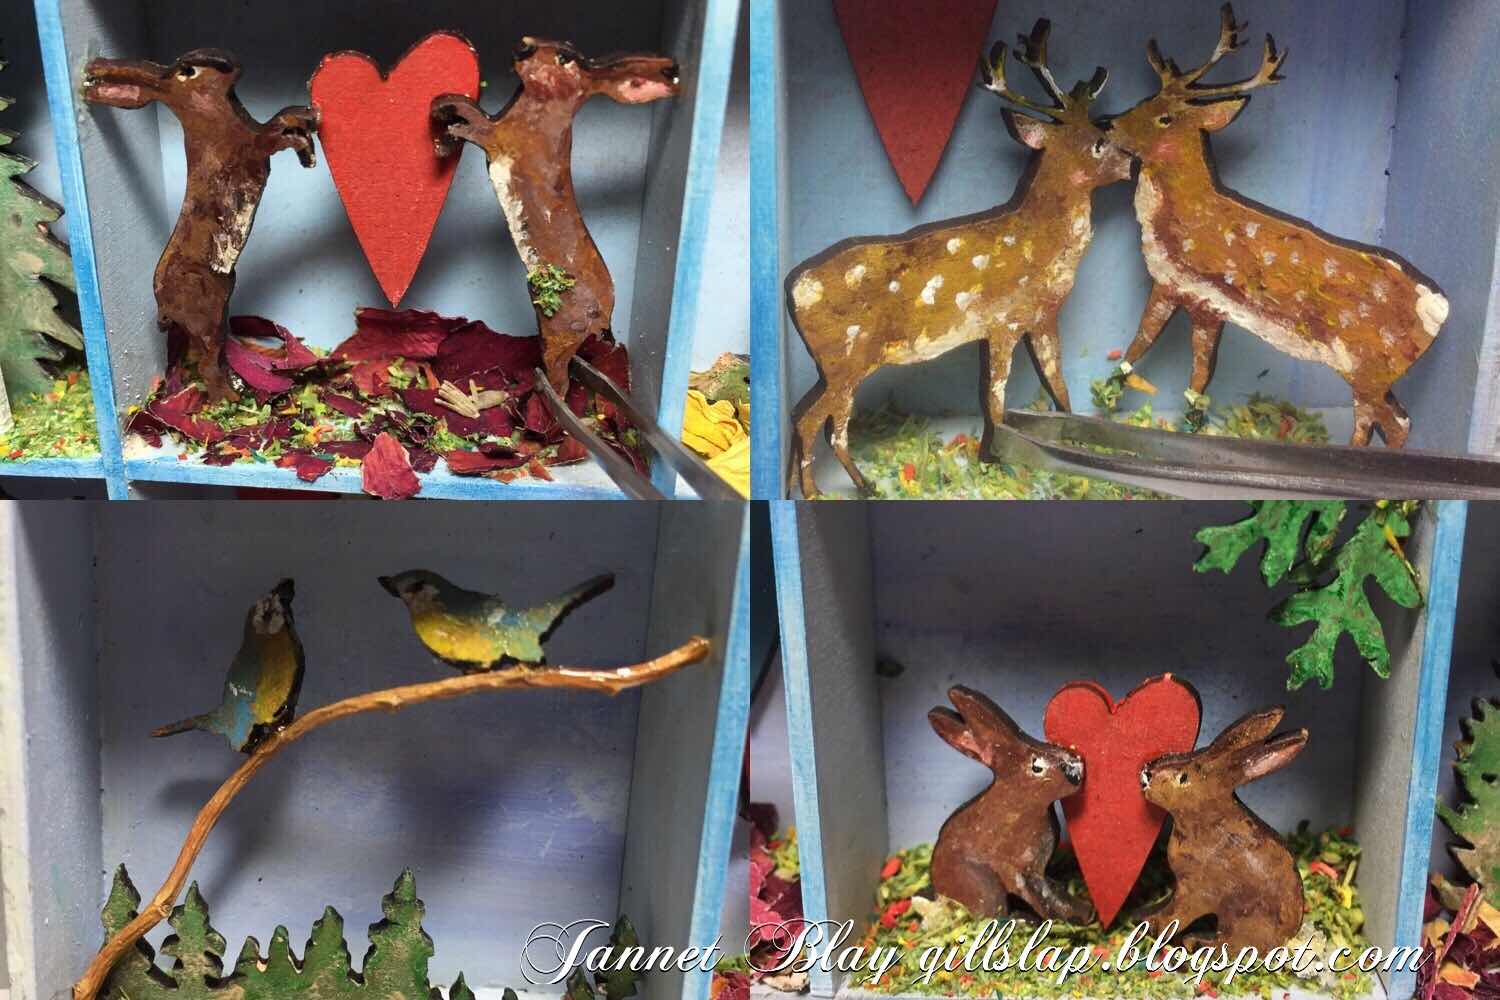
I decided to create a small scene in each section, using the animals and spelling out the most important word LOVE. I enjoy painting details onto the animals, but they can also be painted in a solid colour.They look fabulous as silhouettes.There are also larger sizes of the cute animals available.

Luckily I had some tiny stamps of various animal paws and hoofs, so I stamped them as if they were wandering around the edge of the frame. 


 I adhered the animals and elements into the sections, holding each piece carefully with tweezers until they could stand alone. For the floor coverings I used torn little pieces of dried rose petals, sunflower petals,and dried lavender.

I finished my printer tray by adhering the frame onto the tray. 

There are so many different themes you can use in a printer tray. A special birthday, anniversary, beloved pet, favourite hobby, new baby. You can make it as simple or as detailed as you wish. 

It was a lot of fun to make xx 
I used the following Calico Craft Parts


Wednesday, 13 June 2018

Home by Jennie

Hello and welcome to a quick little project using one of my favourite Calico Craft Parts pieces - bespoke wood words! 


A friend is returning home after spending some time travelling and rather than send a welcome home card I thought I would make her a little hanging.


I have been marvelling at some of the broken bird egg shells in the garden (following hatching!) which are a most beautiful blue and wanted to try and create something similar. So not quite a duck egg blue base but soft enough to show through the white crackle. I have used DecoArt Weathered Wood for the crackle and applied it thickly in places to get a more open crackle.


I have used the Coventry Garden Font for this four letter word. There are a good selection of sizes so you can always find one to fit your project. I have kept it simple and just painted it white.


And then the simplest of flower embellishment - soft colours to match the background but with a little bit of blush pink to lift it all.


A quick and easy project but which I think will be appreciated for longer than a card.

As always thank you for joining me today and happy crafting!

Jennie x


Calico Craft Parts used:


Wednesday, 4 April 2018

Romantic Arbours by Jennie


Hello and welcome to another project using one of the Calico Craft Parts new kits. This is actually the boat kit but instead of thinking of Harbours my mind went down the Arbours route instead! The slatted sides just reminded me of an Old English Church Porch and so the idea of a sepia "wedding photo" was born.


I decided to paint the inside of the "boat" with chalk paint and started with the slatted sides. For the outside I wanted a vintage sepia look so used these gorgeous papers. I cut enough paper vertically for the five pieces and then cut them into strips. This way the pattern on the paper runs up the side of the arbour.


 A little light sanding around the edges exposed the white inner core of the paper.


 You can see how well the pattern runs up the sides despite being individual slats.


There is no need to glue the slats other than lightly onto the base as it is the top arch which holds everything together. I had intended to put a seat into the arbour but decided against it in terms of the photograph I wanted to use (It was easy enough to cover the slats up!)


Before sticking everything together I had used the base and arch as a template to cut my paper for the inside. I have used the sander again to whiten the edges of the front arch.


A few flowers and leaves .......


..... and a horseshoe.

Now I wondered which way up to put the horseshoe ....... if facing upwards it brings good luck and if facing downwards it showers good luck on those below ...... apparently !!


Finally I added a little fence in the front to fill in the space and hold in the muslin. I really love the "raw" colour of the MDF which suited this project perfectly.


I think this would make a lovely wedding present or wedding anniversary present particularly if made with the colours of the bride and bridesmaids. It was certainly great fun ..... next time I might make a boat !!

As always thank you for joining me today and happy crafting!

Jennie x


Calico Craft Parts Used: