Showing posts with label Hares & Rabbits. Show all posts

Saturday, 22 January 2022

Friday, 21 May 2021

Embellishing a layout: by guest designer Liling Payne


Hello Everyone

Again, thanks go to Louse Crosbie for the invitation to be a Guest Design Team member for May. You will have seen my first blog post which was an ocean theme and for this second one, I decided to do a completely different theme based on the lovely floral and butterfly elements that are among the wonderful range of products Calico Craft Parts sell. I also ordered an ATC blank with rabbit to do for my granddaughter as she has just lost her pet rabbit, so I thought this might be a nice wee memorial.

I used to think that mixed media was only about gothic, steampunk or grungy type media and it’s only since I started playing around with the media, that I realised it can be anything you like and it meets all crafting styles e.g. scrapbooking, cards, boxes and basically anything that you wish to embellish with the fabulous parts available from Calico Craft Parts so go ahead and give it a go.

I prepared all the pieces with a fine layer of white gesso and let it dry overnight (you can dry in a few minutes using a heat gun if you prefer). This gave me a base colour to which I added distress inks and a glacier paste for some shimmer

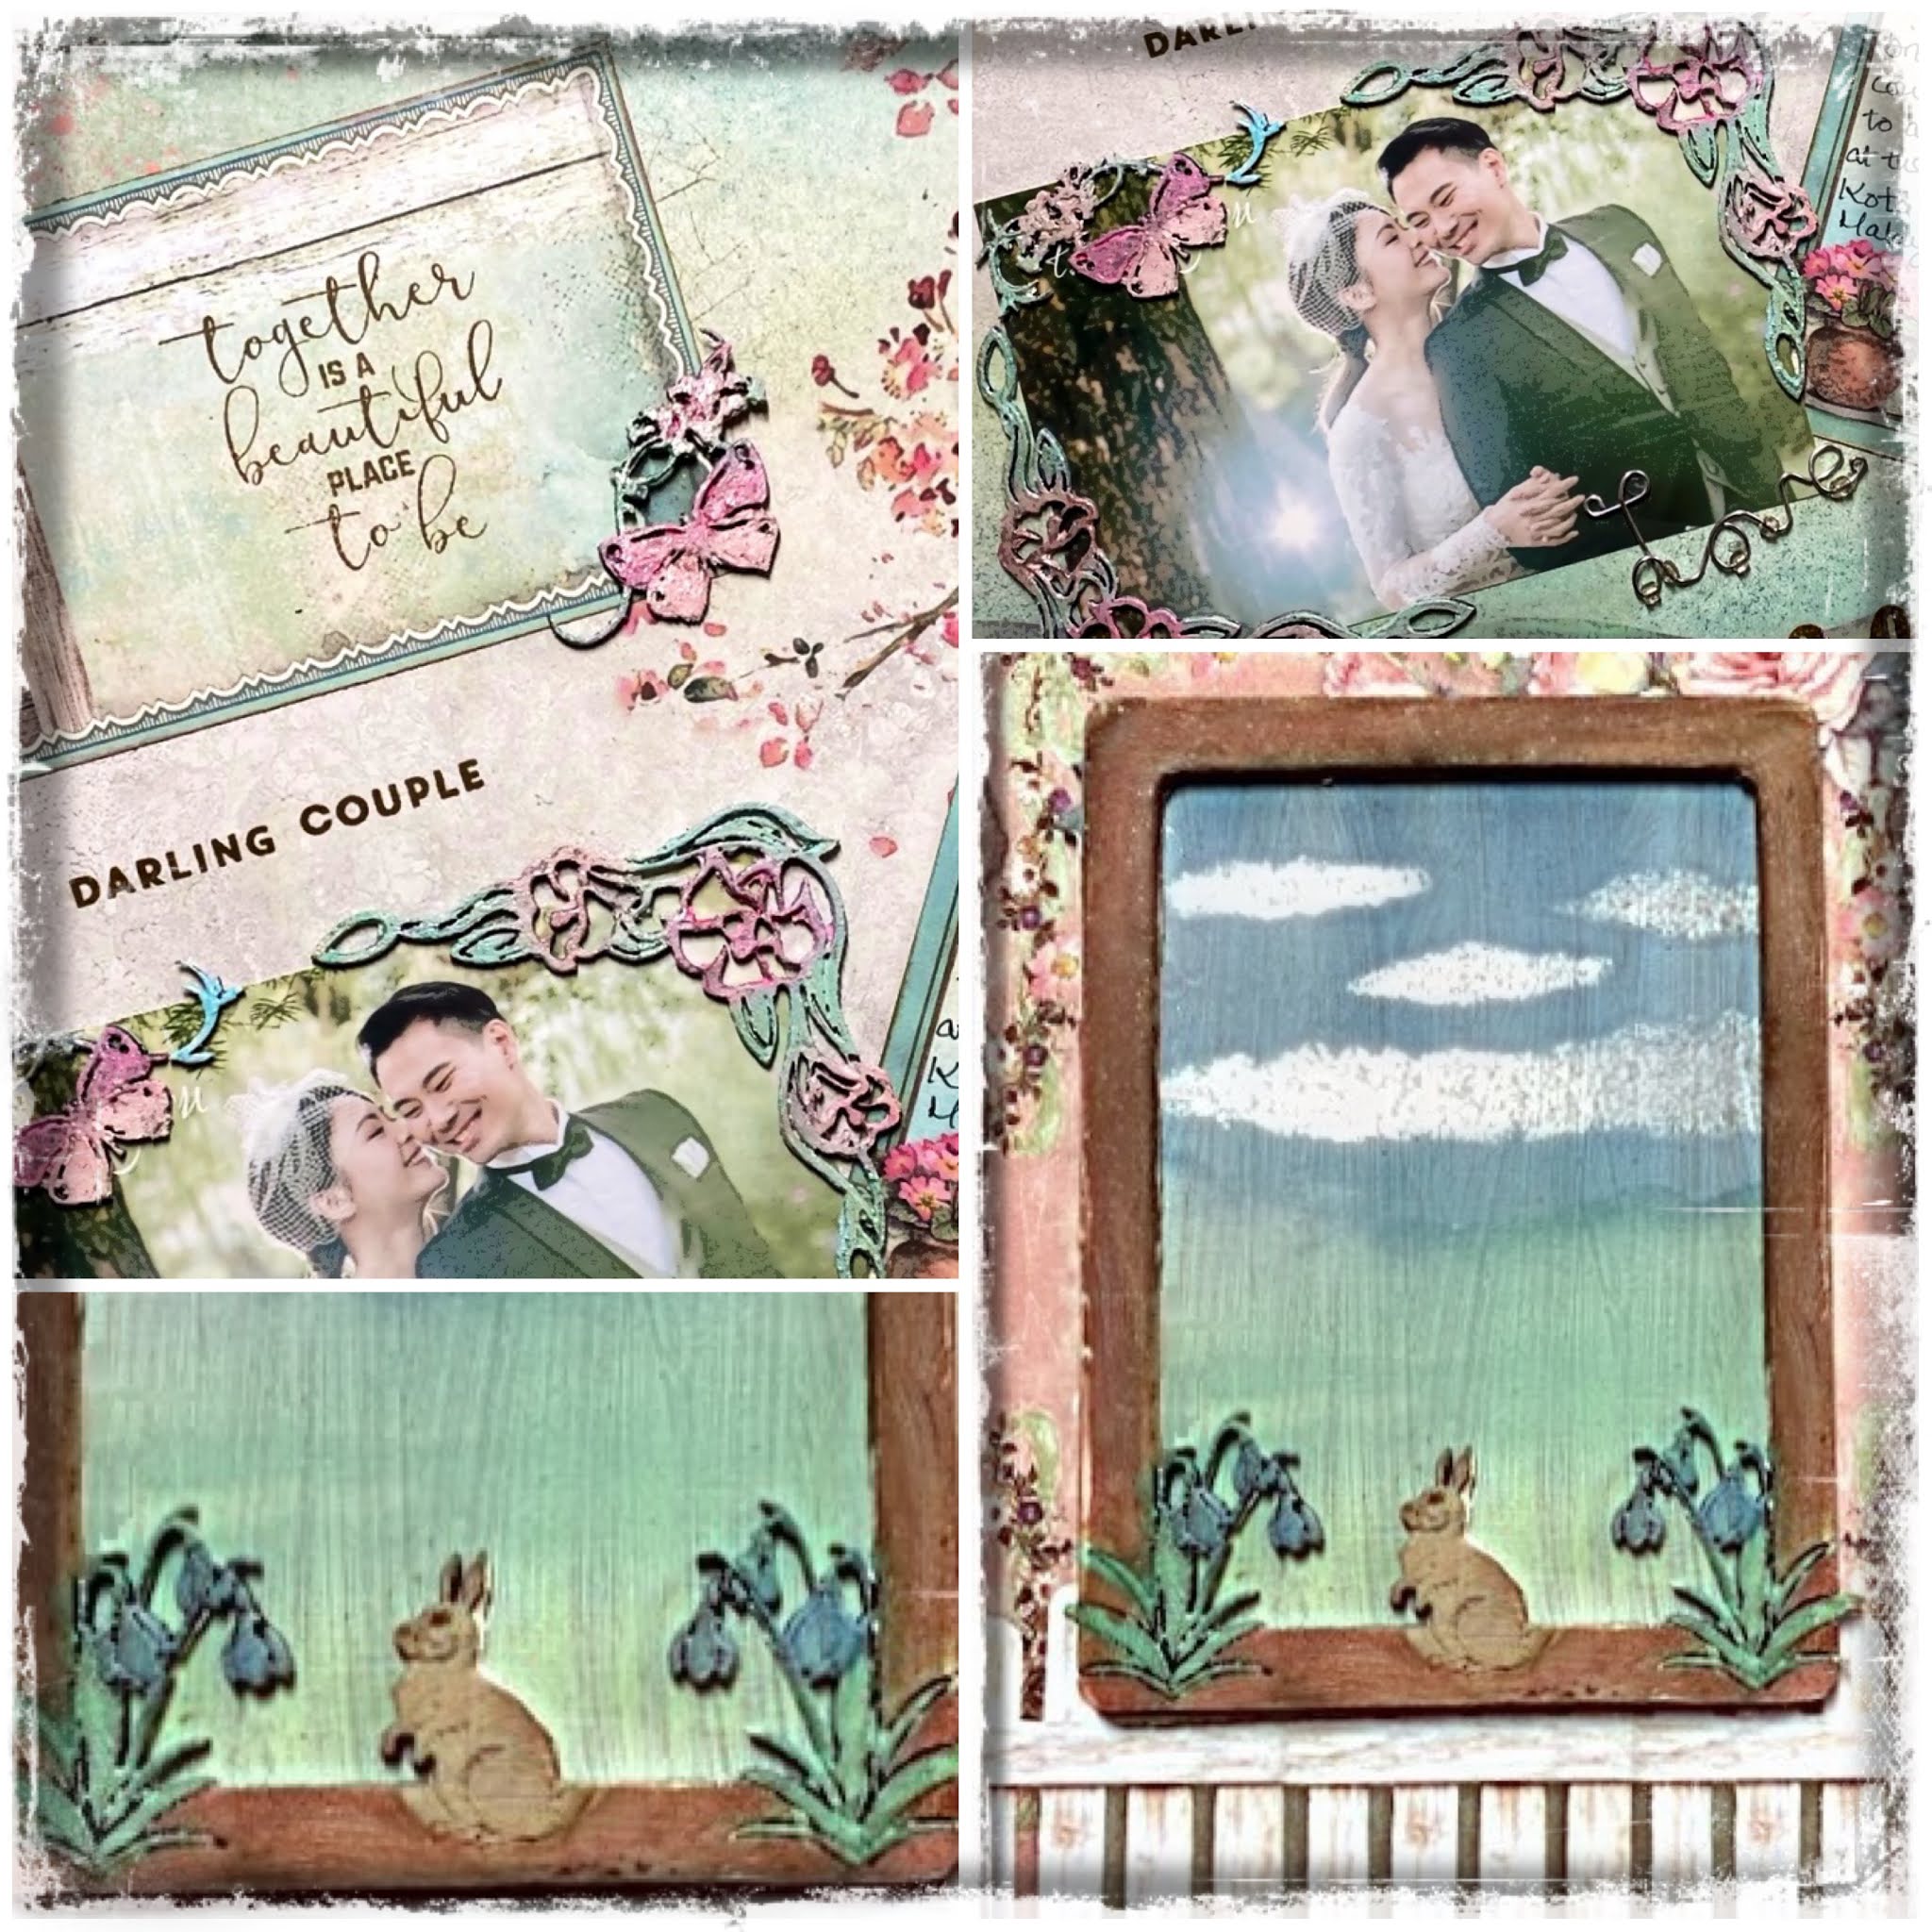
I decided to do a scrapbook page of my nephew’s wedding and used these parts to form a frame around the photo which I laid onto co-ordinating cardstock. I had coloured the beautiful calico craft parts to match the floral theme of the wedding.


I love how versatile the embellishments are and will definitely be using more elements

I then decided to use the ATC to make a memorial tag for my granddaughter and loved the rabbit in the bluebells which I coloured accordingly.

First of all I laid a base of white gesso and let it dry overnight (or you can dry in a couple of minutes with a heat gun if you do not like to wait).
I then decided to use my distress inks as watercolour to paint the background scene which I wanted to be an outdoors one for the frame which had the rabbit and bluebells.


Then I joined the frame and background to provide this lovely little ATC tag.

I hope you’ve enjoyed seeing how versatile the wooden embellishments can be and check out the website to see all the fabulous themes and designs you can make at an incredible price to enhance and embellish your crafty makes.

Saturday, 3 April 2021

Happy Easter!


 Hello creative friends!


Today a very quick and simple gift idea for your home decoration. 

It isn't always necessary to elaborately process or paint the MDF shapes, right?!


You can also just use them as decoration, they appear in a plain wood look, 

and the engraved laser lines bring out amazing details.


1.  a small wooden box was filled with floral foam and moss

 +

Alert Rabbit

 Flowering Vine - Decorative Flourish Style 27

 Wildflowers in Grass 

+

a few small artificial flowers, or even things you brought back

 from your spring walk, complete the whole thing 


or


2. a blown out decorated goose egg as a small flower vase

+

Cross with Lillies - MDF Wood Shape Style 17

Running Hare

Oval Shape - MDF Mixed Media Board as base

 that is quickly glued together


I wish you a very Happy Easter

  with many colourful eggs

 in the green grass or perhaps still in the snow.


Kerstin 

Saturday, 6 March 2021

Home decor for Springtime by Kerstin

 Welcome creative friends!


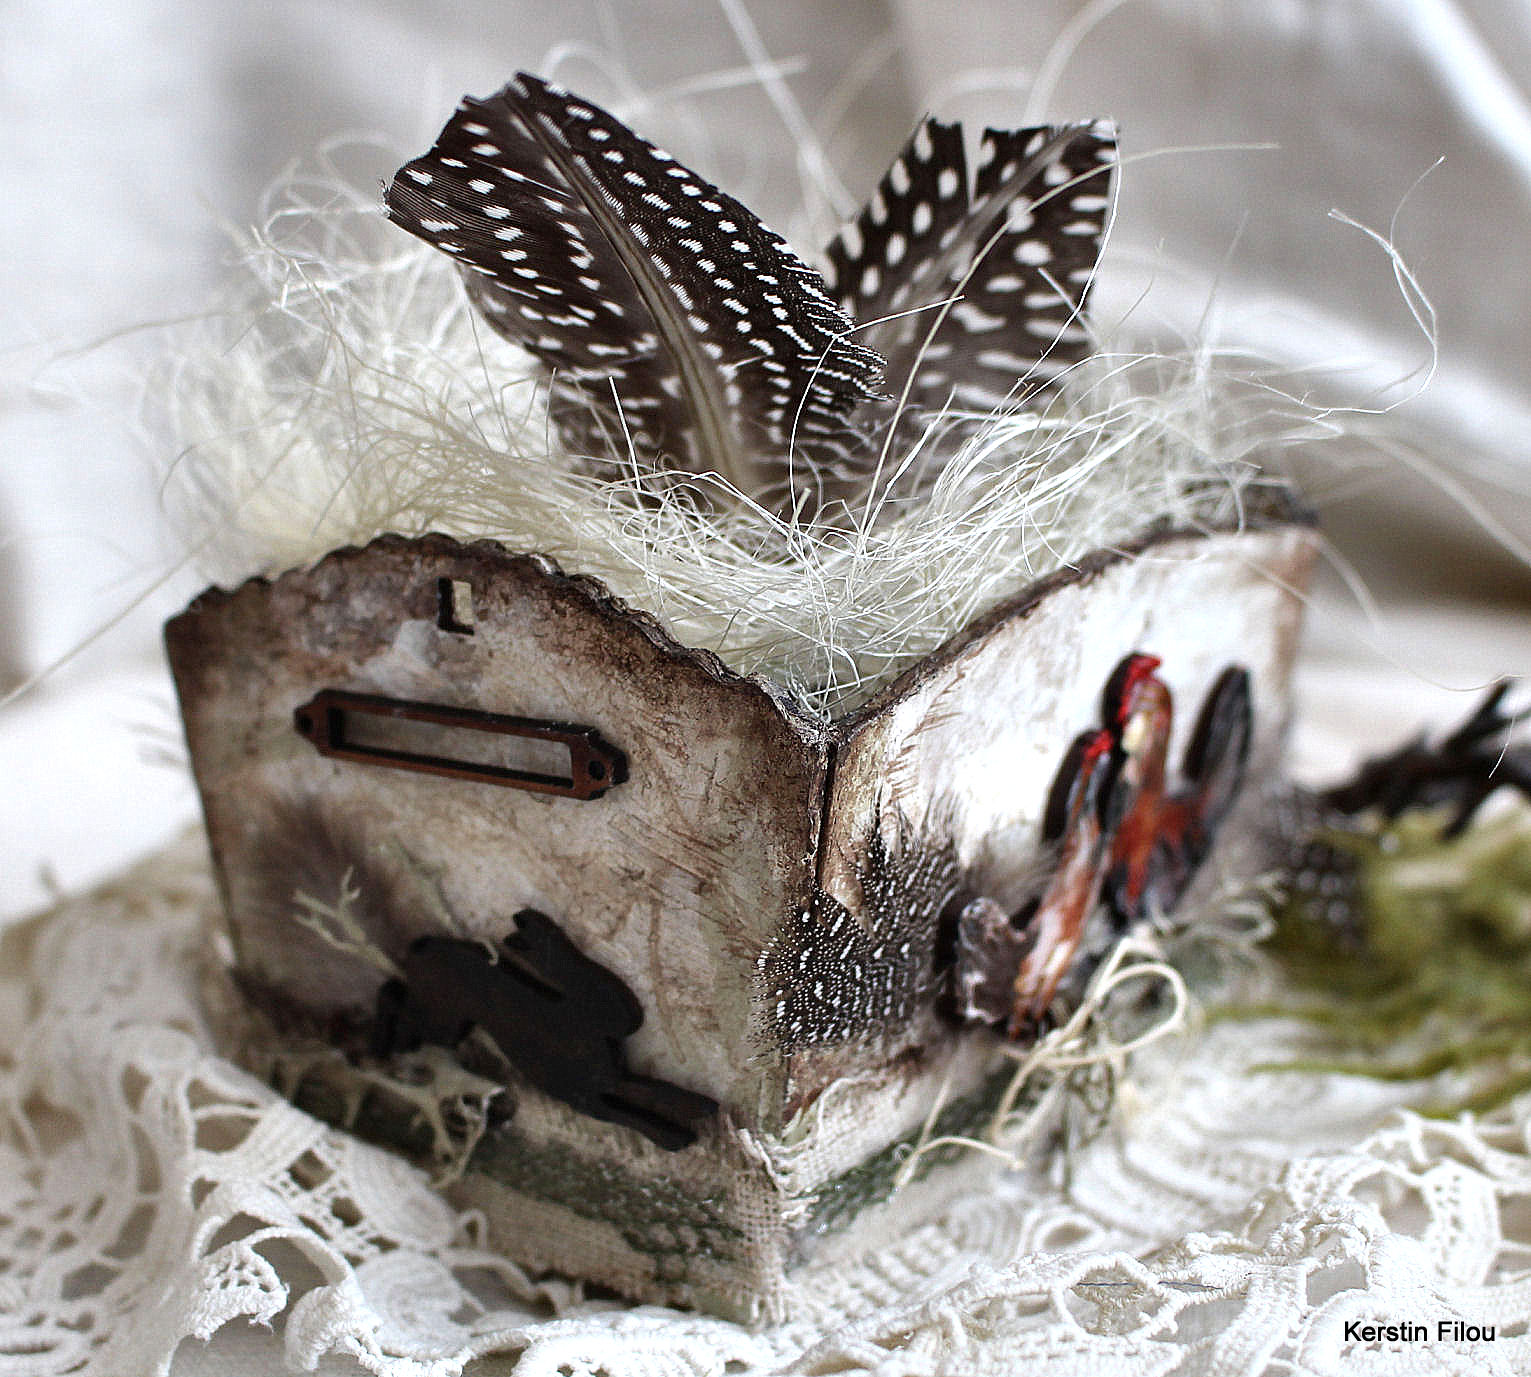
I was inspired to create a rustic easter basket as home decoration for the springtime.

I used the MDF Trug Kit - Style 1

only as basket without the handholds. Single shapes were painted with simple acrylic colours.


some close up's


used Calico Craft Parts


MDF Trug Kit - Style 1

Sheet of Mini MDF Label Holders Wood Shapes

Sheet of Mini Hares - MDF Wood Animal Shapes

Hen & Cockrell Side by Side

Hen & Cockrell Beak to Beak


I hope I could inspire you! 

Have fun realizing your own visions and ideas!


Thanks for your visit!

Kerstin


Monday, 10 August 2020

Fairy Hollow by Jannet


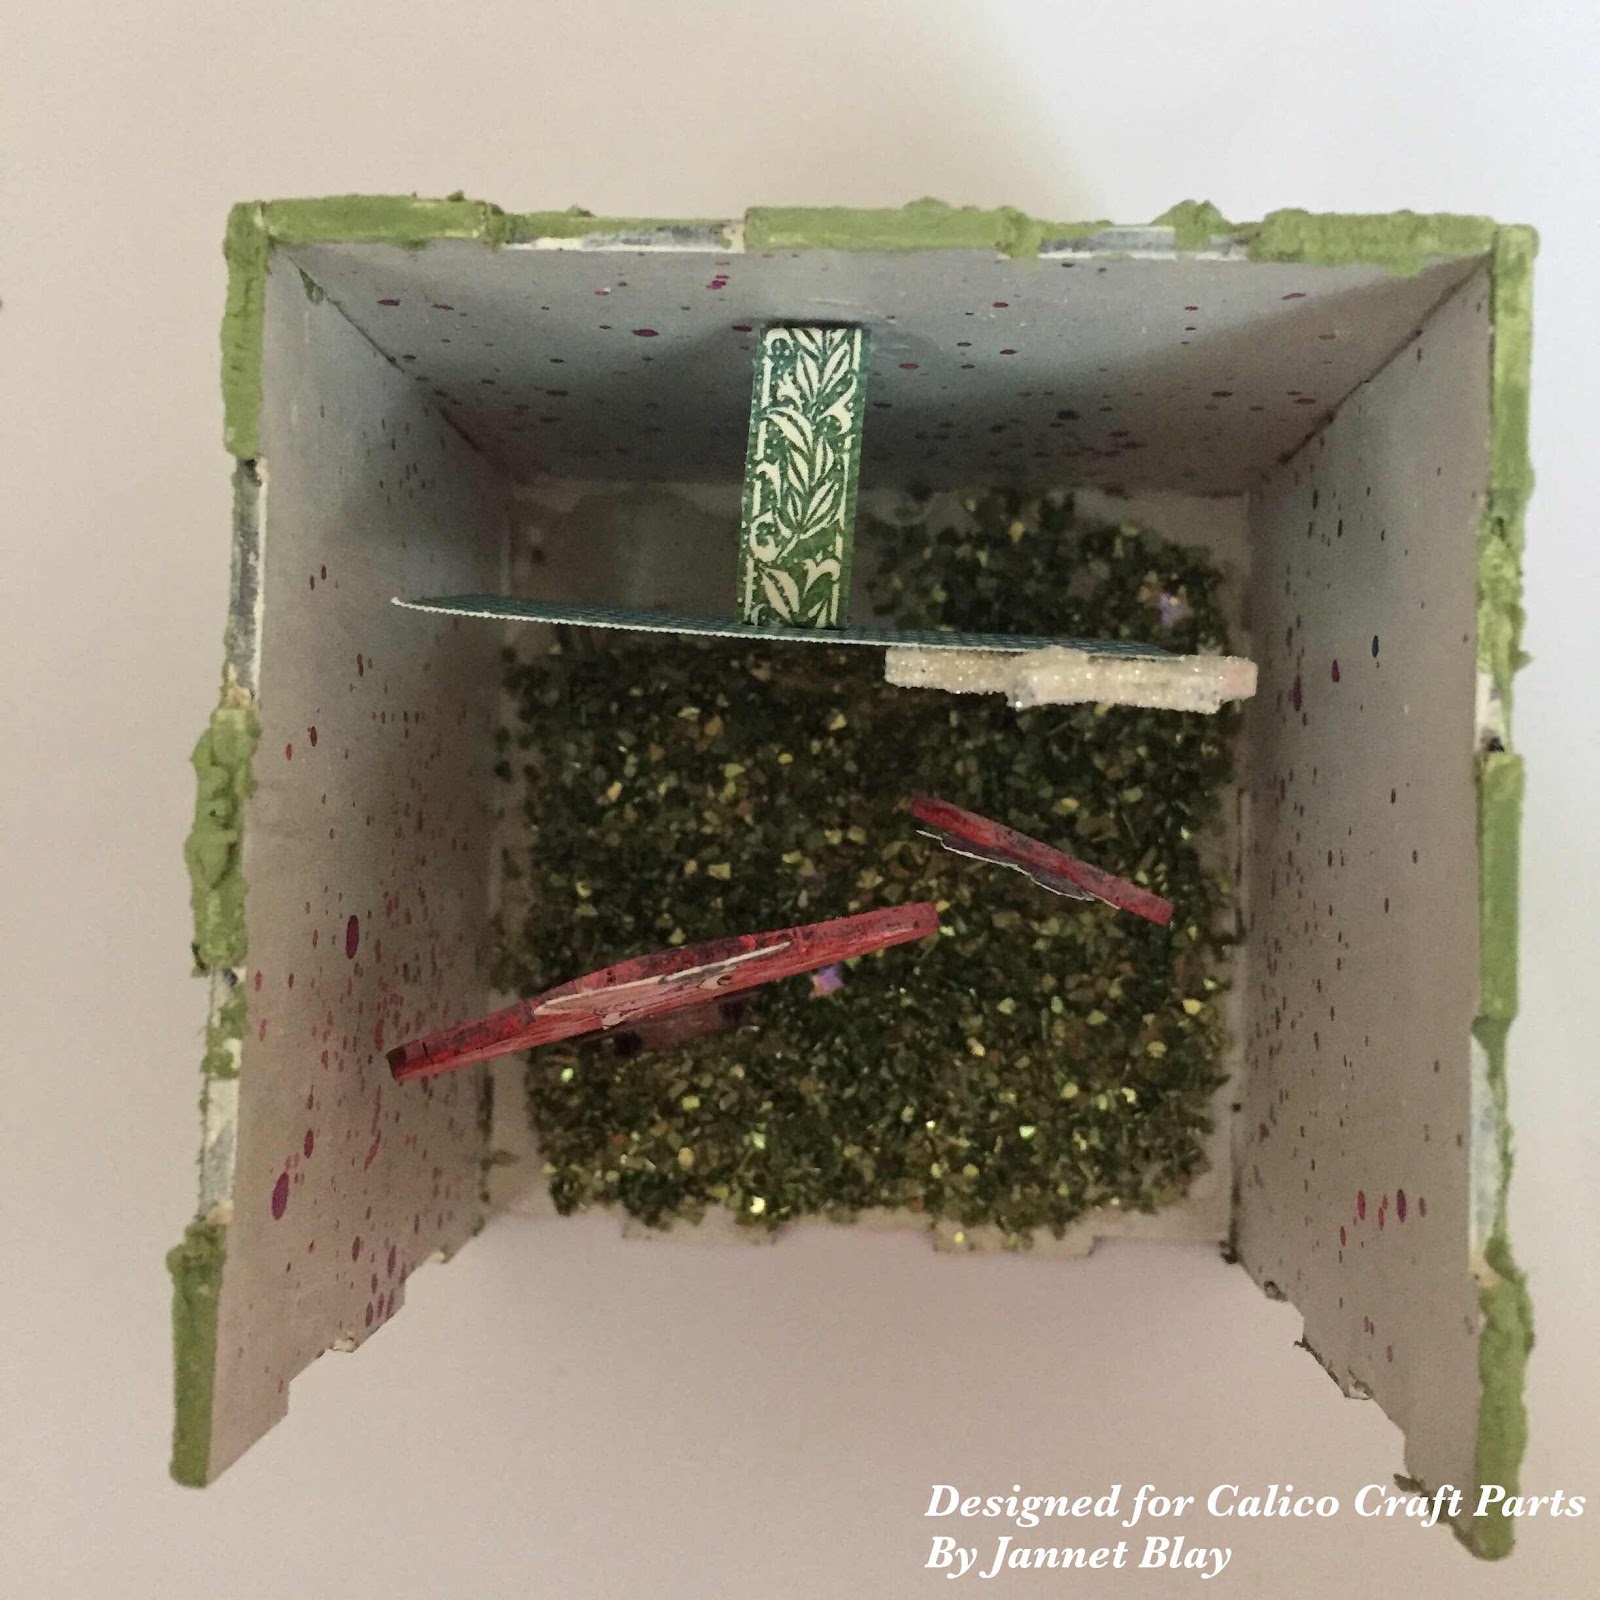
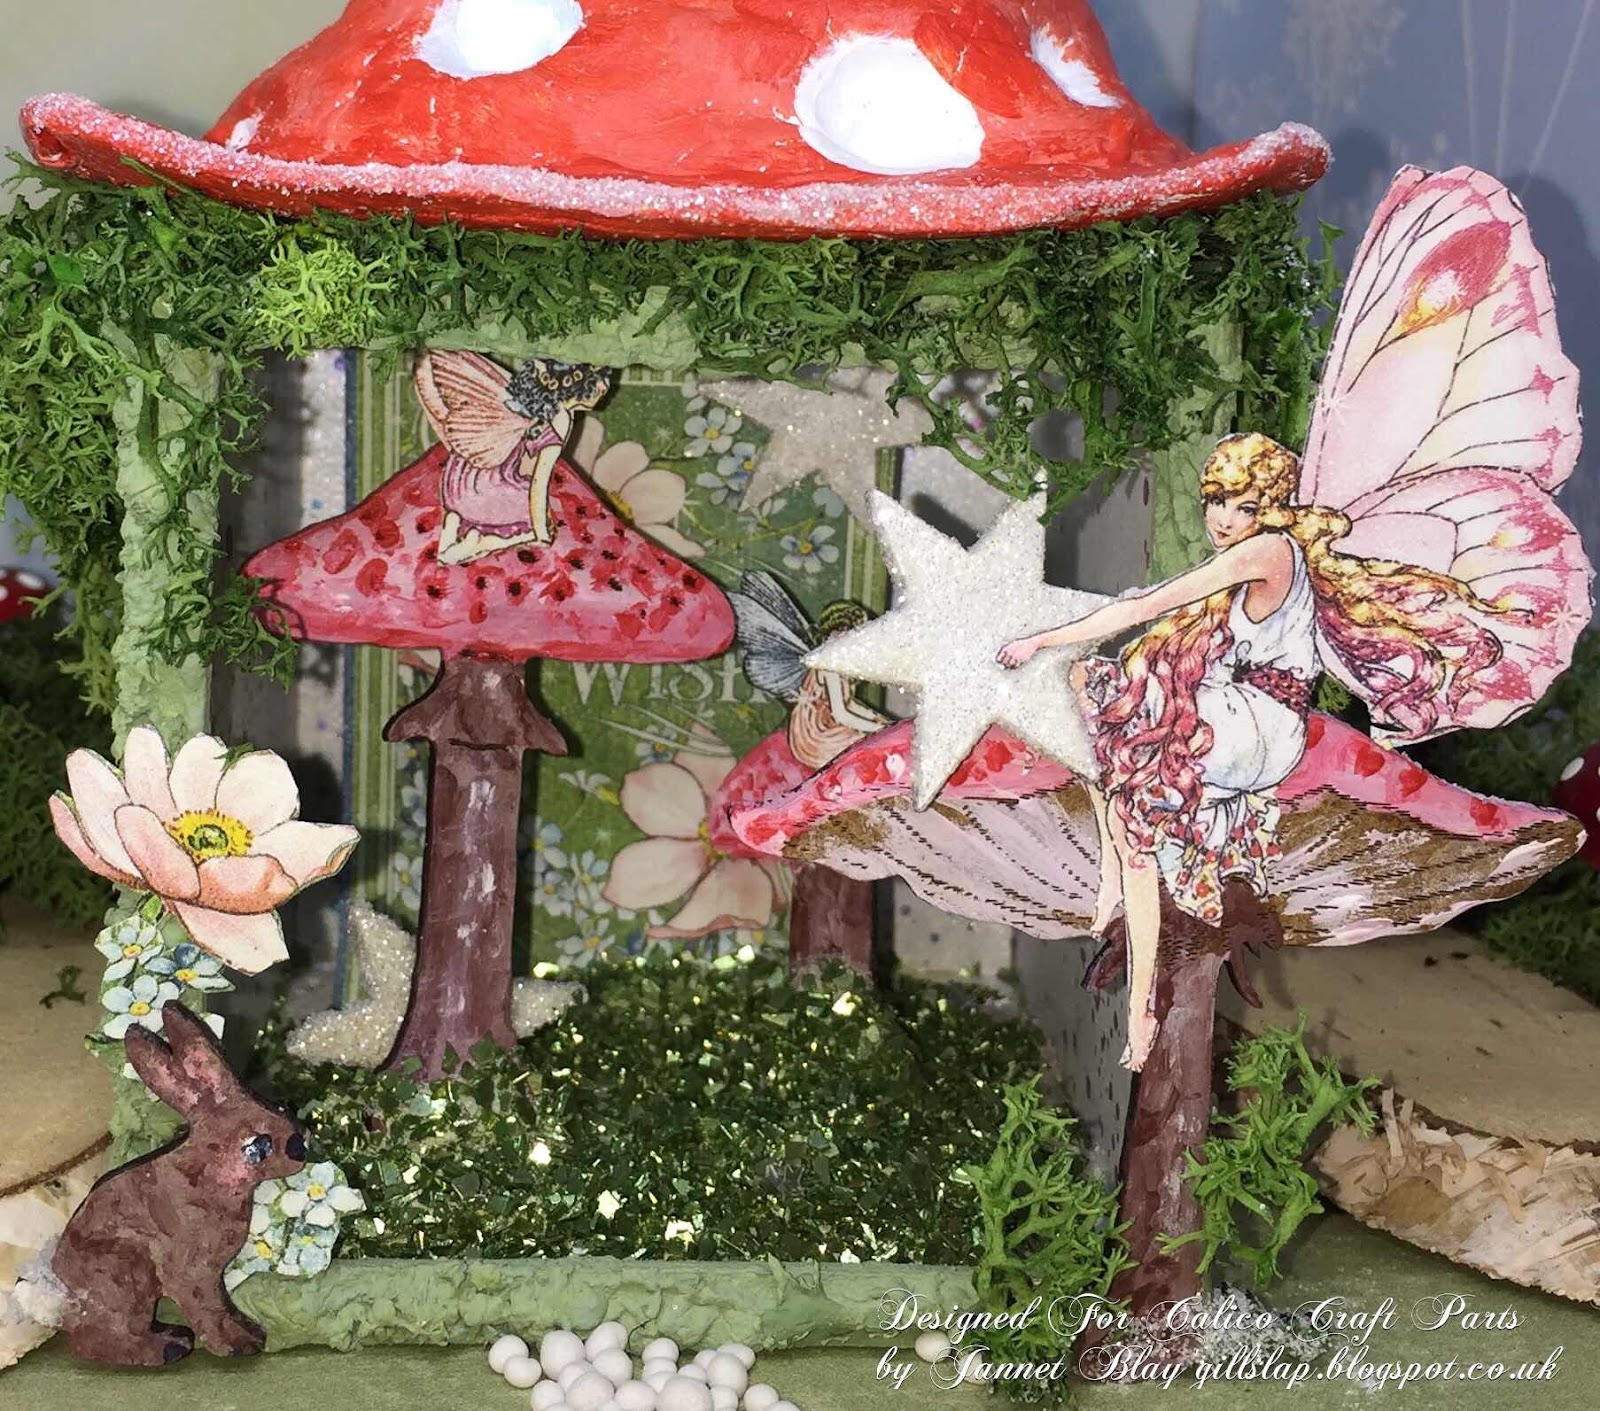
I am taking a trip to a magical land today, to visit some special friends in their little fairy house. I selected one of the Cube kits to turn into a fairy hollow. The kits are very easy to put together, even if you are new to crafts.


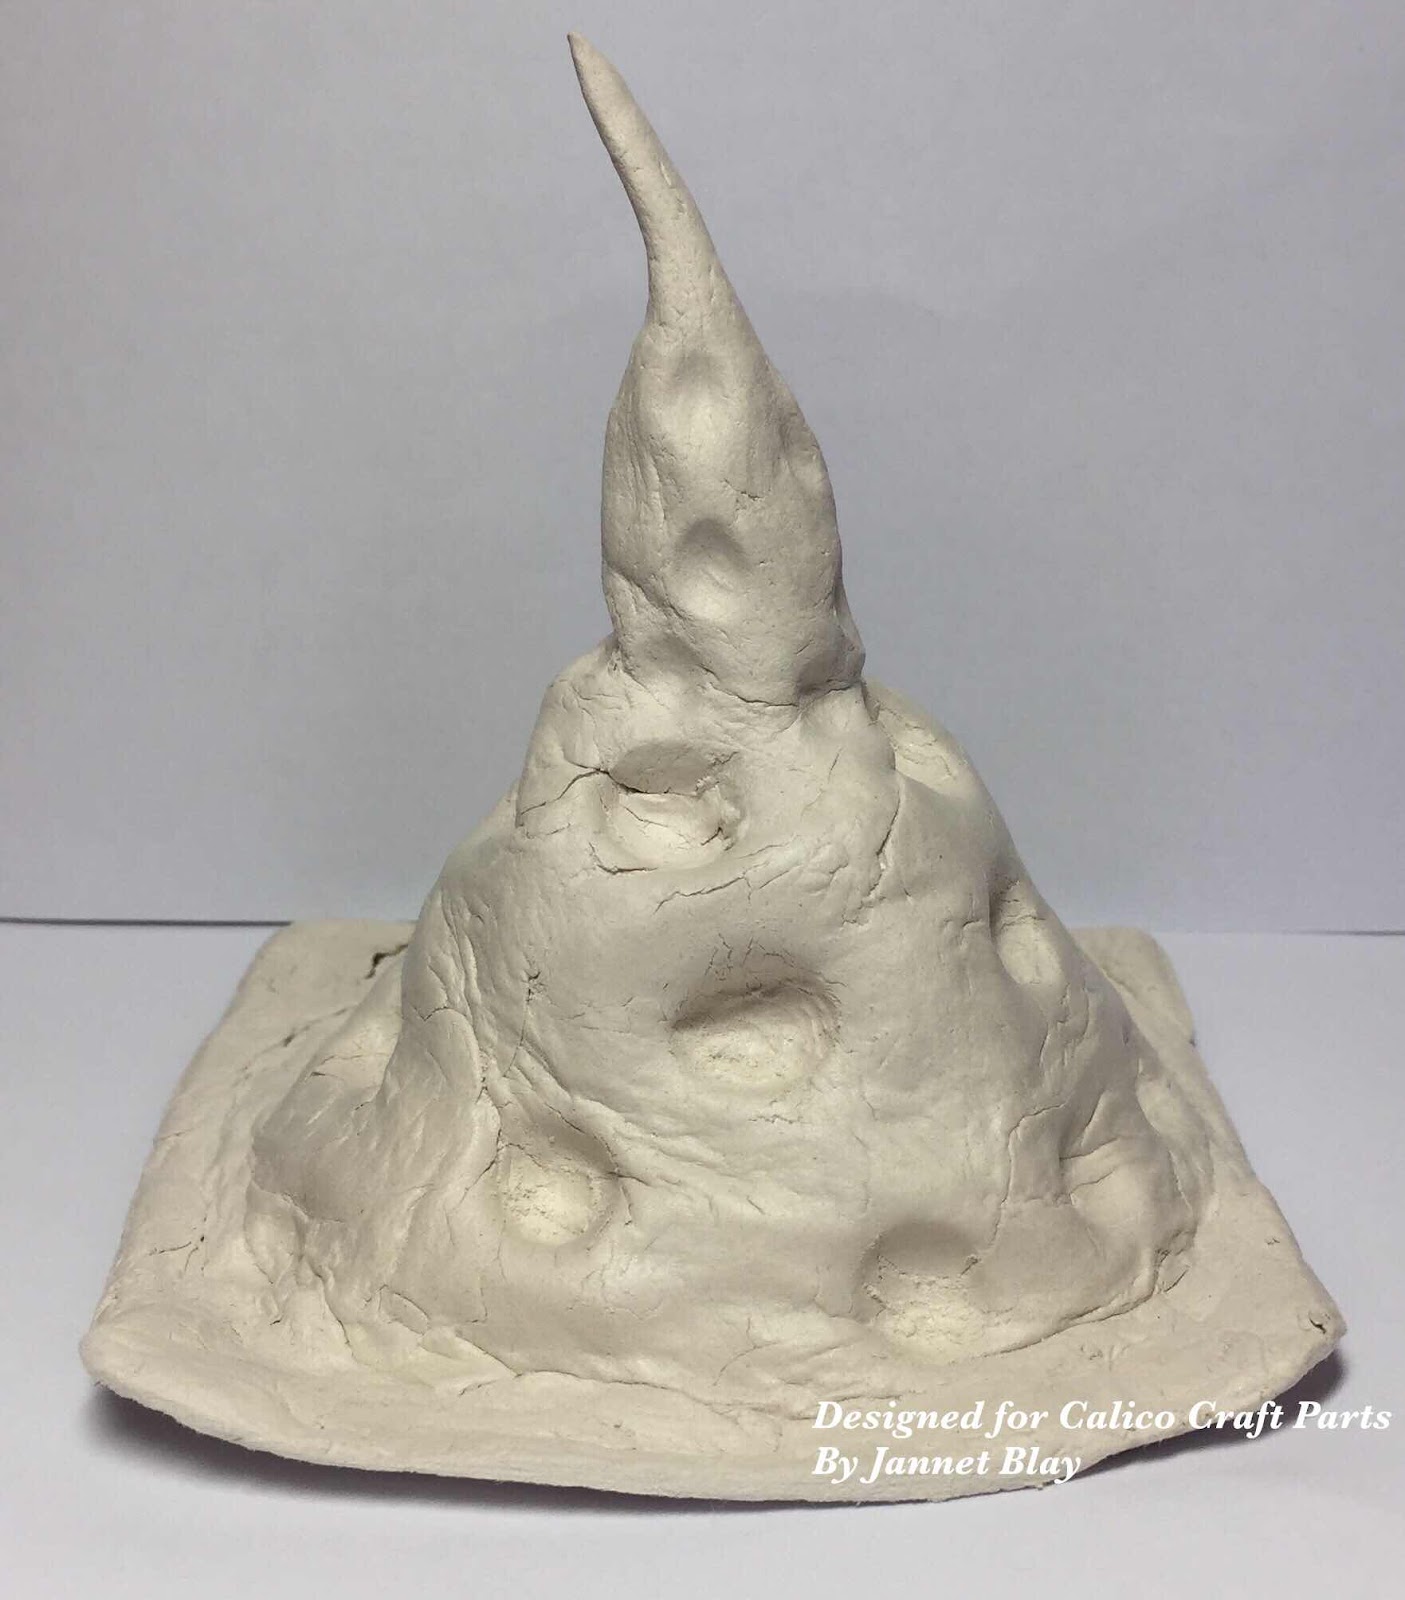
I wanted to create a toadstool sort of a roof for my house. So I got out my air drying clay and made a ball to fit onto the top of the cube, after shaping it, I used a large embossing tool to make round indents into it. As you can see I am no expert on using air drying clay, but it is always good to try something new. As the clay is very thick, I left it to dry in our sunny porch for 2 days. Then I painted it using acrylic paints. 


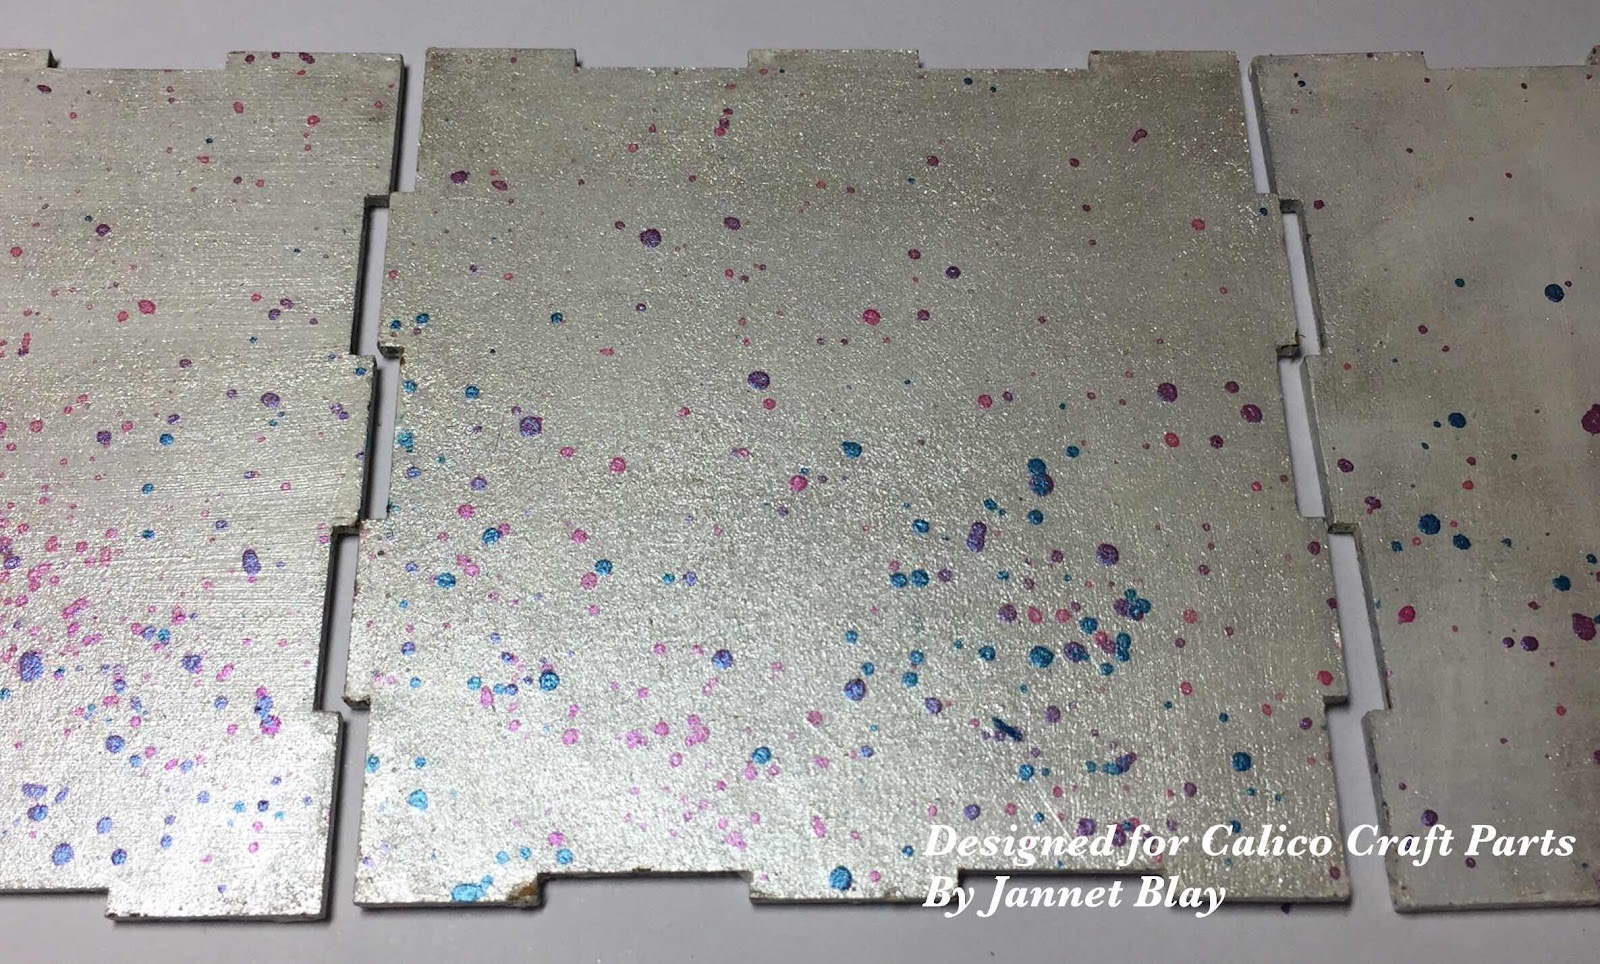
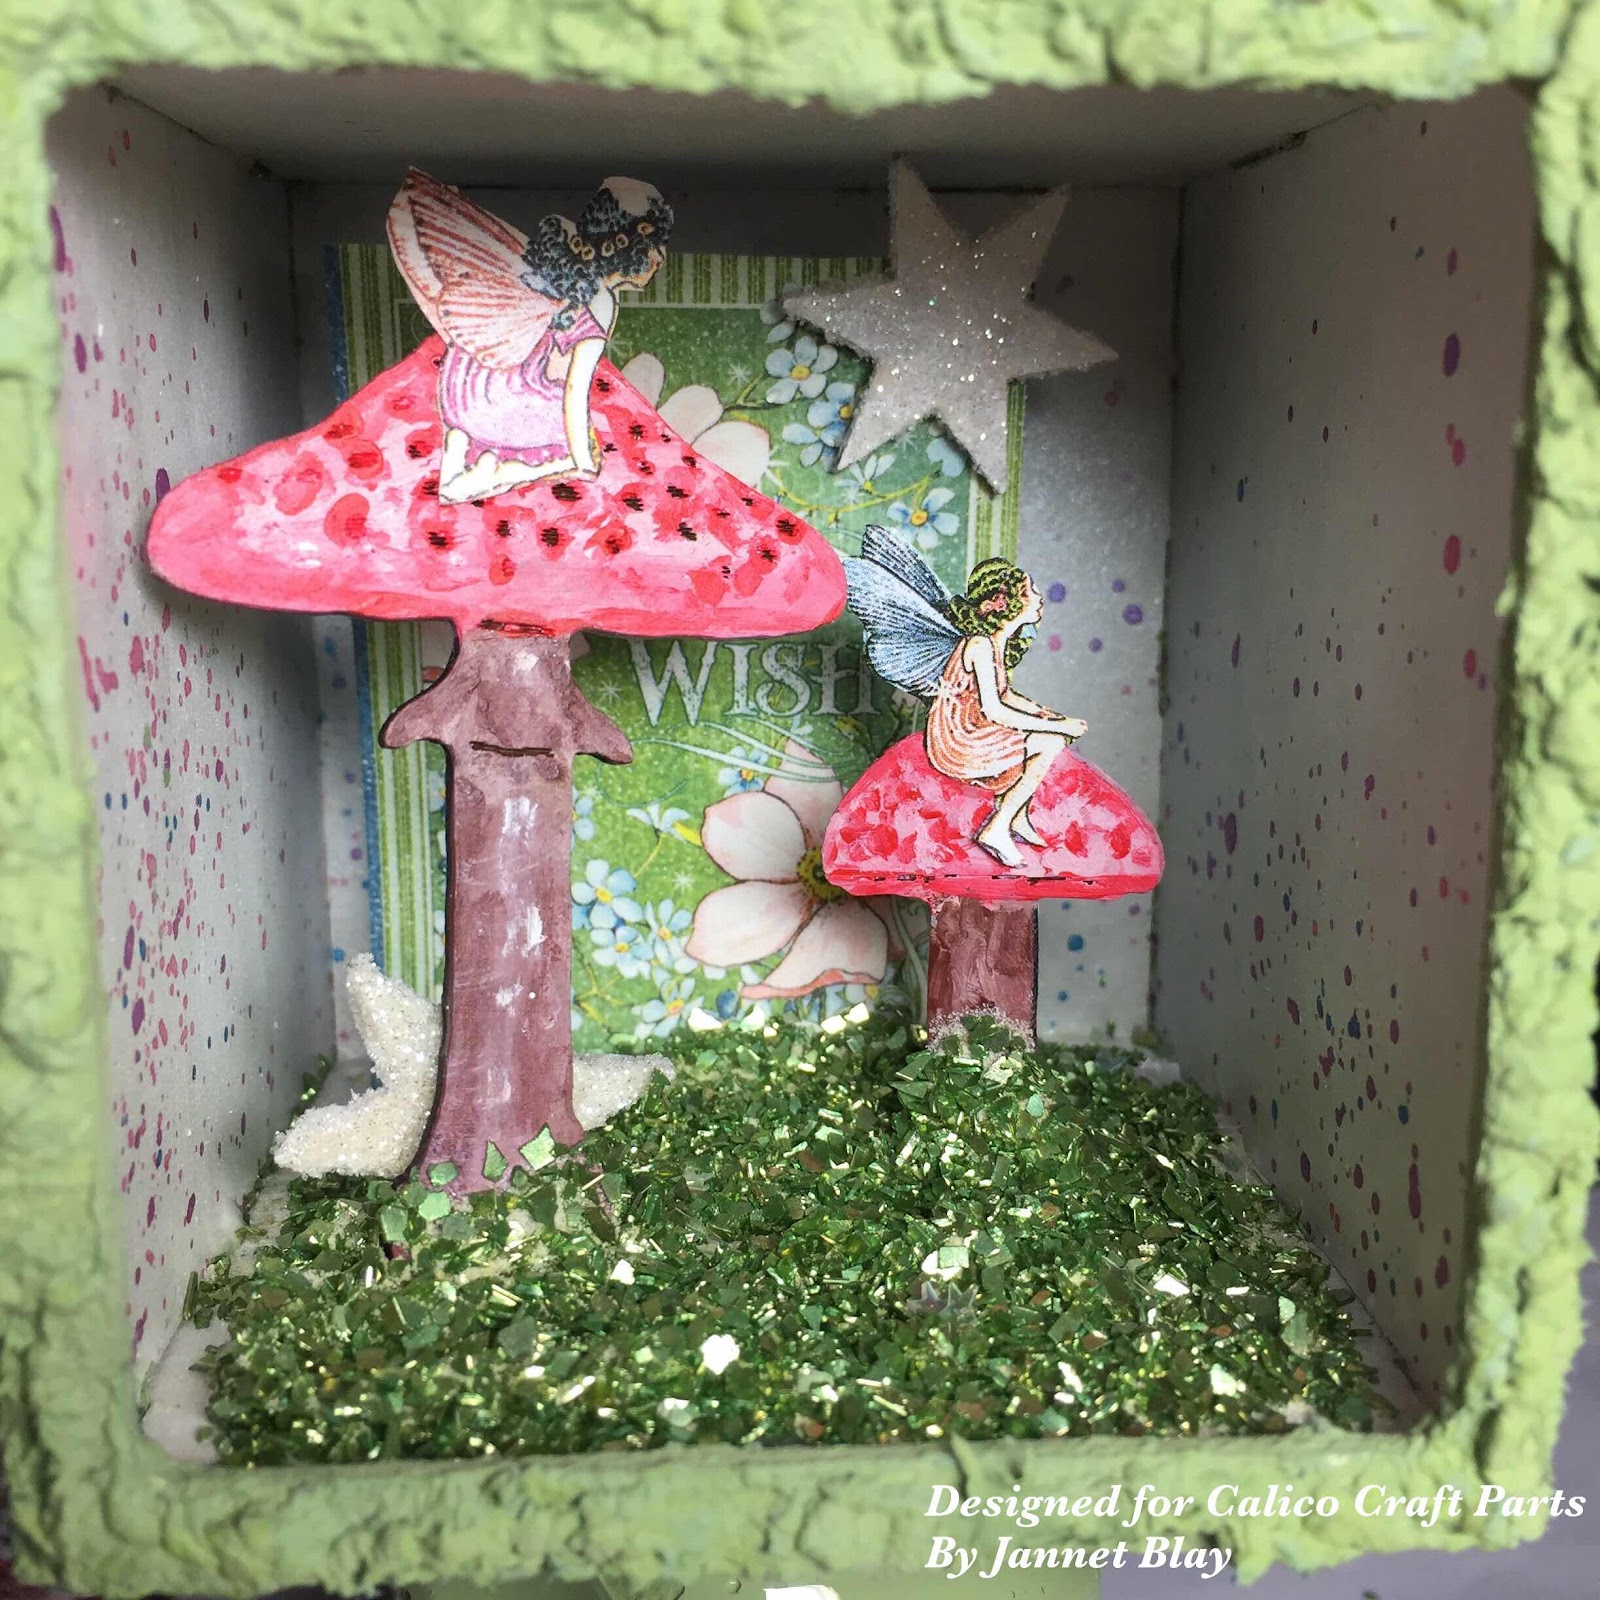
On the internal cube sides I painted 1 coat of gesso, 1 coat of white acrylic paint, and then one coat of white pigment powder which I had mixed with a little water. I used different colours  of pigment powder mixtures to create magical splatters over the walls. 


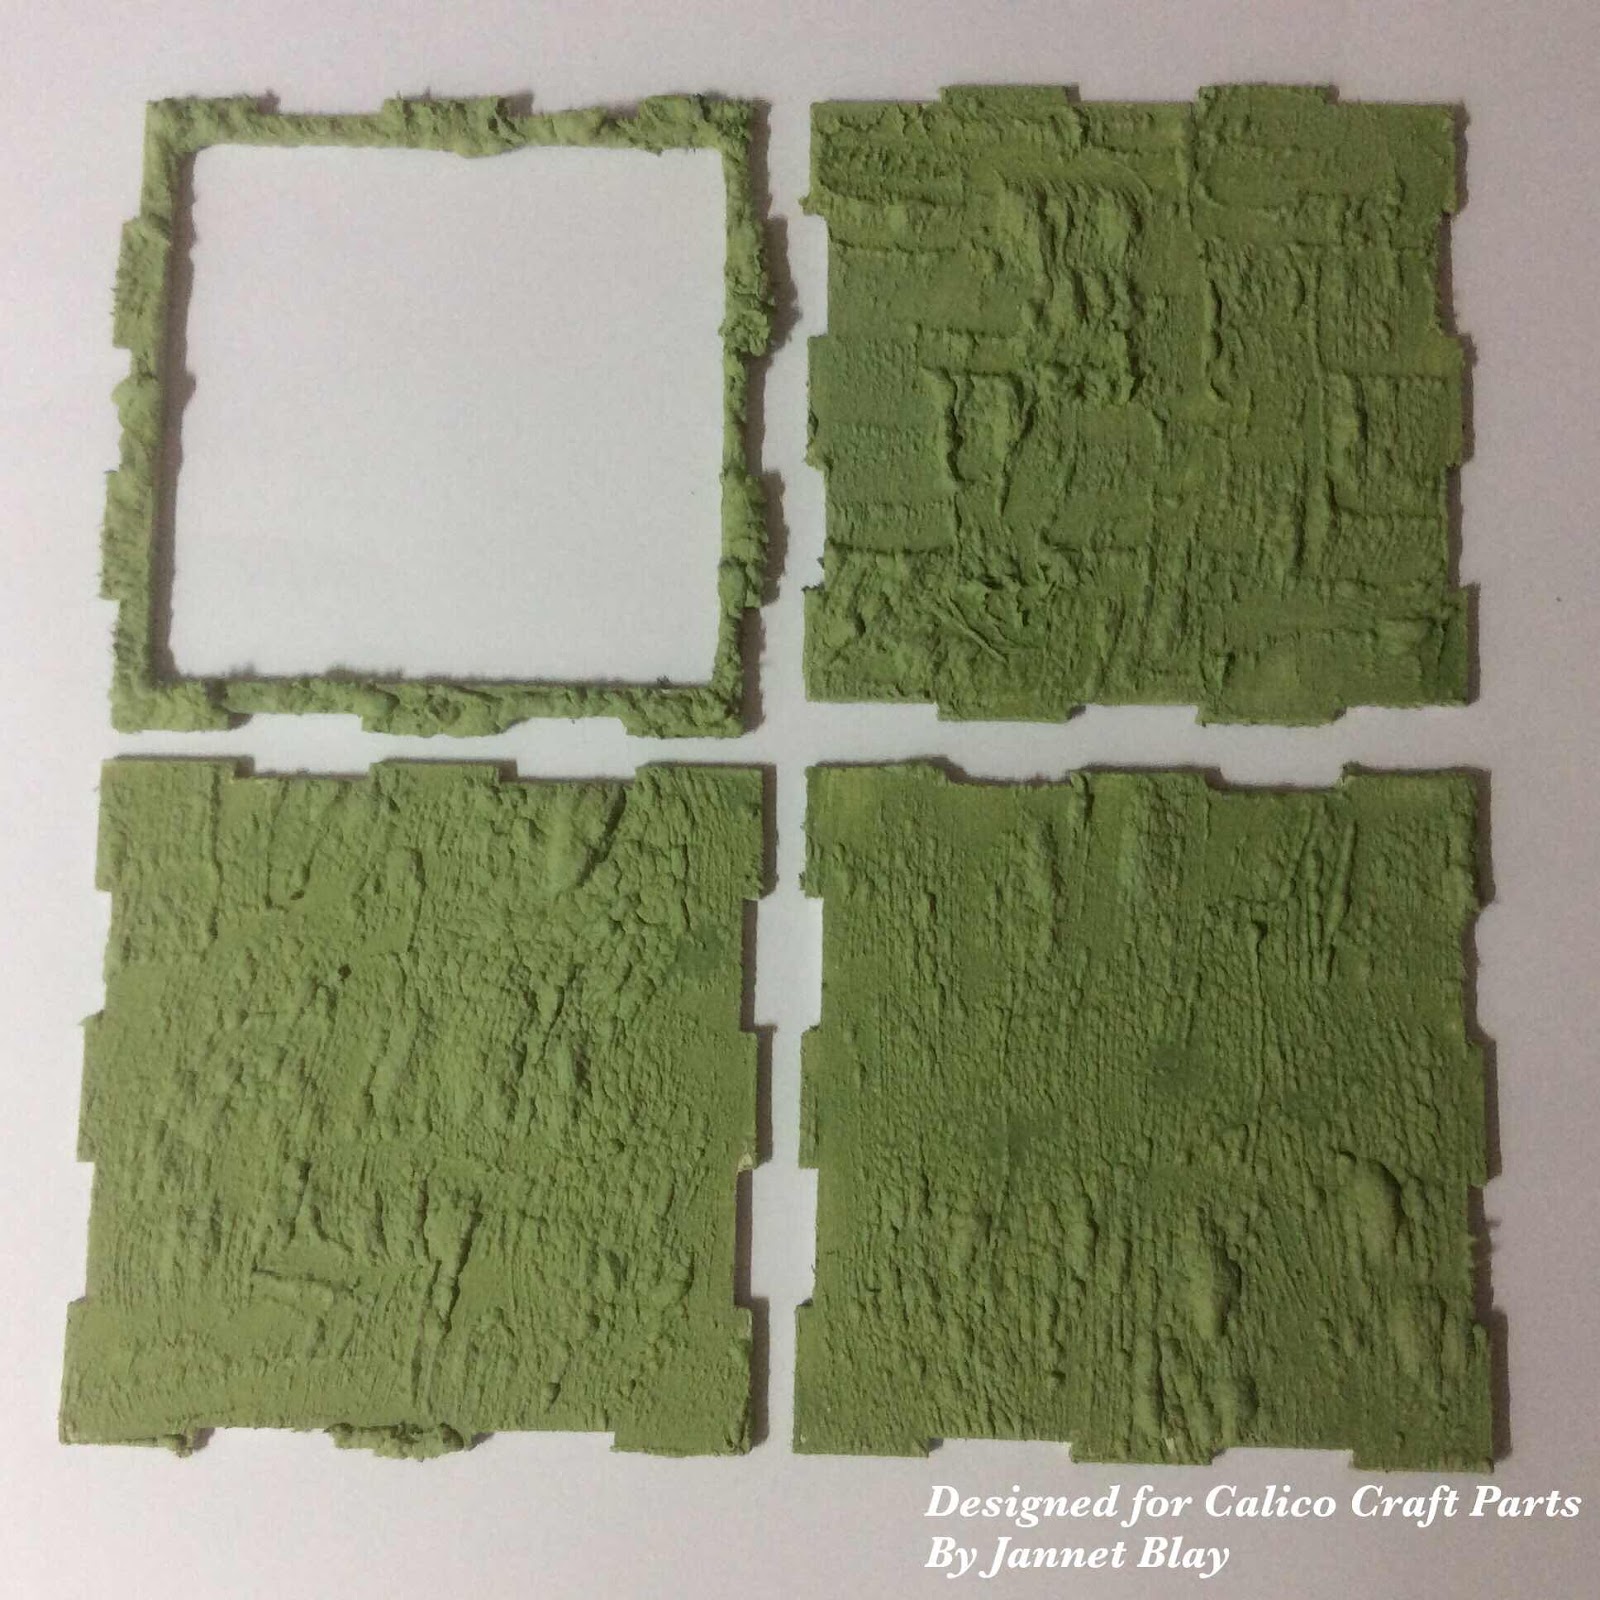
I painted the external sides with 3D paint, and heated it with a heat gun which gave it a lovely natural texture. 


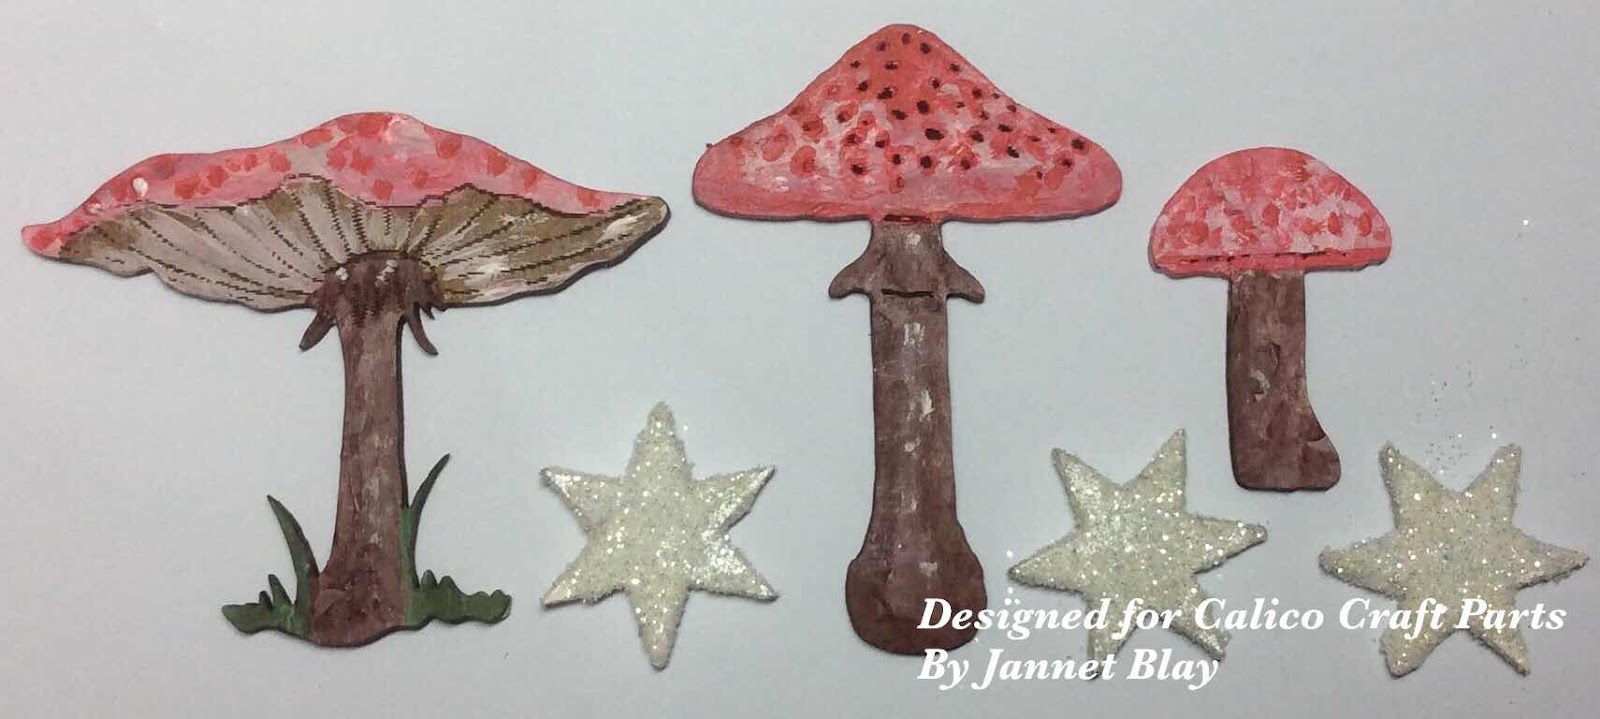
I painted some toadstools, and after painting the stars I added some white glitter, wherever there are fairies there has to be glitter! I fussy cut the fairies and a Make a Wish sentiment from some lovely papers. I sat the fairies on the toadstools, so they could watch everything that is happening in the Forest. 


After assembling the cube I applied Decoart texture paste to the base and placed the toadstools and sentiment into it. I made a paper anchor to hold the paper sentiment up.


Some gorgeous green sparkles completed the fairy scene. 

If you have never crafted with wooden parts before, you may like to give it a try, it is always fun to try something new. Have fun, and stay safe.


My blog Enchanted Place

Calico Craft Parts used 

Monday, 6 April 2020

Easter Wreath by Jannet


This is the time of year, that I start thinking about decorating our home for Easter/Spring. This year I thought I would make an Easter/Spring Wreath. 


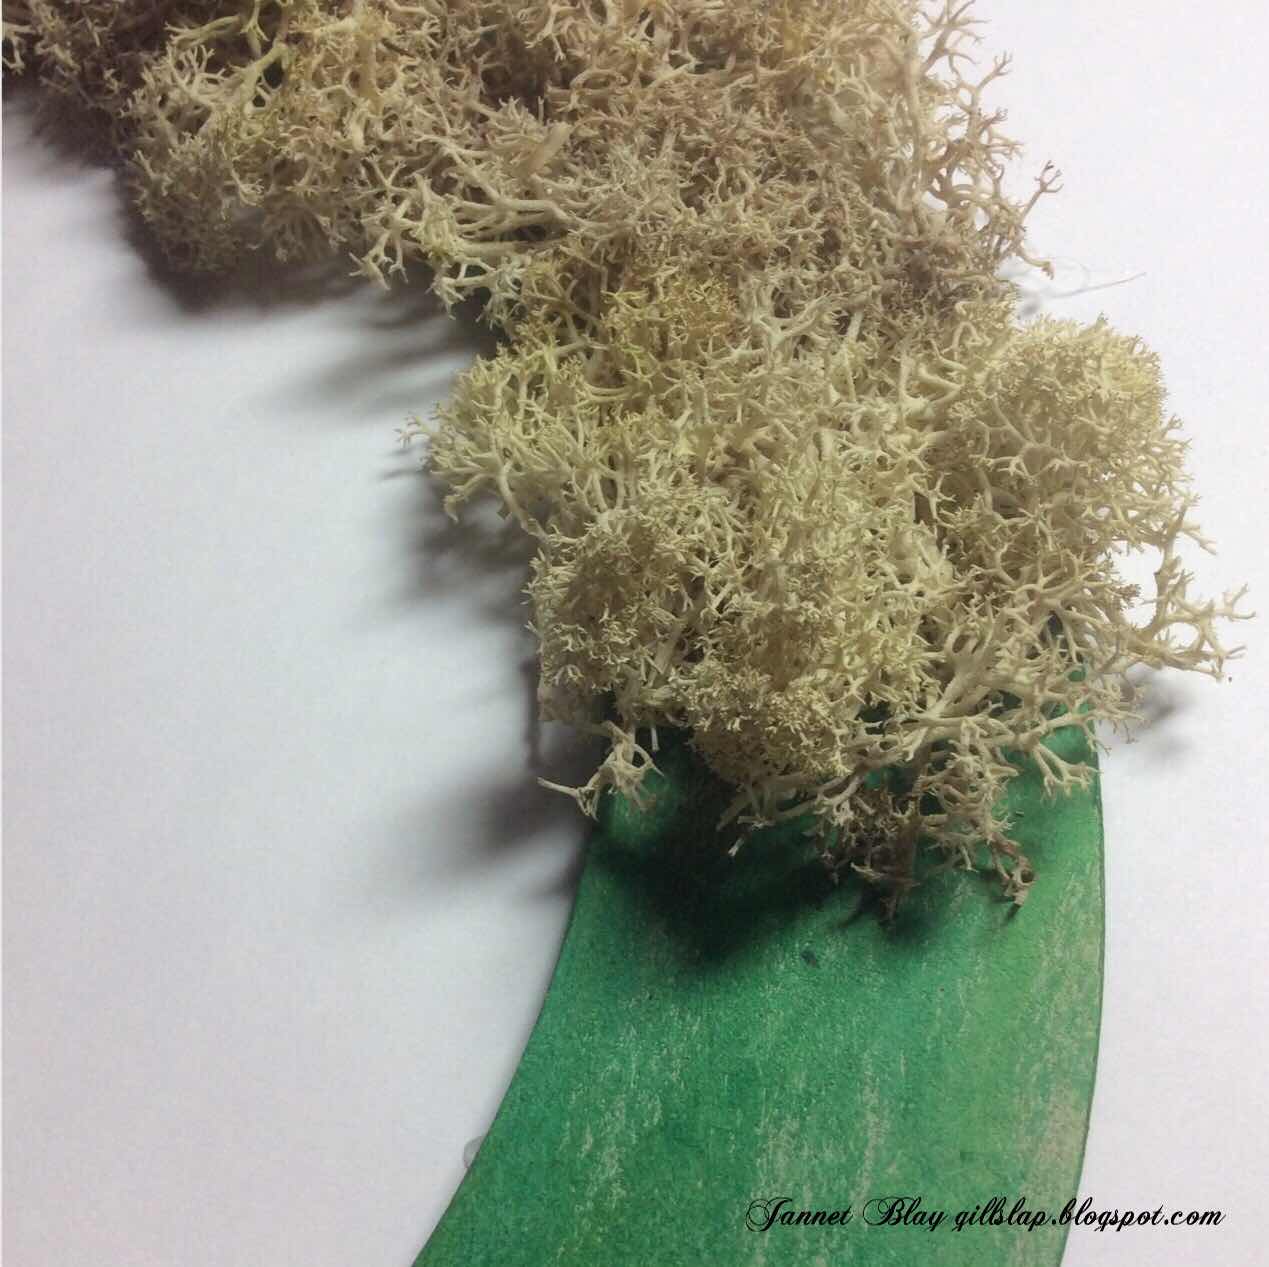
For my base I used a circle of thick card which I cut from packaging, with another circle cut in the middle to create an aperture. I  covered the base with moss, which can be purchased from floral and craft shops. 


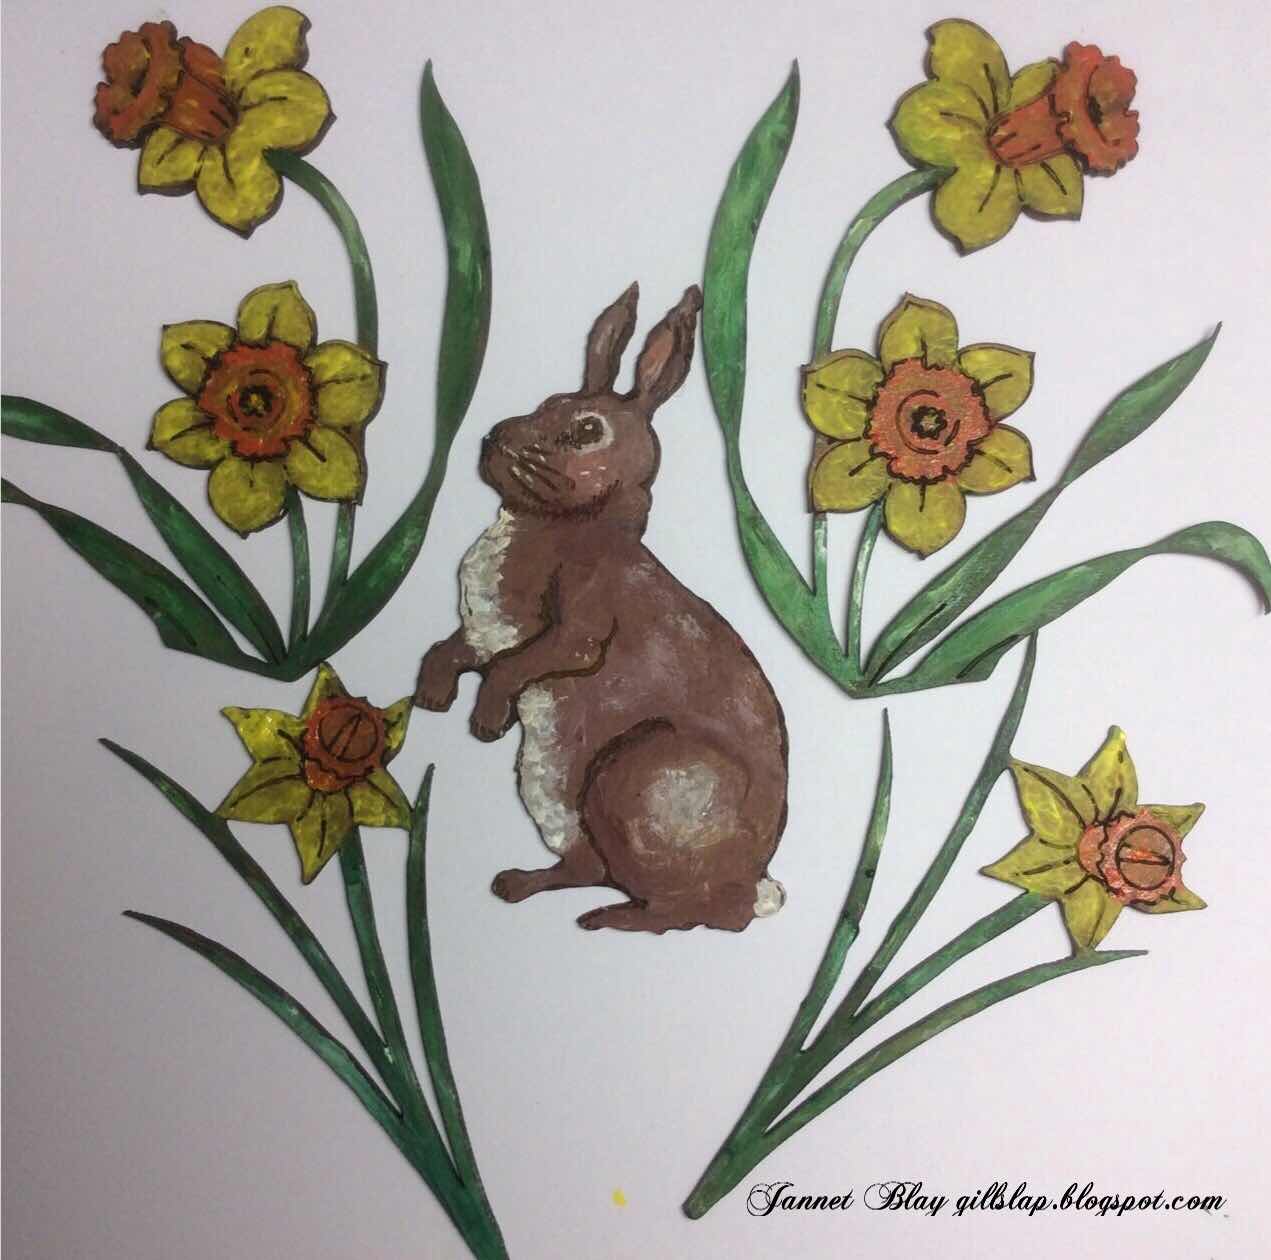
I selected beautiful spring daffodils, and a cute Easter bunny to paint and adorn the wreath. After I took this photo a hedgehog and squirrel came out of hibernation, and wanted to be painted too. So they could also jump onto the wreath. 

I adhered all of the wooden pieces into the wreath adding a few dried sunflower petals around the Easter Bunny. I finished by punching a whole into the top of the wreath and threading yellow yarn through it to hang it up with. 

To make the wreath I used the following Calico Craft Parts 

Monday, 16 March 2020

Hoppy Easter Tag - by Claudia

Hi, servus and welcome to my first Easter themed project for this year!


This time I have created a watercolour look on the gorgeous Calico Craft Parts that was  mainly inspired by the look of the lovely clock face. 

Calico Craft Parts used:


As always I started with priming the wood shapes - this time with a loosely brushed on layer of DecoArt media white Gesso. 


Then I borrowed Kerstin's fabulous idea of building a little shelf for my rabbit to sit on using two of the blank Word Elements - one as the shelf and the other to kind of "squeeze in" the shelf between the ATC frame on top and the Word Element below.


From the Spring themed ATC wood blank I only used the frame and glued that to a Classic MDF Tag instead to its original ATC back panel. As I had "lost" the two tiny flowers at the sides of the ATC frame during gesso-ing, I glued these back in place now before I primed them carefully with white Gesso as well.


At that point I had already glued the ATC frame to the tag and the clock face on top of the ATC frame. The clock hands, screw head and rabbit had to wait until I had finished painting my tag.


I used DecoArt media fluid acrylics Green Gold, Hansa Yellow Light, Cobalt Teal Hue, Phtalo Green-Blue and Naphtal Red Light with loads of spritzed on water to create a watercolour look.


Adding Titanium White, Phtalo Green-Yellow and a mix of the Yellow and Red I painted the tinier shapes using a detail brush. I also added outlines here and there and my "hoppy Easter" quote.


In the top right corner you can see some left overs from used up Mini Wood Shapes sheets - I love to use these for building up layers and stack them where necessary to create more depth and dimension - in this case I stacked two tiny bits to glue the rabbit in place. It was also time to fix the clock hands and screw head to the finished clock face.


Finally I went in with more Hansa Light Yellow, Cobalt Teal Hue and Naphtal Red Light to paint some blossoms and add borders here and there. 


Done!

Some detail shots:


and once more the finished

"hoppy Easter" 
tag. 


Thanks so much for stopping by!
Easter is fast approaching and there are loads of gorgeous new
in the Calico Craft Parts online store! 


Claudia
xxx