Showing posts with label Crowns Crosses & Wings. Show all posts

Monday, 1 June 2020

Rainbow Bridge by Jannet


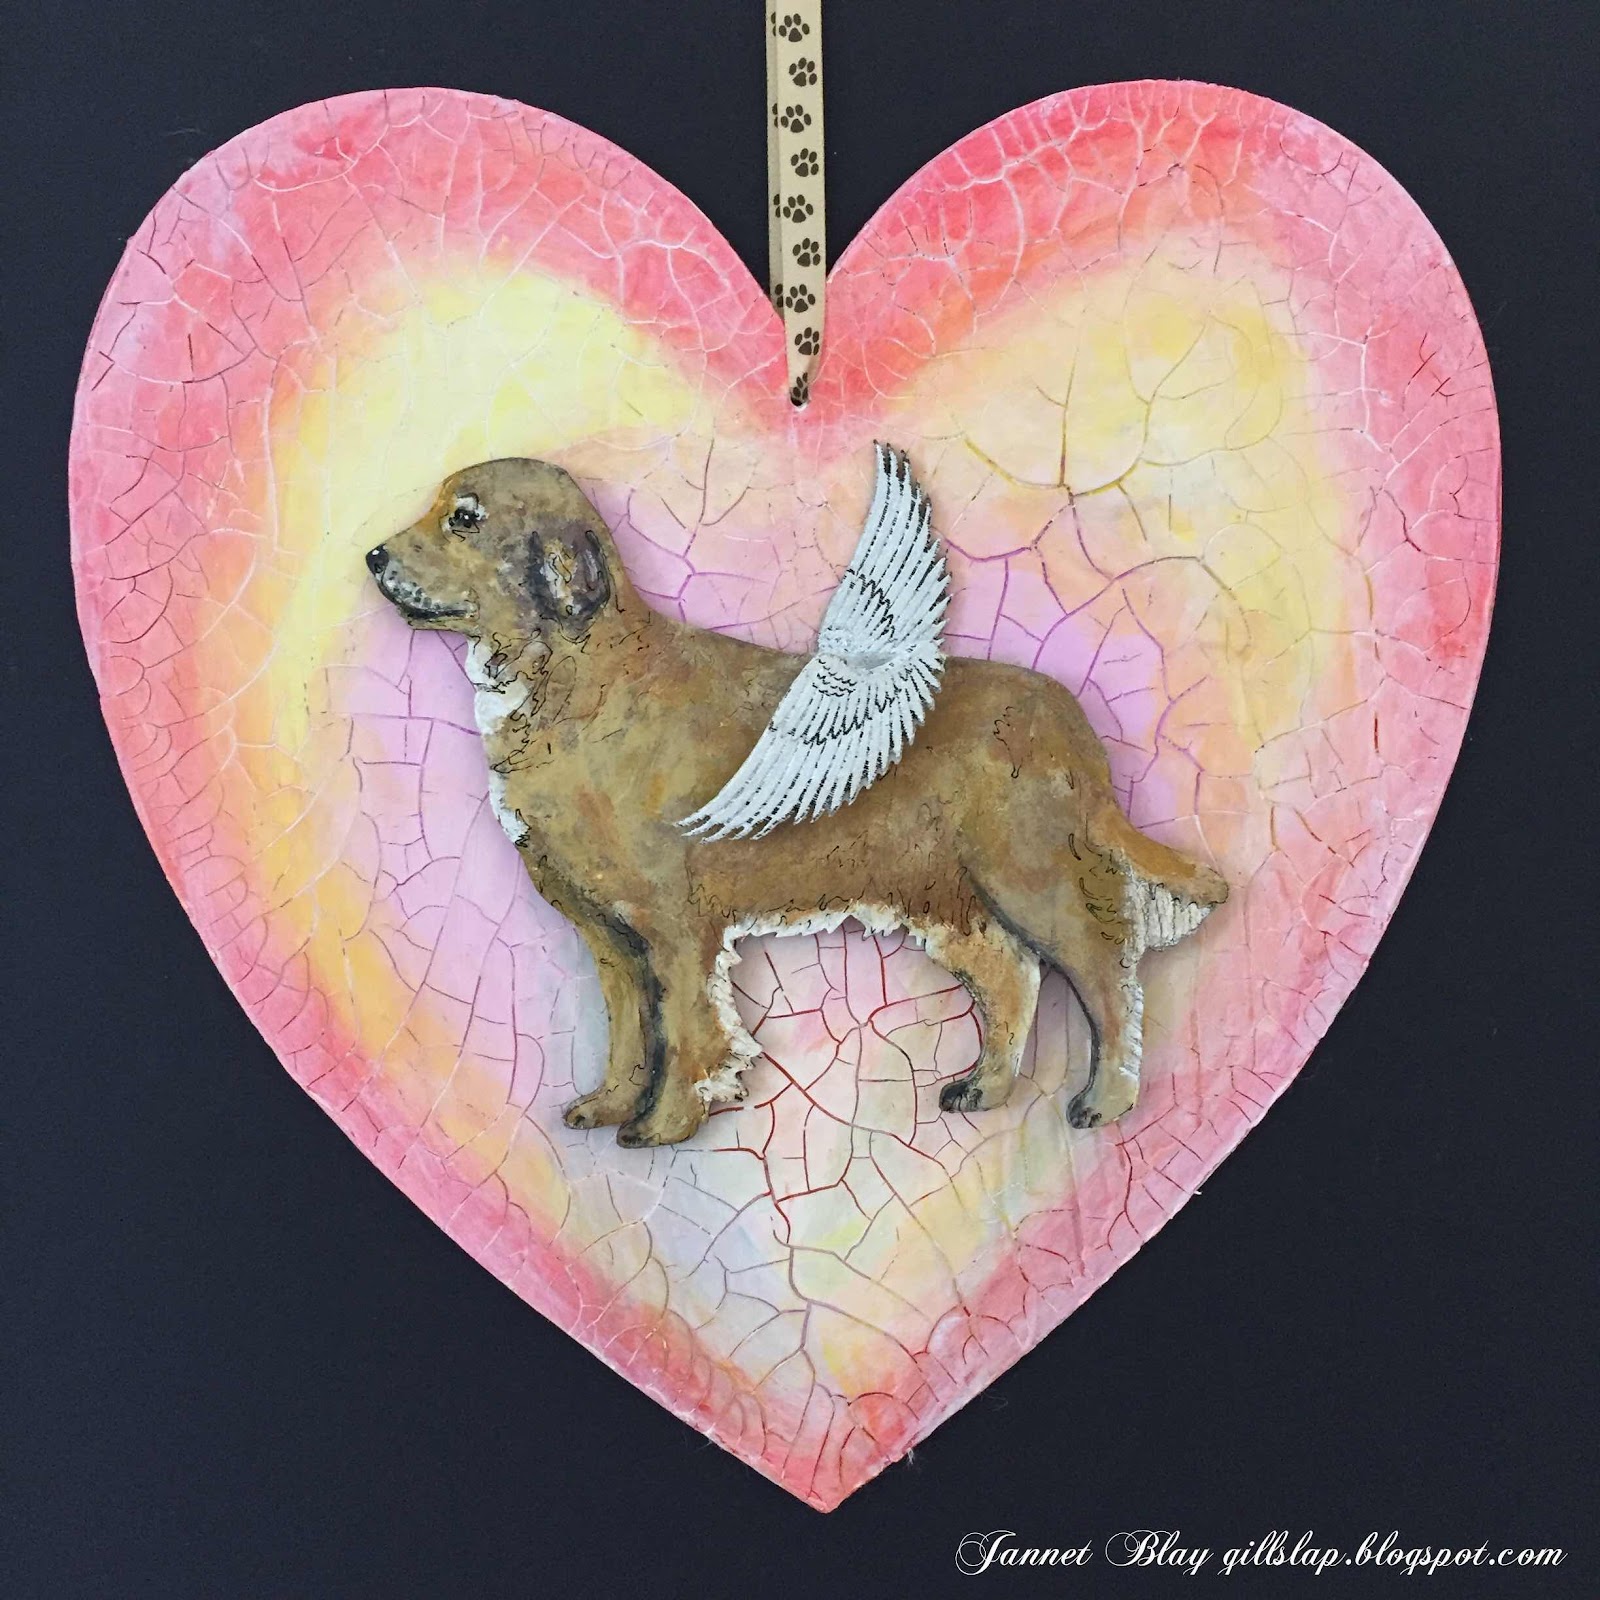
Hello, I hope you are staying safe and well. My inspiration today is The Rainbow Bridge Poem. When a beloved pet dies they go to the Rainbow Bridge to wait for their best friend to join them, then they will never be parted again. Calico Craft Parts have a large variety of dog breeds to choose from, and a selection of cats


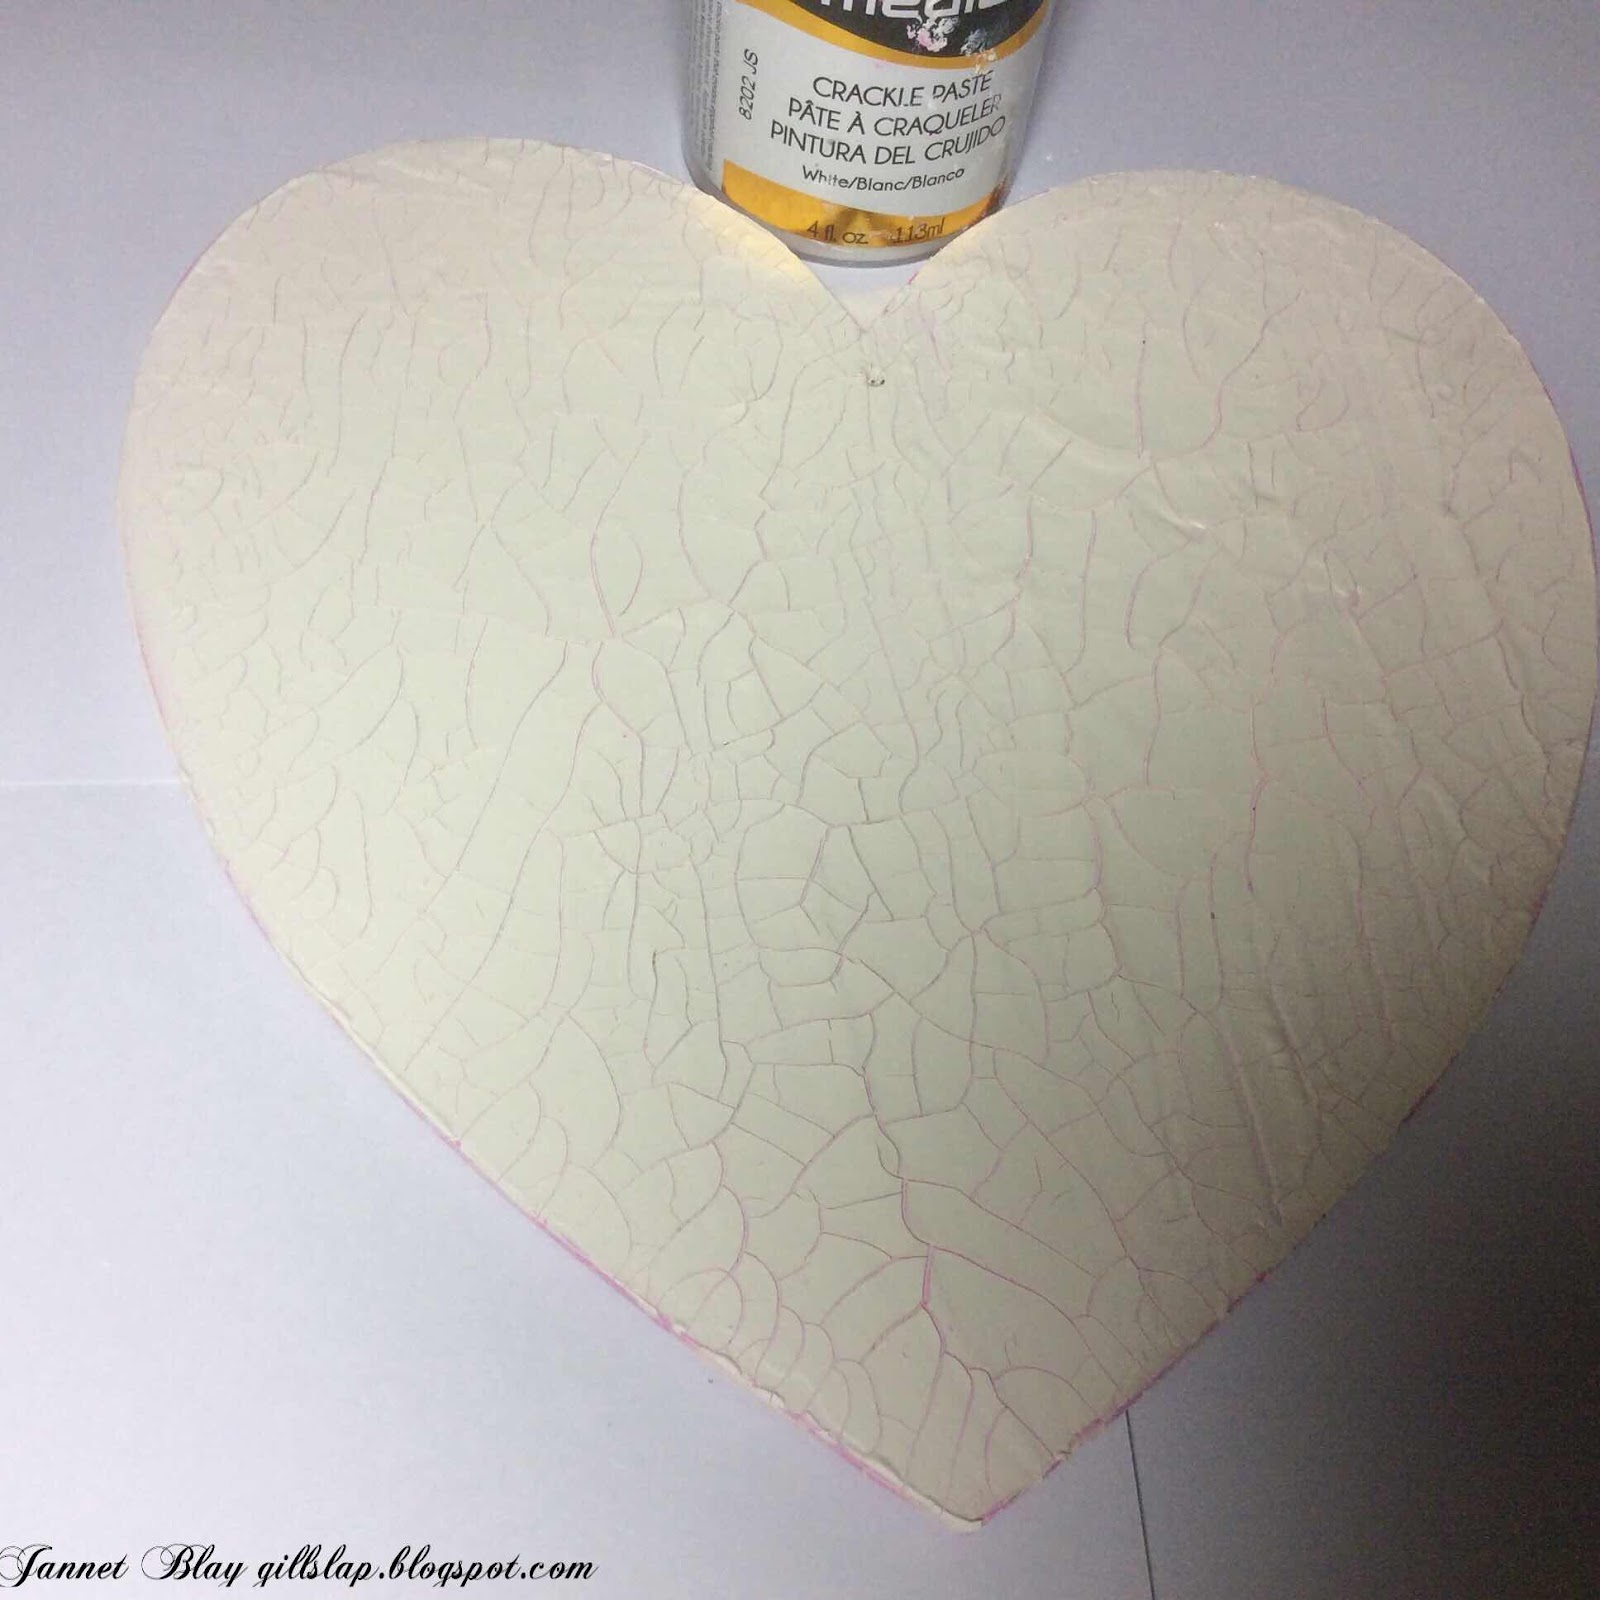
Our hearts feel broken when we lose our beloved pet, so I wanted to show lots of cracks on the hearts to represent this feeling. I coated the hearts in a fairly thick layer of Deco Art Crackle Paste. 


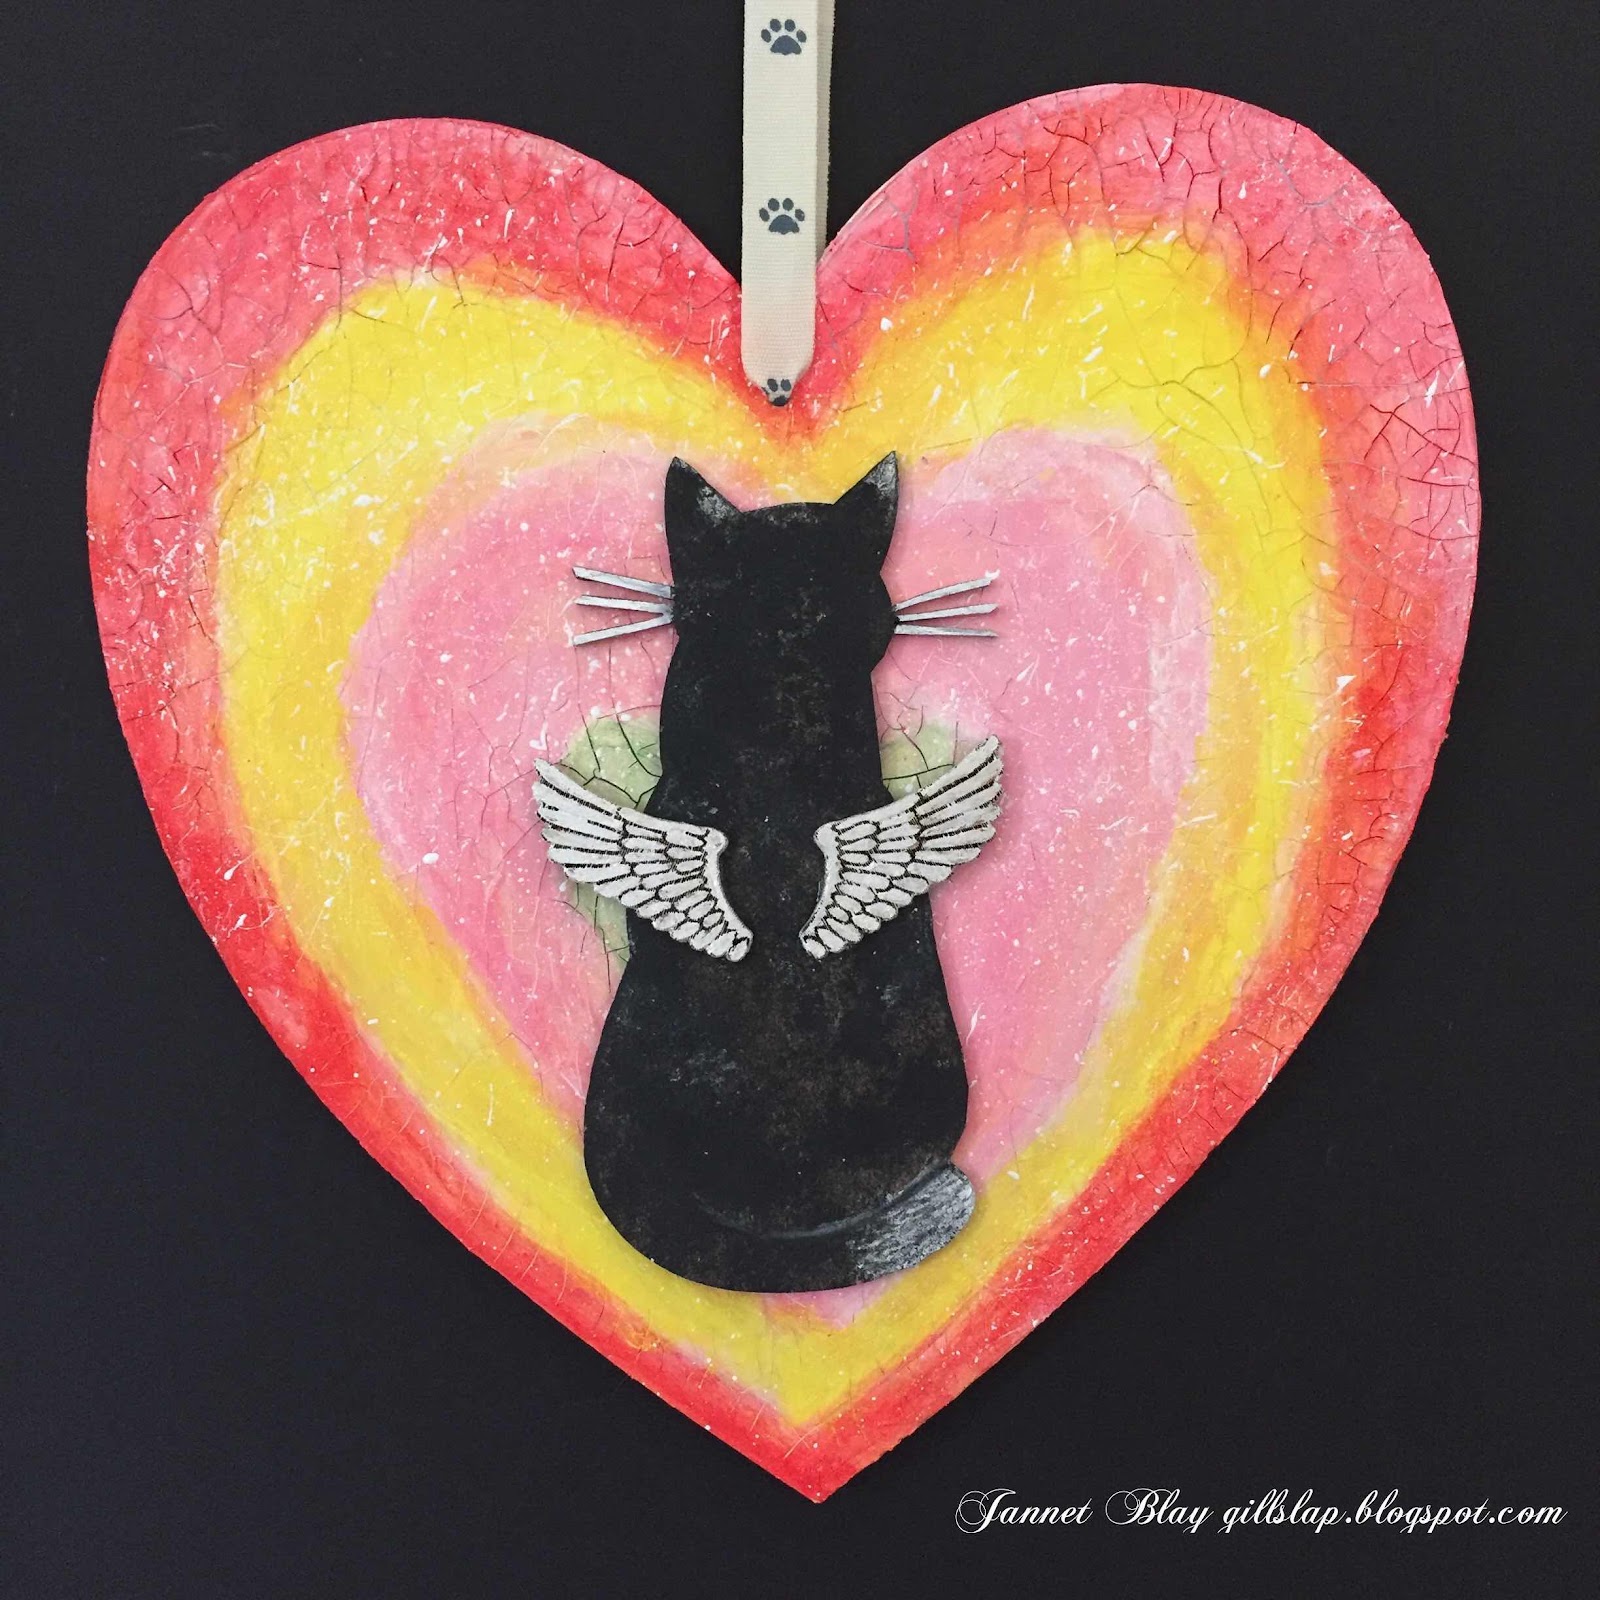
I painted the beautiful Golden Retriever, and the lovely cat with acrylic paints. You can paint details to look like your own pet, or paint it all in black to create a silhouette.


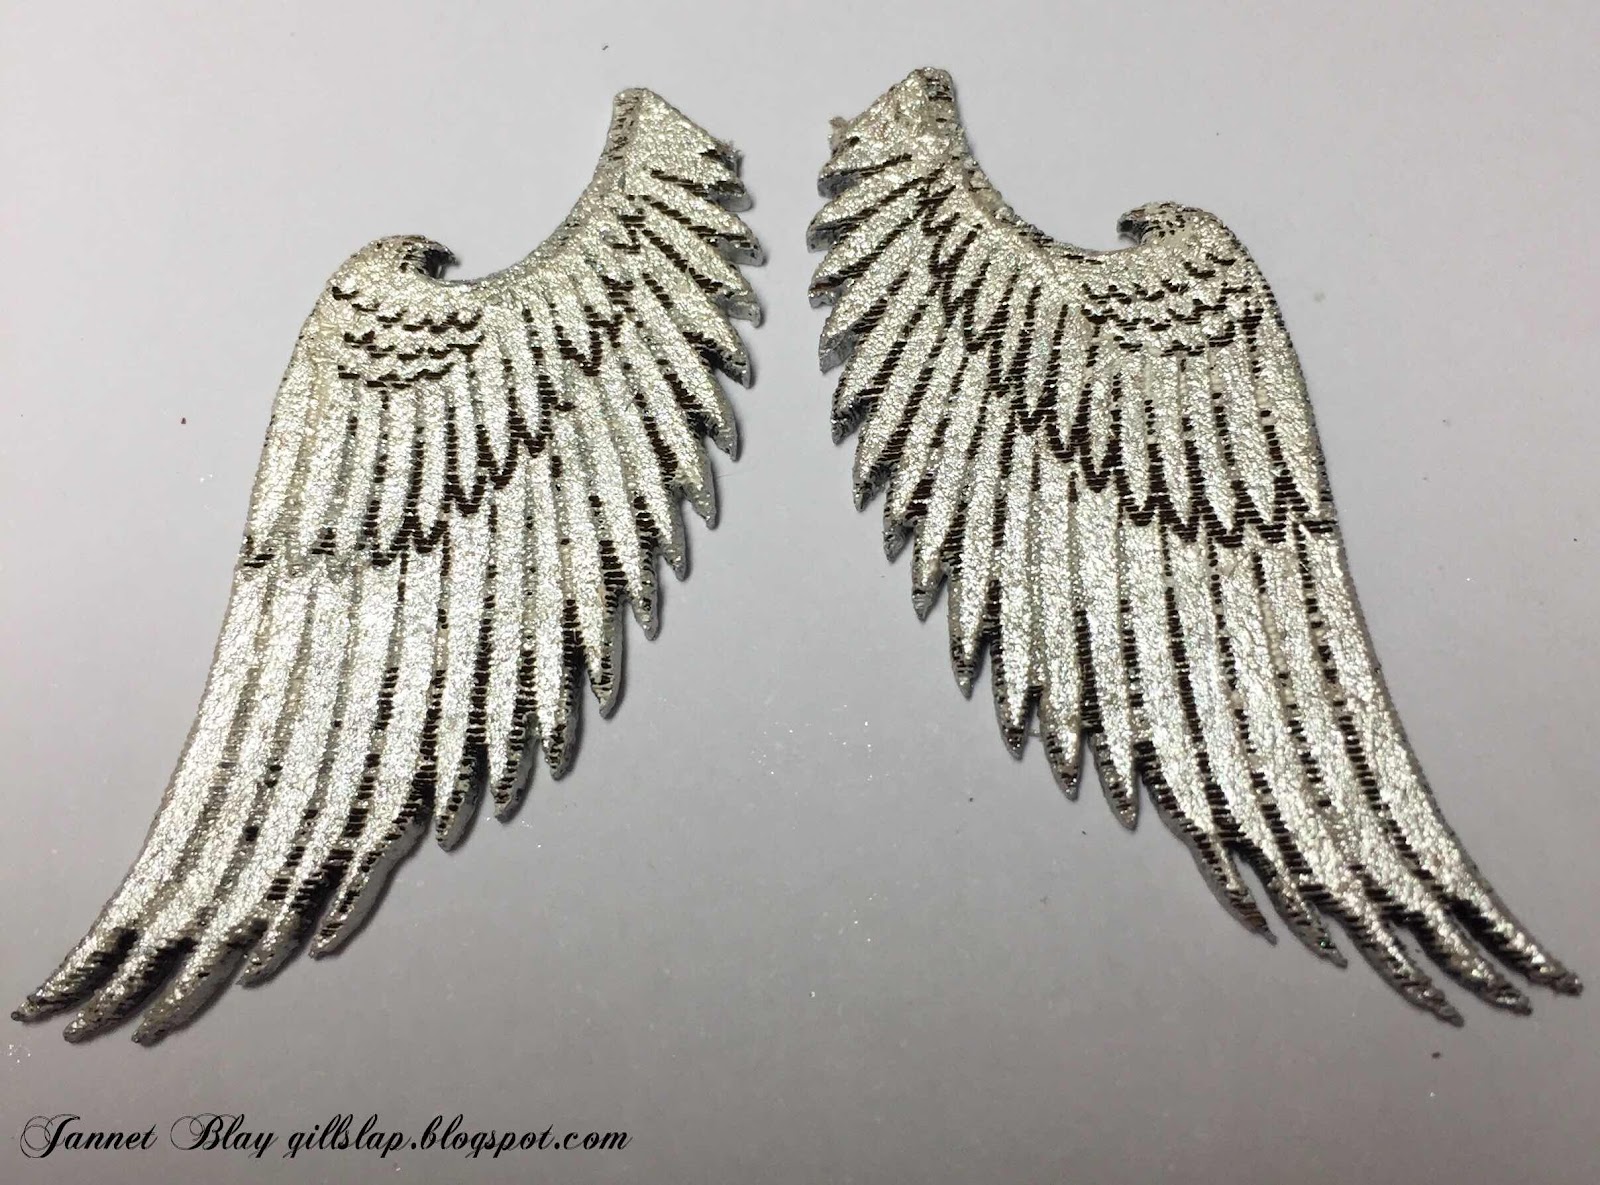
I painted the wings with white acrylic paint, and then I mixed a white pigment powder with a little water. I painted it over the top of the paint  to give the wings a glimmering sparkle.


I painted Rainbow colours onto the cracked heart, and adhered the dog in the middle of the heart and then gave her wings. I repeated the process for the cat, but I also added a few splatters of white. 

If you know someone who has lost a beloved pet this would make a thoughtful memorial for them 

Take care xx

Calico Craft Parts used 

Monday, 9 March 2020

Easter Card by Jannet


The first daffodils are coming up, so Spring must soon be here... we hope! I have been thinking about starting to make my Easter cards. The mini Caico Craft parts are so small and lightweight they go very nicely onto a card. 


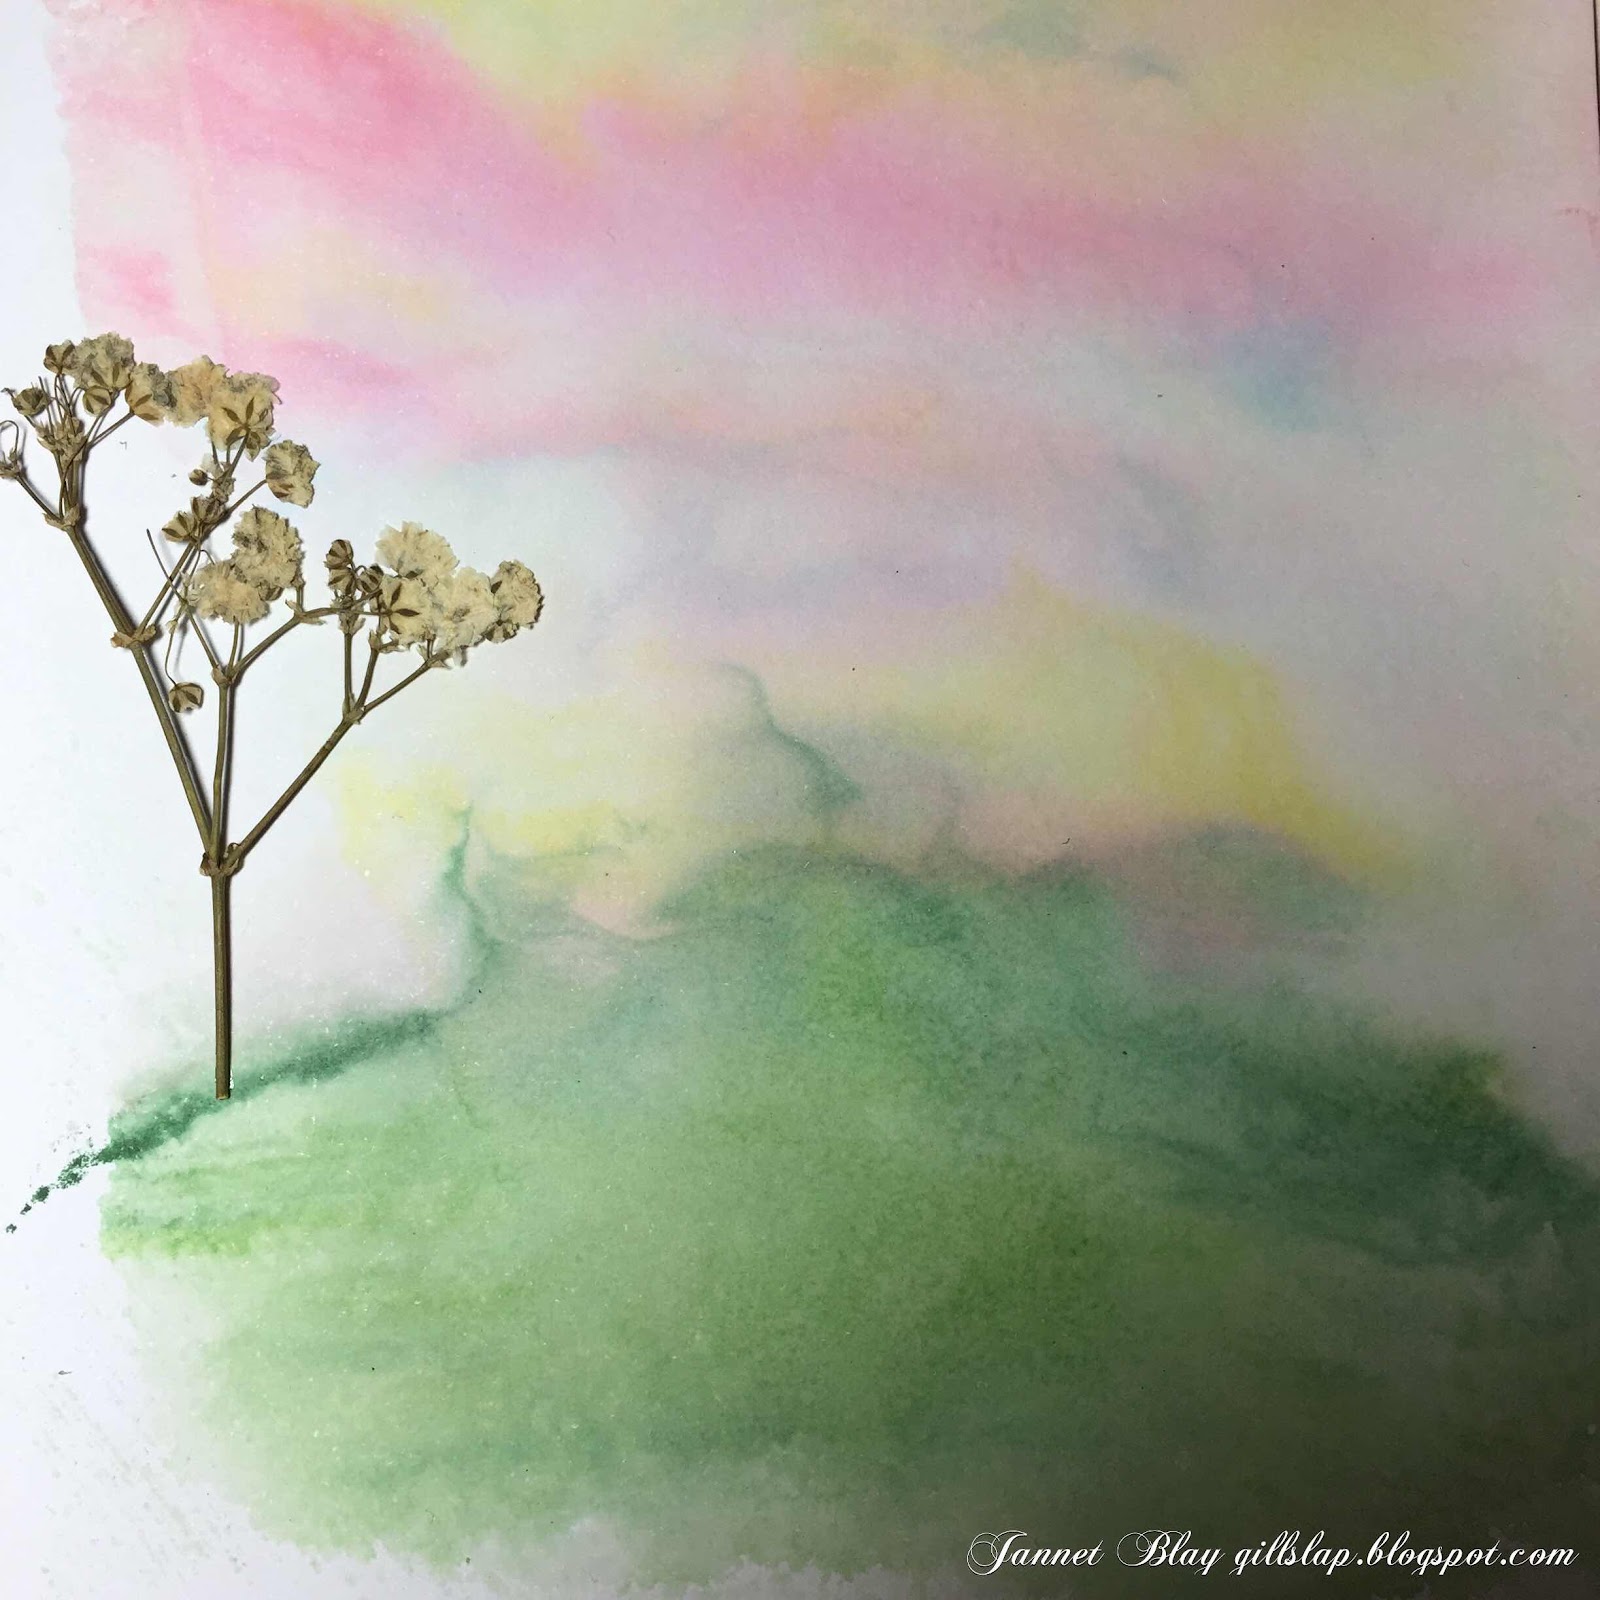
I decided to start by creating  a watercolor background.


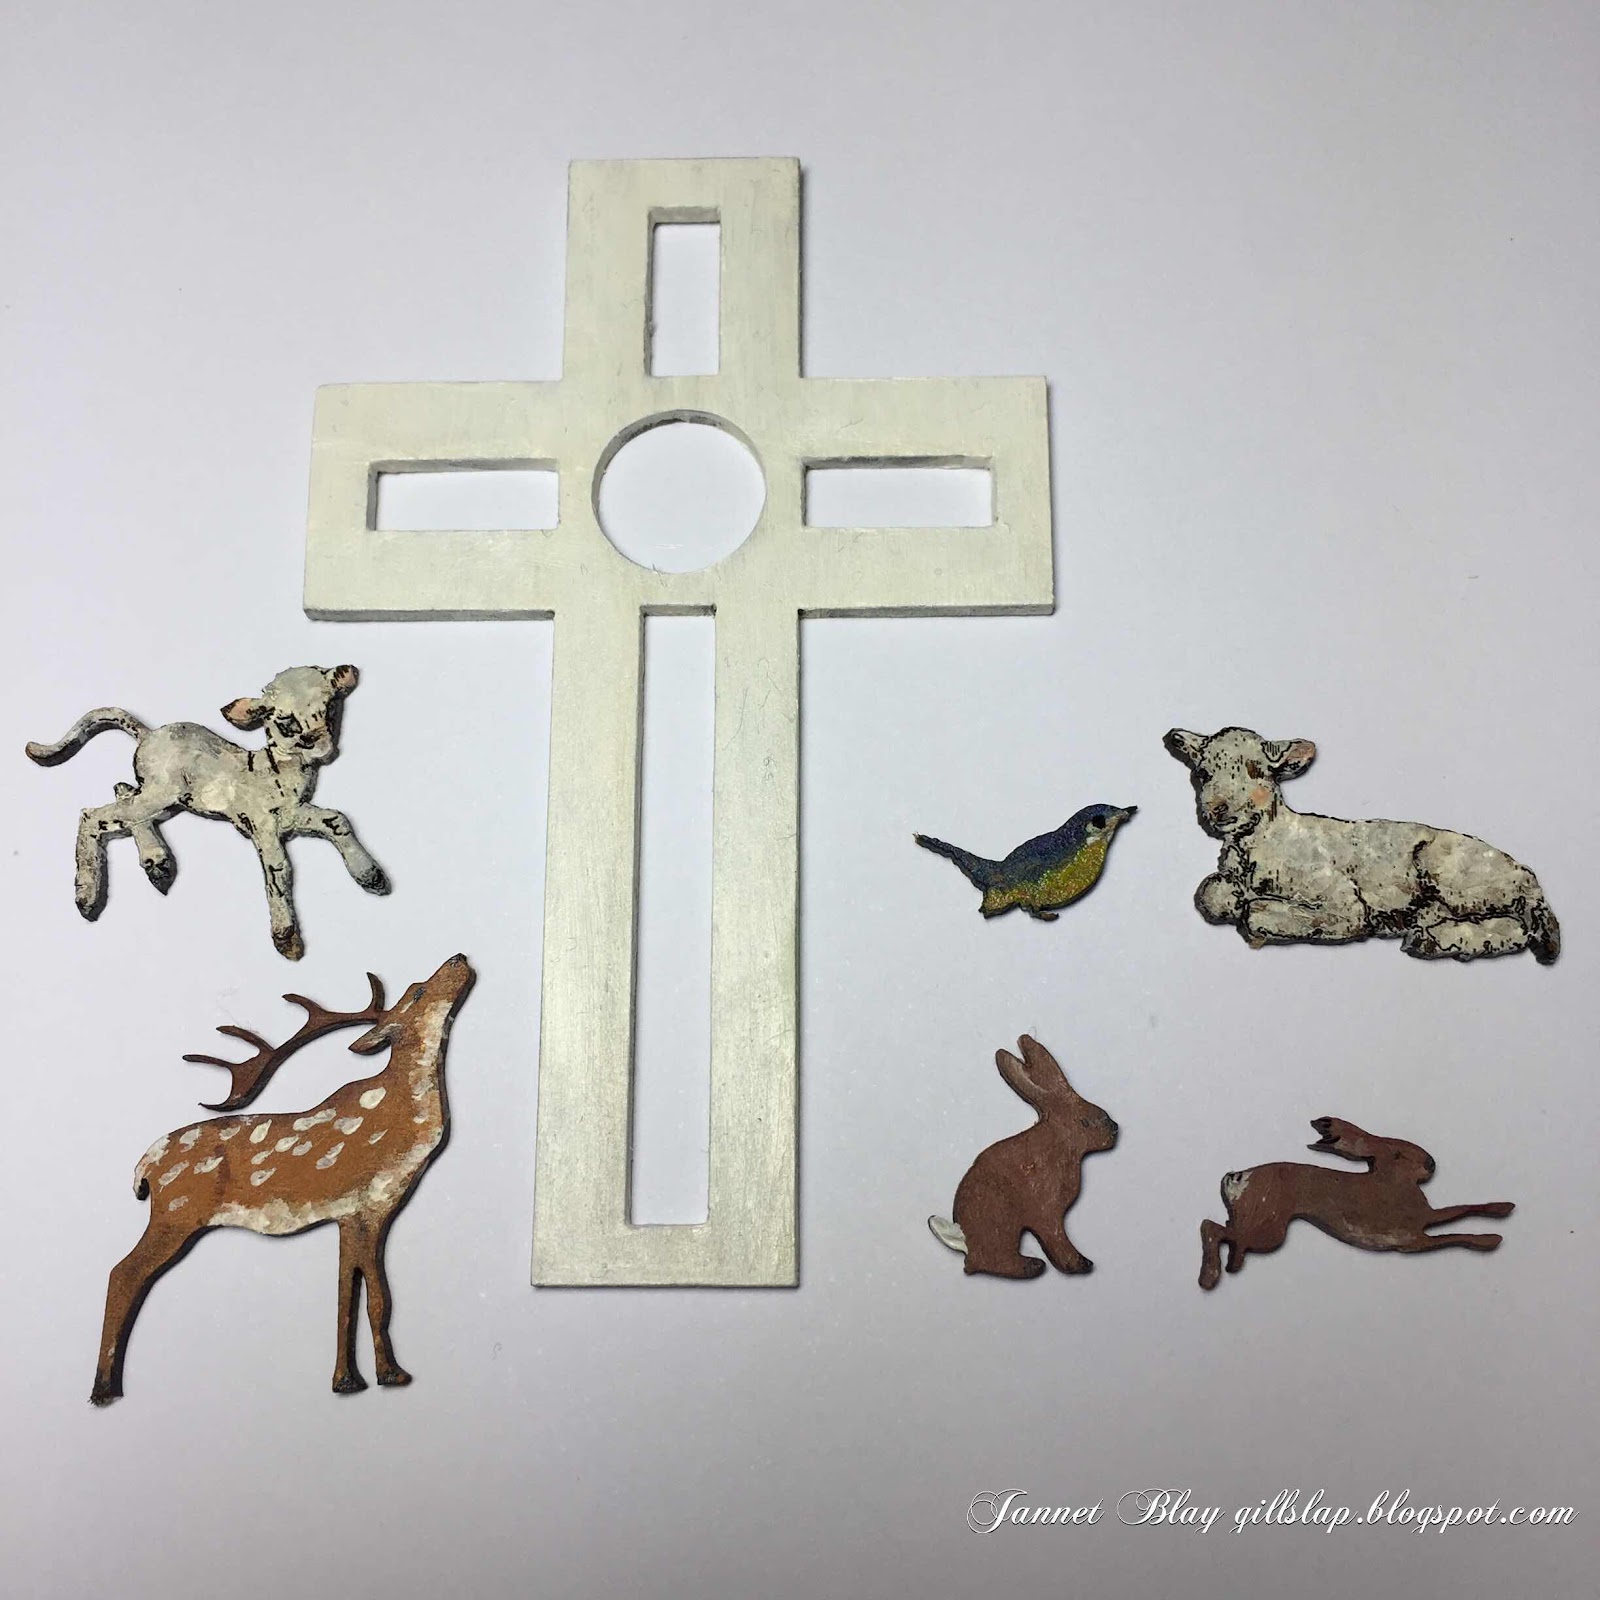
After selecting my cross and animals, I painted them with acrylic paints. 


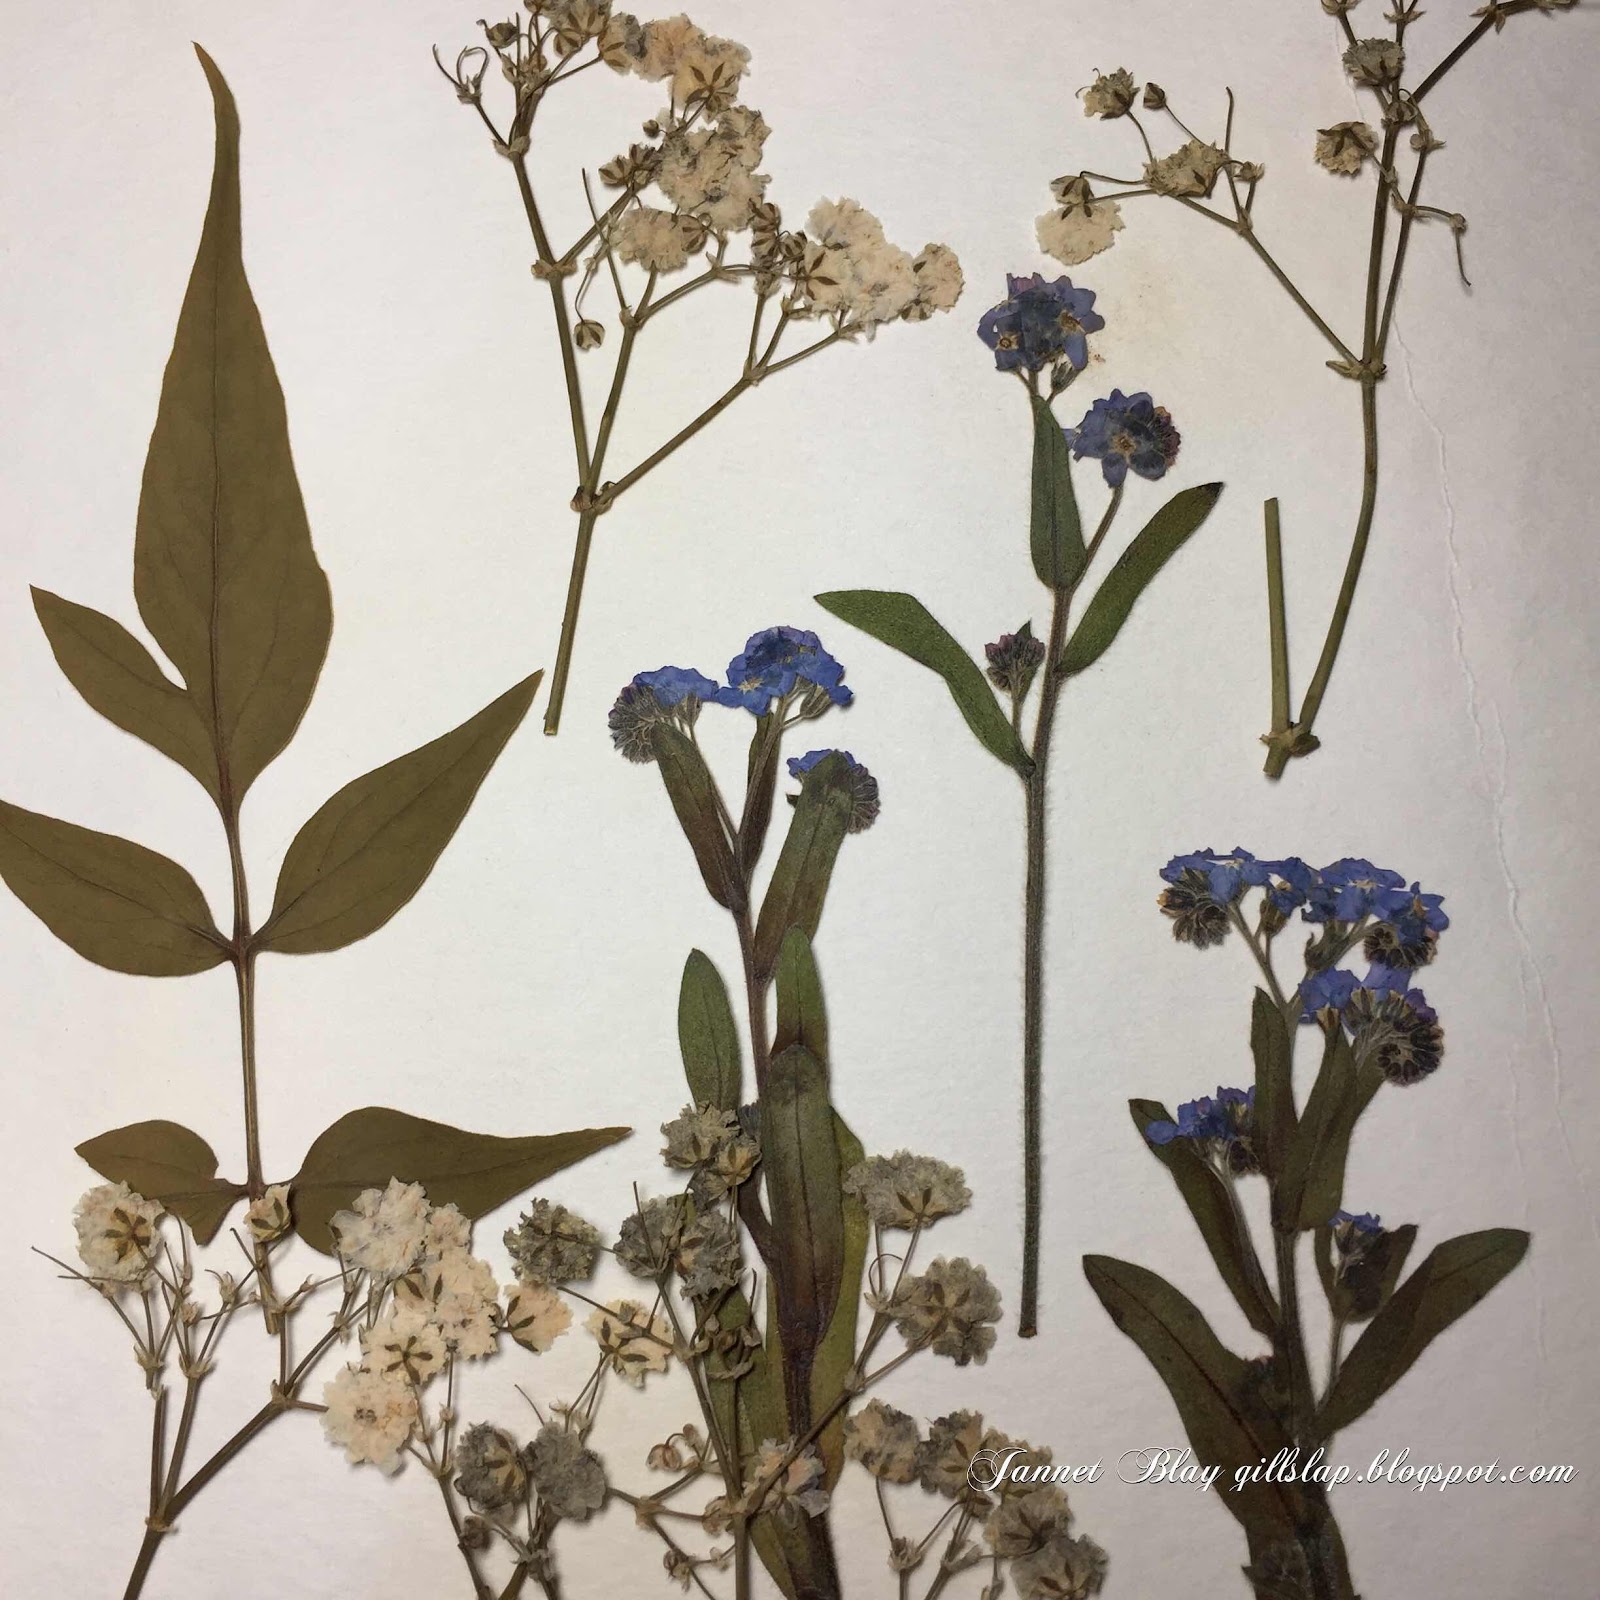
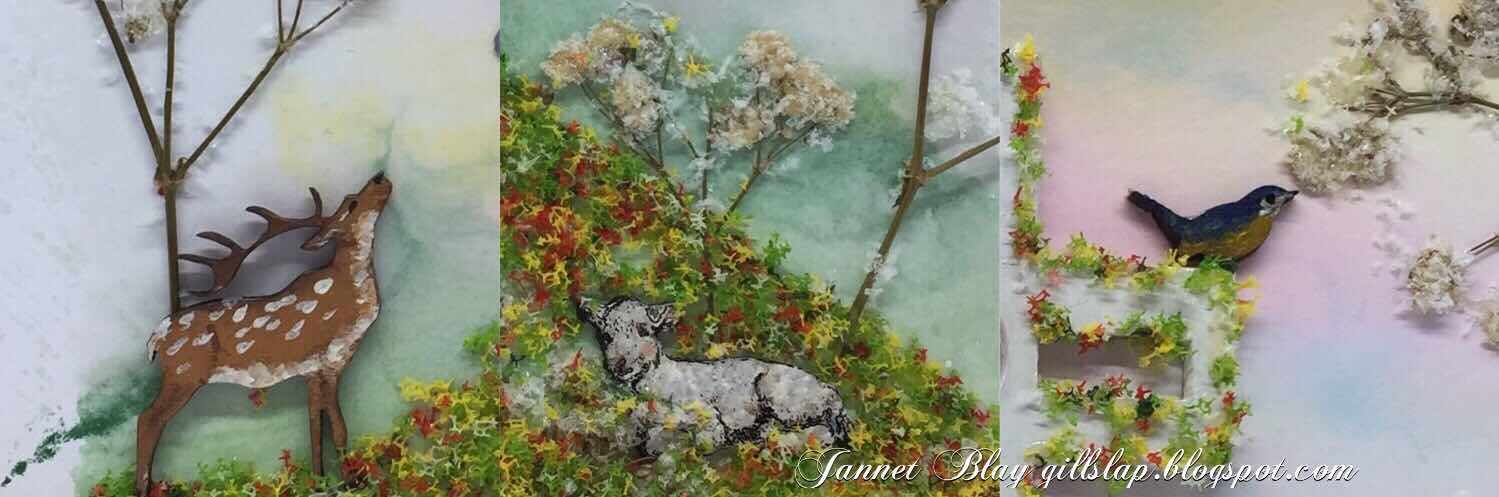
During the summer I like to press lots of flowers from the garden.They are always lovely to use in various crafts. I looked through my box of dried flowers and selected some Forget-Me-Nots, gypsophila, and various green leaves. I shuffled all of the animals and flowers around on my background until they looked ok, and then of course I shuffled them all around again! Finally when I was happy  I adhered everything in place. I used flowersoft around the cross, and also to create the hill.

Thank you for visiting today, I hope you will enjoy making some Spring/Easter cards with these gorgeous mini animals.
The Calico Crafts Parts I used  

Monday, 3 February 2020

The Empress - by Claudia

Hi, servus and welcome back to another inspirational post and project!

If you have been following my personal blog  (Von Pappe II) or the steampunk challenge blog I am running (SanDee&amelie's Steampunk Challenges) you may already know that today's make and post over here form the missing part and tutorial for a duo of arch shaped mixed media panels I've made.

So if you have already met "The Emperor", you might be pleased to now meet "The Empress" and learn about the how-to behind the make.


Don't the two make for a lovely and impressive couple? 


Calico Craft Parts used:

- Gothic Arch Shape - MDF Mixed Media Board (100mm x 60mm)
- Sheet of Mini MDF Label Holders Wood Shapes
- Sheet of Mini MDF Hinges Wood Shapes
- Sheet of Mini MDF Keys & Escutcheons Wood Shapes 
- Sheet of Mini MDF Wood Crowns - Style 3
- Sheet of Mini MDF Wood Cogs - Style 1
- Sheet of Mini MDF Wood Cogs - Style 2
- Sheet of Mini MDF Hardware Wood Shapes 
- Steampunk Pipes & Cogs - MDF Wood Corner (small, left hand and right hand style)


I used two portrait images from a sheet of a Tim Holtz designer paper stash and played around with all the Mini Wood Shapes until I was content with the look.


Next I glued the cut to size portraits in place using DecoArt matte Decou-Page. I also sealed the glued on images with a thin layer of the Decou-Page.


Then I mixed white DecoArt media Crackle Paint with some drops of DecoArt media Raw Umber fluid acrylic paint on my palette.


I scraped the mix onto the arch shaped panels only leaving the portraits visible but covering up the edges of the glued on images. While the tinted Crackle Paint was still wet I placed the wood shapes in their spots and used the paint to glue these in place.


Then I put my panels on our central heating to speed up the drying and crackling process. Afterwards I took a detail brush and DecoArt media Metallic Gold fluid acrylic paint to colour all the glued on elements. I also painted the little cogs, screw heads and washers that would be glued on later with the Metallic Gold paint. Once these had dried I glued them in place too using the matte Decou-Page.


I let the glue dry thoroughly before I went in with some slightly diluted Carbon Black DecoArt media Antiquing Cream to tone down everything. I heat dried the Antiquing Cream before I went in with a soft damp cloth to wipe back the Antiquing Cream where needed.


Using black soot Distress Crayon and my fingertip to smudge it, I darkened the arch shaped panels' edges.


 I added tiny sprinkles of slightly diluted DecoArt Americana Lamp Black and Snow White acrylic paint using a splatter brush.


Time to cut out the titles "Emperor" and "Empress" from my vintage dictionary. Using a detail brush and matte Decou-Page I glued these in place inside the label holders.


To add a finishing touch to my panels I used more media Metallic Gold paint and the very tip of my palette knife to scrape it on here and there.


Et voilĂ ! 

Please, allow me to introduce the Emperor and the Empress!


Some detail shots: 


...and once more the lovely couple


Thanks so much for stopping by!
See you in two weeks! 

Hugs and happy crafting!
Claudia
xxx


Monday, 20 January 2020

An Unfortunate Ending - by Claudia

Hi, servus and welcome to my "every other Monday" post and project!

Don't ask me what exactly made the idea for this project spark in my head - must have been something about huntsmen, a species among humans that - at least from my point of view - sees wildlife animals differently and that feels some kind of (for me irreproducible) joy when displaying and looking at their trophies on their walls...(guess it might have been the documentary on some Austrian hunting lodges that once were the playgrounds for old Austrian nobility and that had and still have walls plastered with mounted antlers and deer heads). I also remember I had a colleague back at school who was a huntsman and who once told a story about an old three-legged cat from their neighbours he accidentally shot and he told it as if it was some veeeery funny story to tell (well, I guess amongst hunters it is a funny story...which tells a lot about this particular kind of hunters in fact)....

...so maybe with that in mind my make isn't that weird anymore (I hope). The subconscious definitely took over with this one...


I imagined how the wall of a hunter might look if he were obsessed with hunting whatever animal would meet his path (for more funny stories to tell)....the neighbours' canary for example, a beautiful butterfly in his own garden and - of course - a deer from the woods nearby...


I have to admit though that I love looking at all the butterfly and beetle collections at the Natural History Museum, but at least it wasn't me who killed these specimen to display them on my walls. And I also have to admit that I do have three beetles in a shadow box at home that were souvenirs from a shop in Venice (hm....what does that tell about me I wonder...?). I think I am mainly pushed off by the visible joy of huntsmen when they talk about their hunts (I'm not talking about forest rangers and hunters of course who shoot deer and other animals because of legitimate reasons).

I love and admire the beauty of butterflies, beetles and even deer antlers or skulls being displayed and mounted thoroughly...but to me these are a means to get a close, long look to inhale and admire the wonders of evolution and nature. They're no trophies - and that makes a difference.

I was given some gorgeous Maja design papers by my lovely friend Kerstin and used one of these as wall paper to mount the trophies on.

Calico Craft Parts used: 

- Sheet of Mini Deer & Antlers - MDF Wood Animal Shapes - Style 3
- Rounded Rectangle Shape - MDF Mixed Media Board (150mm x 75mm)
- Sheet of Mini MDF Wood Wings - Style 4
- Sheet of Mini MDF Wood Butterflies - Style 6
- Fancy Plaques - Mini MDF Wood Shapes 
- Oval Shape - Mini MDF Wood Shapes


I used DecoArt matte Decou-Page to glue the (slightly larger cut to size) paper and decorative strip to the Mixed Media Board and then sanded off the excess. Then I inked the edges with brown archival stamping ink and a blending foam. The bird and butterly wings and antlers were glued onto the Mini MDF Wood Shapes and set aside to dry. Then I dry brushed them with DecoArt media white Gesso.


I painted the butterfly wings with hints of DecoArt Americana Primary Red and a wash of media Cobalt Turquoise Hue fluid acrylic, on the Canary wings I used media fluid acrylic Hansa Yellow Medium and on the antlers a thin wash of premium Burnt Umber acrylic paint that I also used directly from the tube to paint the plaques.


The antlers were then covered by a generous coat of DecoArt media Liquid Glass and set aside to have them dry naturally.


I used diluted DecoArt media Antiquing Cream Raw Umber to tone down the painted wings and stamped the specimens' numbers on the "wallpaper" in black archival ink before I glued everything in place.

The word sticker was shaded using my Stabilo All black aquarellable pencil and a water loaded detail brush.


Done!


I hope my slightly grim sense of humour doesn't push anyone off (well, if it pushes off a certain kind of hunters I am totally fine with that...lol). 

Hugs and happy crafting!
Claudia
xxx


Thursday, 16 January 2020

Altered Tea Caddy - by Lesley

Hi everyone. Lesley here with my first post of the year. 
I've had this tea caddy for a while, don't know why I've waited this long to use it.....its fab! Such a brilliant size!
All sides were prime with gesso. And then I picked some colours and dry brushed them on.


I stamped along the sides and added a lightbulb on the top!


I used some of the mini stars on the sides.


The image of the girl was a stamp from my stash, which I stamped onto tissue paper and glued to the front of the caddy. She deserved a mini crown!


Thanks for reading,
L.x

Ingredients used

Sunday, 28 July 2019

Wild Geese - Charcoal Storage by Julie Ann

I hope you've been enjoying some beautiful summer days and managing to keep cool! I recently discovered the pleasures of sketching in charcoal, so I decided to create storage for my charcoal sticks and evoke a memory of geese flying on a glorious summer evening at the same time - courtesy of Calico Craft Parts.


I used an ATC/Tag display box. These are so easy and quick to assemble - and - like so many Calico Craft Parts - really adaptable to other uses. To begin with, I painted the sides and inside of the box with heavy black Gesso.


Only one coat is necessary for a great, smooth finish.


I used a grey water-colour pencil to sketch a stylised portrait from a photo of my daughter. This was to form the back of the 'case'.


For the sides I used the same method of creating stylised faces, going on to block them in with diluted, Acrylic inks. I toyed with the idea of adding a crown, but I opted for a simpler, bare-headed approach eventually.


It was fun to create swirls with a white gel pen.


I really wanted to get those crowns on there, so I added them as side details. The simple effect of the gold, metallic paint with the black Gesso, worked really well, I thought.


The Art Deco/Nouveau style ornaments added a vintage touch.


The image on the back of the box was inspired by a summer memory. One evening just before sunset, my daughter and I were sitting on our patio chatting, when the beating of wings overhead drew our eyes upward. A flock of geese were soaring into the blue evening sky and as they flew the sun touched the oil on their feathers and turned it to a kind of rippling, molten gold.


It was one of those moments that are beautiful to share not least because they are almost impossible to describe exactly to anyone who wasn't there.


I used 3 of the flying sea-gulls painted gold as my wild geese. May your summer be filled with memorable moments. Happy Creating until we meet again.
Calico Craft Parts used in this Project
ATC/Tag Display Box (MDF)
Art Deco & Nouveau Style Ornament
Crowns sheet of mini wood MDF crowns
Garden Birds sheet of mini wood MDF Garden Birds
Acorns and Oak Leaves mini wood MDF shapes
Sheet of Mini MDF Seagulls Wood Bird Shapes