Showing posts with label Fungi Fruits & Vegetables. Show all posts

Monday, 17 April 2023

Wonky Forest House

 Hello everyone!


 When I discovered the wonky house, I immediately thought it was not just for Halloween,

 it could also be a wonderful old enchanted wooden cabin in a magical forest. 

So I quickly glued the parts together, which wasn't that easy,

 but I wanted to create an old half-ruined romantic hut.


 raw construction

used Trefoil border shape as a base board

looked for a few matching pieces in Autumn & Woodland Shapes section. 

 Have you seen the new Skeleton, Dead Trees, Stumps & Branches?

Love them, perfect for an enchanted forest theme

and a lot of other fantasy themes!

You will certainly be able to discover them here more often in the near future. 😀

All parts were painted with acrylic paint, finally I added some suitable

 dried natural materials.


various side views


 Thanks for your visit!
 
 I hope you find inspiration!


Kerstin


Saturday, 11 February 2023

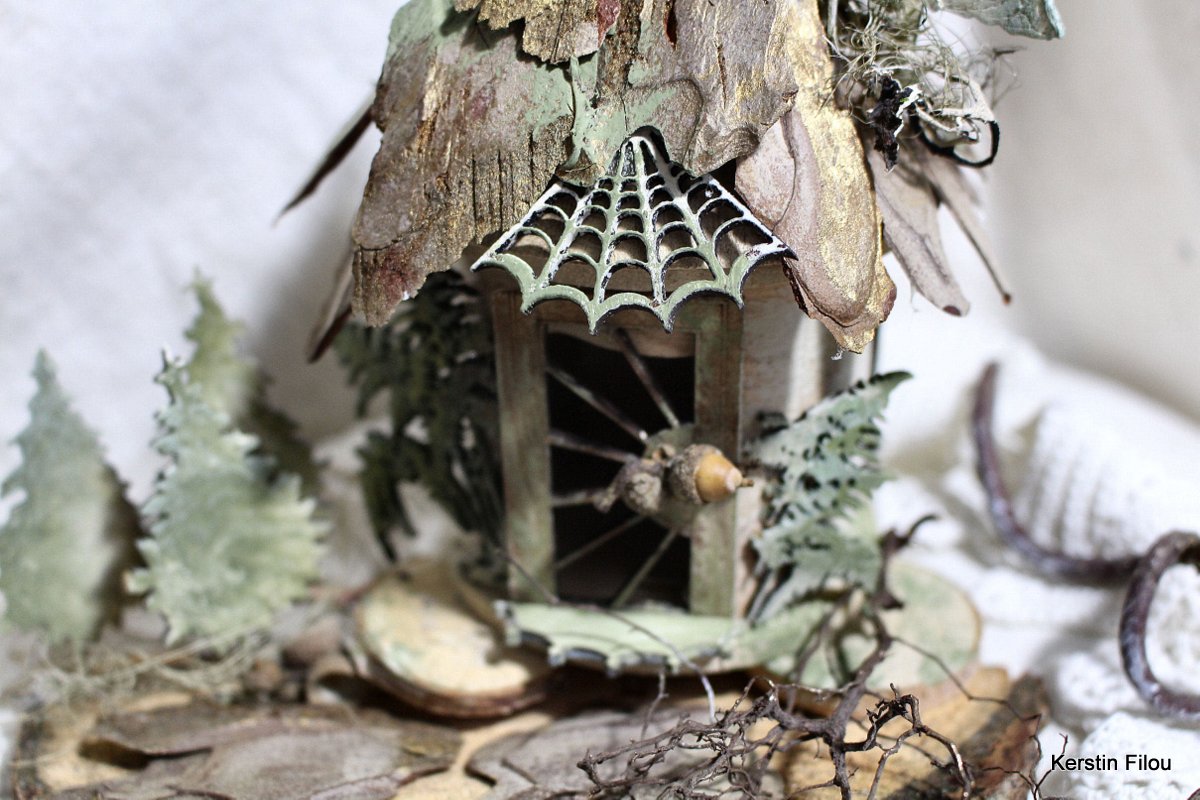
Little forest house


 Hello everyone!


 When I saw the latest Birdhouse Kits
 I was inspired to create a magical little forest house. 
would be very suitable for a similar craft idea.
 
I used a simple wooden birdhouse as base, worked with some
 suitable MDF shapes and natural dried materials. 
 
The perfect addition for me was the sunbeam door 
and the little spider web canopy, they take us into an enchanted world 
where elves feel at home.


used MDF shapes


 Sunbeam Glazed Door

Maidenhair Fern MDF Wood Shape - Style 1

Spider Web - MDF Corner Wood Shape

 Winter Tree Scene MDF Wood Shape - Style 3

Toadstools on Toadstools

 Trefoil Border Shape - MDF Mixed Media Board

 Sheet of Mini MDF Window Wood Shapes


back


side view
 
 
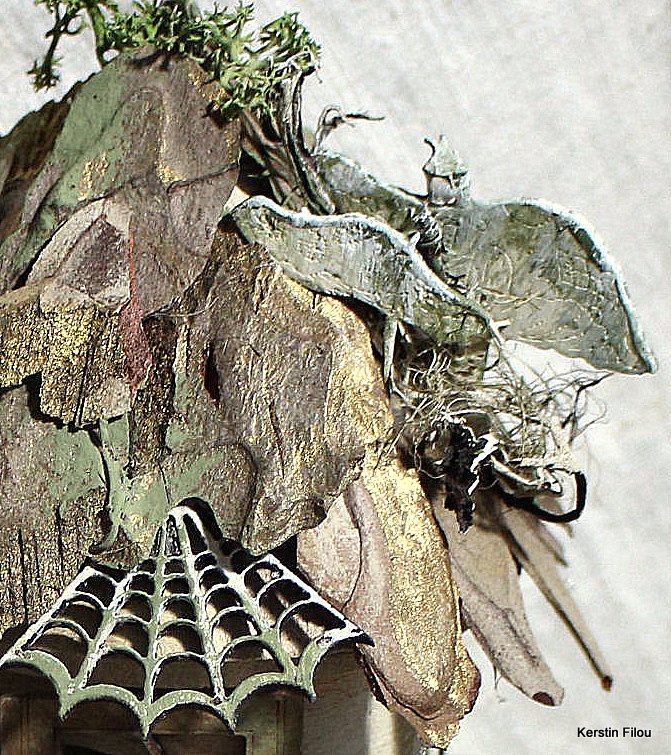
some close up's


 Thanks for your visit!
 
 I hope you find inspiration!


Kerstin


Saturday, 30 October 2021

Beware Dementors by Kerstin

Welcome everyone!


Have you seen the latest Hanging kits on Calico Craft Parts???

Awesome 🎃👀🎃, such a lot of creative possibilities!!

 Today the third variant


 Some of you may remember on my Pirate curse project

for which I also used this Skull & Ghosts Hanging kit.


These floating ghosts reminded me of dementors known from the Harry Potter movies. 

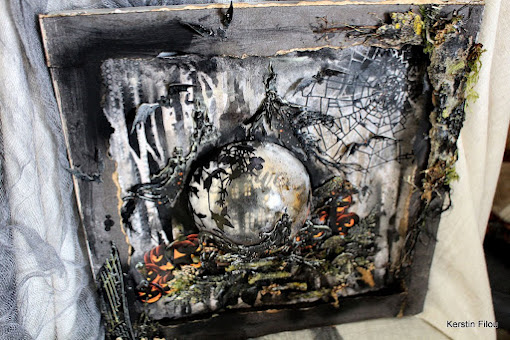
I was inspired to create a shadow frame with an illuminated 3D effect in mixed media style. For this special effect I used half a transparent acrylic globe 

and thought about the magical shield around Hogwarts.


Skull & Ghosts - MDF Halloween Hanger Kit


 one becomes two 😀


Beware Dementors

They have the ability to drain men of their happy memories

 until they have to relive their worst moments over and over again.

! Maximum scary factor !

- only happy memories can help -


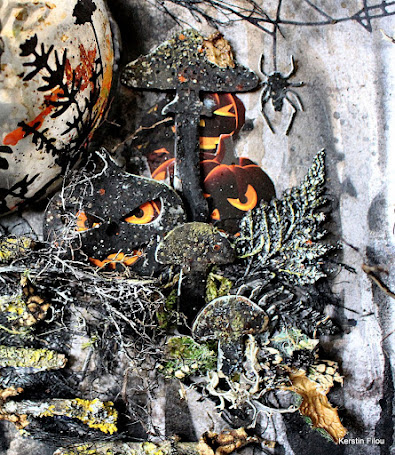
some close up's


used MDF shapes from Calico Craft Parts


Skull & Ghosts - MDF Halloween Hanger Kit

Mushrooms - Fungi MDF Wood Shape - Style 12

 Zombie Arms and Boots - MDF Add On Sheet


Thanks for your visit!


Happy crafting!

Kerstin


Saturday, 21 August 2021

Lost places by Kerstin

 Welcome creative friends!


As a result of our history, you often come across forgotten places on hikes here. 

In the middle of the forest you will find an abandoned clinic

 or a holiday and recreation home.

Mysterious, magical but sometimes eerie and spooky too.

 I always find it very exciting how quickly nature reclaims its field. 


I designed today's project with these thoughts in mind, 

a mixture of nature inspirations and the first hints of halloween thoughts.


It is now well known, that I love to work in a weathered worn style, or ??? 😀

 If you have specific questions about colour and texture design, 

please feel free to contact me.


some close up's


 I'm afraid windows have not been cleaned for a long time :-)


used Calico Craft Parts


Gothic Arch Shape - MDF Mixed Media Board

 Stone Mullion Double Gothic Arch Window

in two sizes

Maidenhair Fern MDF Wood Shape - Style 1

Ivy Leaf Swag

Curly Double Toadstool - Plain or Engraved

Skeleton Tree Duo MDF Wood Shape - Style 1


Thanks for your visit!


Happy crafting! 


Kerstin

Saturday, 31 October 2020

Witching Hour in Haunted Castle by Kerstin

 Hello, creative friends!


I was thrilled when I discovered the "Haunted Castle Shrine" at Calico Craft Parts - just great! 

It looks like an enchanted castle, right?! And it reminds me on some wonderful Disney film stories.At first I was not sure how I wanted to design the interior, then these old grandfather clocks came to my mind and I decided to hang a clock pendulum inside. 


 Tips & Tricks


First I drilled a hole in the middle of the upper part, then I connected the border to the spider's web with the help of a small metal ring (used for jewellery making), the upper part of the oak vine was pushed through the opening and then fixed with another small wooden part. 


Now the pendulum was free to move! From my own experience I can now report that the oak vine was a bit too delicate for the constant "Tick Tock , Tick Tock" 😏of the clock pendulum. 

But hey - to go by empiricism is wiser than just trusting in wishful thinking, right?! 


For the clock pendulum I used the following parts:

Spider Web Flourish

Oak Leaves and Acorns Border

completed with  

Winged Devil

 Creatures of the Night - Sheet of Halloween Mini Wood Shapes


The base - before colouring and designing


Some close up's


Listen to the pendulum swinging - tick tock, tick tock ;-)


Calico Craft Parts used: 

MDF Shrine Kit - Haunted Castle Size Medium

Witch on Broomstick MDF Wood Shape - Style 3

Grim Reaper Border Scene

 Mushrooms - Fungi MDF Wood Shape - Style 13

Flying Bat Colony

 Spider Web - MDF Corner

  Halloween - MDF Wood Word


Happy Halloween!

Kerstin


Monday, 21 September 2020

An Autumn Visitor by Jannet


I hope all is well with you. Today we have a  little friend visiting us, a red squirrel sadly they are very rare in the UK now. I invited him in, and he sat him happily on a toadstool. 
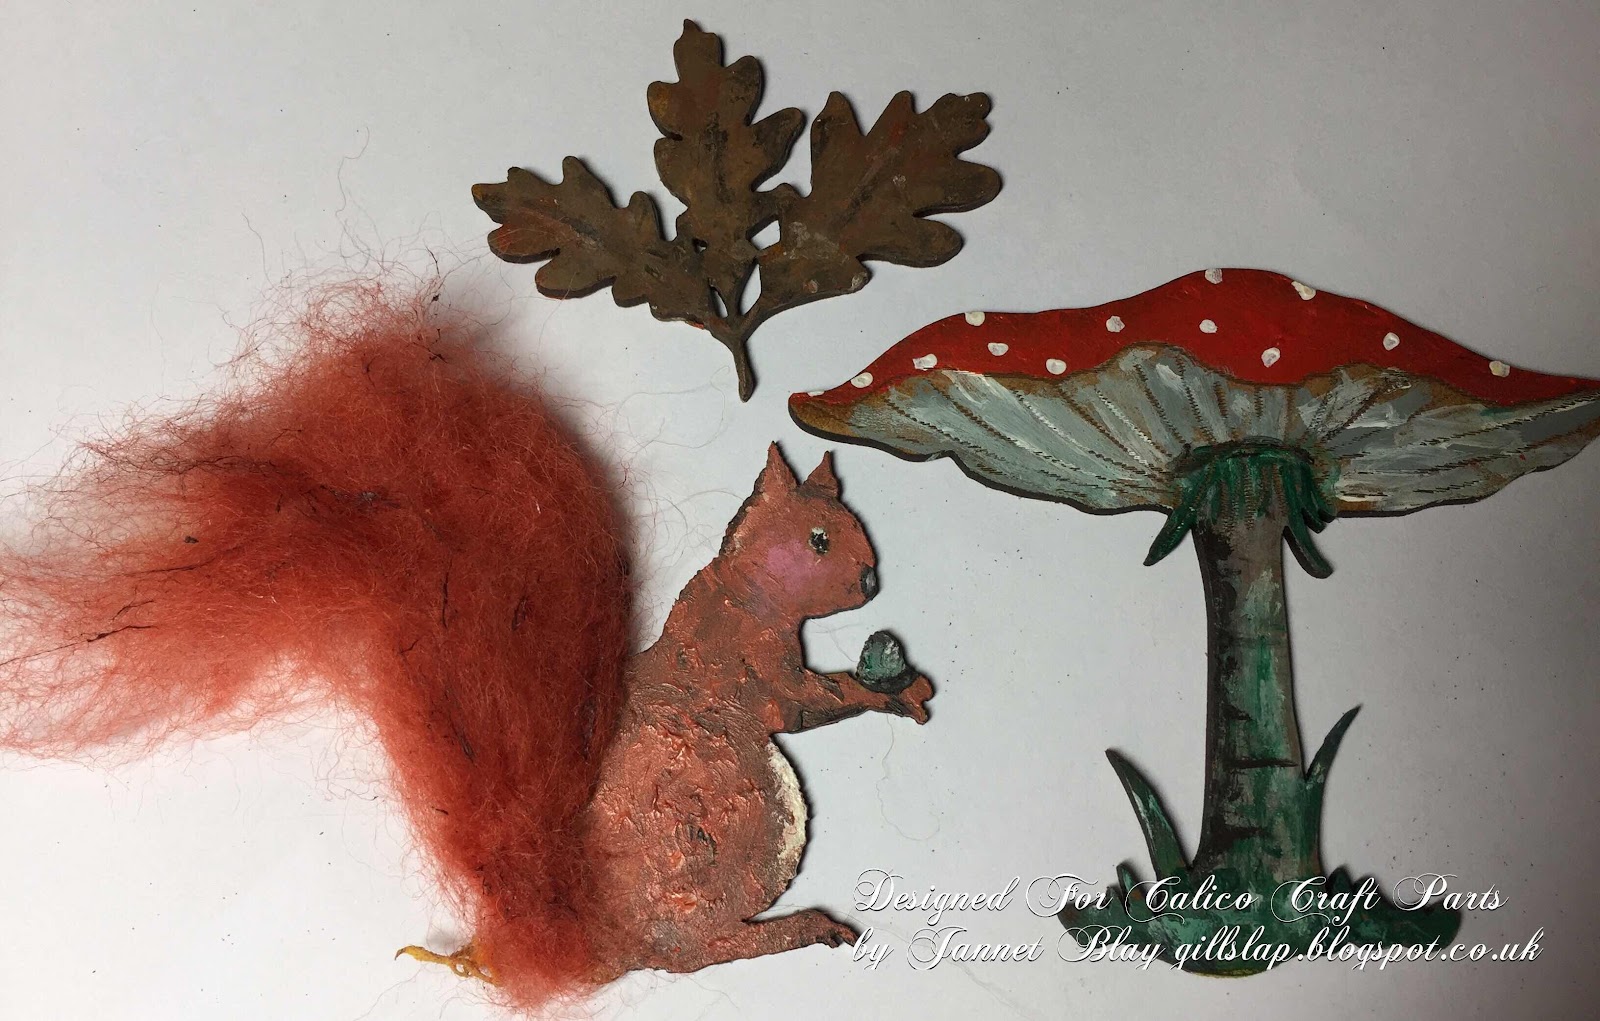


My squirrel is enjoying nibbling on an acorn, I painted him with acrylic paints, and used some needle felting wool to give him his all important bushy tail. I also painted a toadstool and some leaves.


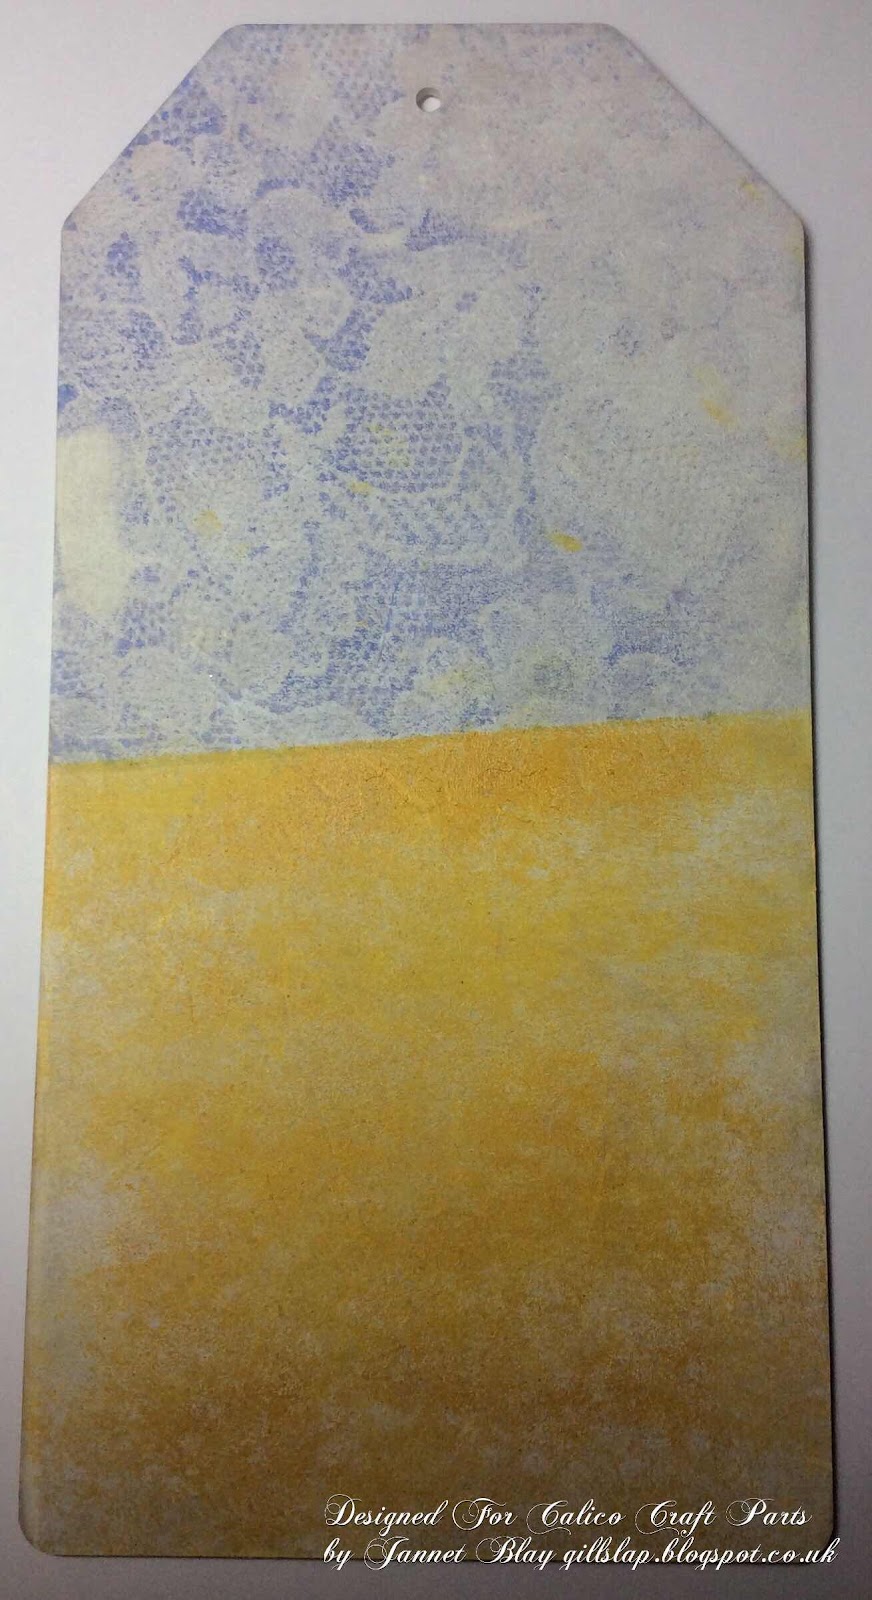
After coating the tag with white gesso I inked up a gelli plate, and laid some old lace over it which left a lovely pattern when removed. I pressed the tag onto it so the lace pattern was transferred. I used a stencil to add some tree branches.


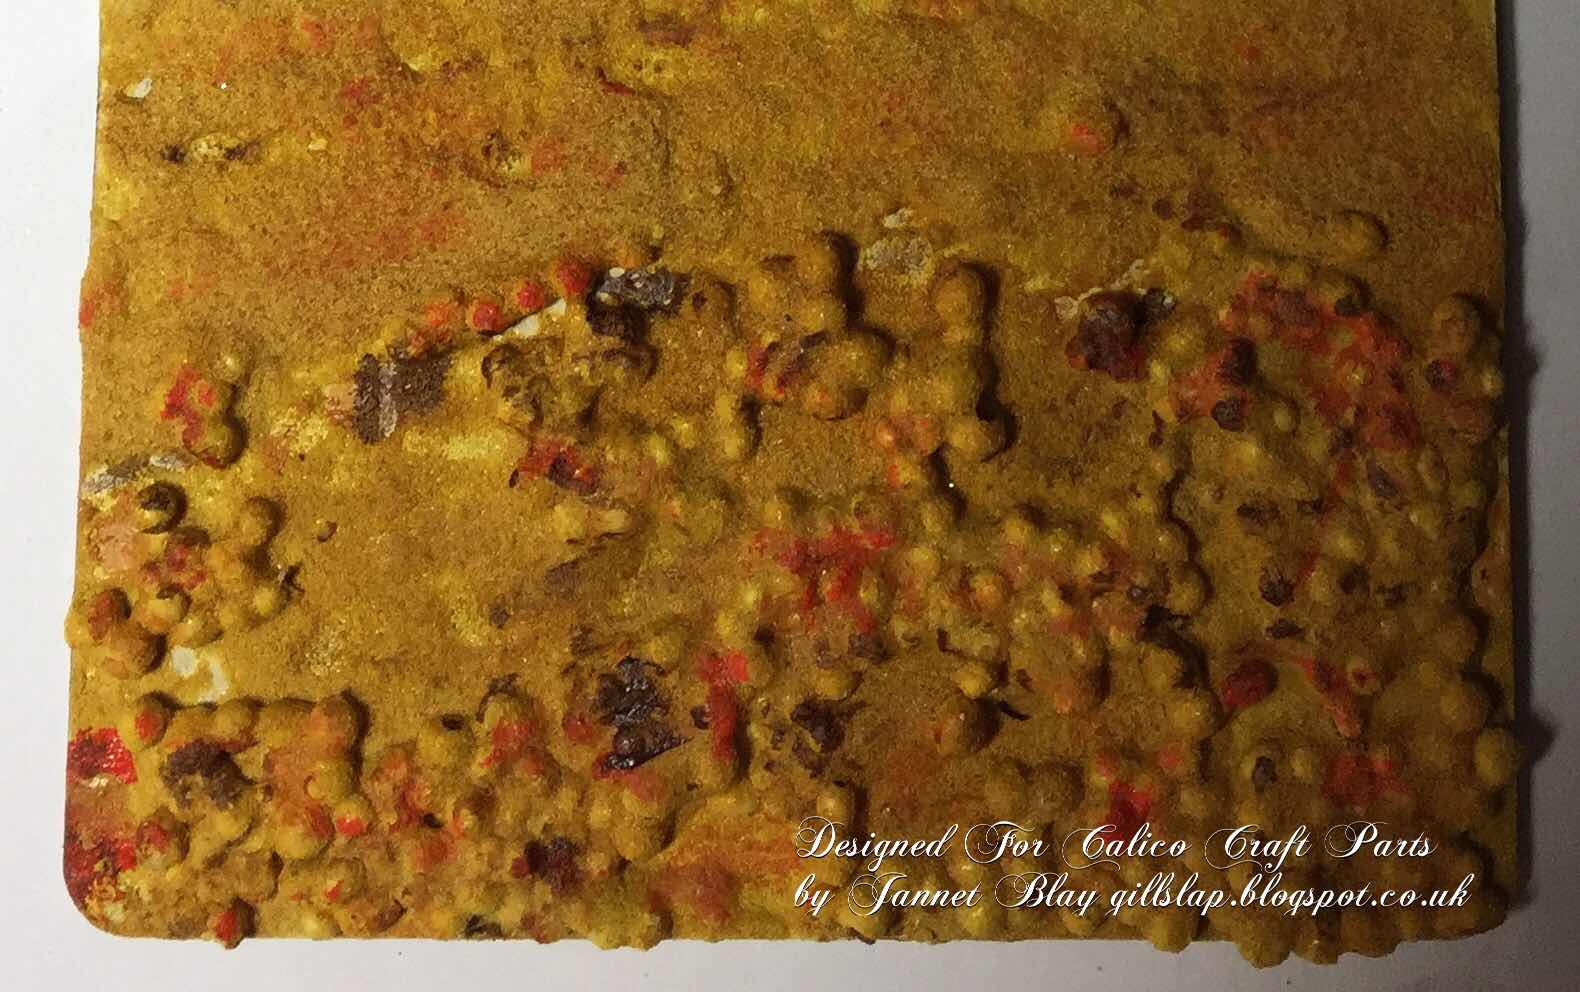
On the lower half of the tag I added layers of texture paste keeping it thinner at the top and then adding a little marble dust as I bought it down to the base of the tag. I added art stones nearer the bottom to give  even more texture.I adhered my painted pieces  onto the tag, and added some autumn coloured  moss onto the tree branches. To complete the tag I found a suitable sentiment to stamp out onto a scrap of card and adhered it onto the tag 


Calico Craft Parts used


Monday, 7 September 2020

Celebration Garden by Jannet


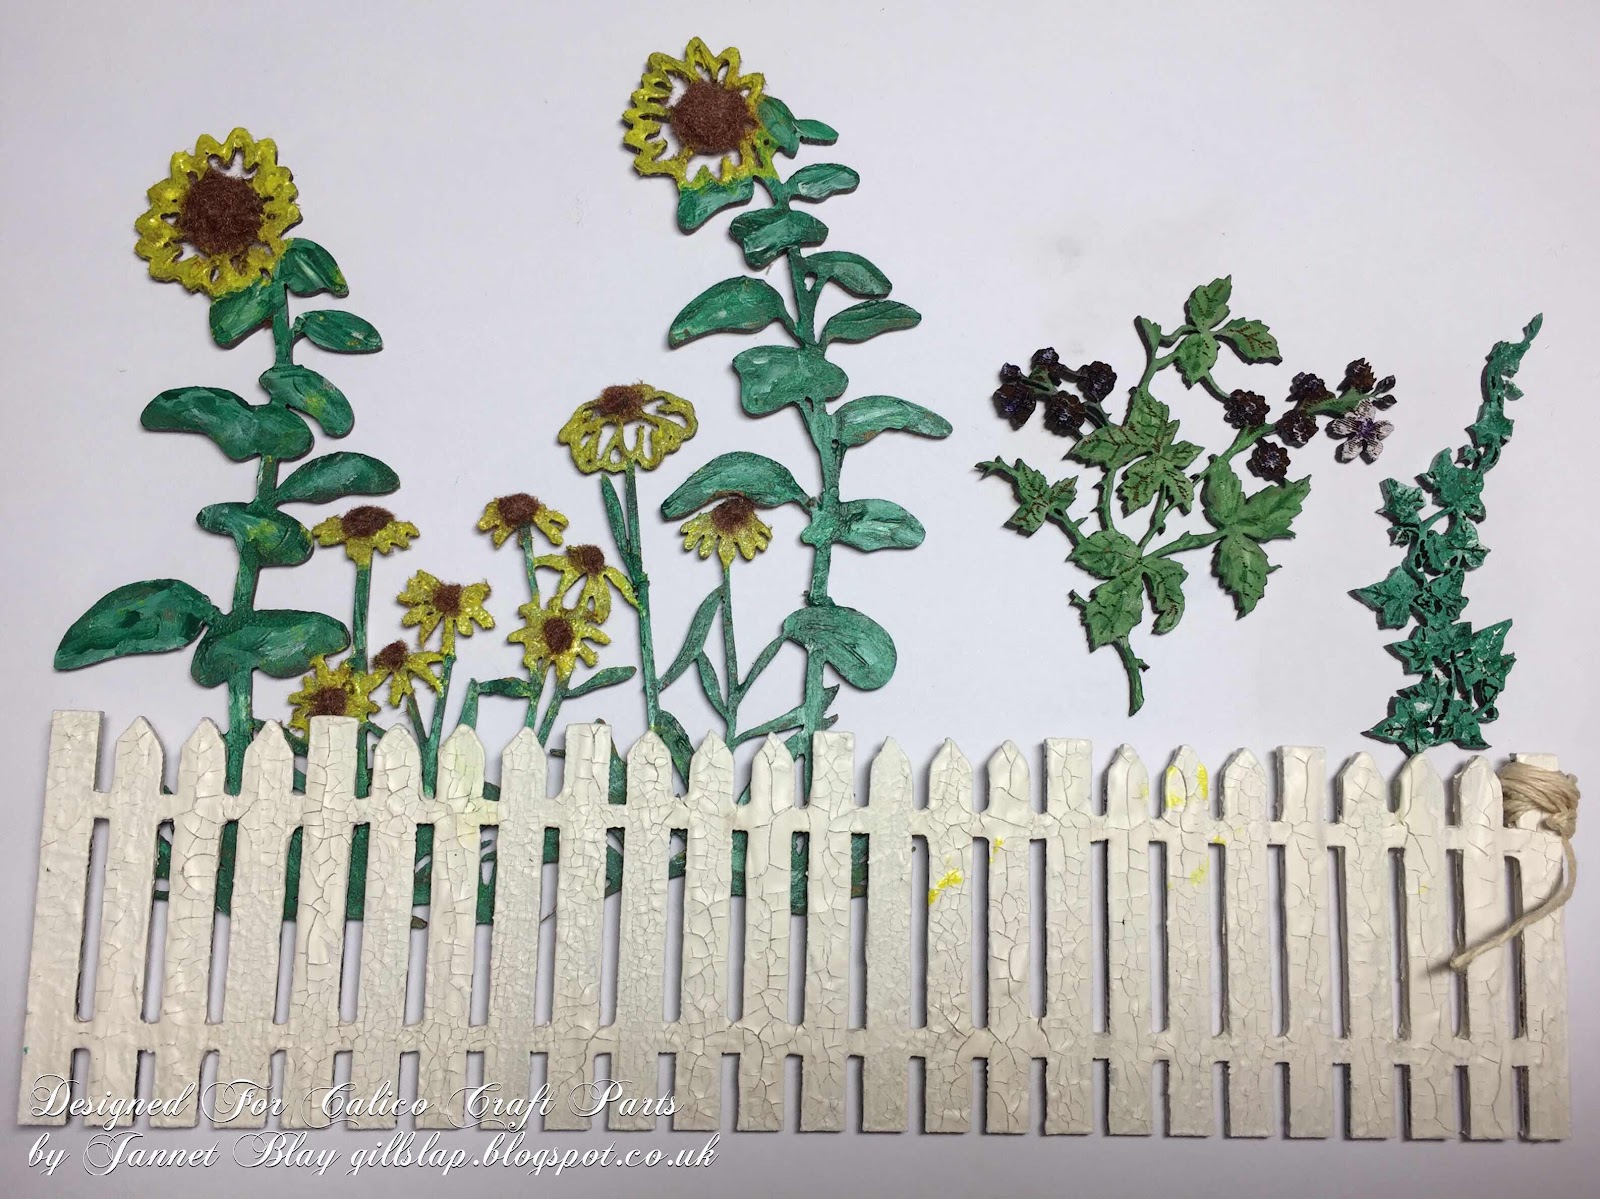
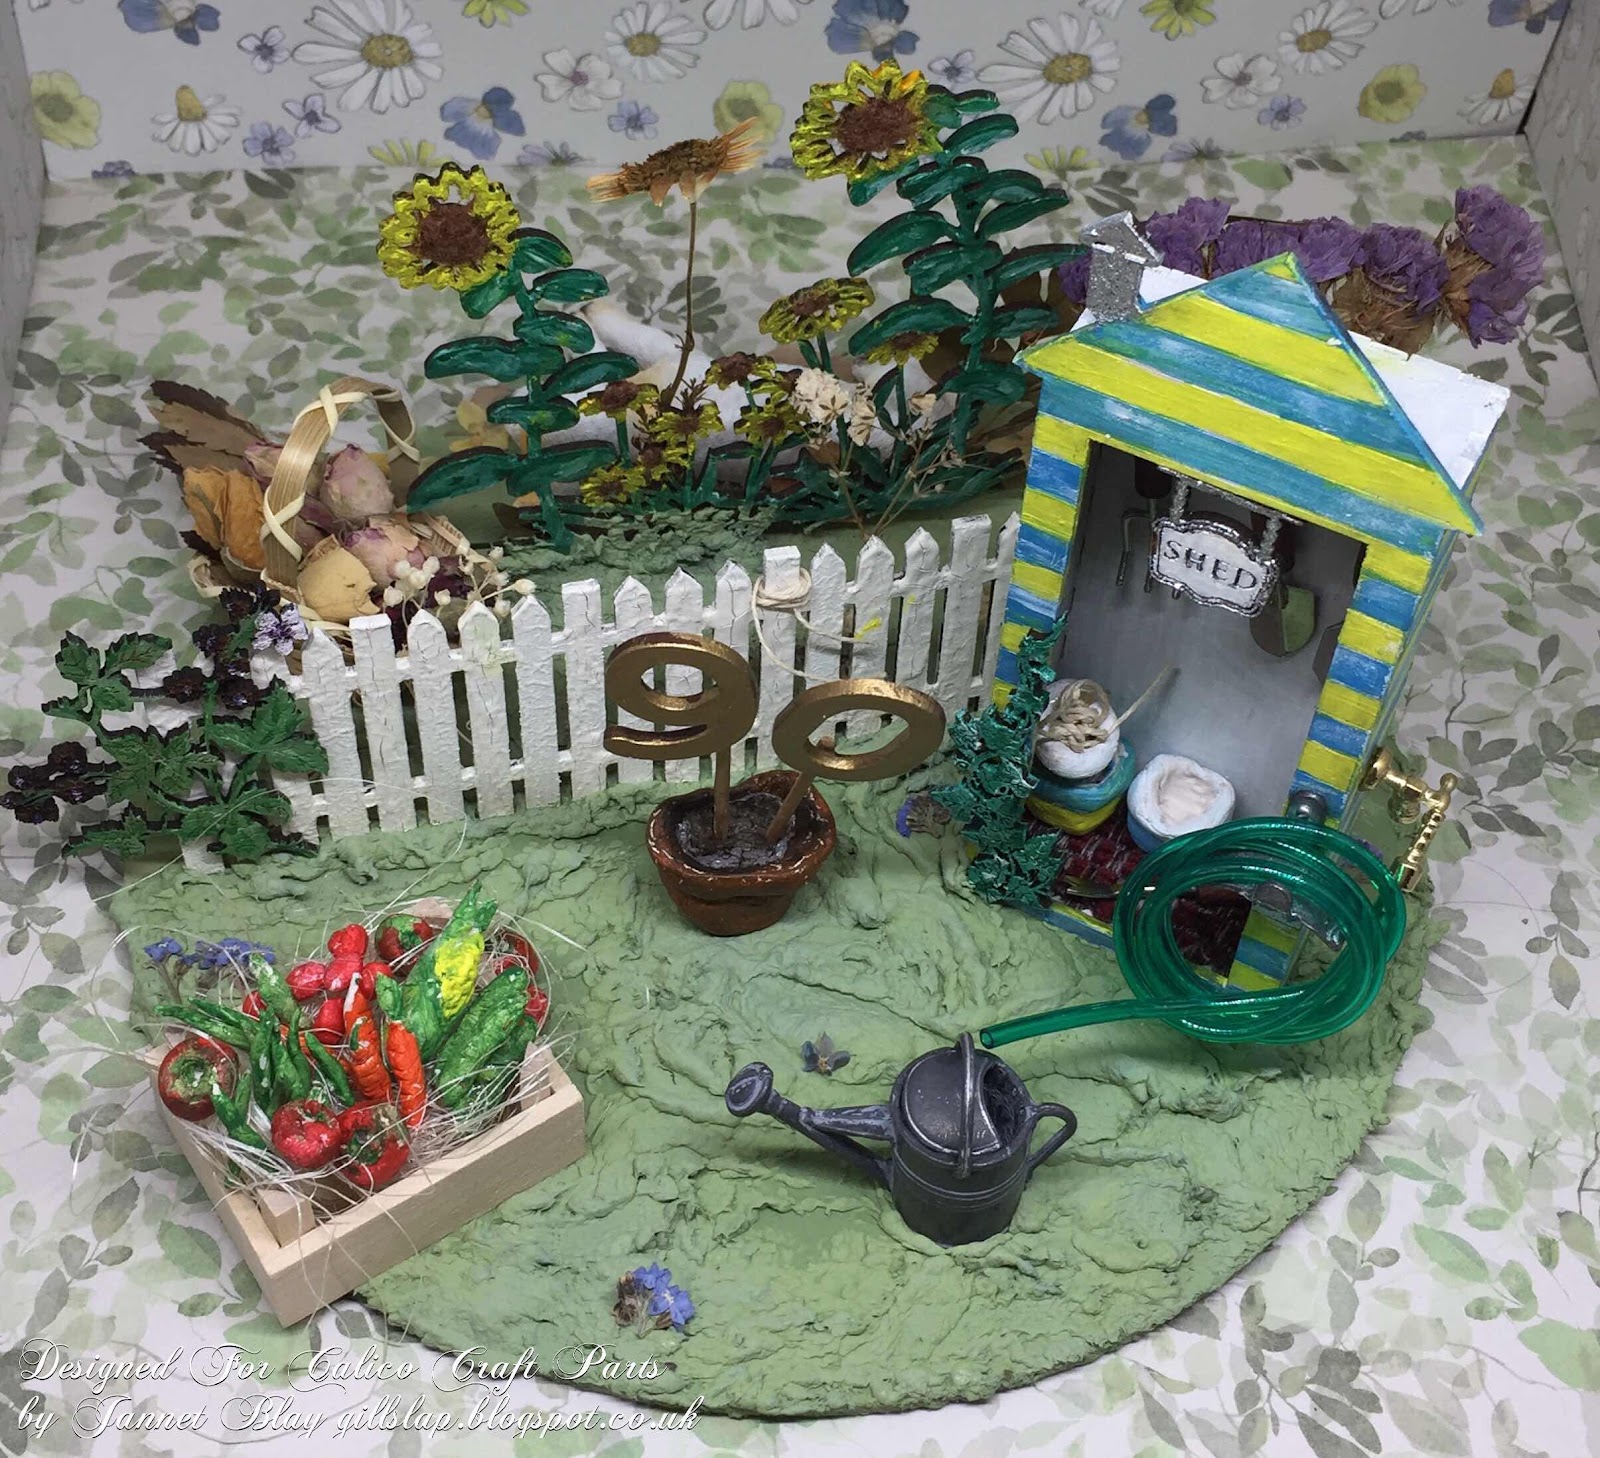
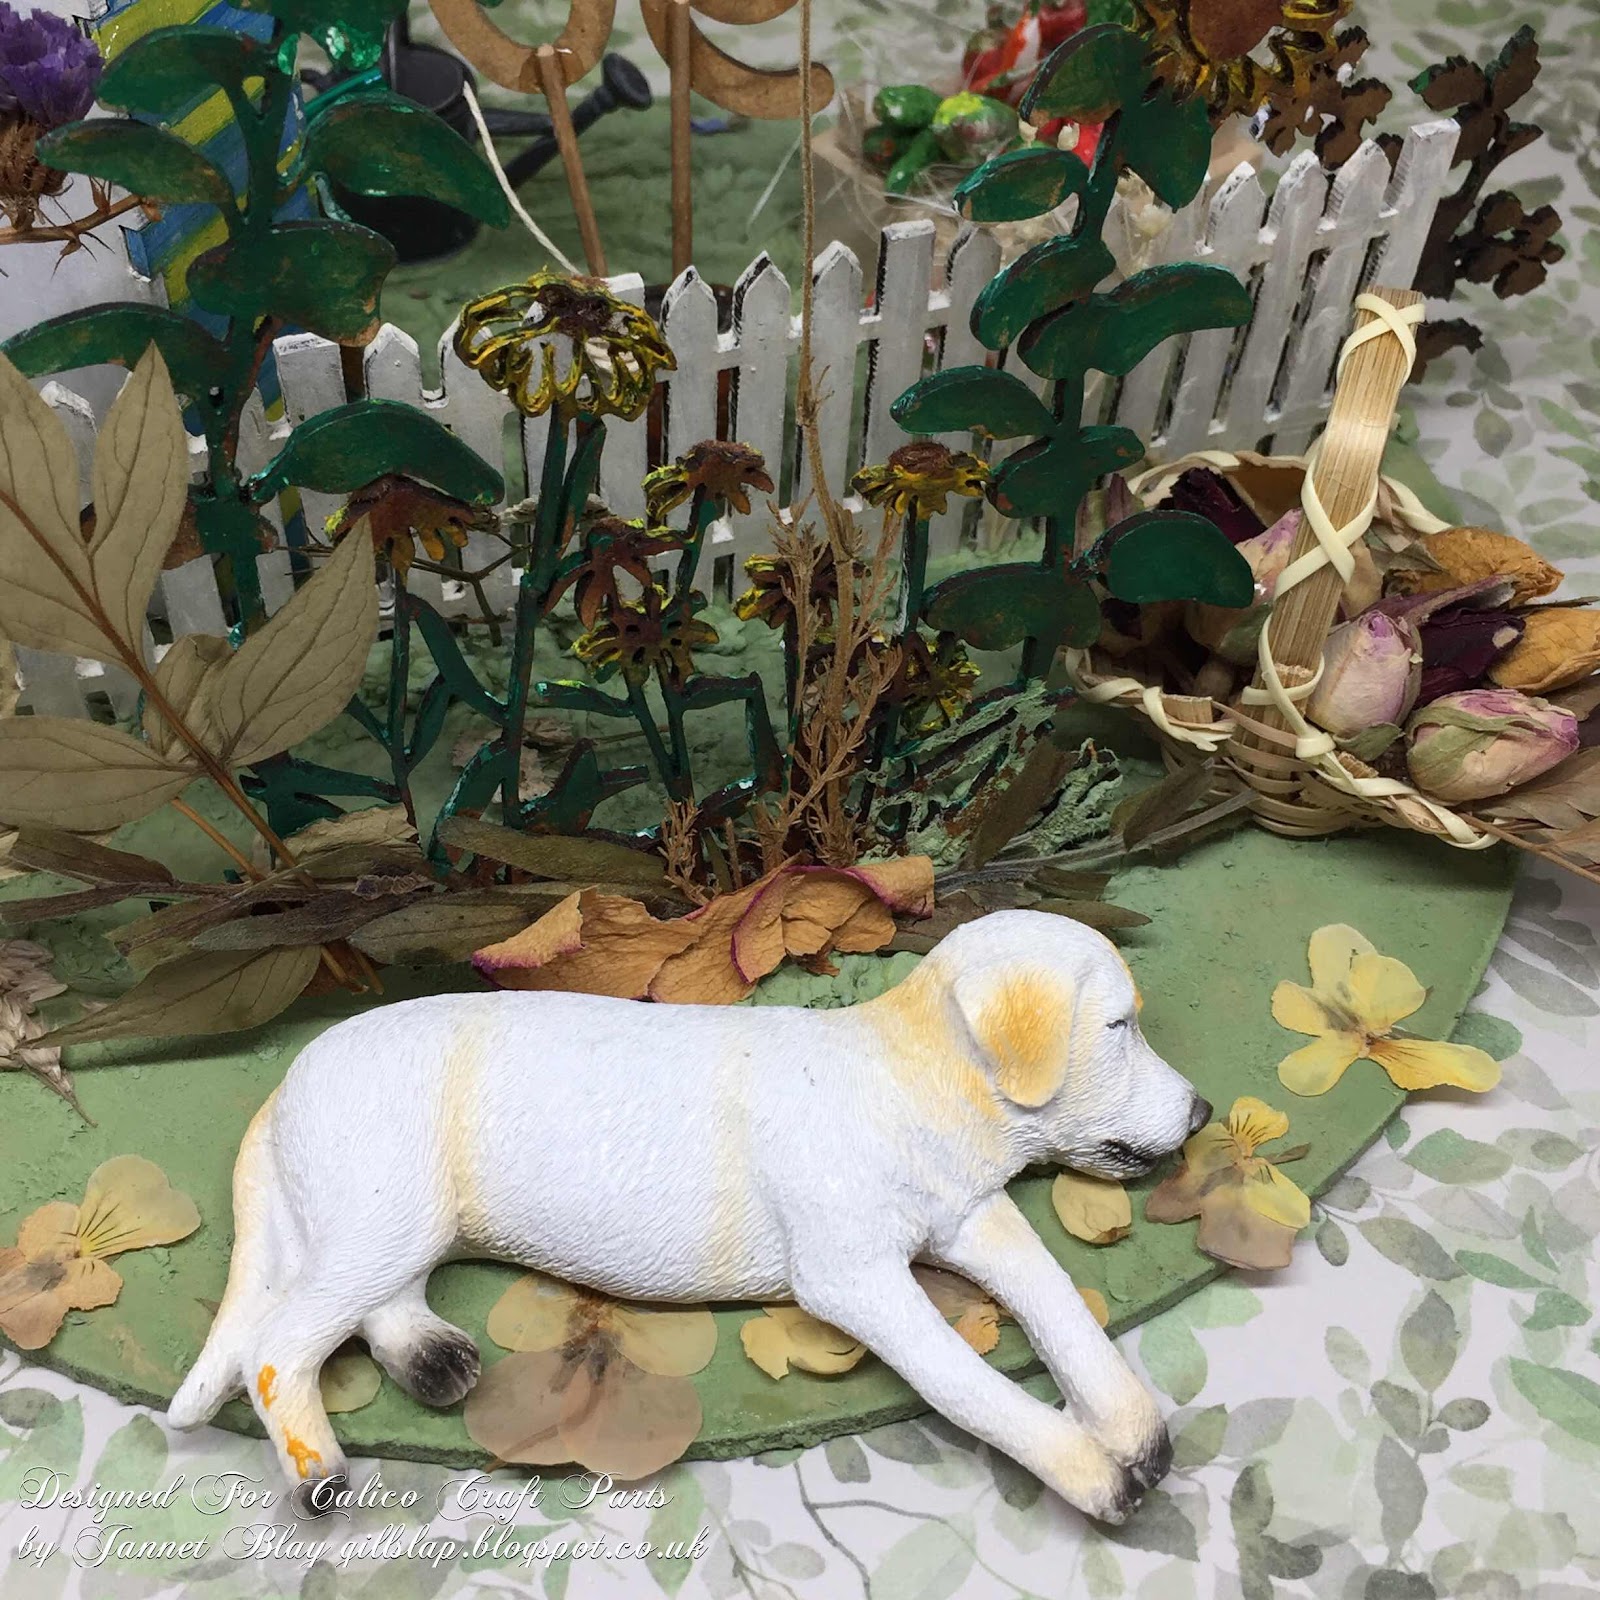
Hello, I hope all is ok with you. Today I am sharing a special miniature garden which I have created for someones  90th Birthday ! In his younger days the recipient was a Farmer, and is still a keen gardener today. I began by selecting my  items for the special garden, a shed was the obvious first choice, and then I picked sunflowers, blackberries, and other exciting garden goodies to work with. 


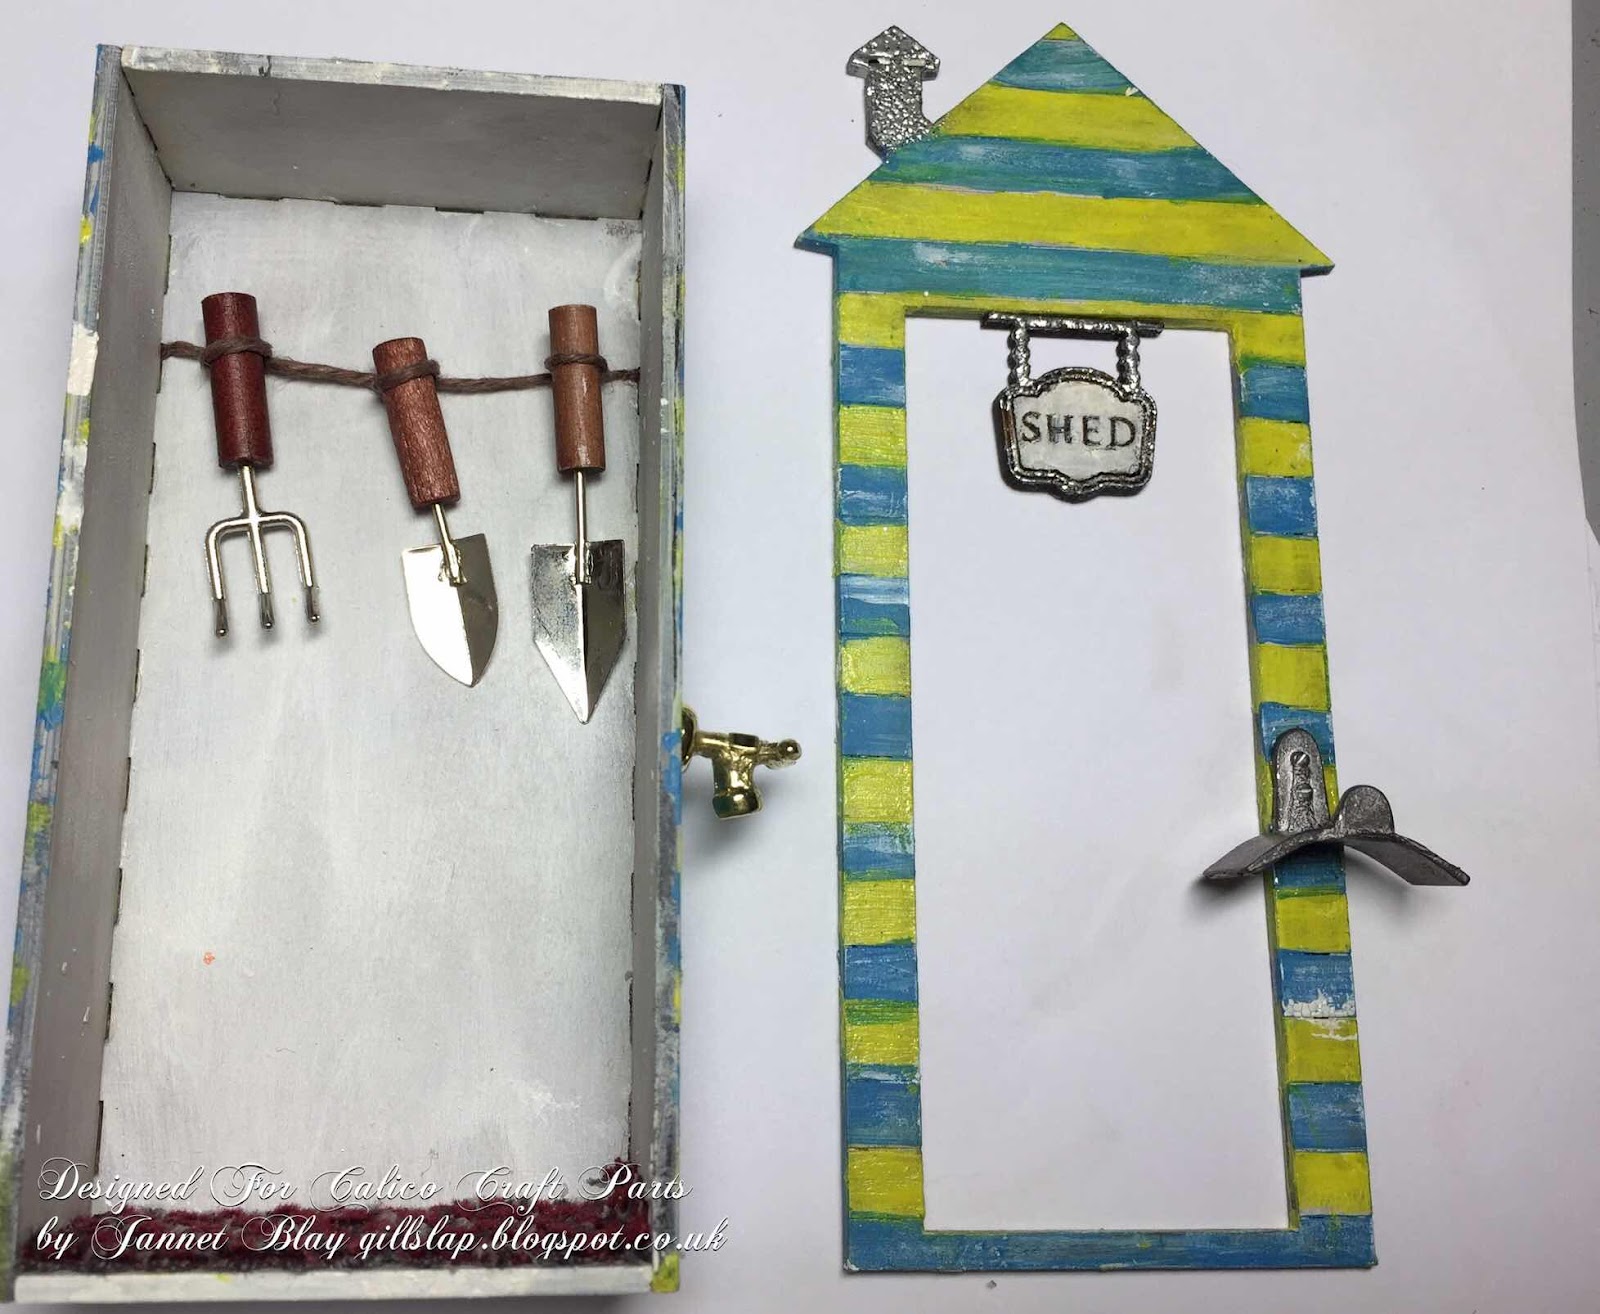
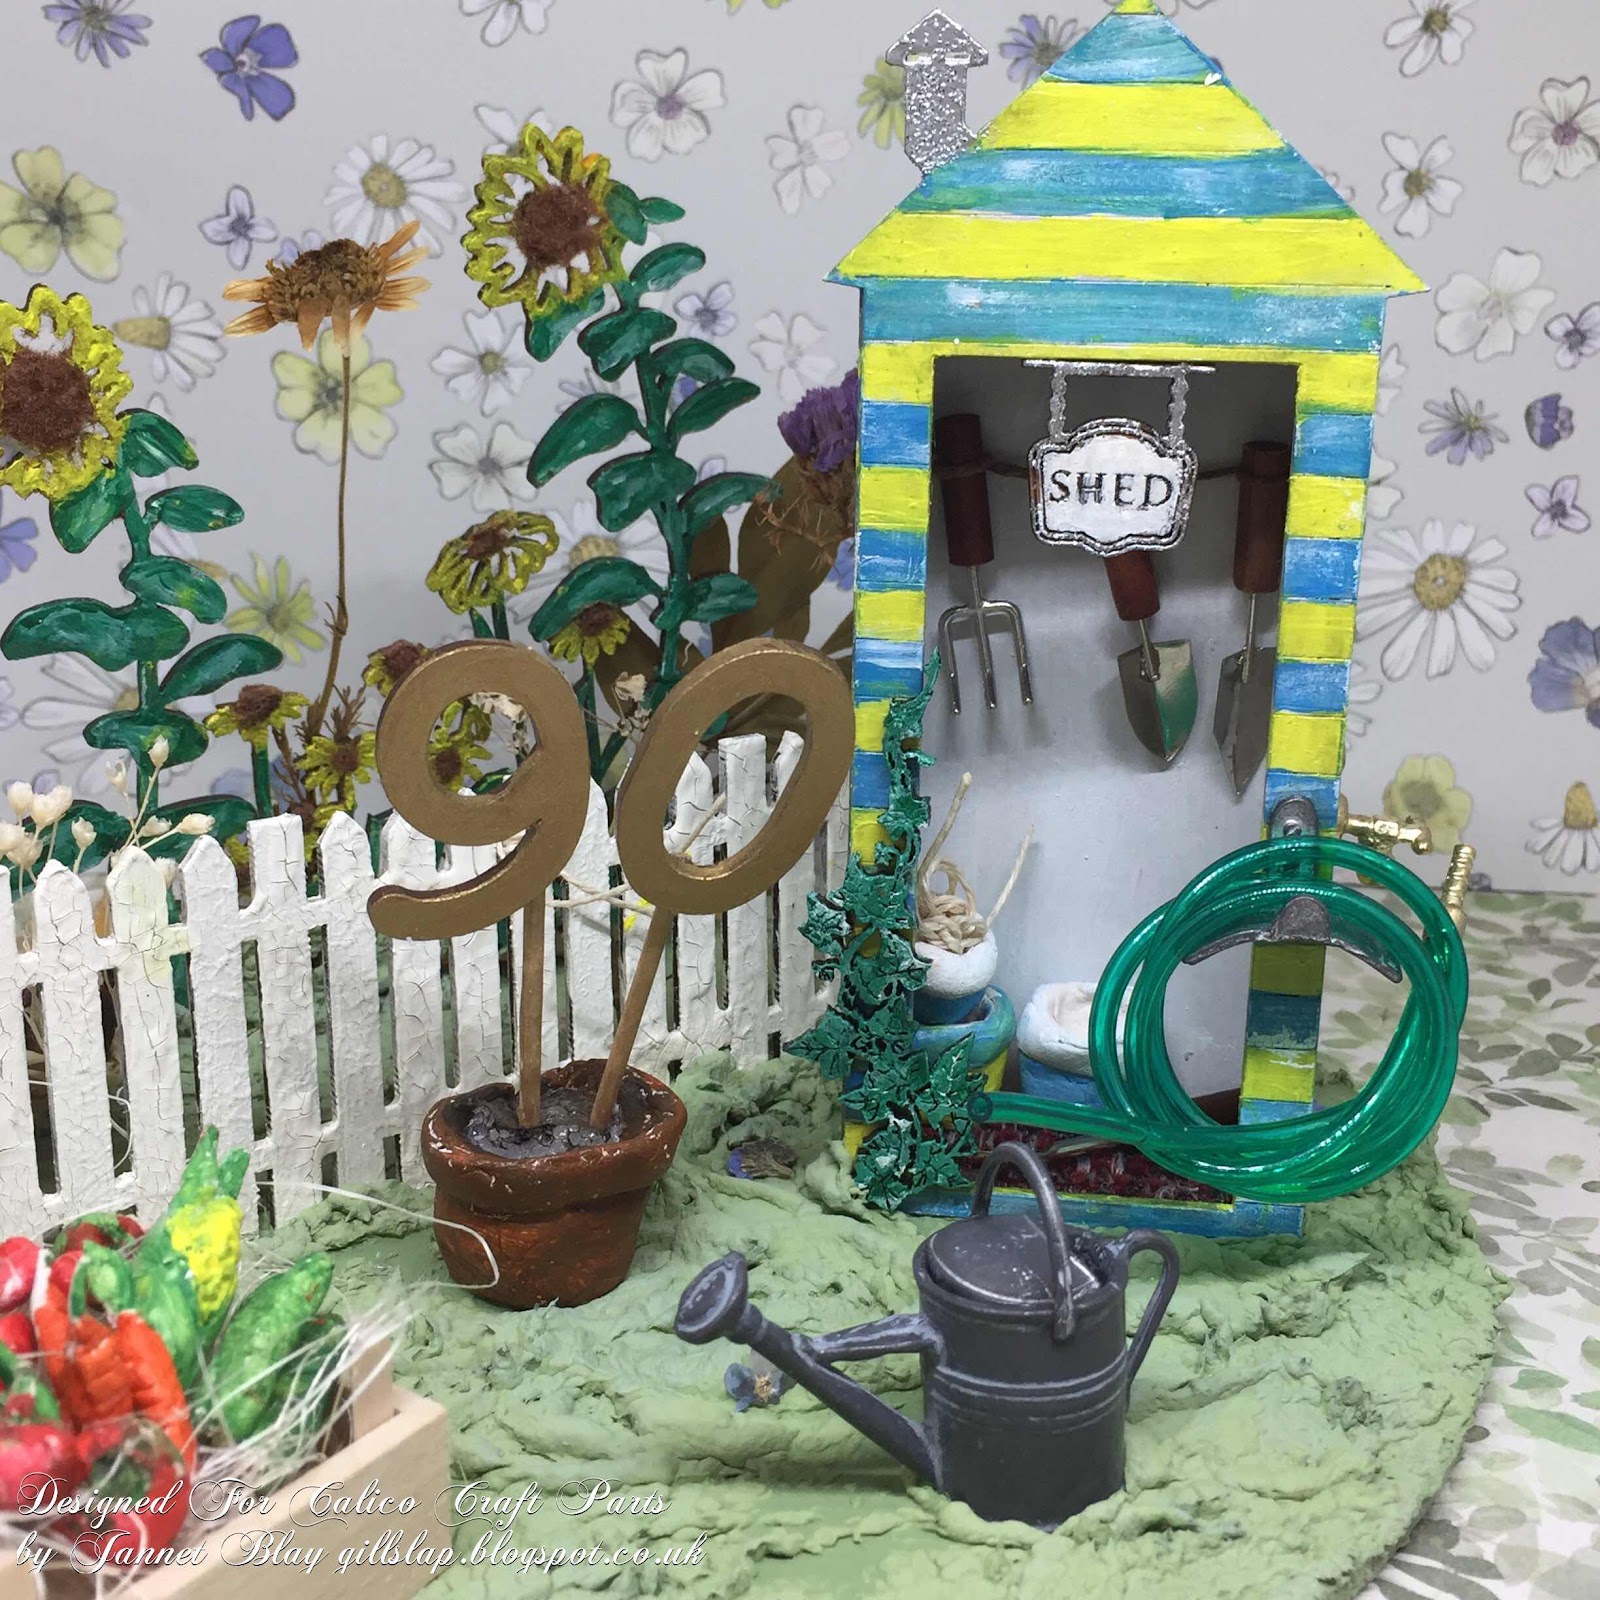
To try and make the shed look similar to the recipients own shed I  painted it with blue and yellow stripes. To create a metallic look  I used silver embossing powder on the chimney, and also around the tiny shed sign. I found some lovely gardening tools on a dolls house miniature site. I strung some string across the back of the shed before gluing the sides on which held the string tightly in place. I made a little knot around each tool to hold them securely, we don’t want those little tools falling on anyone!


For the fence I used a coat of gesso followed by white acrylic paint and then Decoart crackle paste. After painting the sunflowers I added some brown fun flock to the centres, which gave them some lovely soft texture. 


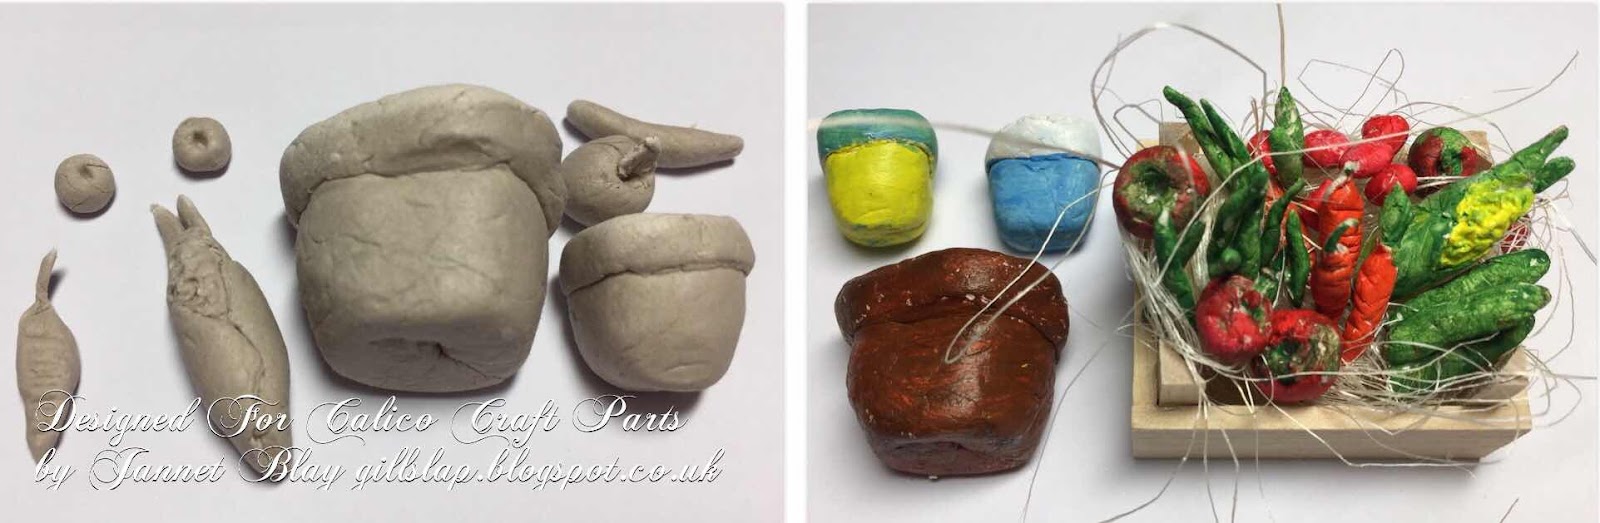
I used some air drying clay to make some tiny pots, and various fruits and vegetables. After they were all dry I painted them with acrylic paints. 


I used a circle Mixed Media Board for the base of the garden, and I covered it in green 3D paint which I heated with a heat gun after applying. It gave a lovely texture.I added various dried and pressed flowers to the garden, and also a few chosen dolls house garden bits and bobs. 


I completed the garden with the number 90 painted in gold and planted in the largest of the clay pots and ...


... a sleeping doggie on the other side of the fence.