Showing posts with label Hearts & Stars. Show all posts

Tuesday, 15 February 2022

A Dive into the Subconscious - Tag - by Claudia

Servus and thanks so much for stopping by! 

I have taken quite a long break from regularly crafting - mainly caused by moving and adapting to having two studios in two different parts of Austria (which has the benefit of getting to enjoy the beautiful city of Vienna AND the wonderful nature of Austria's beautiful Salzkammergut district). I found that the "new life" also changed a lot of habits - one of these being my former crafting routine. I re-discovered a lot of stamps that I had bought in my early crafting times, when I had just started to dive into the world of rubber stamps of all kinds and special stamping inks, embossing powders and a lot of other cool techniques and crafty miracles. 

So one of these stamp sets was what sparked the idea for this tag and for a new (or maybe old...but in any way different) approach to using the many Craft Parts that I still have in my stash. I also had to find new ways to get back to enjoying a bit of crafting besides developing new routines with the two spots I am now living in - so I am now trying to focus more on experimenting, doing smaller projects or simply not finishing a larger one in one go as I used to. This tag emanated from some very spontaneous and joyful play with what I had at hand mostly...some really cool Calico Craft Parts, a re-discovered stamp set and beautiful and inspiring book pages and collage paper scraps. 


I picked the Craft Parts that spoke to me most and that I felt corresponded with the stamped focal image in a way that the tag could evoke stories in the beholders' heads...stories from the Subconscious. I definitely followed my subconscious when creating this tag. ;)

Calico Craft Parts used:

- MDF Tag Shape - Rounded Rectangle (150x75mm)

- Crucian Carp MDF Fish Wood Shape (small)

- Word Elements - Art & Journaling

- Mini Star Wreath (medium size)

- Star Shape - Mini MDF Wood Plaques

- Sheet of Mini MDF Hardware Wood Shapes

- Sheet of Mini MDF Label Holders

I started with tearing and gluing some book pages to the MDF tag. For that I used matte DecoArt Decou-Page as it dries fast and does not wrinkle the paper too much. I primed all the MDF Wood Shapes I wanted to use with a thin almost dry-brushed on layer of DecoArt Beige Chalky Gesso. Then I painted the fish with a very thin wash of DecoArt media fluid acrylic Prussian Blue Hue, the single star with Titanium White media fluid acrylic and the star wreath and label holder with DecoArt Americana True Red acrylic paint. 

You can also see the fussy cut stamped image of a young woman and pair of wings in the picture, as well as a golden German Dresden Scrap crown that was a perfect fit! 

I had decided to have my stamped fairy queen sit on a Word Element and have a fish swimming in the ocean underneath (=her subconscious). I found this old black and white gel plate print and tore off a scrap to use it as my "deep sea" background.


The bright gold of the crown got toned down using DecoArt media Carbon Black Antiquing Cream and DecoArt media fluid acrylic Metallic Gold was used to paint the two screw heads and the jump ring that I used for the fairy queen's necklace.


I like how the random black and white patterns of the ocean background repeat the irregular black and white patterns from the fairy queen's face and sleeve! Using more Prussian Blue Hue I painted some ocean waves on top - mainly to repeat the blue from the carp. More blue was added by using the thin washi tape above the Word Element band. 
 

My original idea was to use the whole bright red star wreath around my queen's head, but that covered up too much of the crown and other lovely detail, so I had the idea to cut the wreath in two and only use one half on top of the tag...for me these are all the shining brilliant ideas emanating from the fairy queen's thoughts...or maybe her reign is under more than just one good star...

Final touches were added using a white Sharpie pen (the tiny dots border around the tag's edges). The hand painted ocean waves got a white outline too and the fairy queen's cheeks needed a bit of pale red - done! 


I am sure the tag will tell you a different story than the (not too precise) one I had in mind when creating it - or at least different in some aspects. But that was what I wanted - to give you some visual "hints" that will let your minds run free and evoke your own stories. I hope you'll enjoy them (and the tag of course)! ;)


Hugs and happy crafting!

Claudia

xxx



Saturday, 22 January 2022

Monday, 5 July 2021

Window to the past by Zuzu


Hi there.

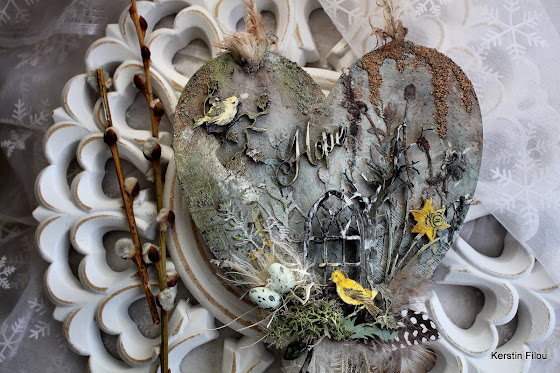
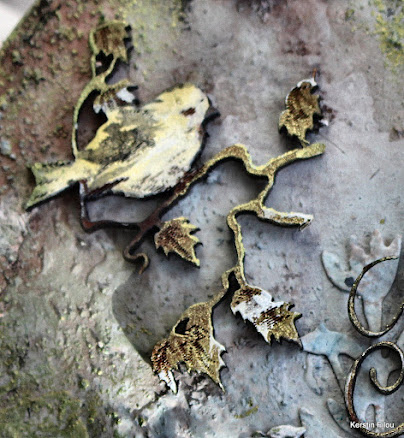
I’m sharing a little plaque today. I liked the look of all the doors and windows in the shop and when the postman brought them I was keen to use on on something… anything… 

The substrate I’ve used is actually a piece of grey-board that the shop used to keep the craft parts from getting broken in the post. So it’s like a little free plaque.

And the photo is of my mum as a baby. I have two of these photos. one in the original sepia sort of colours and this one with the colour added (this is just a copy of the original). It is one of the few old family photos I have that has been colourised like this. Very interesting now that we take colour photos for granted. Wonder how much it cost my grandparents to have that done.

When I use craft part embellishments I often break off bits that fit the size and shape I need at the time so I am often left with little piles of left over broken flourishes and leaves etc. This little plaque was the perfect size to use some of those up. It’s going to be hard to give you a supply list for those little bits but I will do my best. 

But it is worth noting that when you are selecting your flourishes, it’s a good idea to think about which ones you could break up into more than one piece to use in different ways. 


Supply list

Arched window

Songbird trio (I used part of it in a previous project so mine is a songbird duo.)

Mini hardware sheet. 

Swirly flourish (bits of it)

Mini sheet of butterflies (style 6)  

Mini sheet of hearts 


Monday, 19 October 2020

Card and Gift In One by Jannet


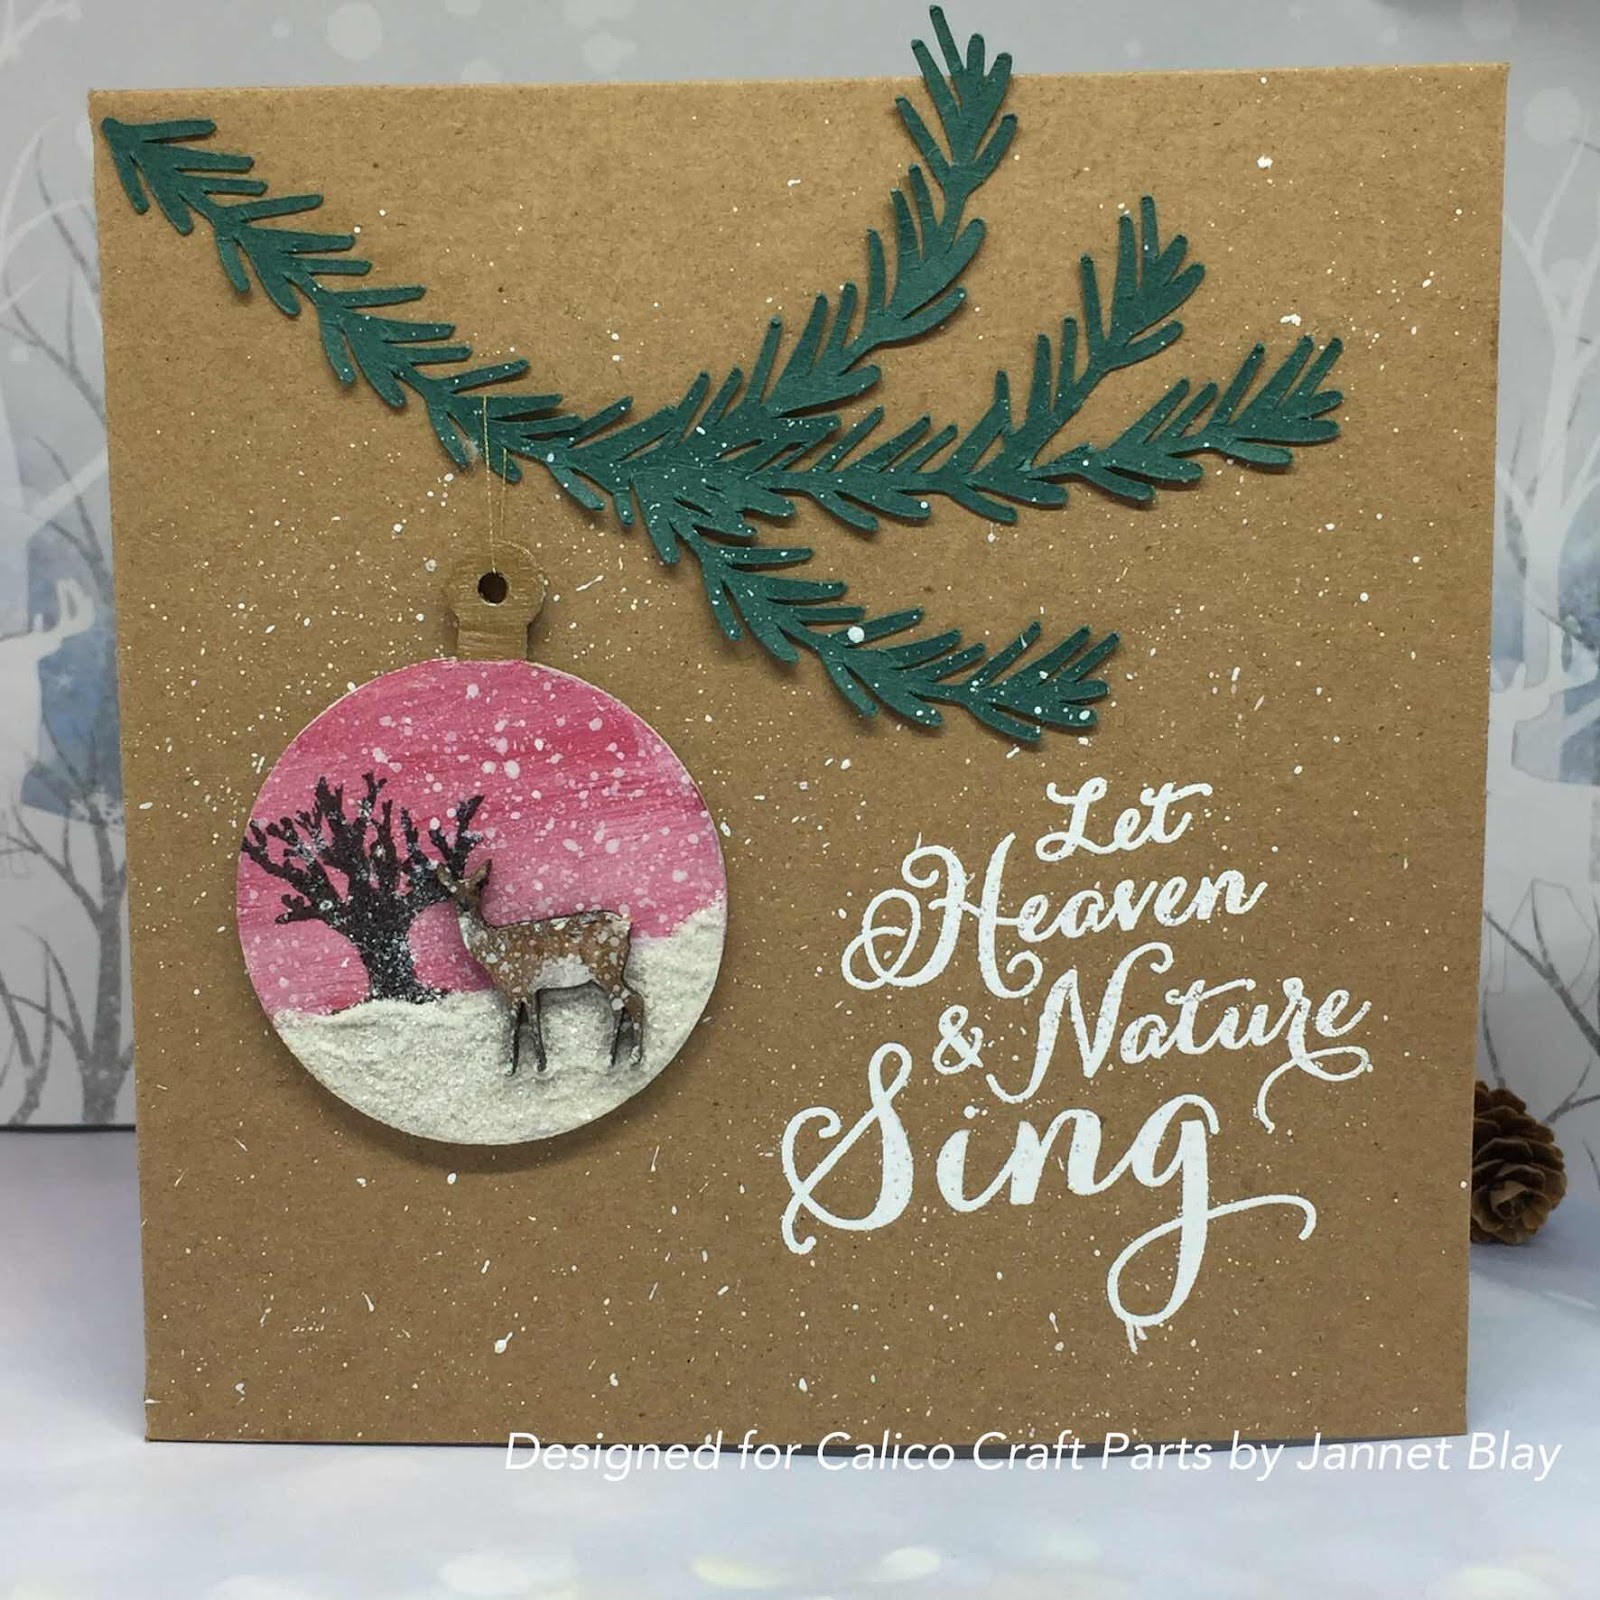
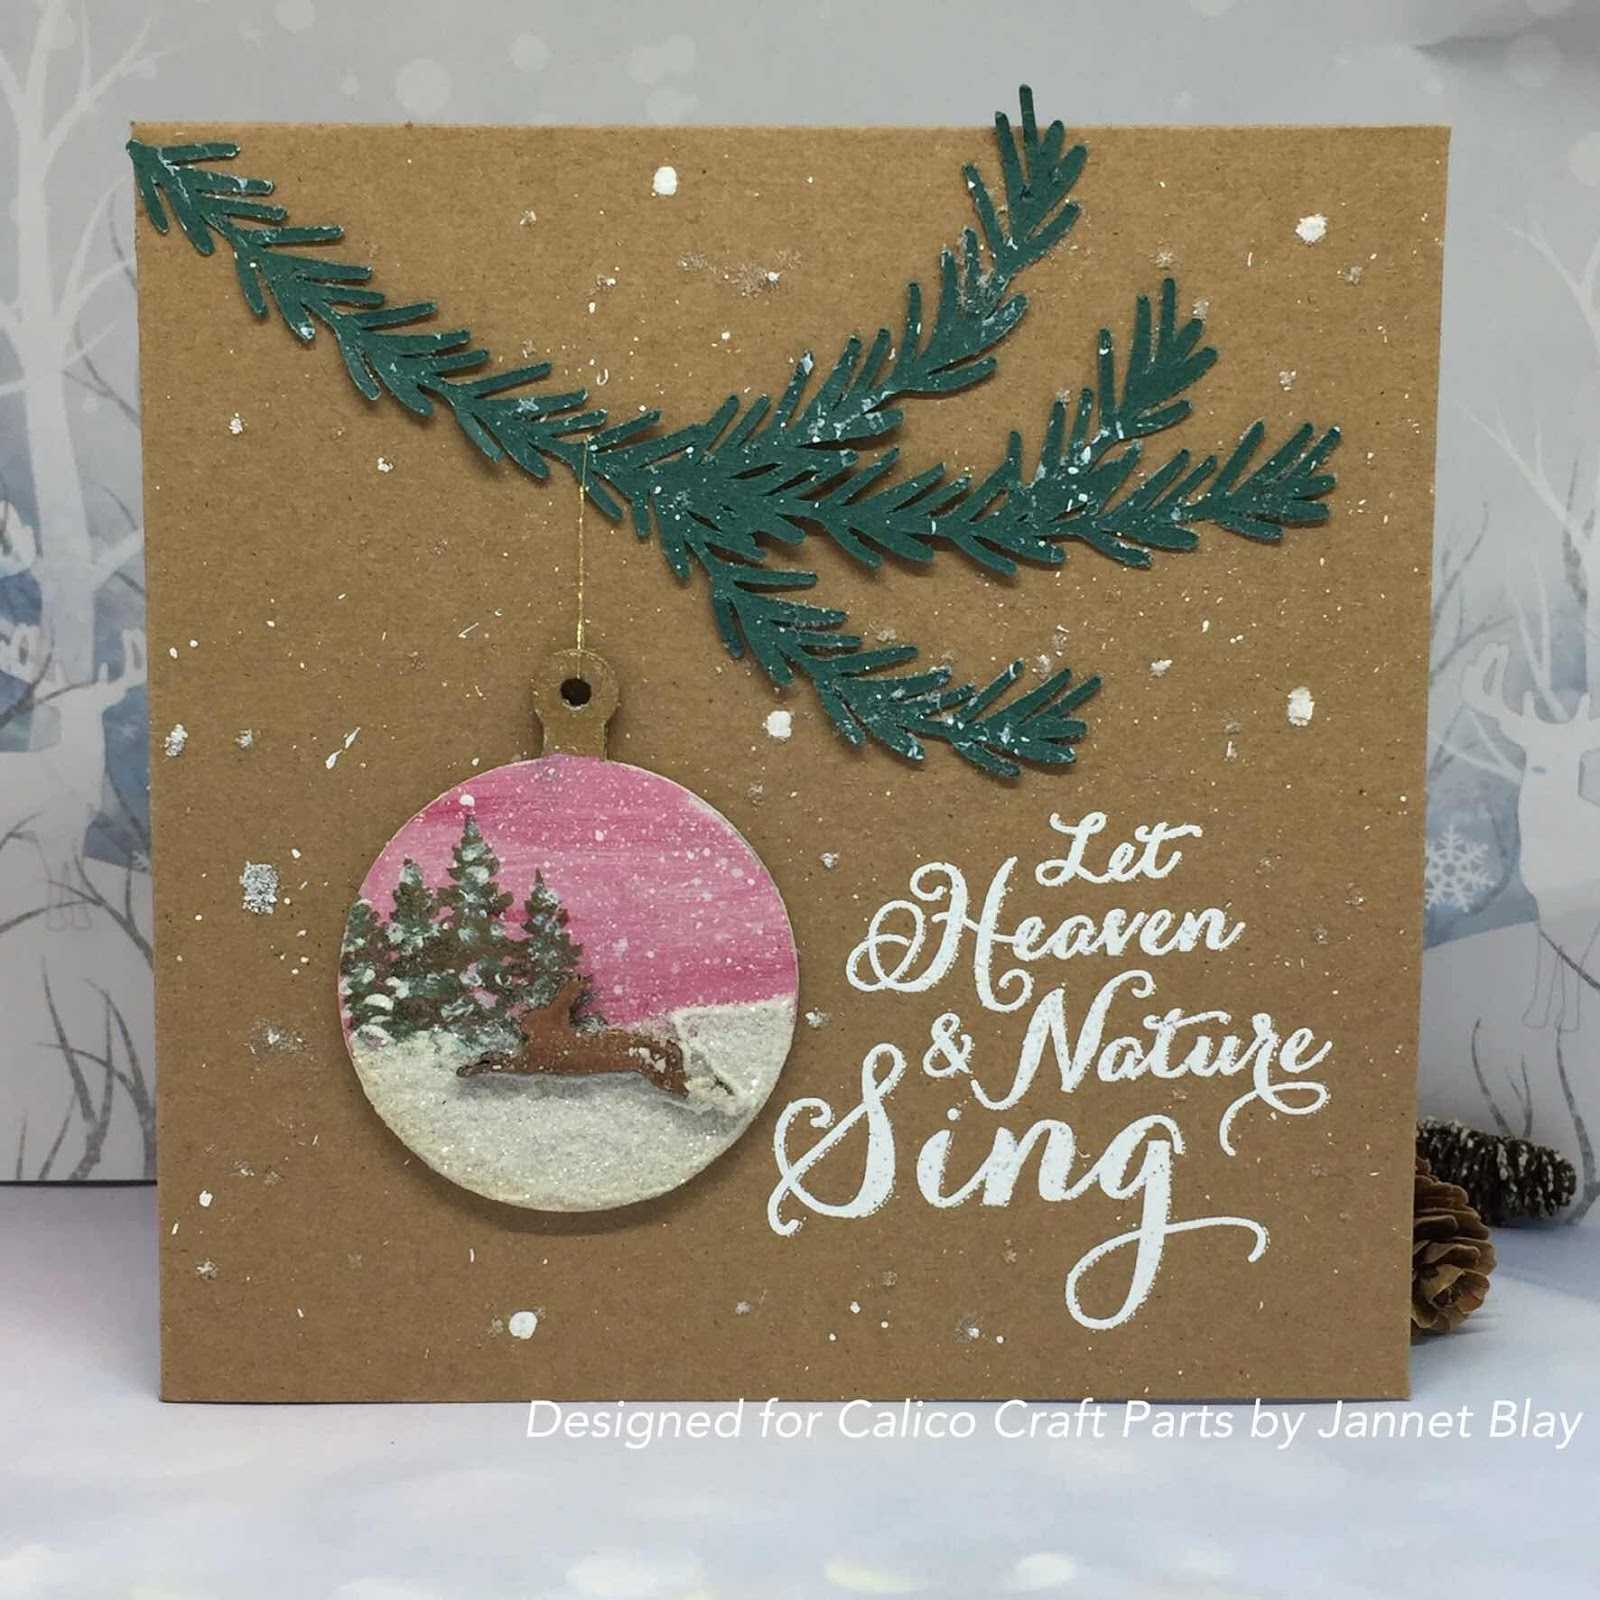
Hello, I hope all is well with you. Christmas 2020 is going to be a  bit different this year, so staying in touch with family and friends will be even more important than ever. With this in mind I decided to make special Christmas cards, which include a decoration which can be detached from the card and hung up if desired.


I used a selection of lovely bauble shapes to create my ornament. For this one I painted a background onto the bauble  and adhered a painted  mini deer  who is happily standing in lots of snow which I created from Decoart texture paste and white glitter. A splatter of white acrylic paint gave a simple snowing affect. As the bauble might be removed from the card, I stamped the reverse of the bauble with a Christmas sentiment after giving it a coat of paint.


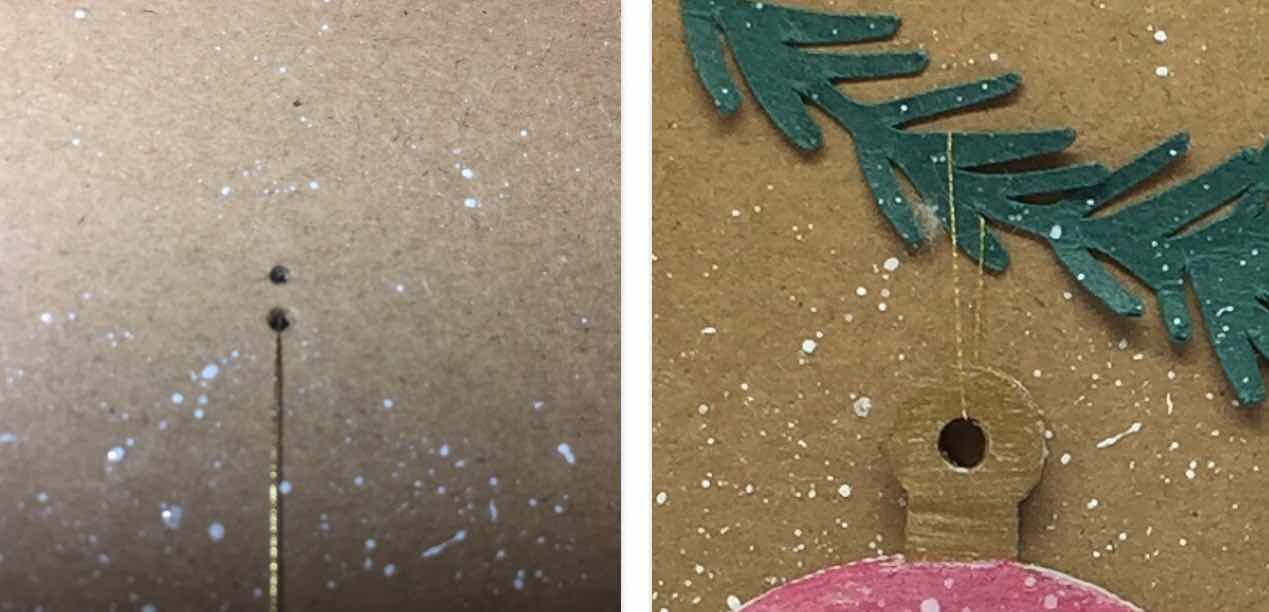
To add the detachable bauble I  used a needle to punch two holes either side of my die cut branch, and used gold thread to hang the bauble up and tied the thread together on the reverse  of the front of the card.


For this one a mini hare jumped into the snow. 


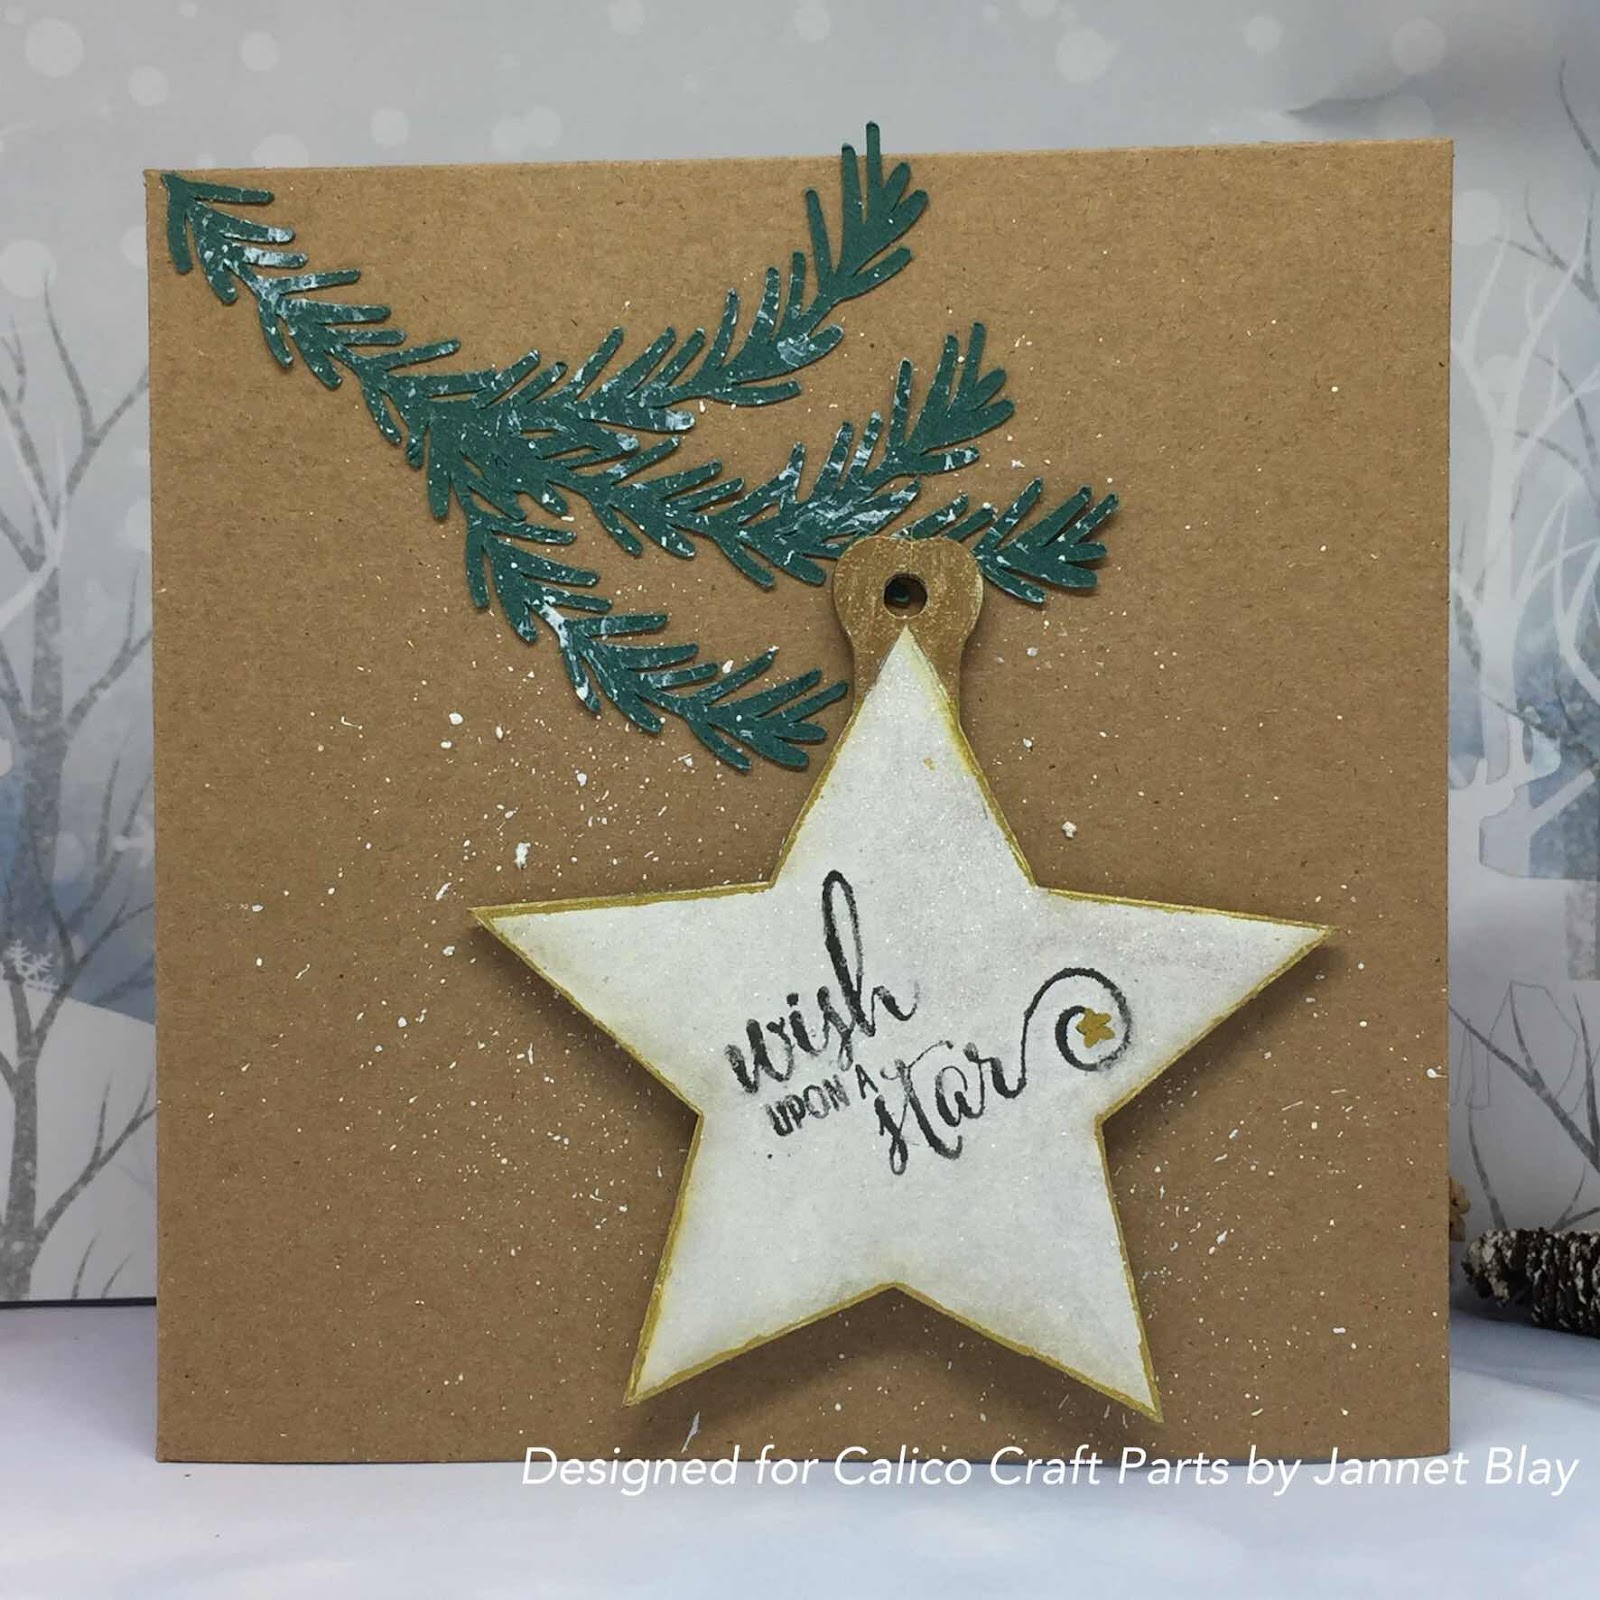
We could all use a wish upon a Star this year, so I thought a wishing star would make a nice gift.


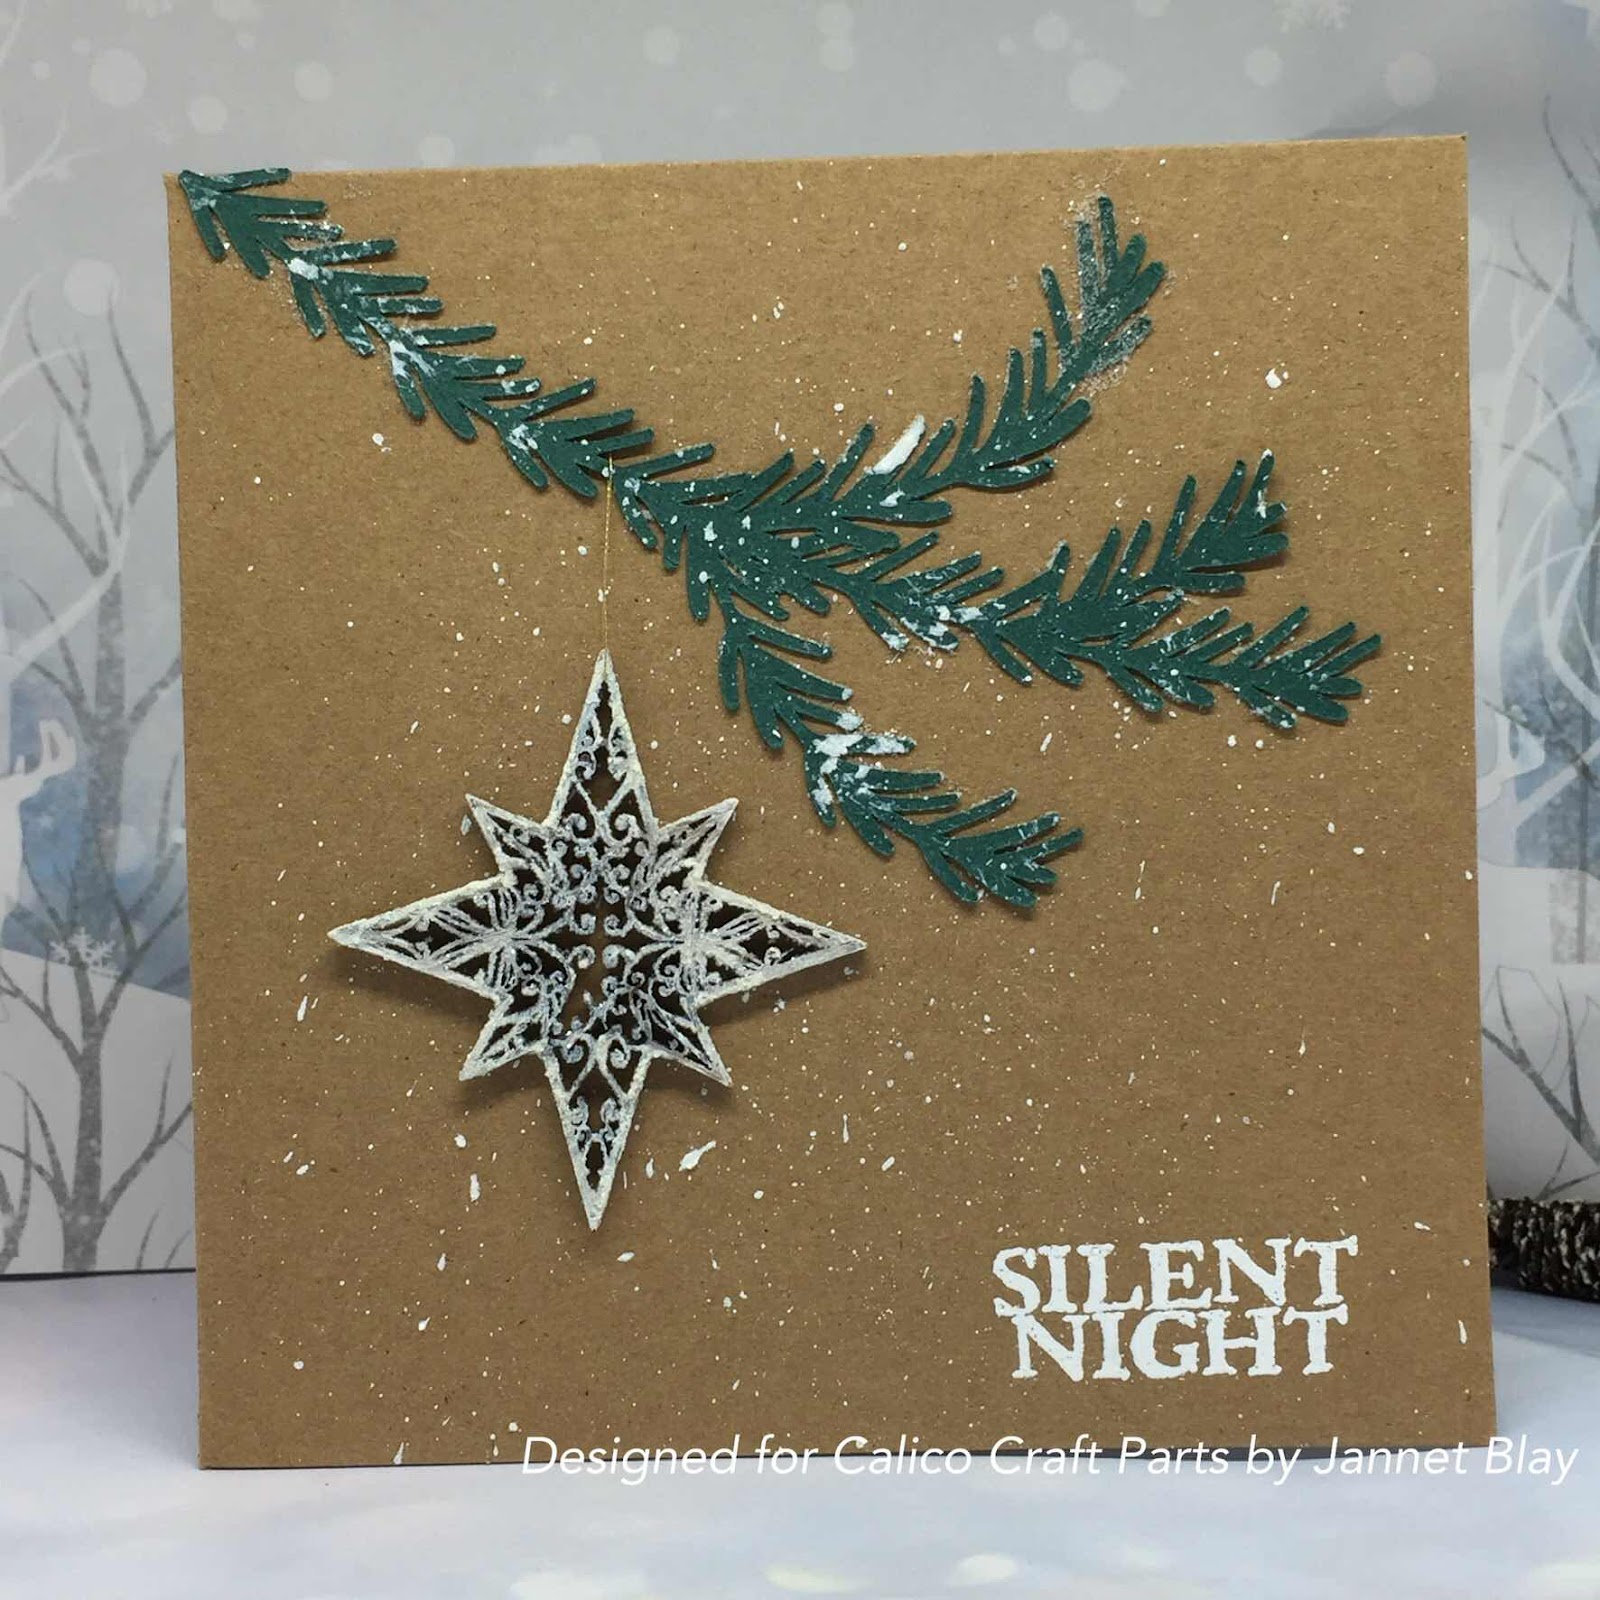
Silent Night is my most favourite Christmas Carol.

As I was making a few cards I kept them fairly simple with a Kraft card base, and a stamped, embossed sentiment along with the branch and hanging bauble. You could of course really go to town with the your card, and use some of the gorgeous Christmas papers and embellishments that are available.  The baubles are available in a good selection of  different styles and sizes. 

Stay safe xx

Calico Craft Parts used

Monday, 10 August 2020

Fairy Hollow by Jannet


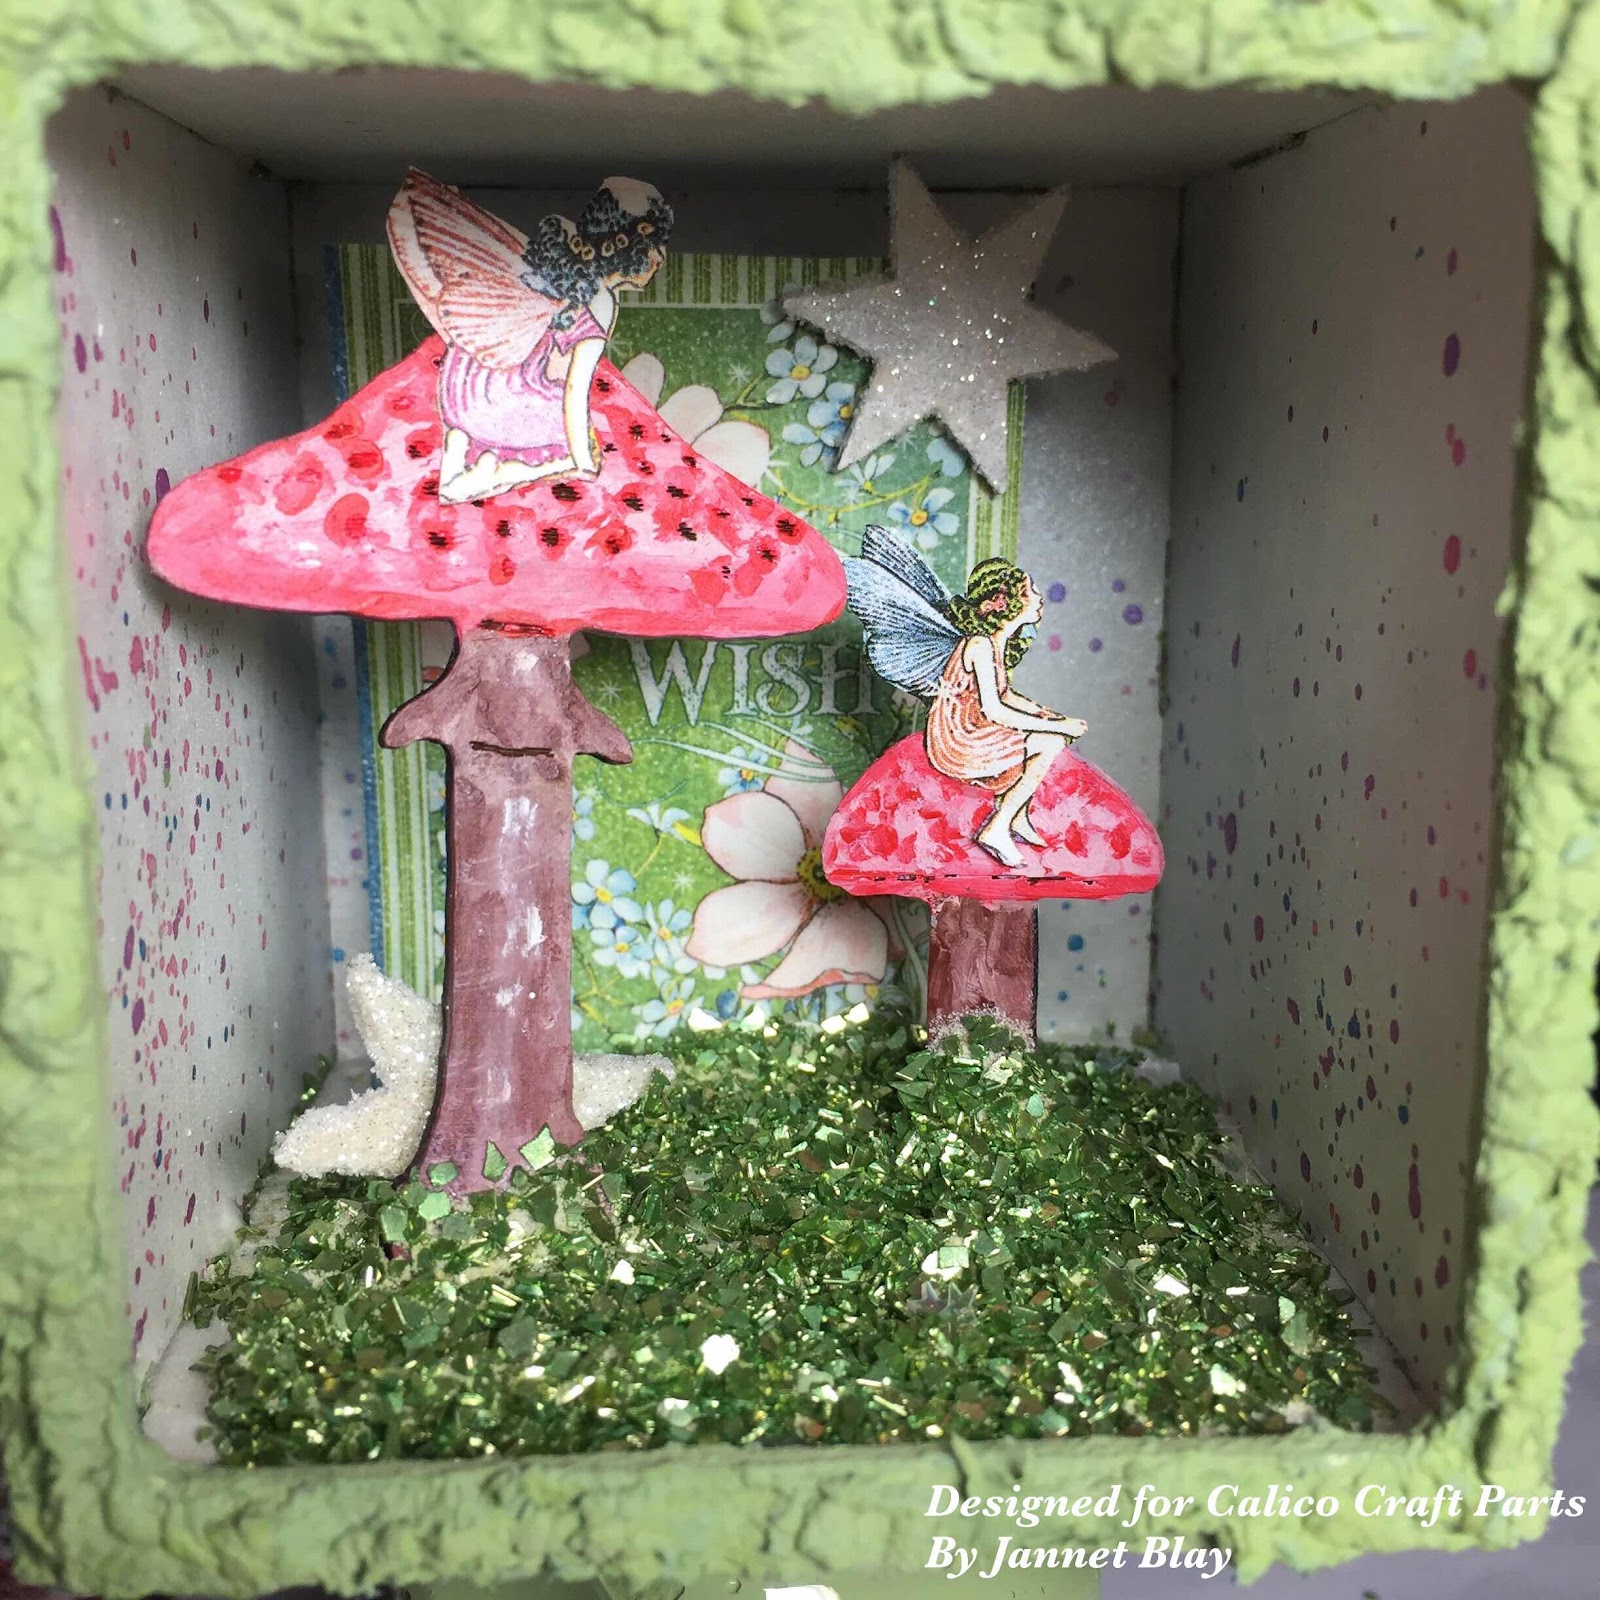
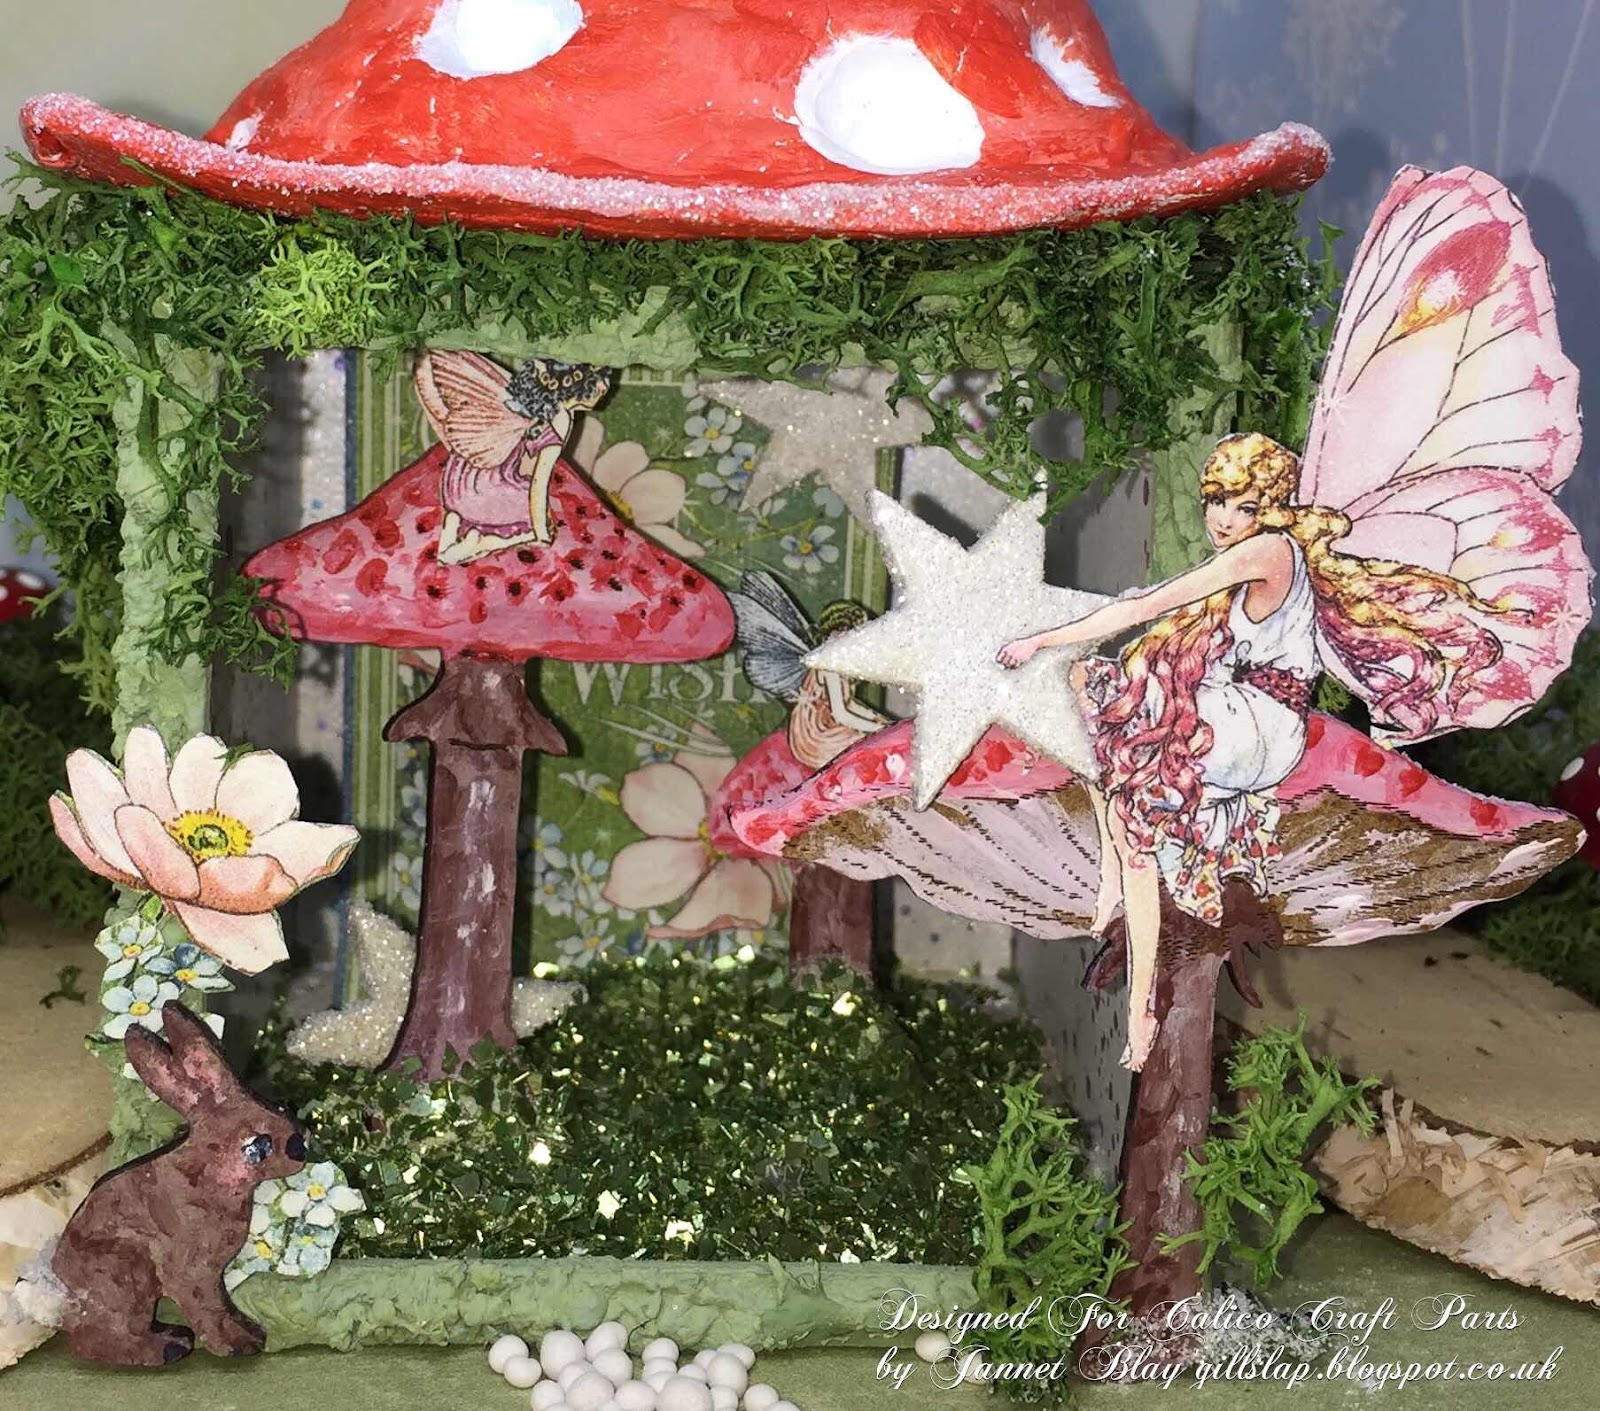
I am taking a trip to a magical land today, to visit some special friends in their little fairy house. I selected one of the Cube kits to turn into a fairy hollow. The kits are very easy to put together, even if you are new to crafts.


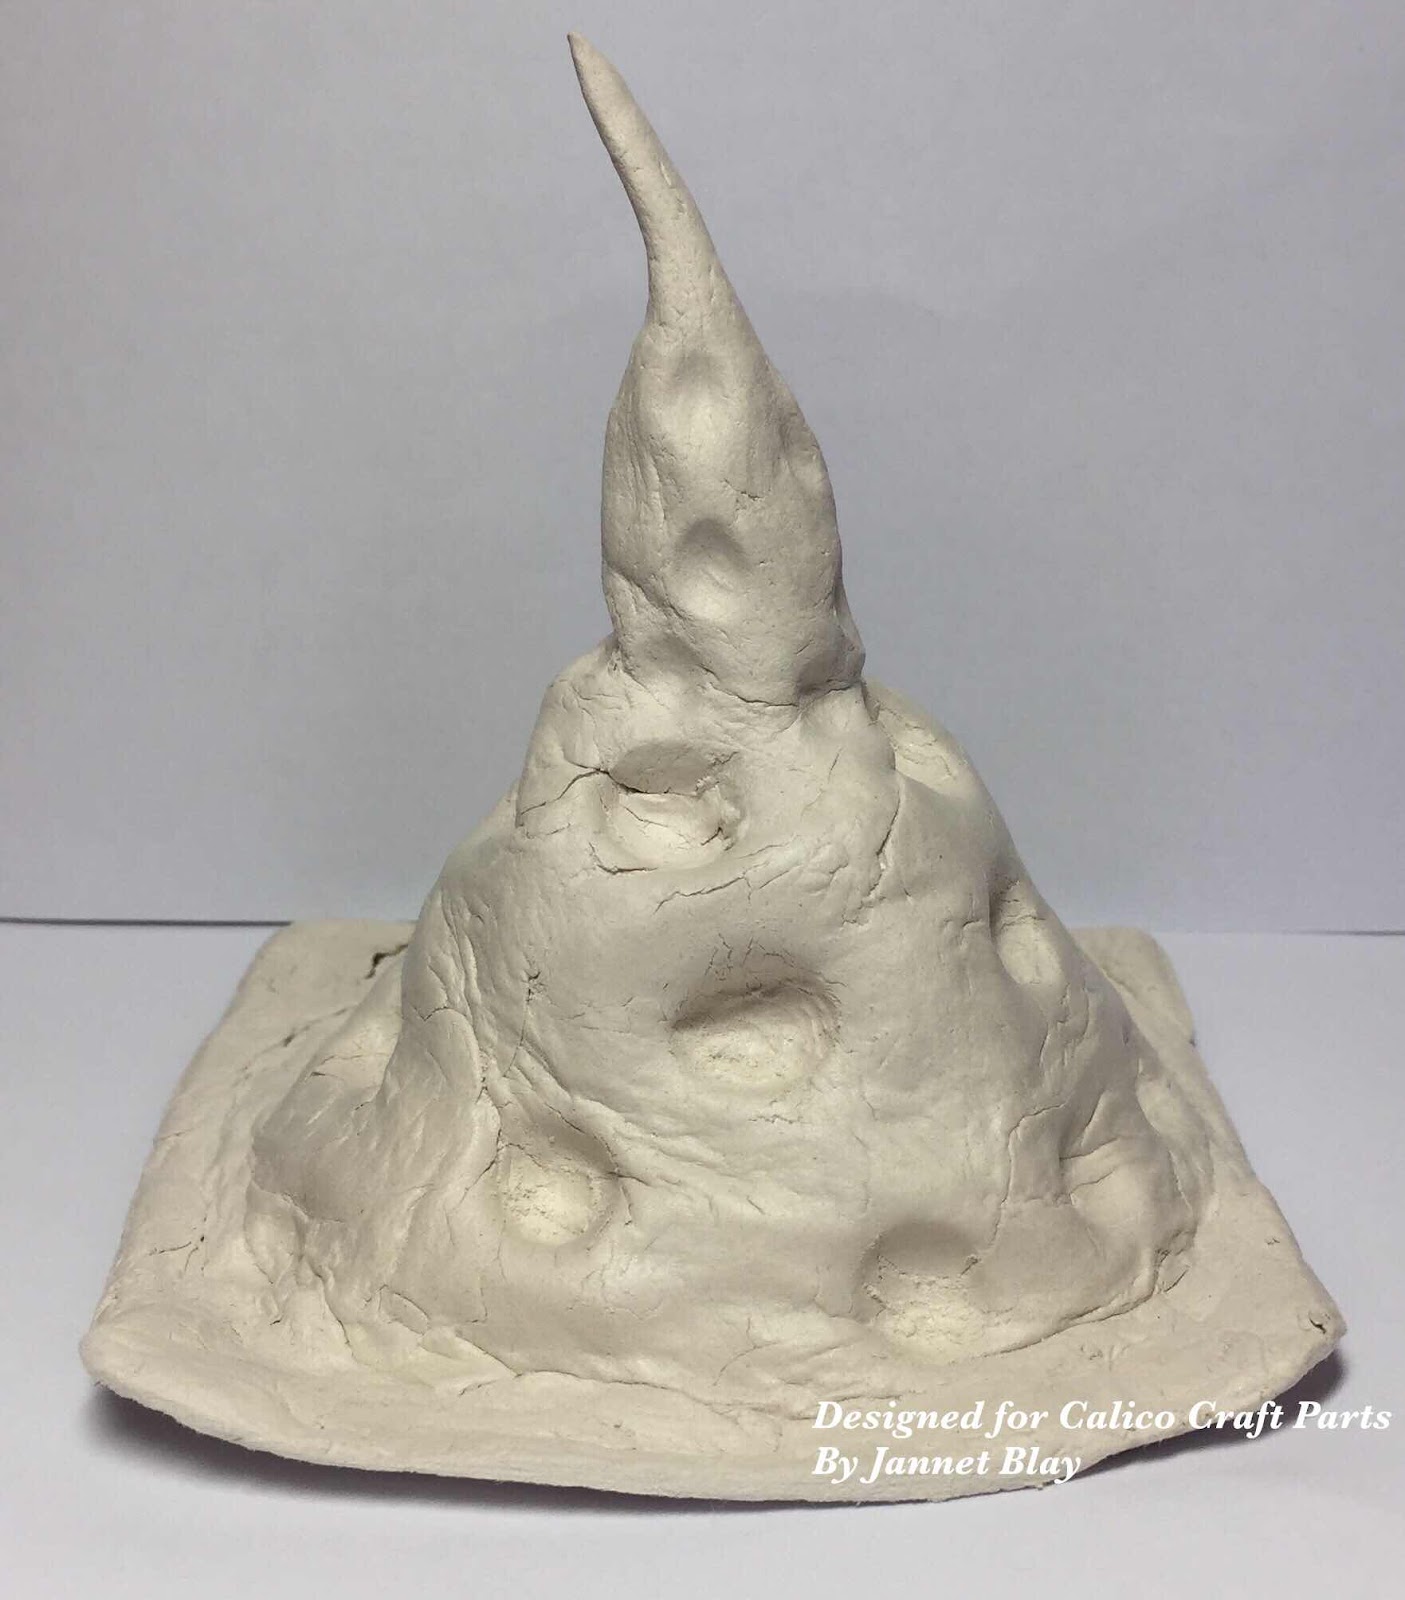
I wanted to create a toadstool sort of a roof for my house. So I got out my air drying clay and made a ball to fit onto the top of the cube, after shaping it, I used a large embossing tool to make round indents into it. As you can see I am no expert on using air drying clay, but it is always good to try something new. As the clay is very thick, I left it to dry in our sunny porch for 2 days. Then I painted it using acrylic paints. 


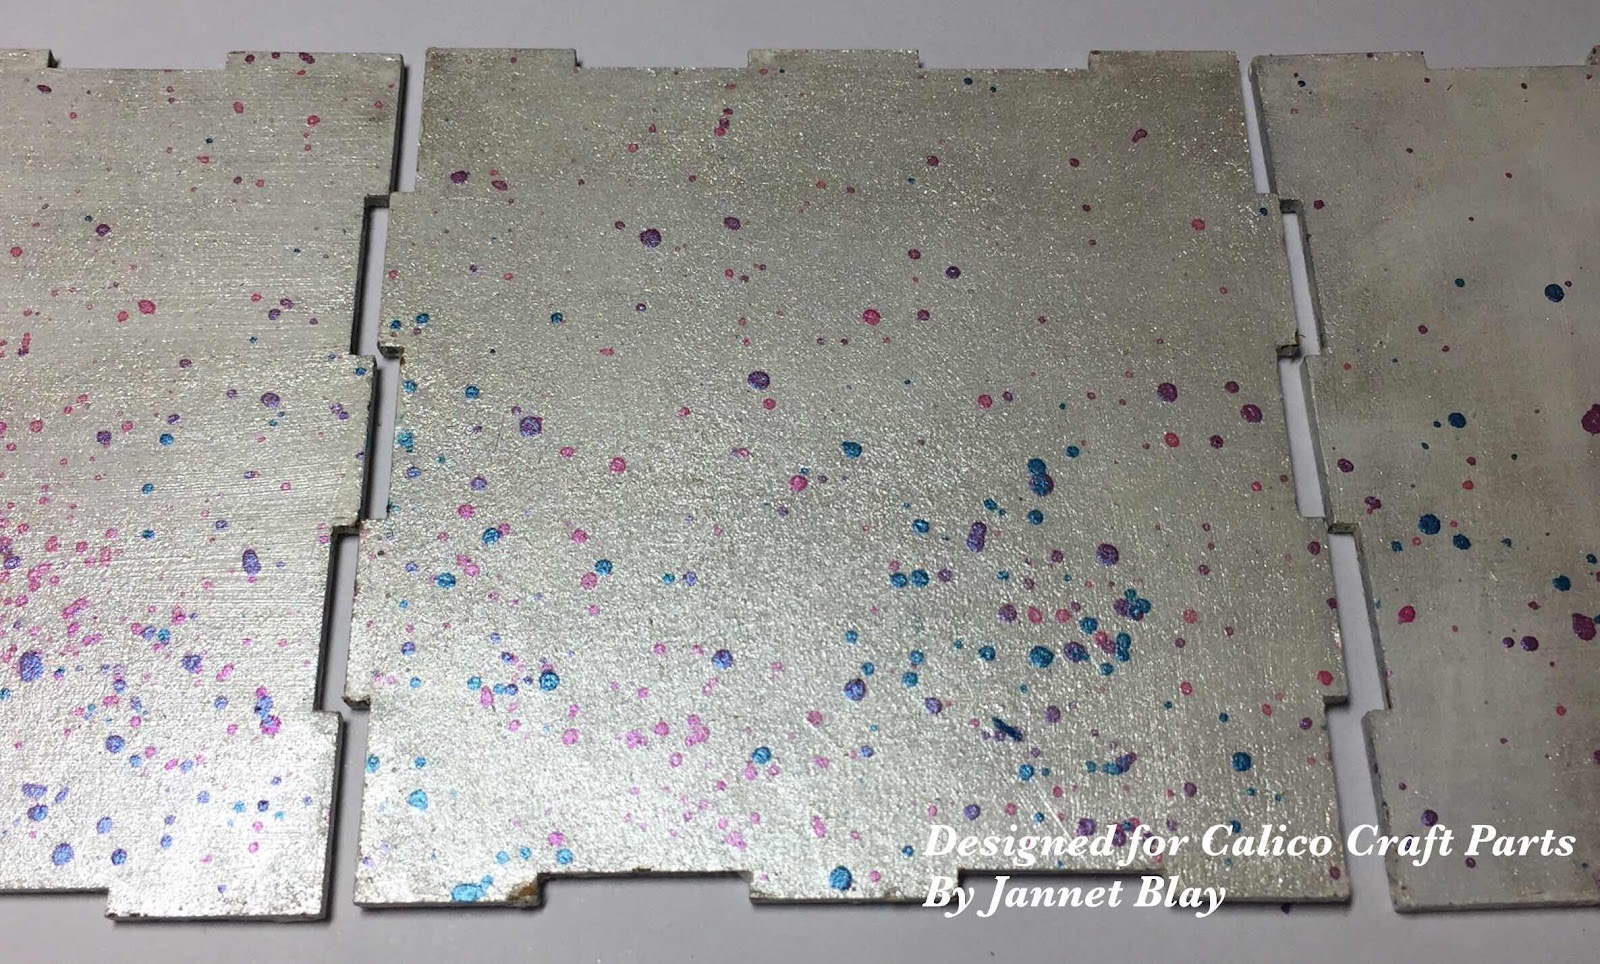
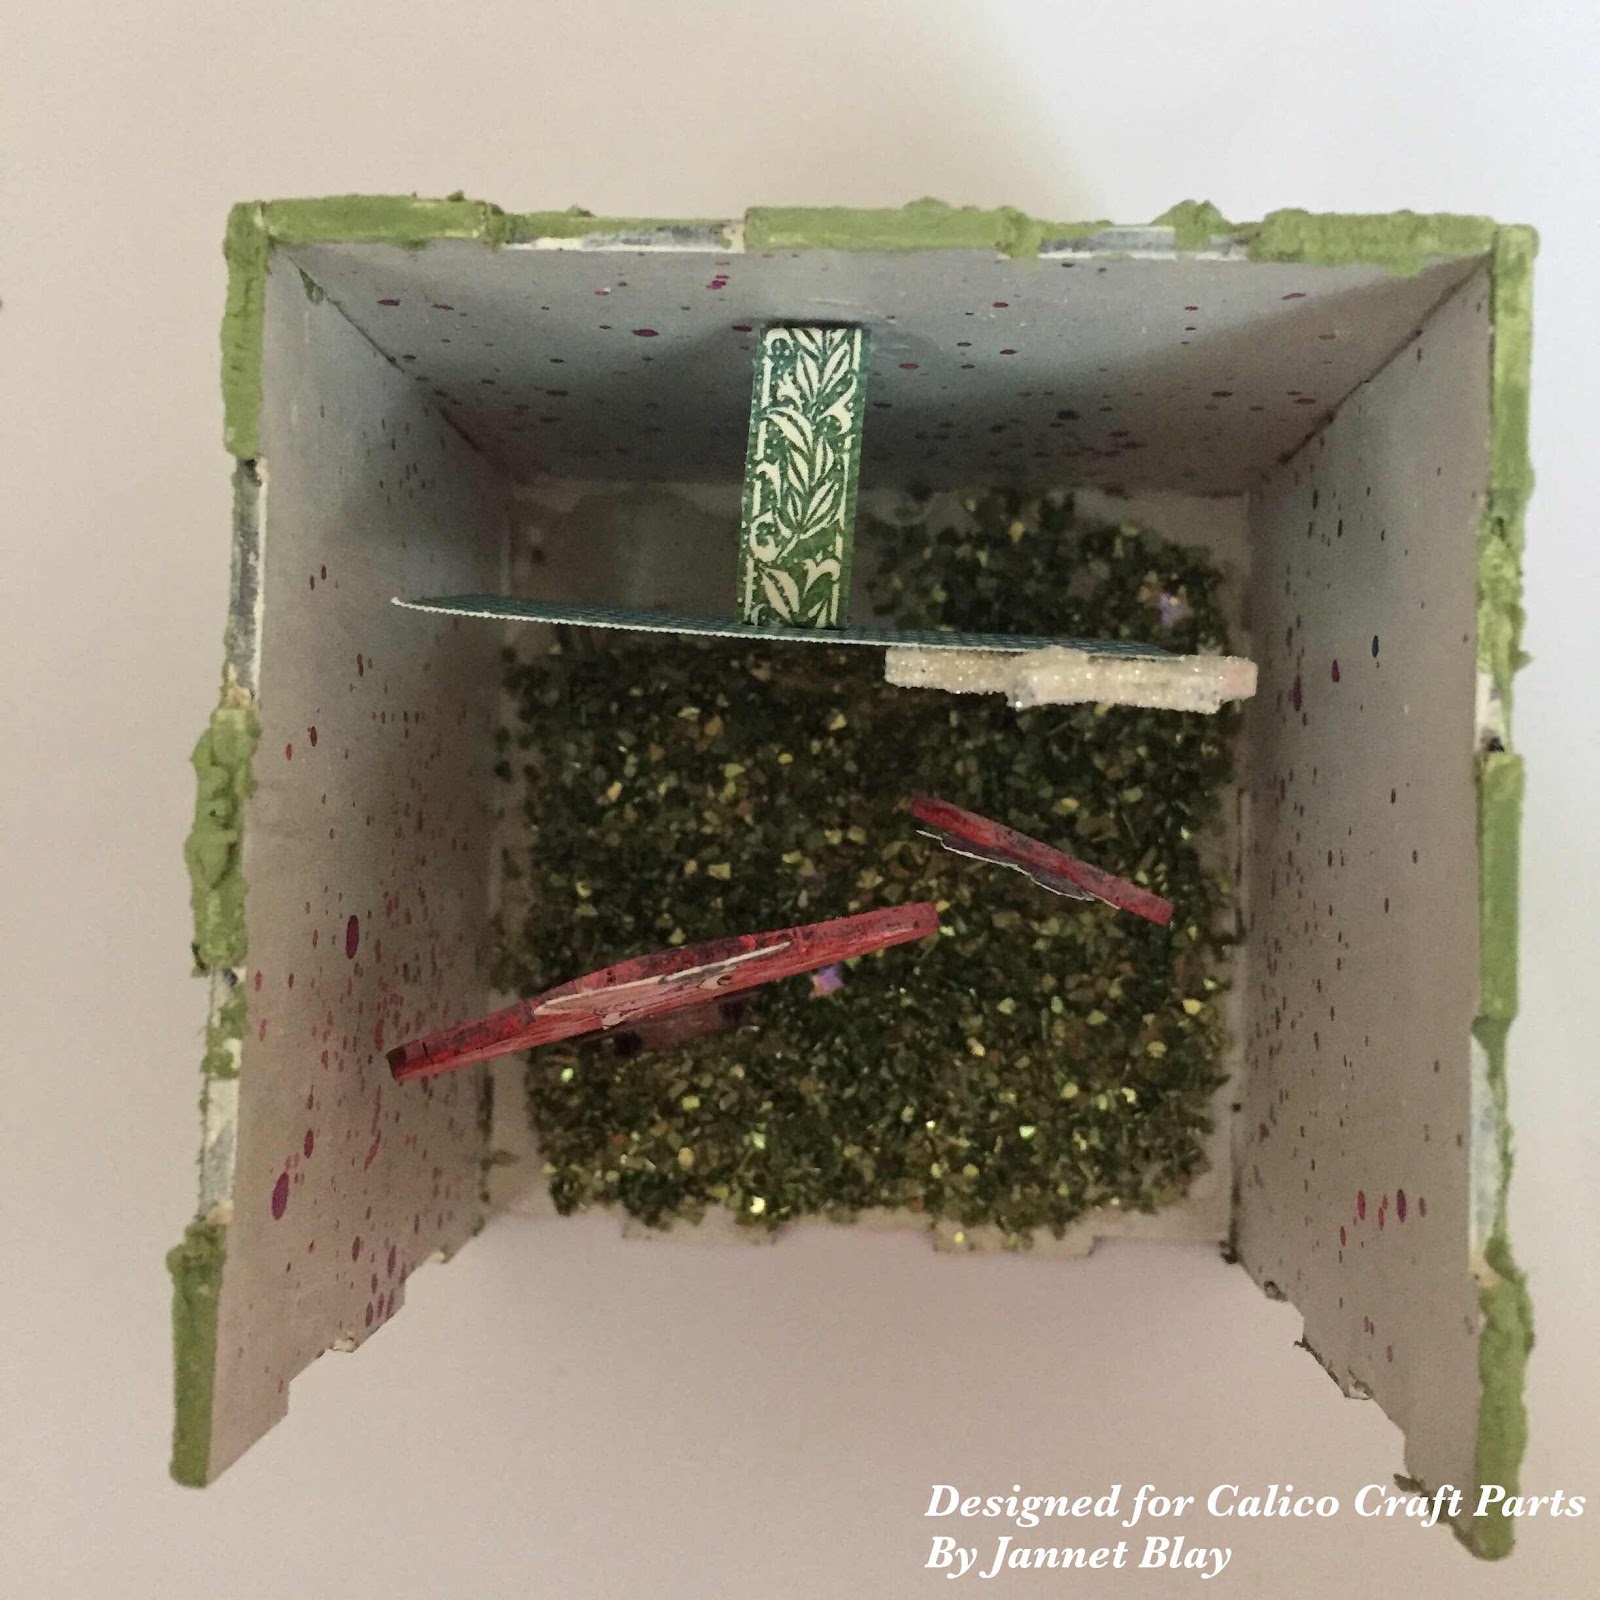
On the internal cube sides I painted 1 coat of gesso, 1 coat of white acrylic paint, and then one coat of white pigment powder which I had mixed with a little water. I used different colours  of pigment powder mixtures to create magical splatters over the walls. 


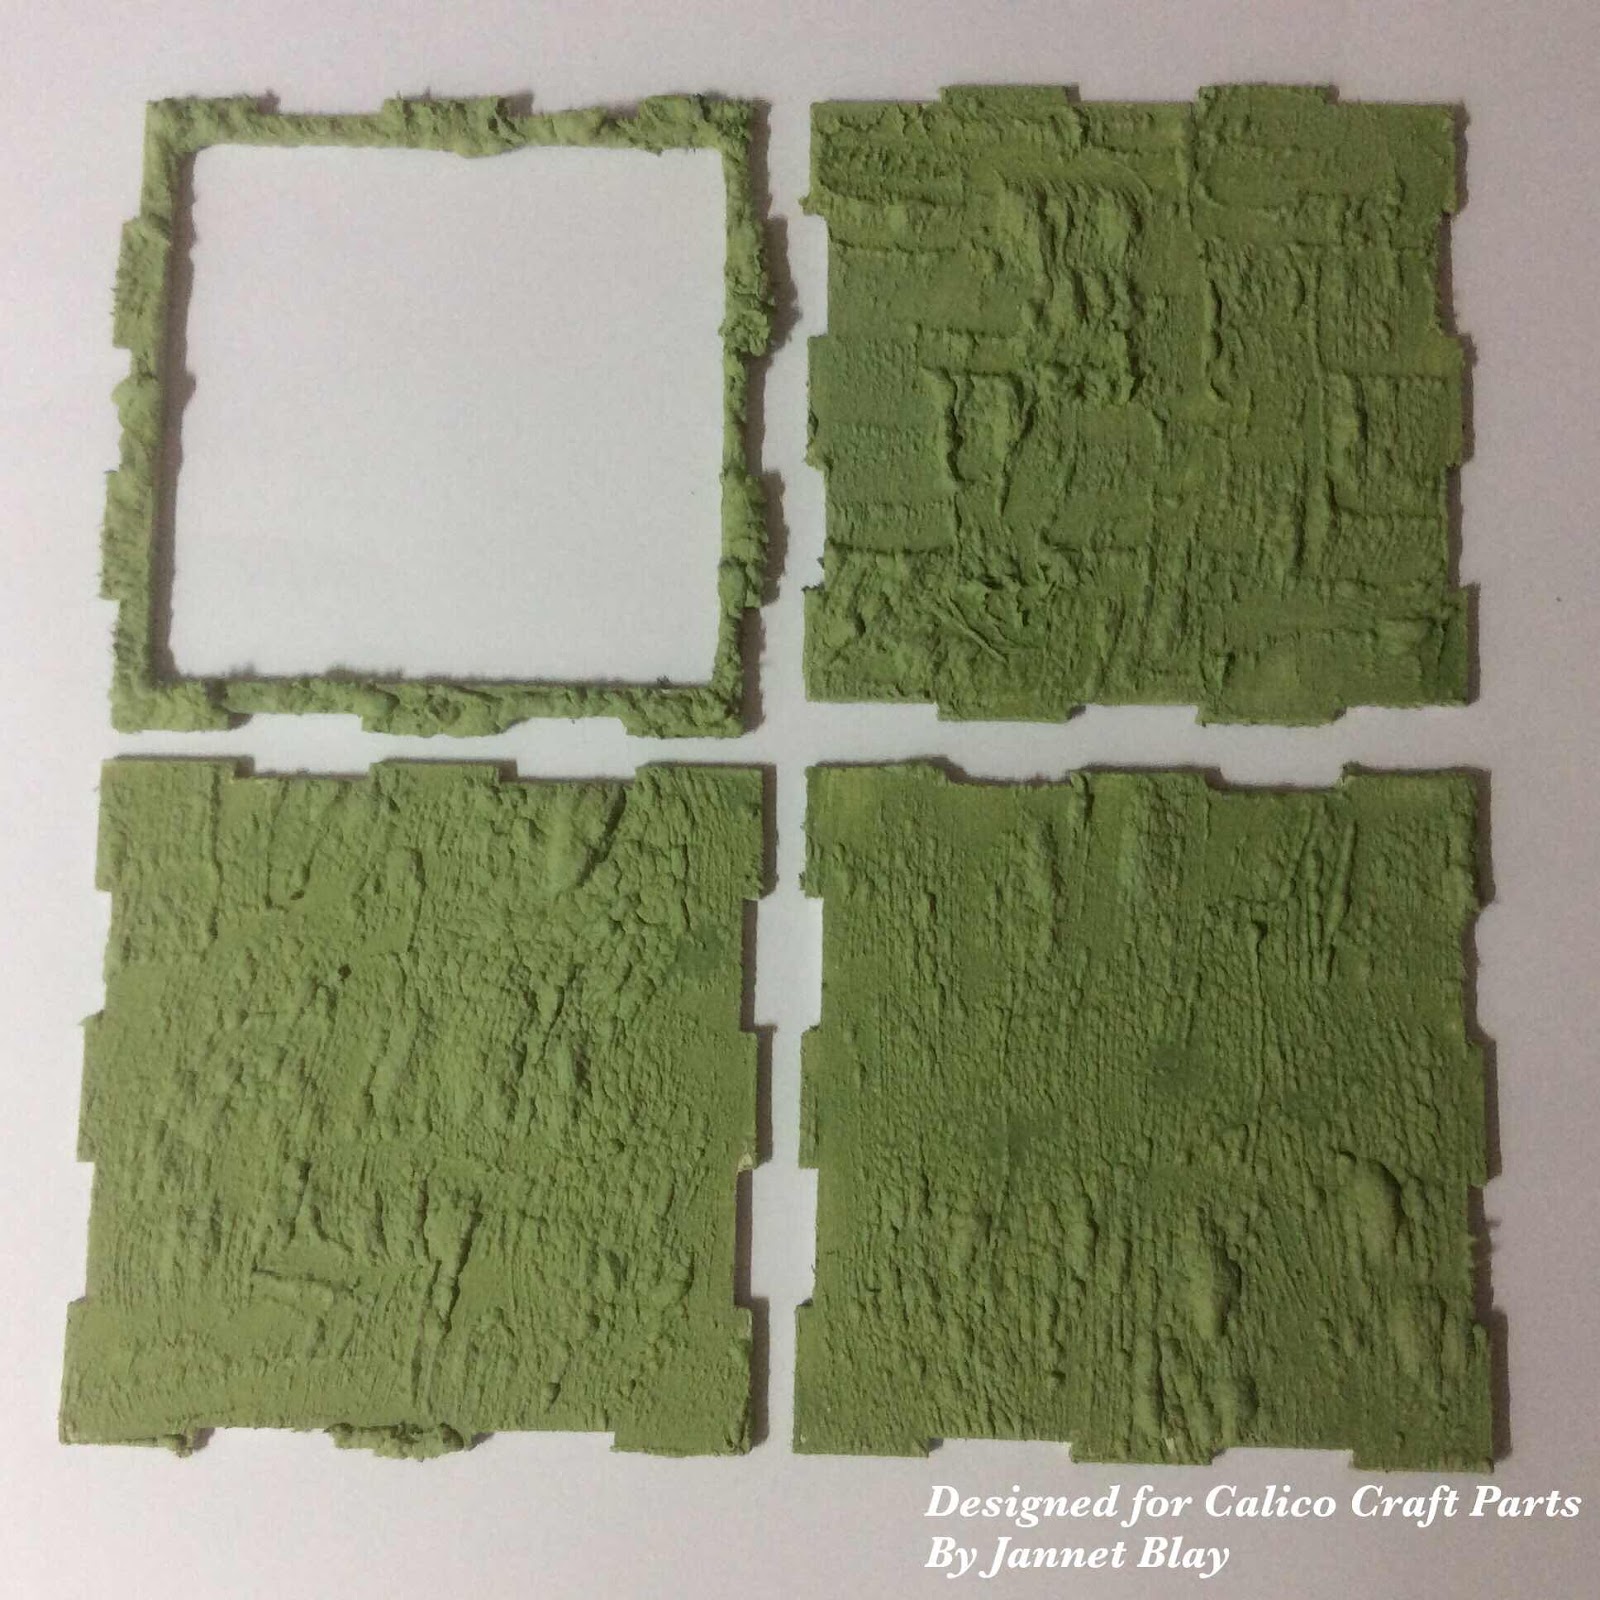
I painted the external sides with 3D paint, and heated it with a heat gun which gave it a lovely natural texture. 


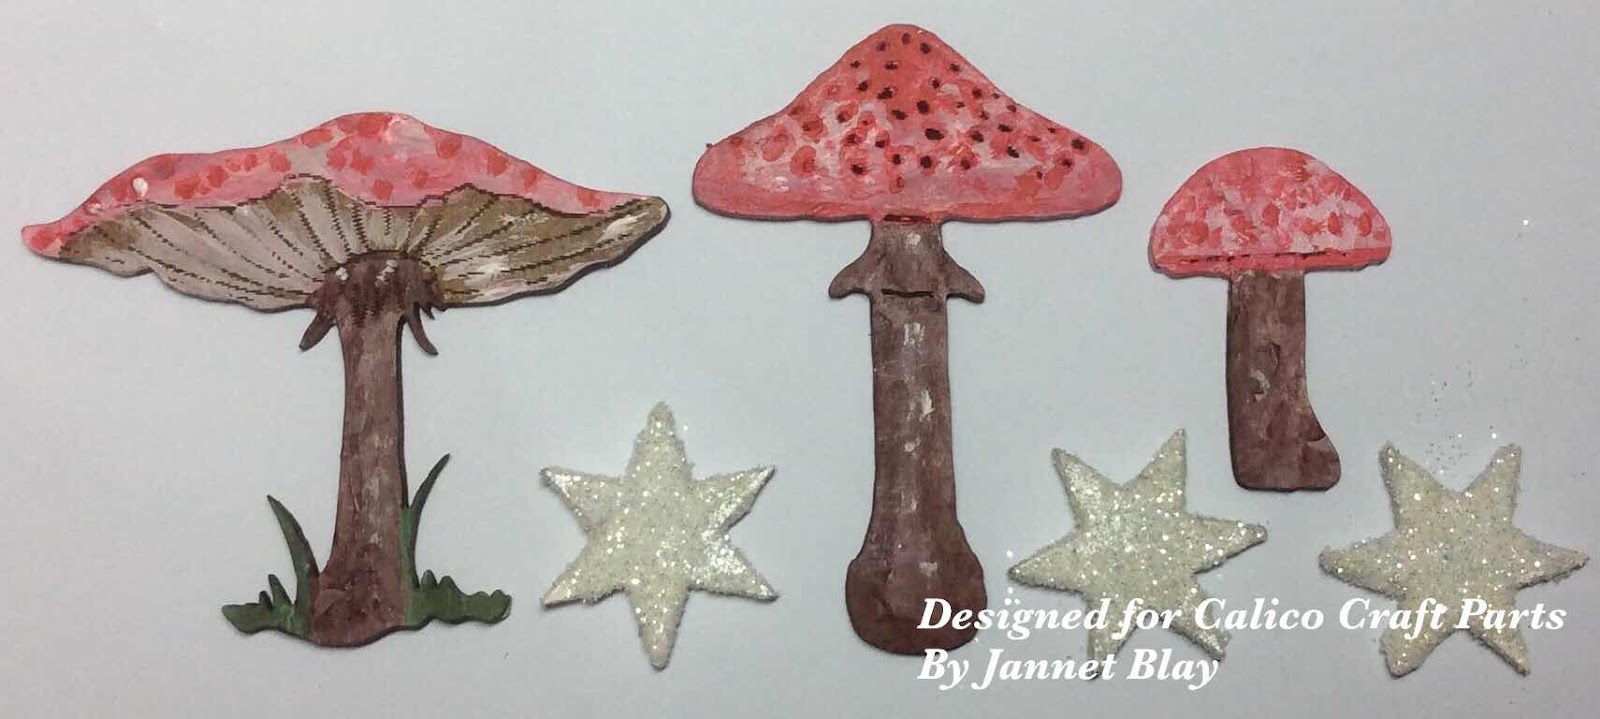
I painted some toadstools, and after painting the stars I added some white glitter, wherever there are fairies there has to be glitter! I fussy cut the fairies and a Make a Wish sentiment from some lovely papers. I sat the fairies on the toadstools, so they could watch everything that is happening in the Forest. 


After assembling the cube I applied Decoart texture paste to the base and placed the toadstools and sentiment into it. I made a paper anchor to hold the paper sentiment up.


Some gorgeous green sparkles completed the fairy scene. 

If you have never crafted with wooden parts before, you may like to give it a try, it is always fun to try something new. Have fun, and stay safe.


My blog Enchanted Place

Calico Craft Parts used 

Monday, 13 July 2020

Summer Garden by Jannet


A quiet Summer spent at home, is my inspiration for my little project today.

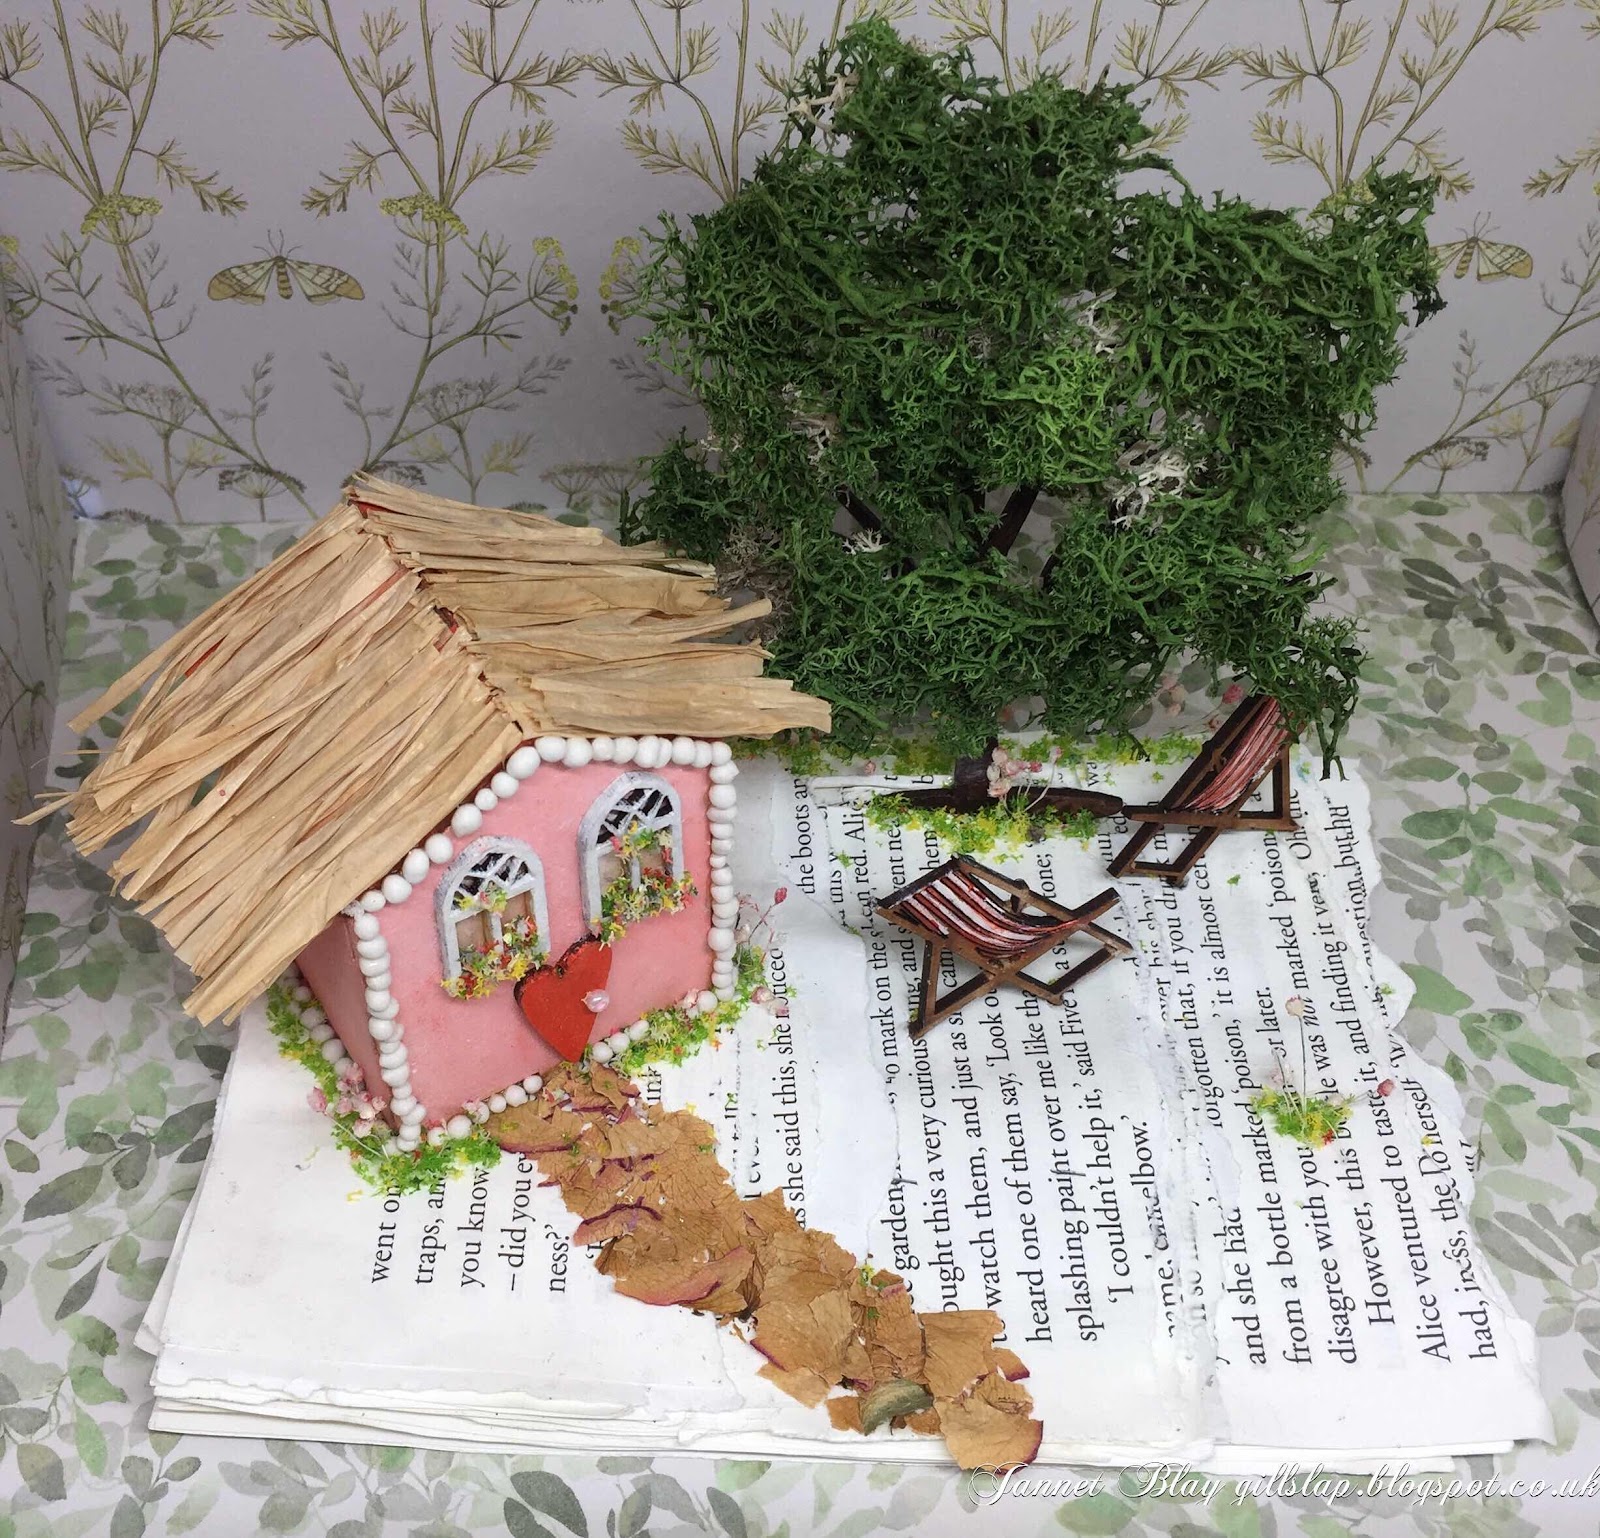
I began by making my base, with some book pages which I had left over from a previous project.  For the  first layer I used almost the full size page, for the next layer I tore the length a little shorter and the final piece a little shorter again. I glued them down so I ended up with a slightly stepped base.

I painted the house before assembling it. A heart made a perfect door to my summer house and a little bead became its handle. I adhered it along with the windows to the front of the house. I had kept some raffia which came wrapped around a bunch of  flowers, which was useful to cut into strips to adorn the roof. I outlined the house with some art stones. I adhered the house to the base, and used pressed rose petals to make a path to the door, so visitors would be welcomed with the scent of gorgeous roses. 


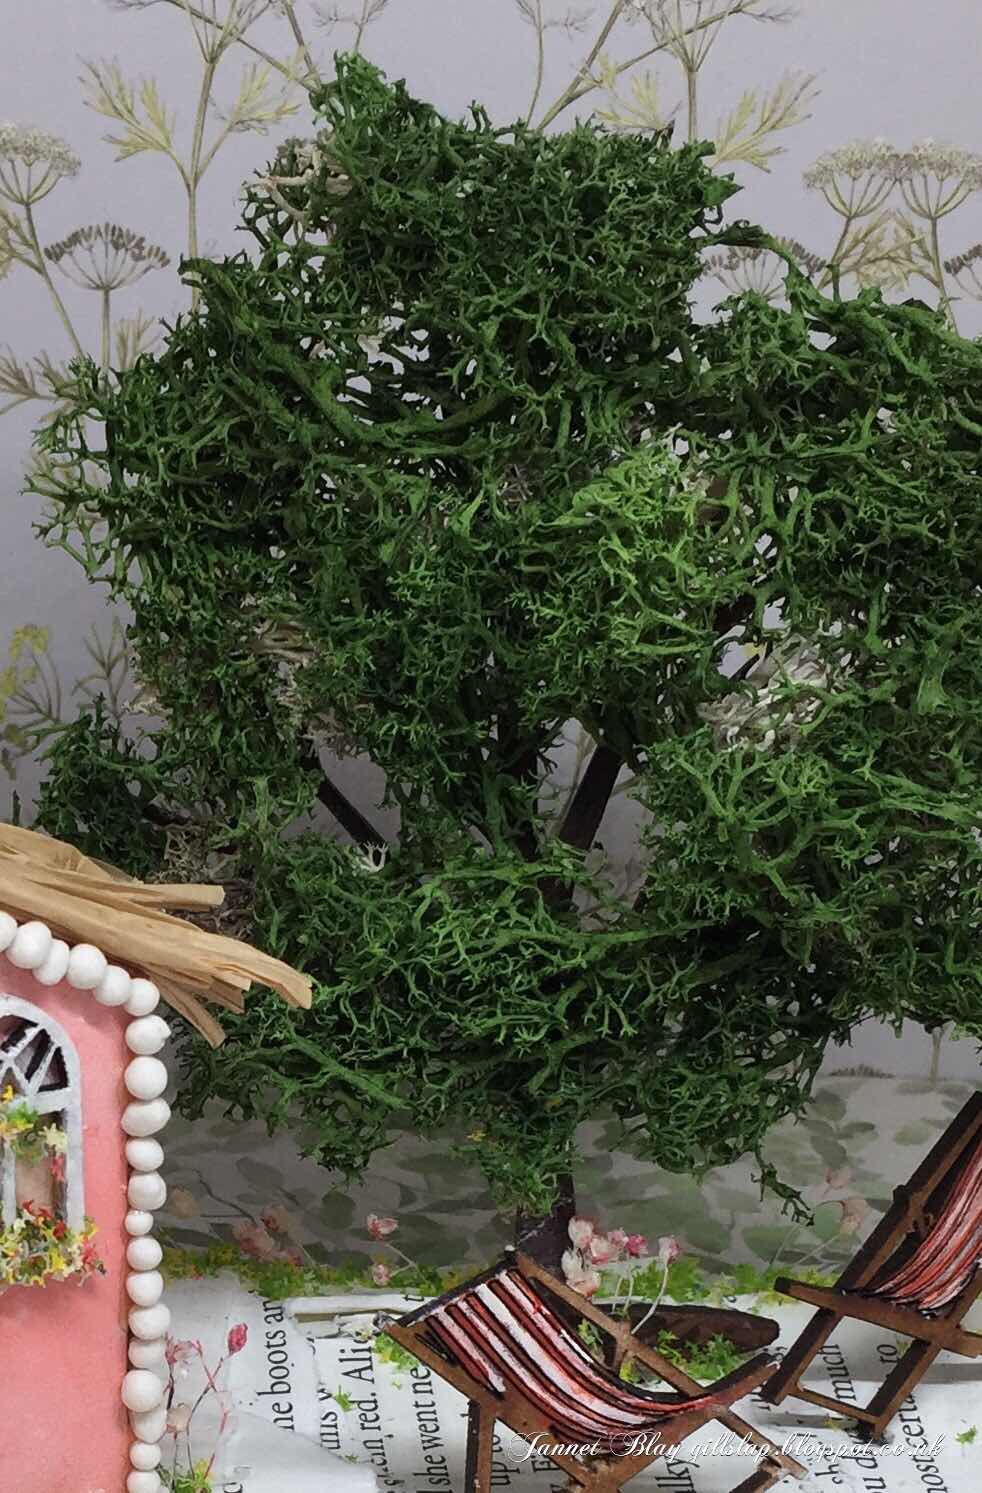
After painting the tree, I added some moss to the branches to represent the leaves. Using a craft knife I cut a slit into the book pages for my tree to nestle in with some glue. I added some tiny dried flowers around the base of the tree, and also around the house. 

For summer garden days you definitely need a deck chair to sit out in, so I painted two chairs with acrylic paints. I used a pokey tool to make small holes in the book pages for the chairs to stand in with some glue to hold them in place. I adhered a row of little flowers along the back of the garden.

I may add some additional features to my garden later, but for now it is a peaceful, tranquil garden to sit in and relax. 


This could be a fun project to make with children this summer. You could replicate your own garden or create a garden of your dreams, there are lots of Calico Craft parts to choose from in all different styles and sizes. 

Stay safe xx

Calico Craft Parts used


Monday, 1 June 2020

Rainbow Bridge by Jannet


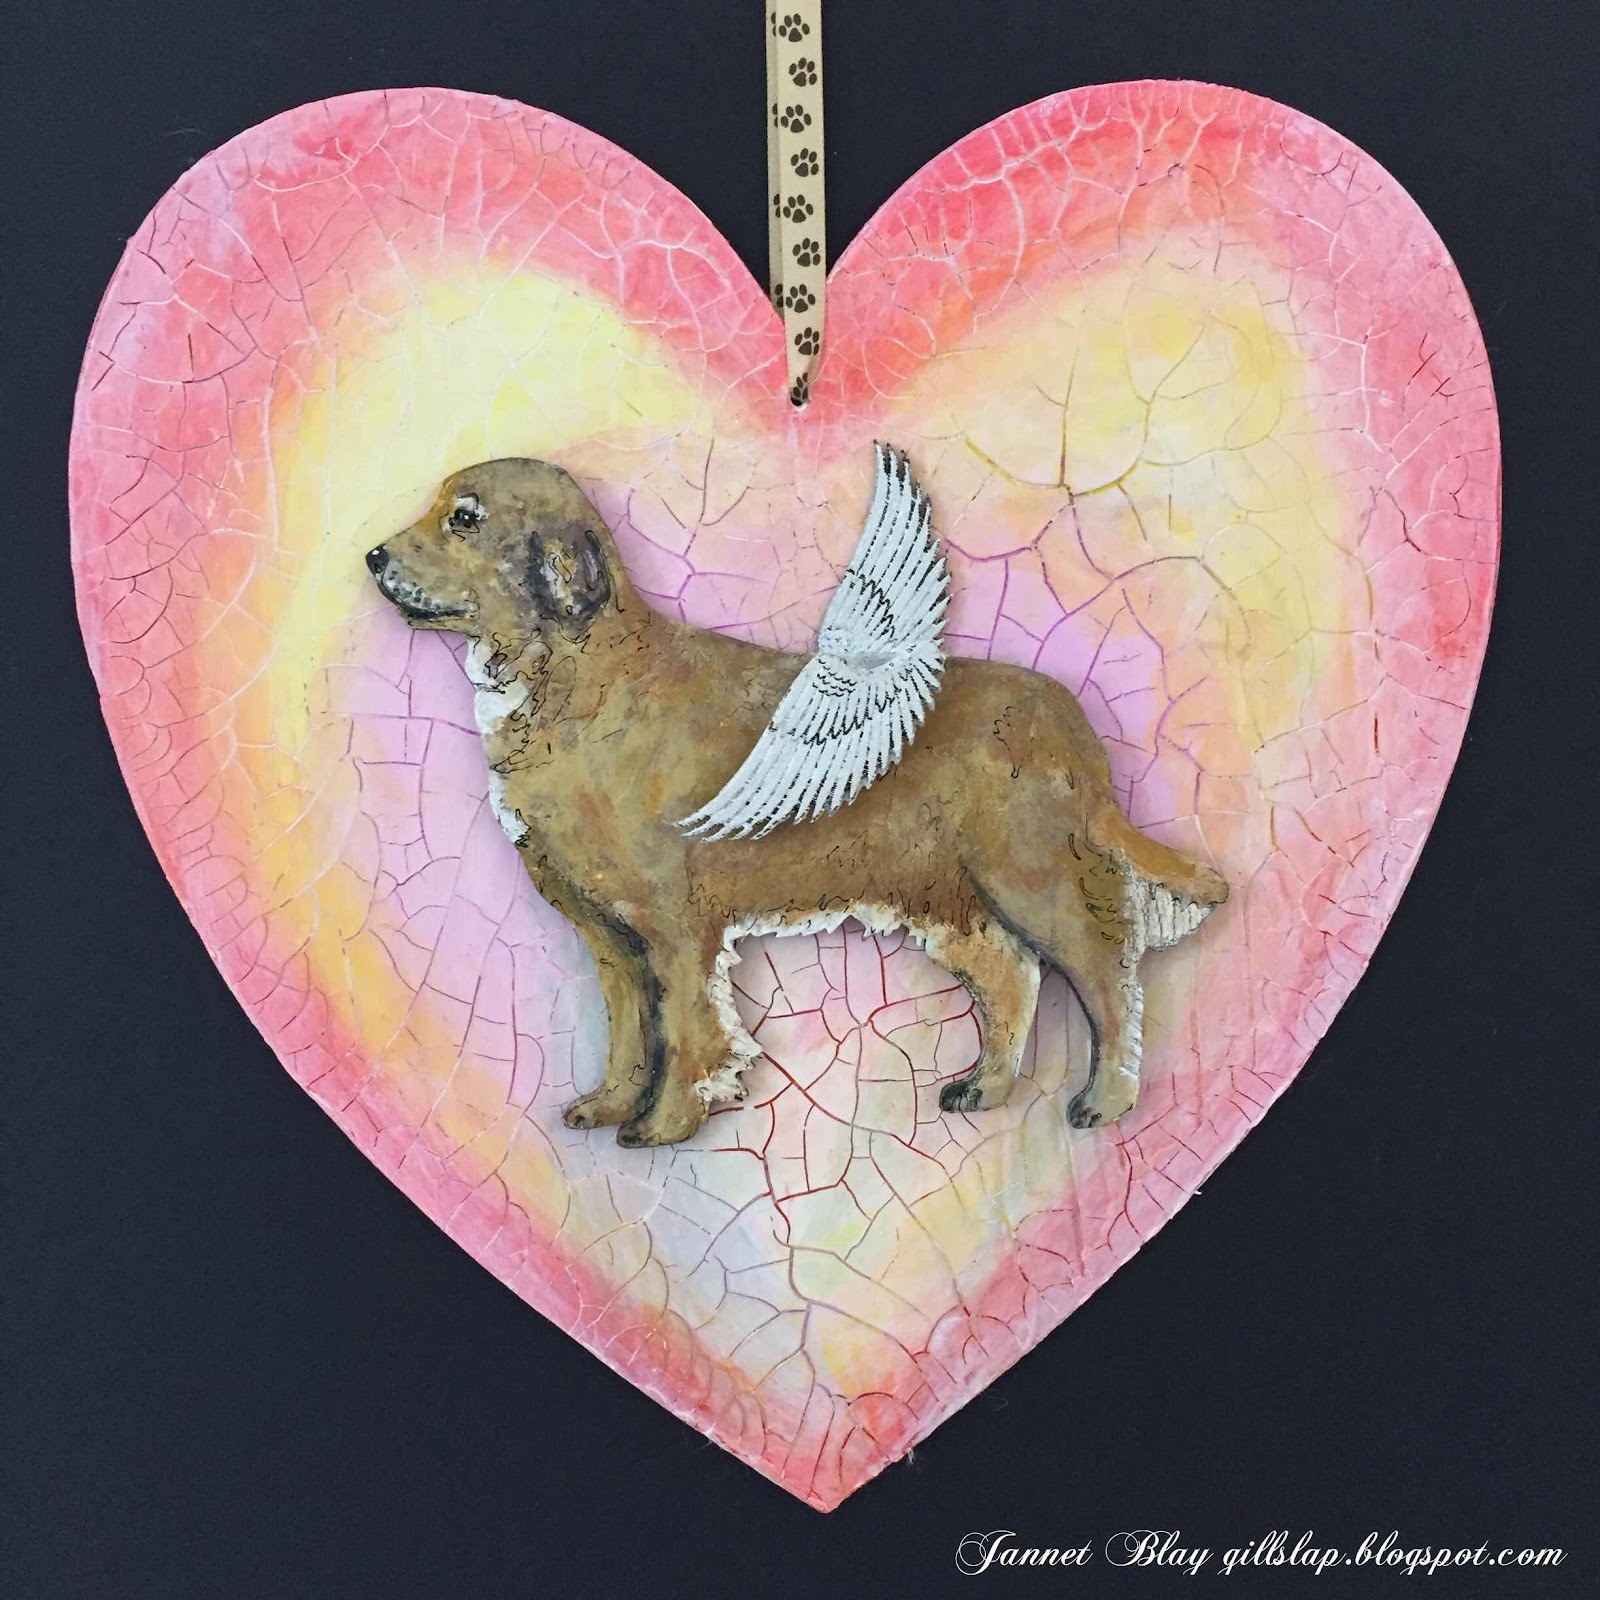
Hello, I hope you are staying safe and well. My inspiration today is The Rainbow Bridge Poem. When a beloved pet dies they go to the Rainbow Bridge to wait for their best friend to join them, then they will never be parted again. Calico Craft Parts have a large variety of dog breeds to choose from, and a selection of cats


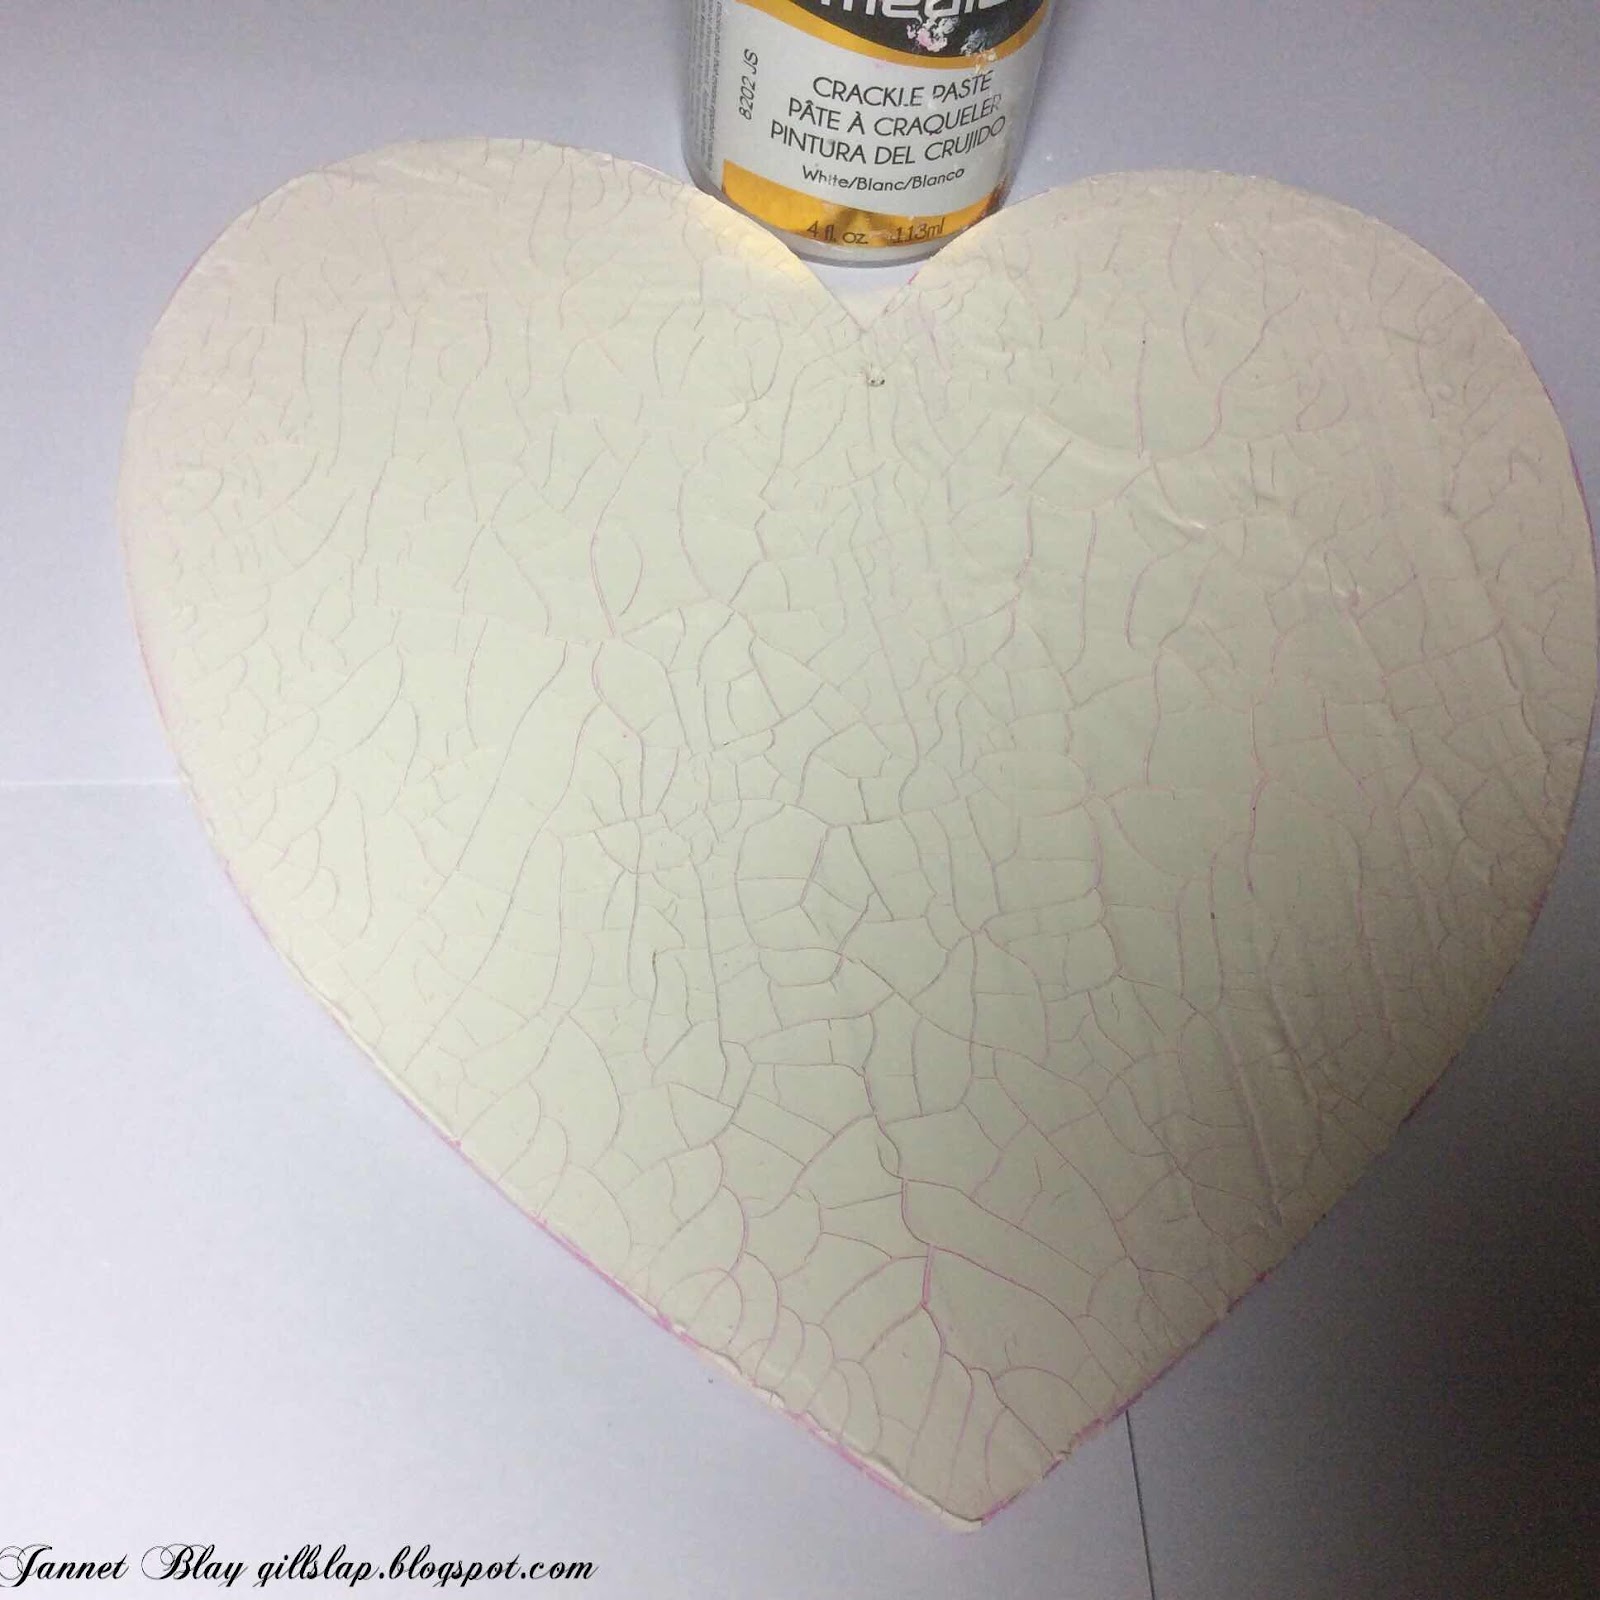
Our hearts feel broken when we lose our beloved pet, so I wanted to show lots of cracks on the hearts to represent this feeling. I coated the hearts in a fairly thick layer of Deco Art Crackle Paste. 


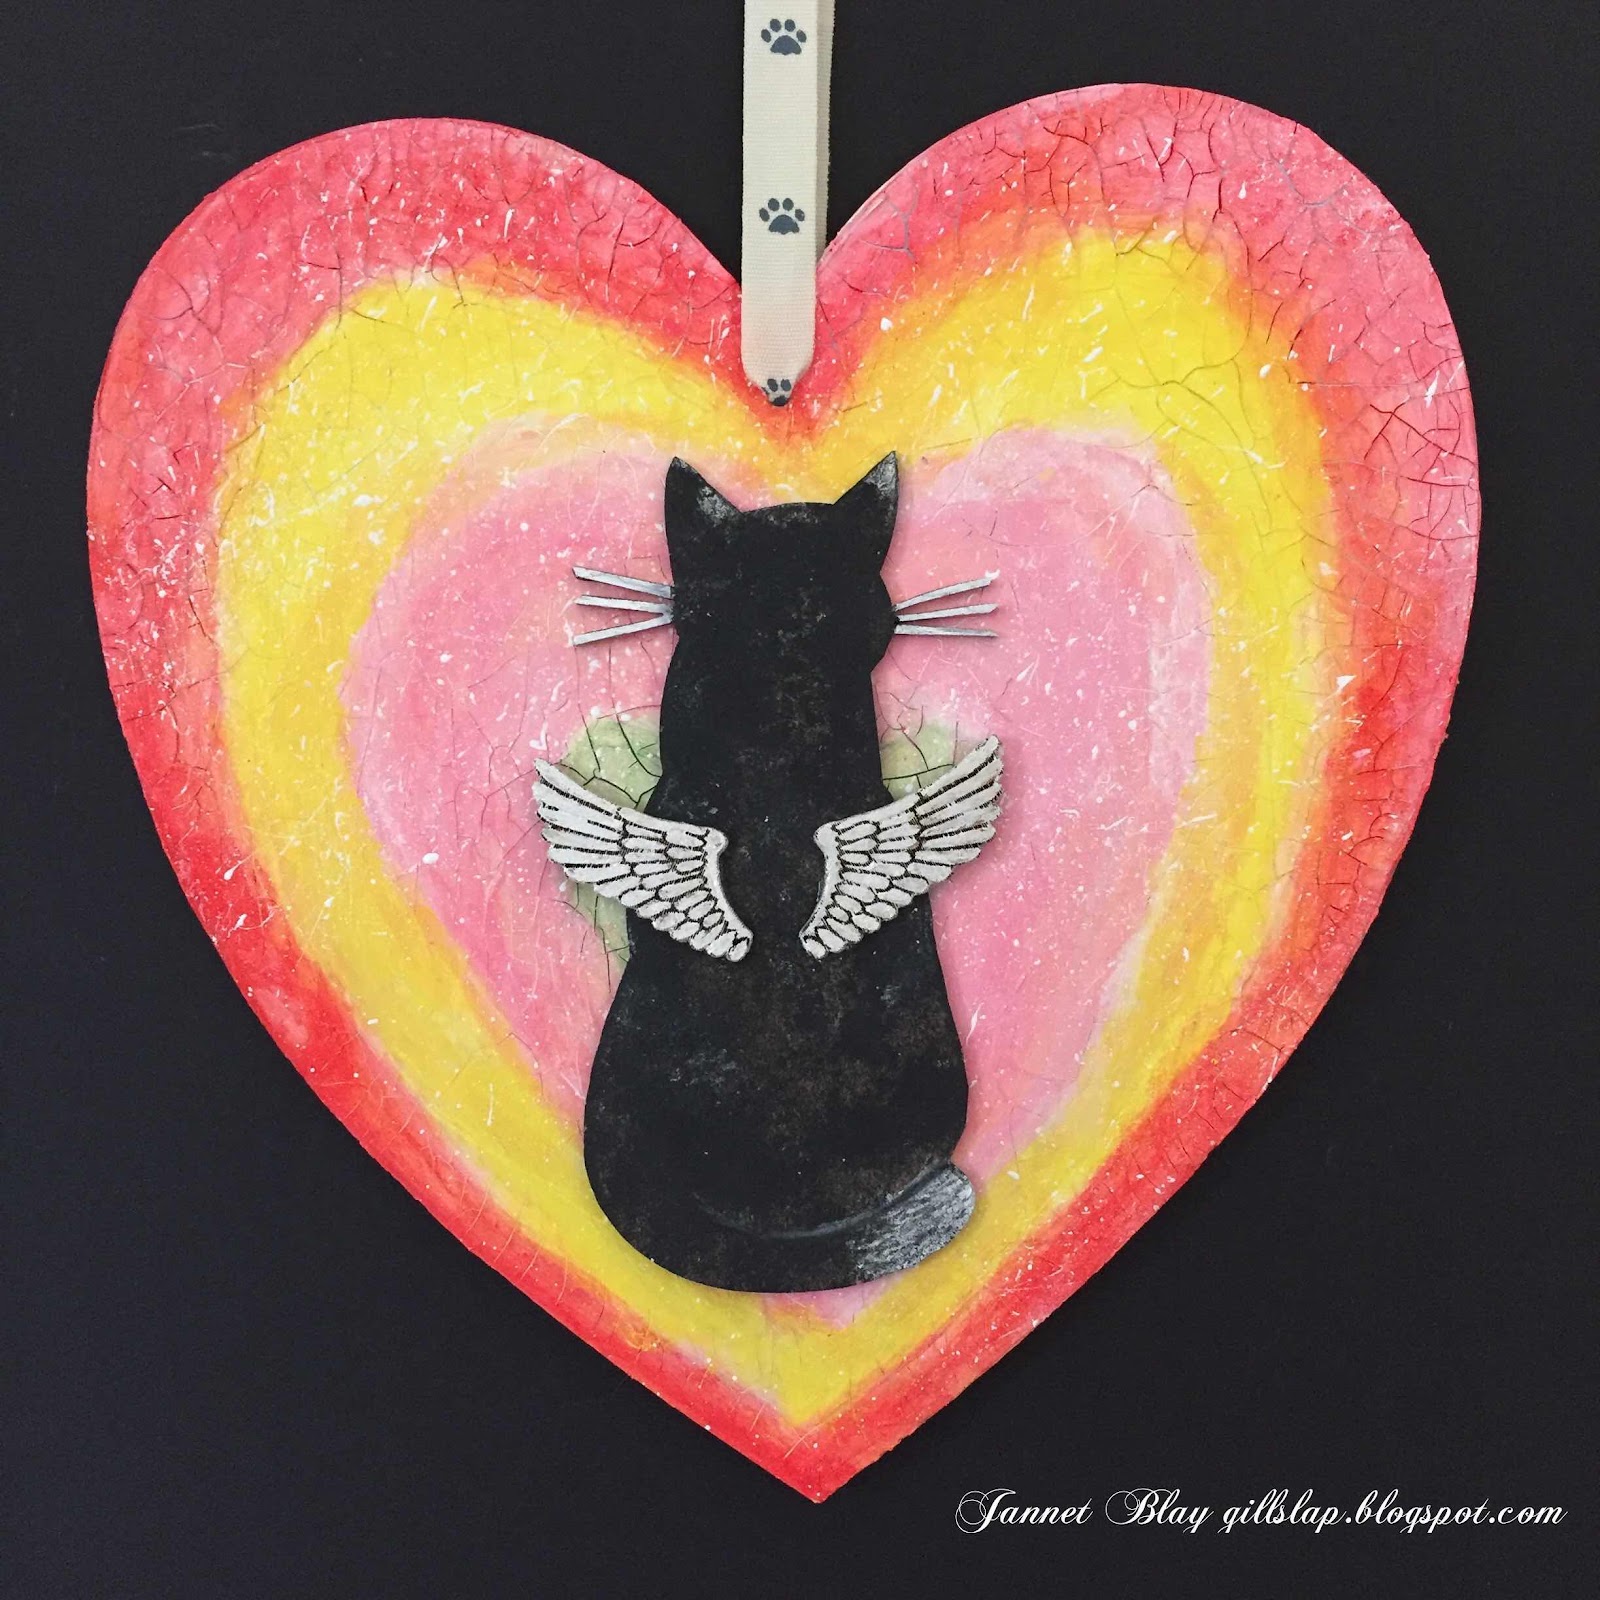
I painted the beautiful Golden Retriever, and the lovely cat with acrylic paints. You can paint details to look like your own pet, or paint it all in black to create a silhouette.


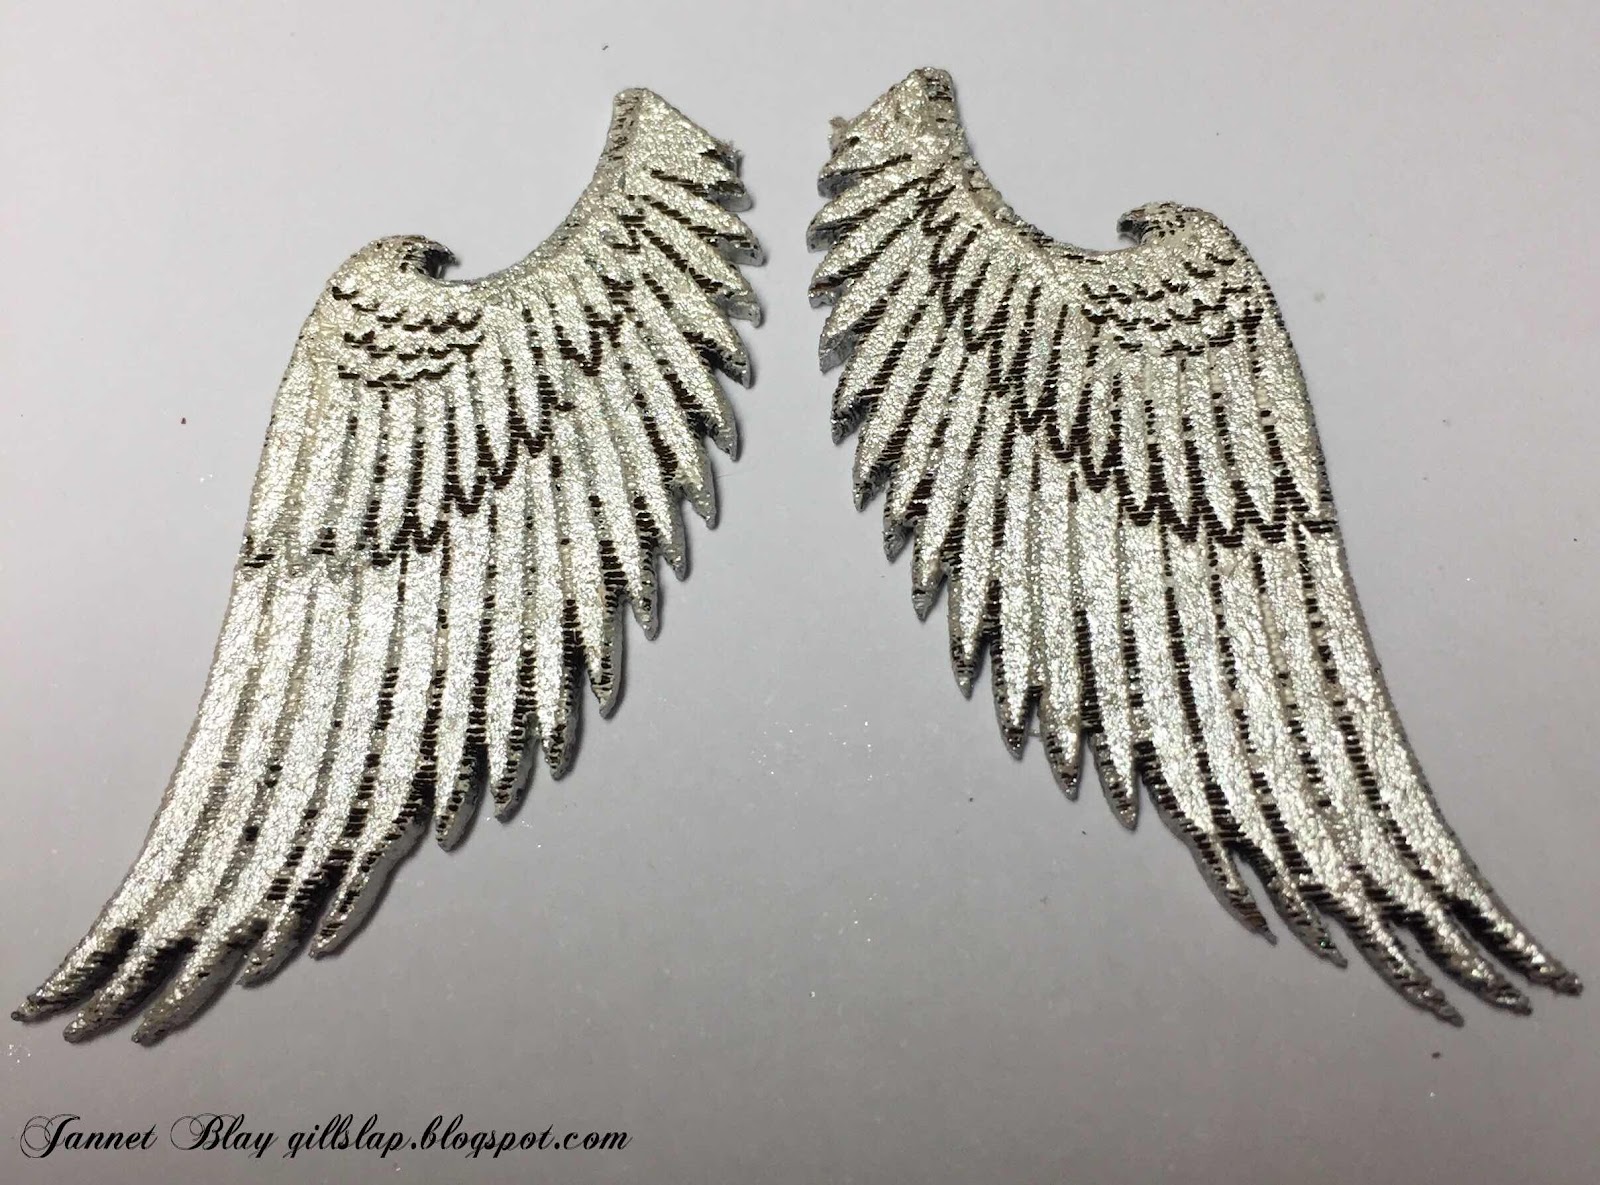
I painted the wings with white acrylic paint, and then I mixed a white pigment powder with a little water. I painted it over the top of the paint  to give the wings a glimmering sparkle.


I painted Rainbow colours onto the cracked heart, and adhered the dog in the middle of the heart and then gave her wings. I repeated the process for the cat, but I also added a few splatters of white. 

If you know someone who has lost a beloved pet this would make a thoughtful memorial for them 

Take care xx

Calico Craft Parts used 

Monday, 18 May 2020

Alice In Wonderland Tea Party by Jannet

.

I am sorry that I have been absent for a little while, the post in London has been very random which is understandable in these very sad circumstances. So my Calico Craft goodies took some time to find their way to me, but oh my goodness  they were well worth waiting for! 

As soon as I saw the 100mm tall art doll, I knew it would be perfect for Alice In Wonderland of course after she had consumed  the “drink me”  drink. 


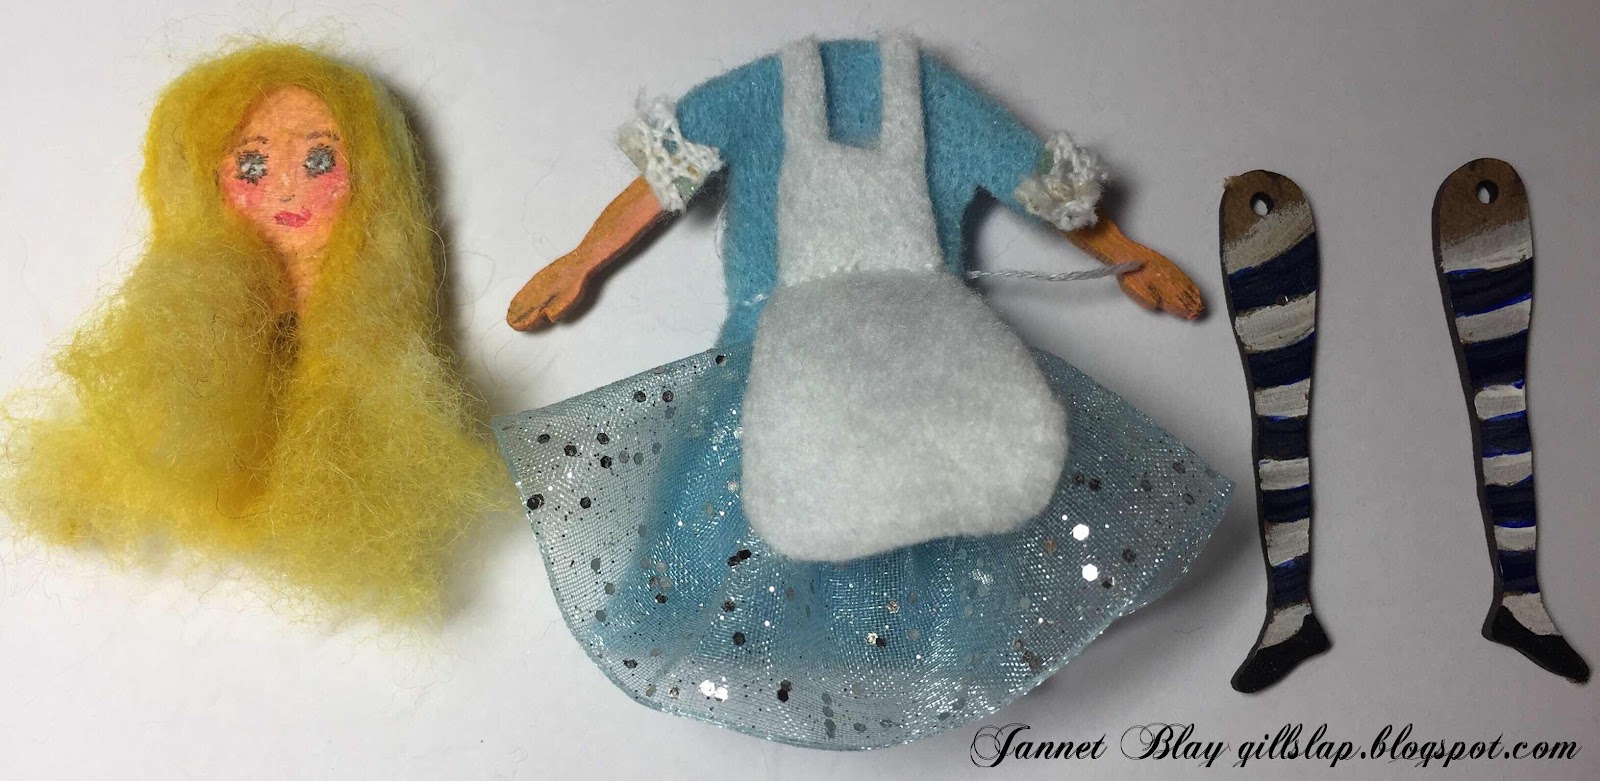
I began by painting her face and arms, and giving her legs stripes for her traditional stockings. She needed golden locks which I made from some needle felting wool.I used her body to measure, and cut a dress from blue felt.I added a ruffle of ribbon to give Alice some dimension. Her famous white pinny completed her look. 


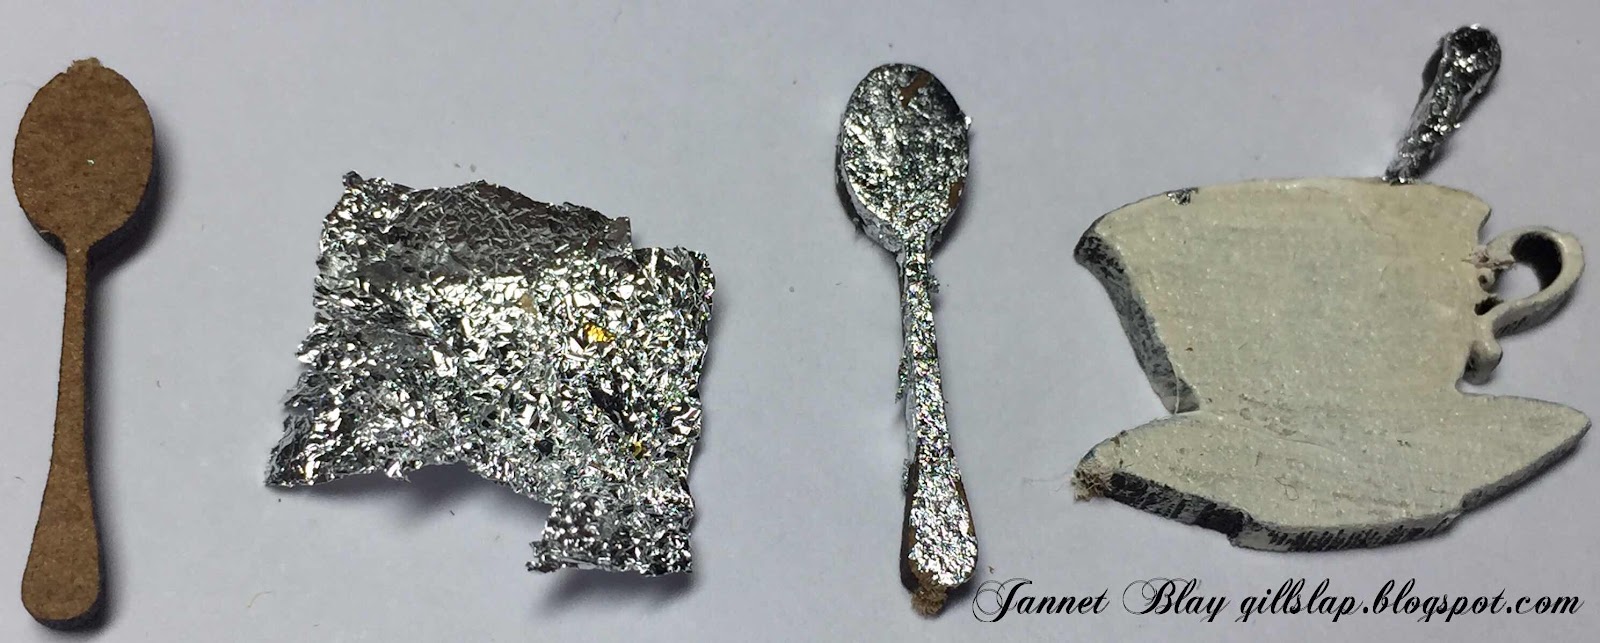
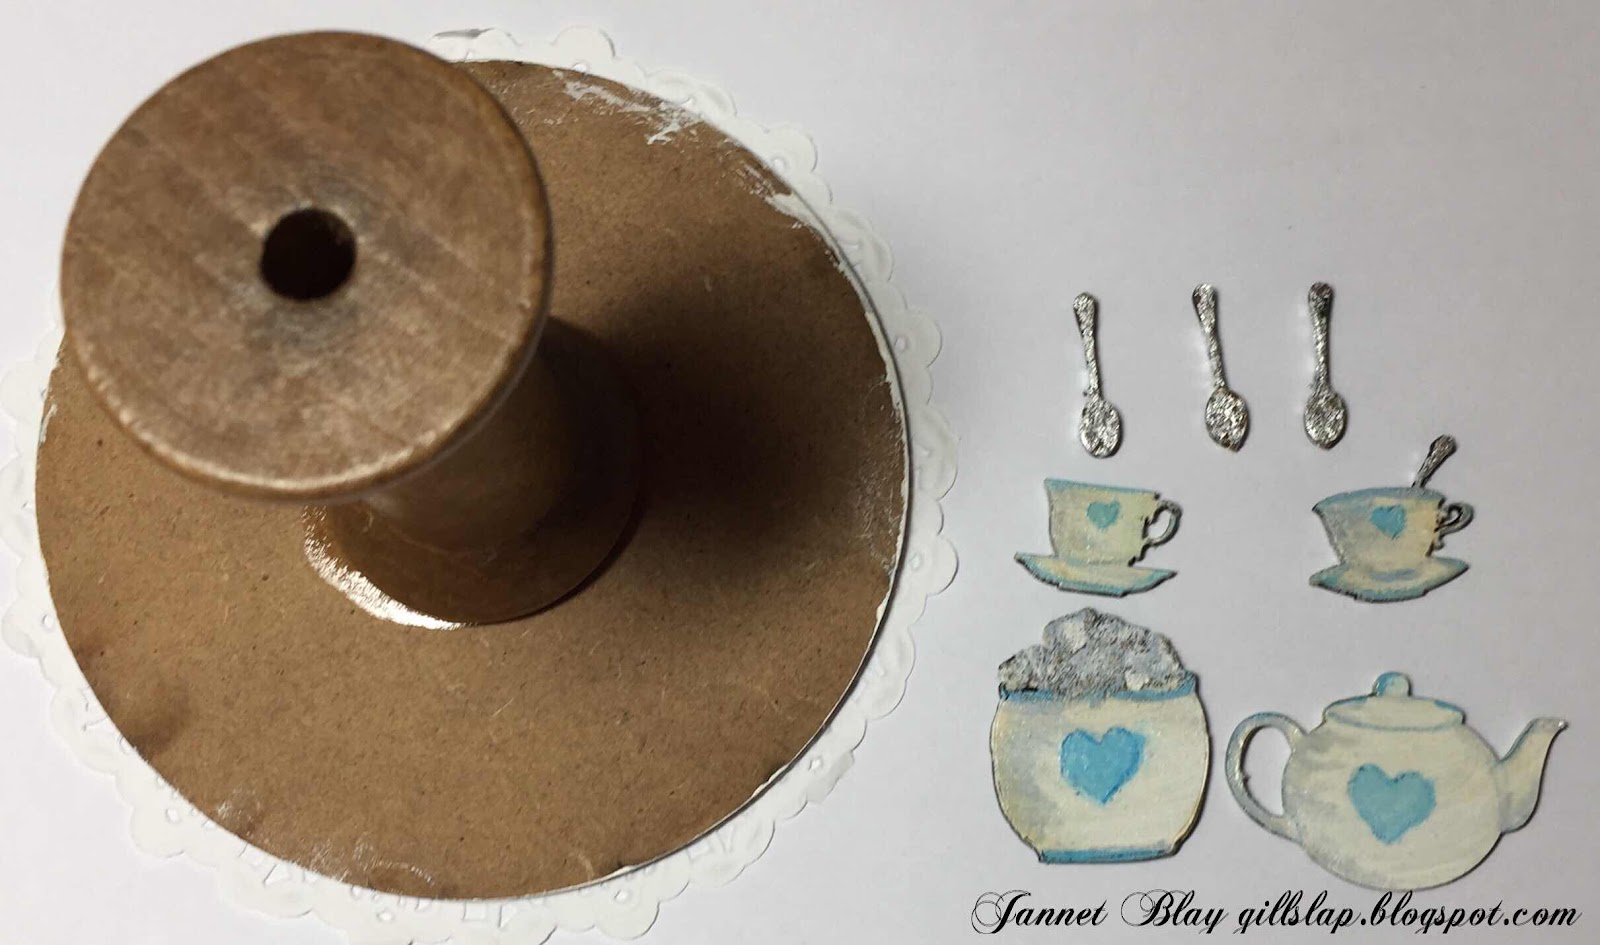
As soon as she was made Alice decided that she needed to have  tea. I found the lovely tea set which comes with lots of cups, teapots, and little tiny spoons too! To give the spoons a metallic shiny look I foiled them with some silver gilding flakes. I covered the spoon in glue and then laid the foil over, and after it adhered I buffed it up to get a silvery shine.I then  painted the cups and teapots and added some Decoart texture paste to the sugar cubes to give them a gritty sugary look.  You can paint any design you like to the tea set, I choose to do a simple blue heart. 

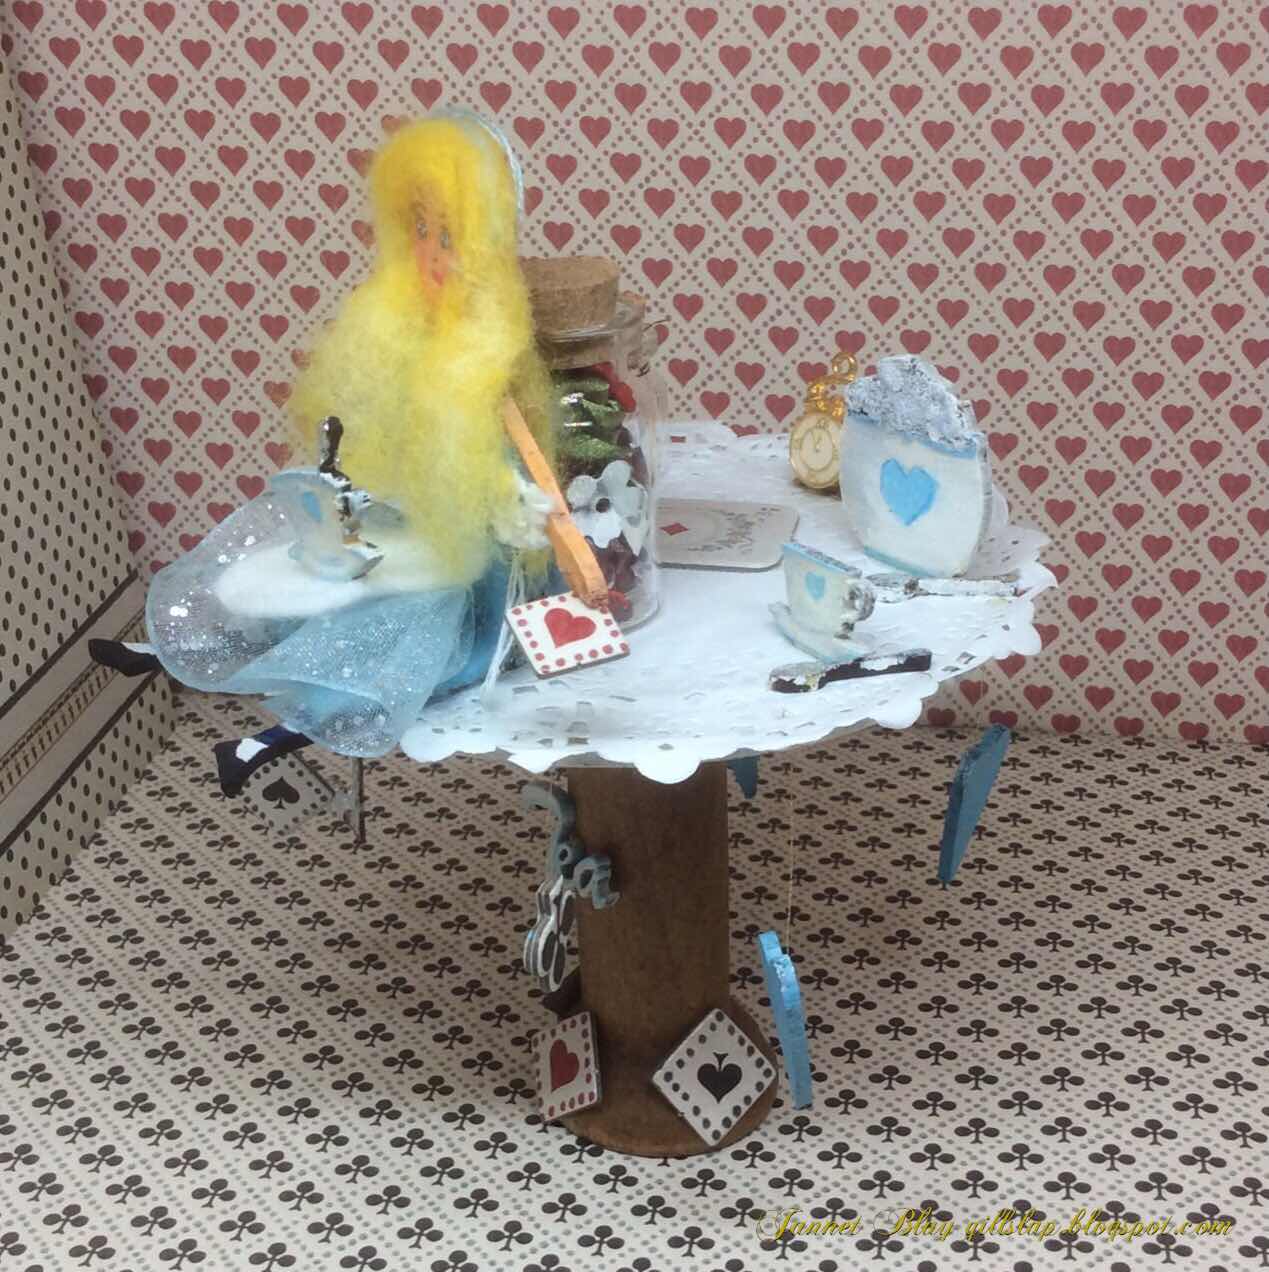
The tea set needed a table, so Alice could sit down and enjoy her tea. I used a 100 mm mixed media circle for the top of the table and a cotton reel for the pedestal. After painting some mini hearts I hung them with some golden thread and adhered them onto the top of the table so they would dangle down from the table.  A doily made a pretty table cloth. I adhered Alice and the tea set in place. I used a plastic bottle to sit Alice against for support. I added lots of little Alice embellishments, a clock, a bottle with “drink Me “ stamped onto it’s label, and some playing cards. There are many things you could make to go with Alice, roses, jam tarts, toadstools..... so many possibilities. I finished by painting the word Tea, and adhering it to the pedestal 


Of course you can turn your art dolls into any character you want to, maybe you could make one to look like a friend or relative that would be a very personal and lovely gift. The art doll kits  come in various shapes and sizes, you are sure to find just the one you need. 
Take care xx

Calico Craft Parts Used


Thursday, 19 March 2020

Door hanger box by Magda

Hello crafty friends!
I'm bringing you a little bit of colour and cuteness in these strange times.
A little creatures are created by me. Textures and colours, experiments as always!

For this project I used:
Door hanger box
Standard heart shape 
MDF tag shape


Magda :)