Showing posts with label Alison Bomber. Show all posts

Friday, 28 April 2017

Gilded Verdigris Tags by Guest Designer Alison

Hello all.  It's Alison here again from Words and Pictures with the second of my guest appearances here this month.  (If you missed the first, do take a look at my Springtime Shadowbox.)  I went through a number of stages before I ended up with this pair of gilded verdigris tags, but the Craft Parts can take any number of layers being thrown at them, so it's okay if you're feeling indecisive!


Even though I went the long way round to get there, I really like the antiqued burnished metal look I've ended up with.


And although, as usual, I set myself a photography challenge in trying to capture that look, I think you get a sense of the gleam of the gold in the sunlight, as well as the weathered chalkiness of the Distress Oxides and the oxidising Verday paints I was using.


It all started with some texture paste through a stencil onto a pair of tags, covered with a coat of gesso, applied so as to give even more texture to the look.


I added washes of Transparent Yellow Iron Oxide DecoArt Media Fluid Acrylic, along with Pumice Stone Distress Crayon for shading.  I really liked this subtle vintage look, but somehow I couldn't progress any further - other than adding the die-cut cardboard shapes for another dimensional layer.


So next it was on to the Oxides... I challenged myself to step outside my colour comfort zone and try out the Fossilized Amber and Spiced Marmalade, and I found myself really enjoying the golden glow of it.


I thought I knew the two main pieces I wanted to use - from Calico's selection of Flora and Fauna Decorative Wood Flourishes - but I couldn't decide on the finish for them.  You can see here a couple of experiments with some of the Mini Butterflies.  (I only had one each of the Flourishes, so I had to wait until I was closer to knowing what I wanted to do with them.)


And I was also thinking of including some vintage photos at this stage.  I was really tempted - as always - to just leave the Craft Parts "naked".  I do like this version - maybe I should have stuck with it (but with bare butterflies too).


Suddenly I remembered my Verday Paint and Patina - so far mostly used on dollshouse projects - and thought it might be nice to go for a coppery verdigris to contrast with the golden sunshine background.  This is the first coat - a true metallic copper.


Then you add a second coat and spritz that with the patina spray and allow the verdigris to develop as the metal particles in the paint oxidise.  (So we have Oxides and actual oxidisation!)


The verdigris green made me want to experiment with adding a similar shade to my background, so I used washes of Distress Paint (Broken China, Evergreen Bough, and maybe some others in the mix too) to add softer blue-green shadows within the texture.


And having got that far, I decided I really didn't want to cover up too much of these beautiful backgrounds, so the photos hit the dust, and I started to play with arranging the Butterfly & Vine...


... and the Morning Glory Vine & Butterfly with the other elements on the tags.


As I went, I decided I wanted a little more depth and a little more gilding.  So I started adding Treasure Gold in Florentine and Aquamarine to the edges of the Craft Parts...


... as well as to the edges of the tags.  And I also used my Sepia Archival Ink to deepen the burnish of the gilding.


I had to have some spatter of course.  I'd already spattered some Oxide inks in places, but I also used the Broken China Distress Paint.  I really love the look of this as part of the verdigris distressing.


I used a couple of my much-loved WordBands to add the words.


They've each had a touch of the same Treasure Gold waxes to help them tone in.


And they're fastened to the tags (now mounted on sturdy cardboard) with the same fine gold wire which adorns the tops of the tags.


So, it took me a while to get there - and I'll probably go back and recreate some of the earlier vintage look backgrounds for projects in the future - but in the end, I think it's a good look for the Craft Parts.


What do you think?  Should I have stopped at an earlier stage?  Or was it worth continuing down the experimental path?  Either way, thanks so much for stopping by today.


Remember, you can click on any of the links to find the specific items, or you could just go and have a browse at Calico Craft Parts if I've tempted you.  Many thanks to Zuzu and the team and the fantastic Calico Craft Parts owners and designers, Helen and Steve, for having me back to play along again.  I've had a wonderful time.

Alison x
Words and Pictures


Friday, 14 April 2017

Springtime Shadow Box by Guest Designer Alison

Hello all!  Alison from Words and Pictures here, and I'm delighted to be back at Calico Craft Parts to share a couple of projects with you this month.  I was so sad when other commitments meant I had to give up my full-time DT post, so it's lovely to return as a guest.  In my usual fashion, it's a photo-heavy post, so grab a coffee and enjoy the ride.


I've been uplifted by spring lately - the fresh plant growth, lighter evenings, soft blossom, and birdsong, and even occasionally some sunshine... and all that is reflected, I hope, in this first creation.


I used one of the fantastic Printers Tray Kits and lined the inside back panel with some paper from the Tim Holtz Wallflower stash.


I painted the interior walls in DecoArt Americana Whitewash and added torn strips of tissue tape covered with light washes of paint to echo the papers behind.


Being able to do all this before you glue the tray together makes it so much easier.


Already I'm pretty happy with the look!


I laid out the Craft Parts I was planning to use, just to check they would all work in the various positions.  I love them in this "naked" state - it's always tough to take the next step, as I think they already look lovely.


But it was time to get going with some paints.  First of all, I gave everything a touch of white to allow the colours to pop over the top.


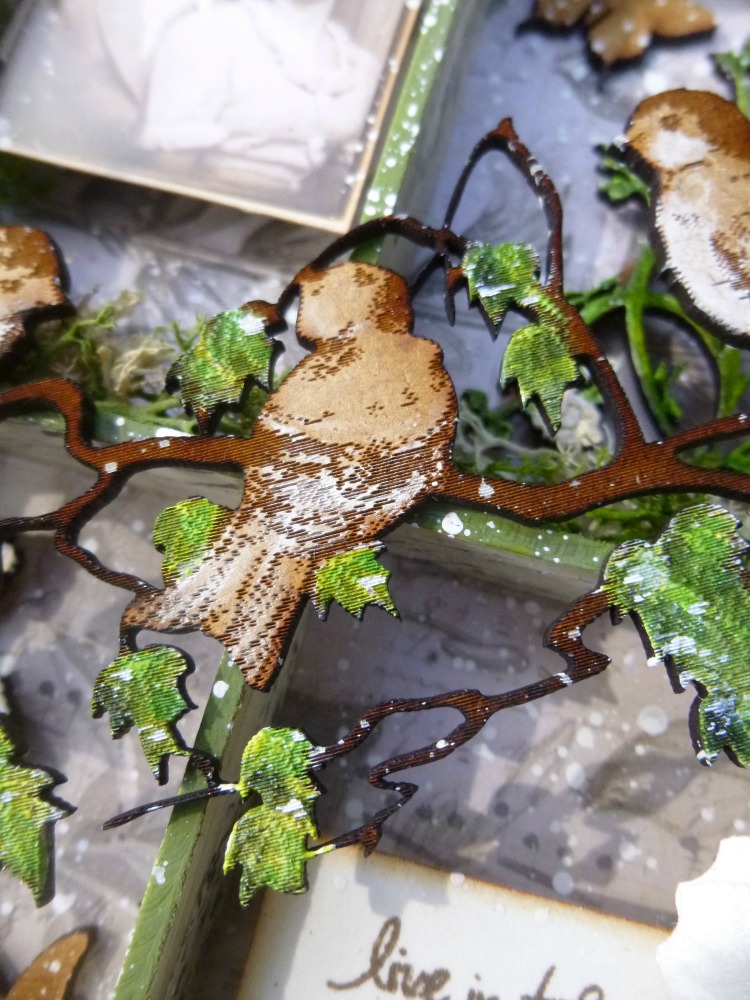
You'll see the birds only got touches of white.  The MDF is already a great bird colour, and the decorative carving means you get all that detailing included.  And the branches can just stay exactly as they are.


I used this delightful Songbird Trio on a Spring Branch in the medium size on an ATC recently (a perfect fit).  This large one works beautifully across the width of the Printers Tray, I think.


The fresh, bright green of new leaf growth is such a wonderful part of the springtime palette - so bold and zingy.  And again the laser-carved detailing makes it so easy to make the leaves look good.


The stems of the Wild Rose Vines are also done in nice bright greens, with flower heads shaded in Whitewash and Media Fluid Transparent Yellow Iron Oxide.


Who'd have thought that something with such an industrial name would be so pretty added to florals?!


There's a romantic couple - billing and cooing like turtle doves in one corner.


And one of my favourite sentiments in another niche.


I wanted my Photobooth photo and my sentiment to stand proud of the back wall, rather than be stuck down deep in the shadows.


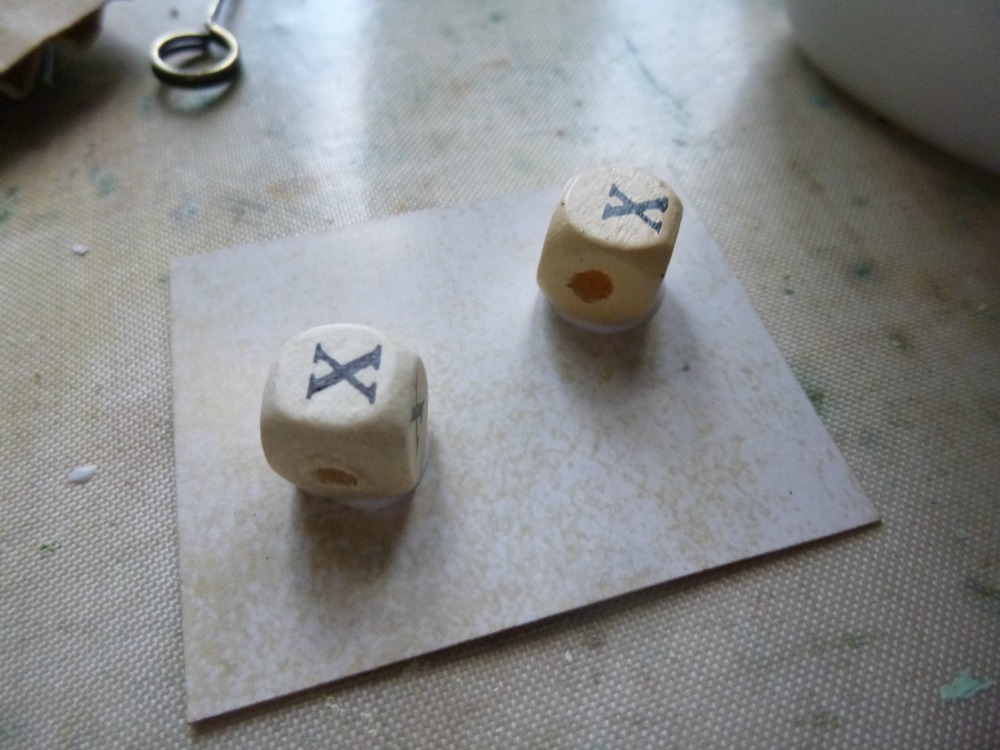
I glued some alphabet dice to the back - picking the least useful letters! - to raise them up.


This adds even more dimensional layers to my tray.


Underneath the sentiment lies an egg, nestled safely in its mossy nook.  (Given what day it is today, I guess we'd have to say it's an Easter egg, no?)


And the moss found its way into the other niches too, adding another touch of nature to the look.


I couldn't resist just a few "naked" Craft Parts.  After all, I needed some more of that rich wood-brown around to echo the unadorned branches on which the birds are sitting.


So there are a couple of Butterfly Wood Shapes fluttering round the rose vines.  I could have painted them, of course, but I love the dark accent they give like this.


I think these are both from the Mini Wood Butterflies Style 5 set.  You get so many butterflies to play with on each sheet, and they're just lovely.


And on opposing corners of the tray, I've got the beautiful Deco Vine Wood Corner twining and curling its way around the edges.


I absolutely love this intricate swirling corner decoration and use it often, though if it's not quite your style there are so many more Corners, Flourishes and Ornaments to choose from, and always in multiple sizes, so you can get just what you need for a particular project.


Which reminds me... I should just quickly show you the exterior too, shouldn't I?  Sorry, I warned you we were photo heavy!


Crackle, what else?!  I used the Decoart Americana Chalky Finish Paints and Crackle Glaze, with greens as the base layer, adding washes of more greens over the top.


Finishing touches... the blossoms scattered around, light accents amidst the earthy greens, browns and greys.  And of course plenty of white spatter to bring it all to life.


And that's pretty much that.  I hope you like this springtime tray.  It was a joy to make, and it makes me very happy to look at now - almost as good as looking out of the window at the real blossom trees!

The Craft Parts used by Alison to create this project are available in a money saving bundle (30% off!) over at the web shop - CLICK HERE to purchase.


Thanks so much for stopping by today.  Remember, you can click on any of the links in the text to go shopping for the specific items, or just have a browse around.  I was amazed at how many more designs there are available even than when I was here full-time - there really is something for everyone!  I'll be back in a couple of weeks, so I'll hope to see you again soon.

Alison x
Words and Pictures

Sunday, 22 May 2016

Calico Farewell - by Alison

Hello everyone.  It's Alison here with a heavy heart, as it's time for me to say goodbye to the Calico team.  My regular followers know that I'm having to make quite a few farewells at the moment.  Life has become very busy - all in a good way, I'm happy to say - and I can't give my DT work the attention it deserves.

I've so enjoyed being on the team here, both when it was Calico Crafts and in the new incarnation... it's been a real honour and a delight to be a part of the renaissance into Calico Craft Parts.  I simply love the Craft Parts - they always inspire me, and lots of the projects I've created with them give me great joy.

So here, as a farewell, are some of my favourite Calico Craft Parts creations.  I hope you enjoy seeing them again as much as I loved making them.  The captions will take you to the posts in case you want a proper reminder, or you want to go shopping for any of the Craft Parts on display!


Apologies if I've missed out one of your favourites - you can always track it down by hitting the Alison Bomber label below, which will call up all my posts here at the Calico Craft Parts Blog.

My thanks go to Helen and Zuzu and all the amazing creatives I've worked alongside here.  With the fantastic new team members joining the stalwarts, I know things will go from strength to strength.  Thank you for having me and enjoy the ride, everybody!

Alison x
Words and Pictures