Showing posts with label Papercrafts. Show all posts

Saturday, 12 June 2021

Red poppies by Kerstin


Welcome creative friends!


Everywhere you can now discover poppies blooming again 

in fields and meadows, beautiful! 

unfortunately they always fade far too quickly. 


That's why I was inspired to create a mixed media layout

 where the beauty stays a little longer. 


Tip to all scrapbook fans 

here you can see that you can combine 

MDF shapes and papers very well


some close up's


I created a window in weathered wood style with awning 

and framed by two columns made with silicone mould


Wild Poppies shapes 

have been divided into individual flowers and 

arranged to the right and left side of window


painted with two shades of red acrylic color

stamens with glass microbeads and black acrylic color


 completed with cut out paper poppies 


and dryed leaves and grasses 


used Calico Craft Parts


Wild Poppies MDF Wood Shape - Style 55

Arched Window - MDF Wood Shape


Thanks for your visit!

Kerstin


Monday, 19 October 2020

Card and Gift In One by Jannet


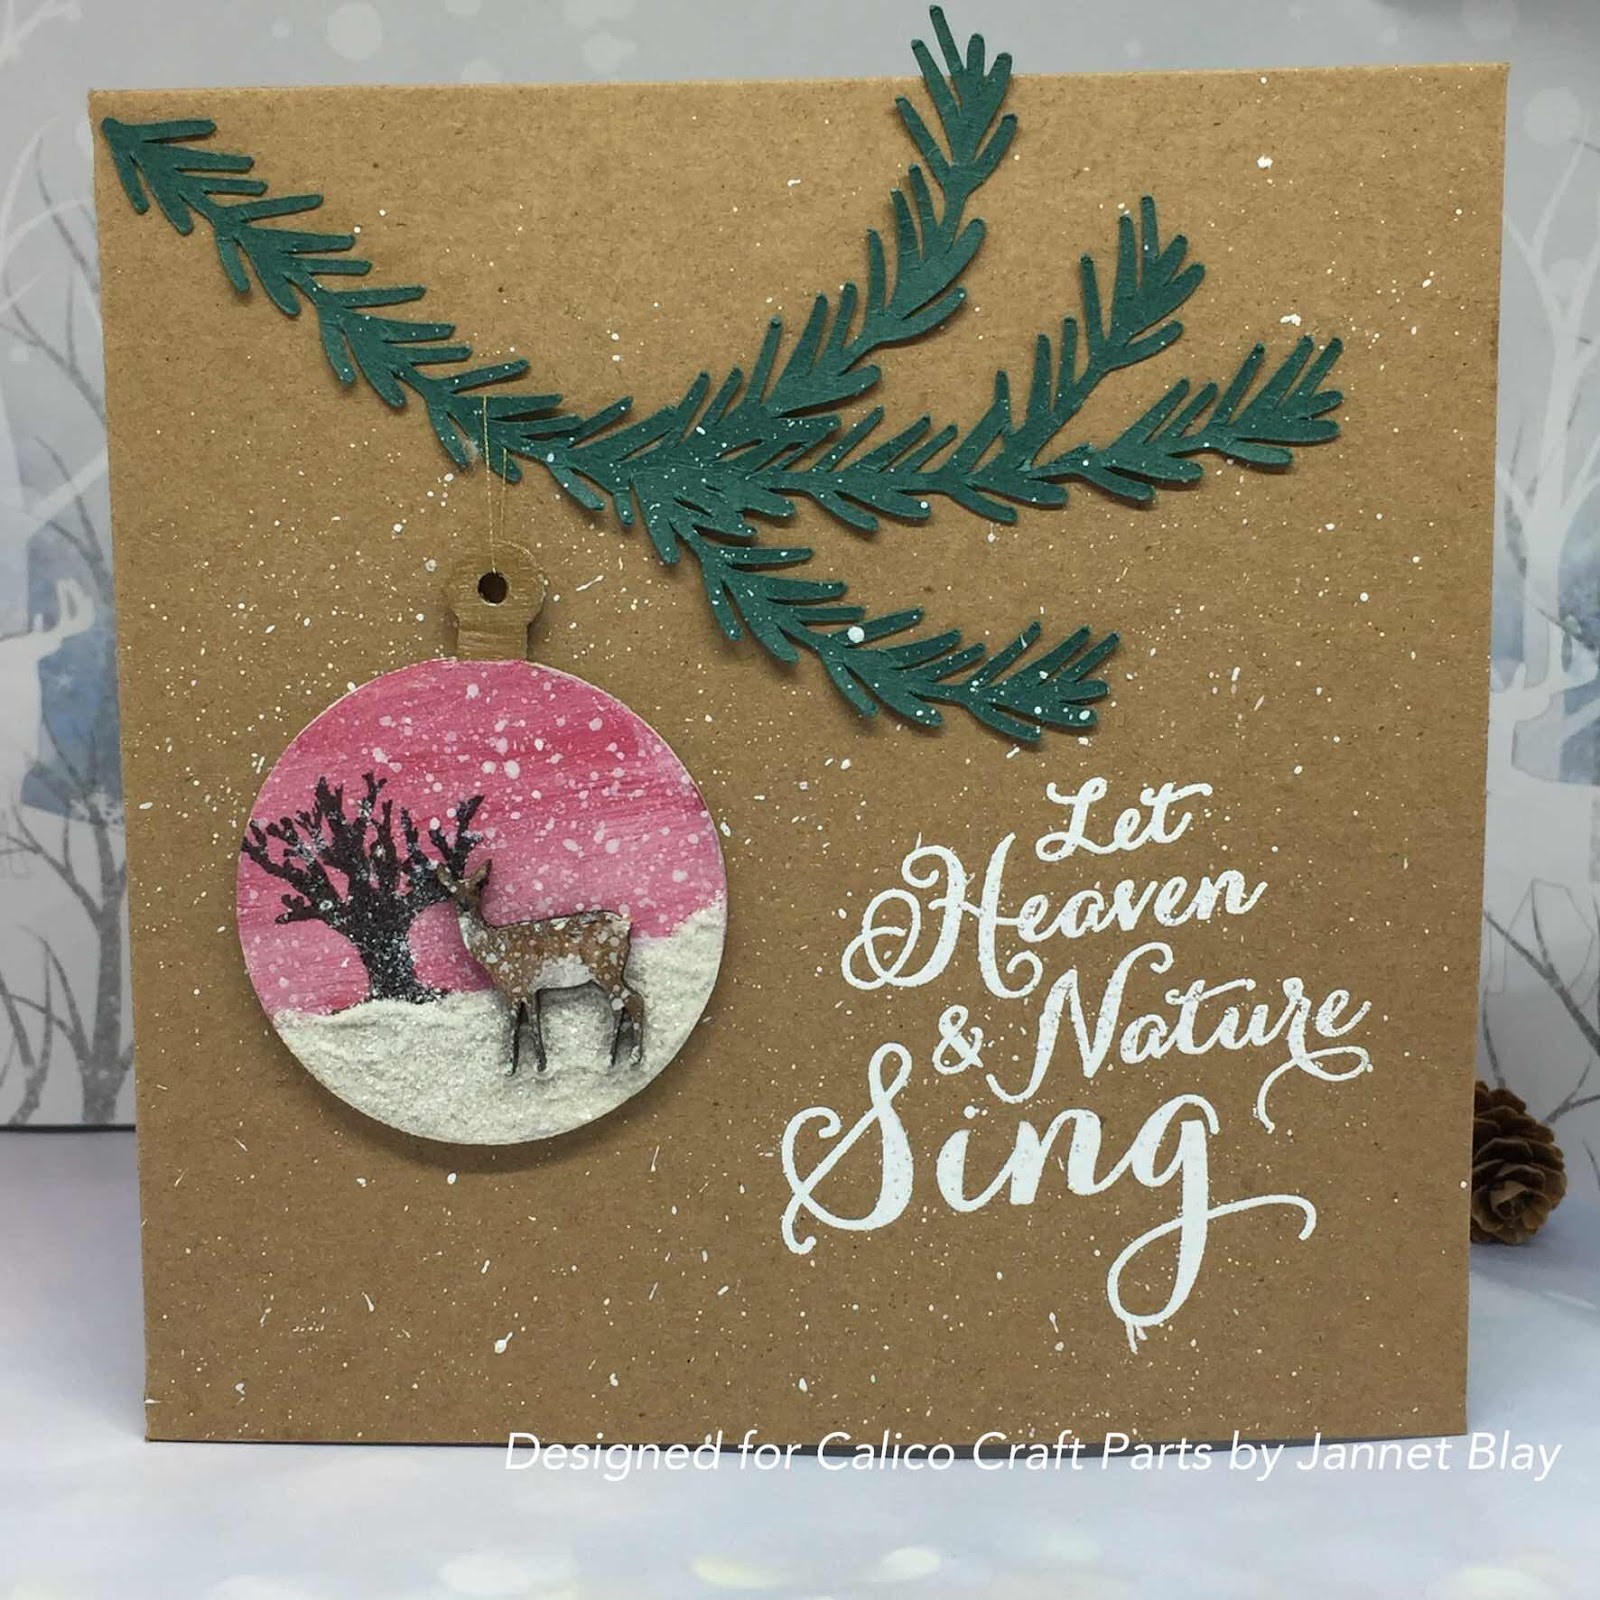
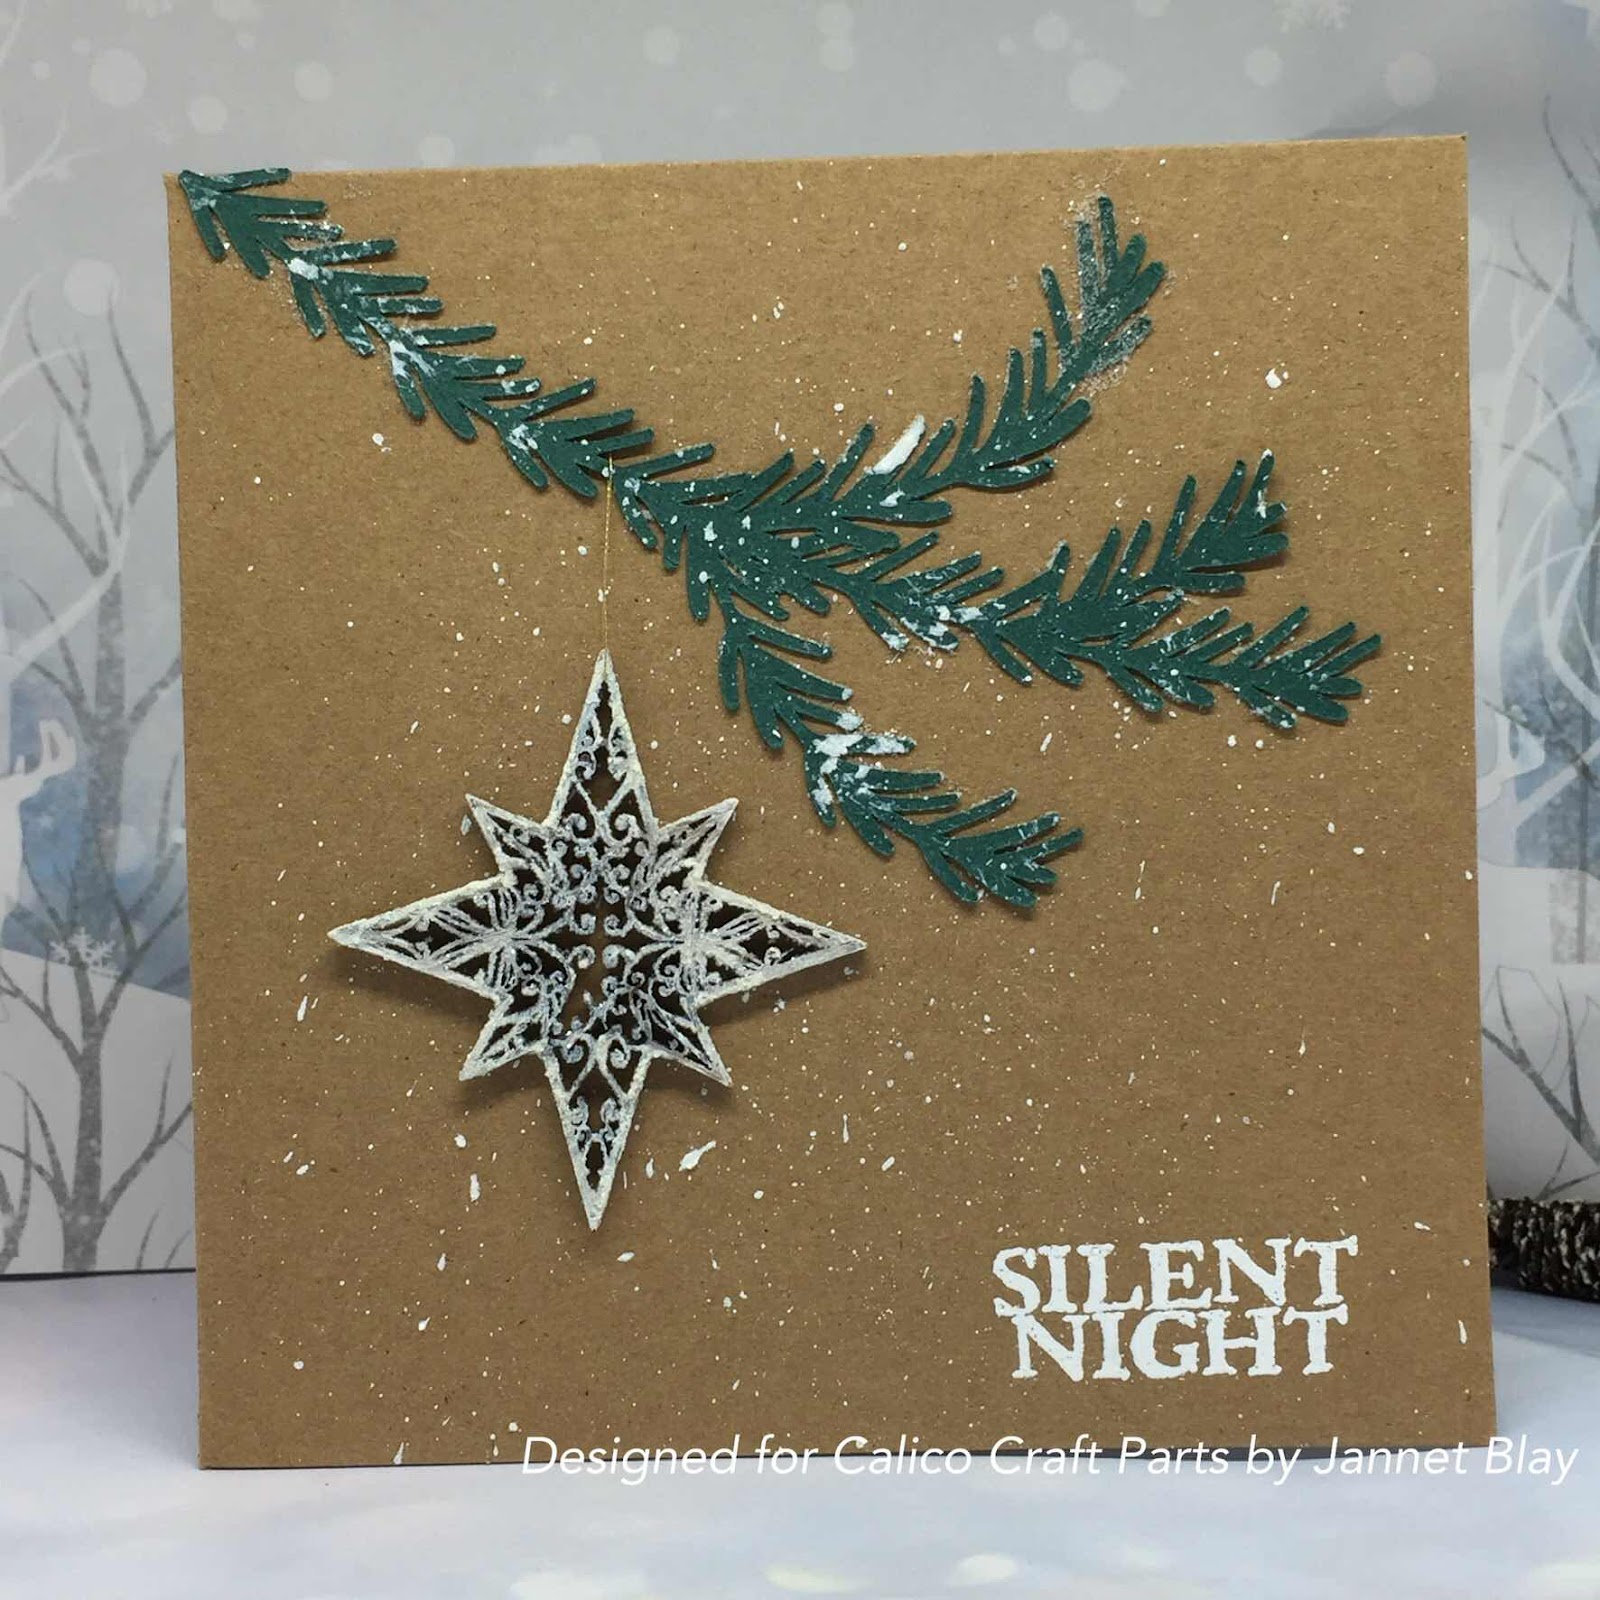
Hello, I hope all is well with you. Christmas 2020 is going to be a  bit different this year, so staying in touch with family and friends will be even more important than ever. With this in mind I decided to make special Christmas cards, which include a decoration which can be detached from the card and hung up if desired.


I used a selection of lovely bauble shapes to create my ornament. For this one I painted a background onto the bauble  and adhered a painted  mini deer  who is happily standing in lots of snow which I created from Decoart texture paste and white glitter. A splatter of white acrylic paint gave a simple snowing affect. As the bauble might be removed from the card, I stamped the reverse of the bauble with a Christmas sentiment after giving it a coat of paint.


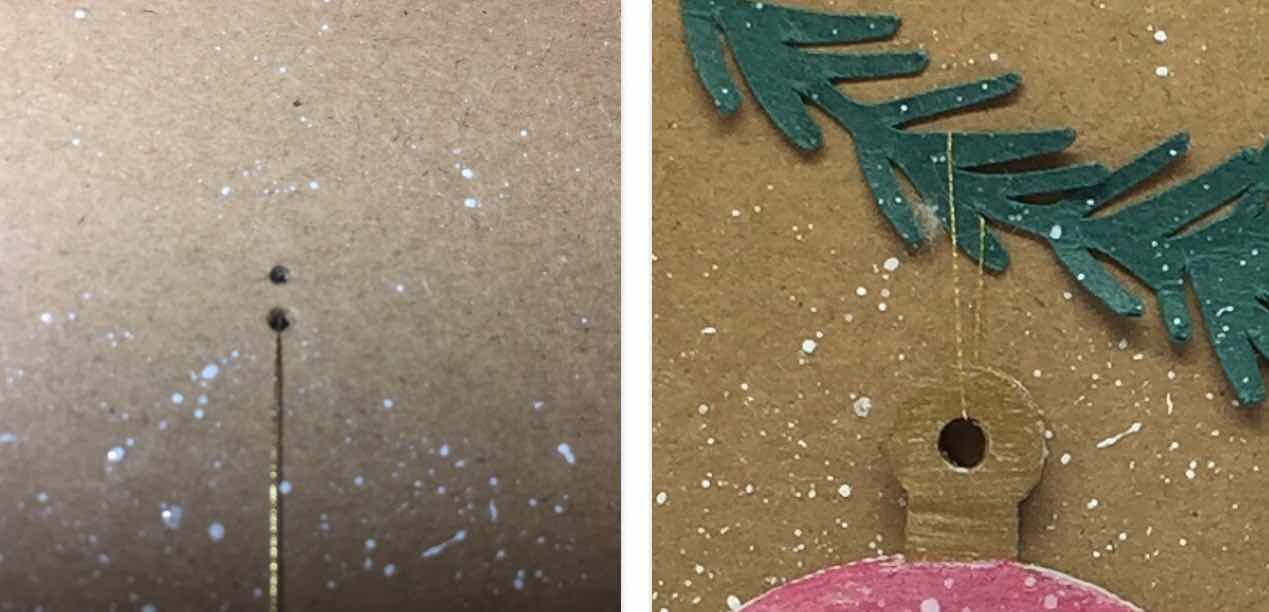
To add the detachable bauble I  used a needle to punch two holes either side of my die cut branch, and used gold thread to hang the bauble up and tied the thread together on the reverse  of the front of the card.


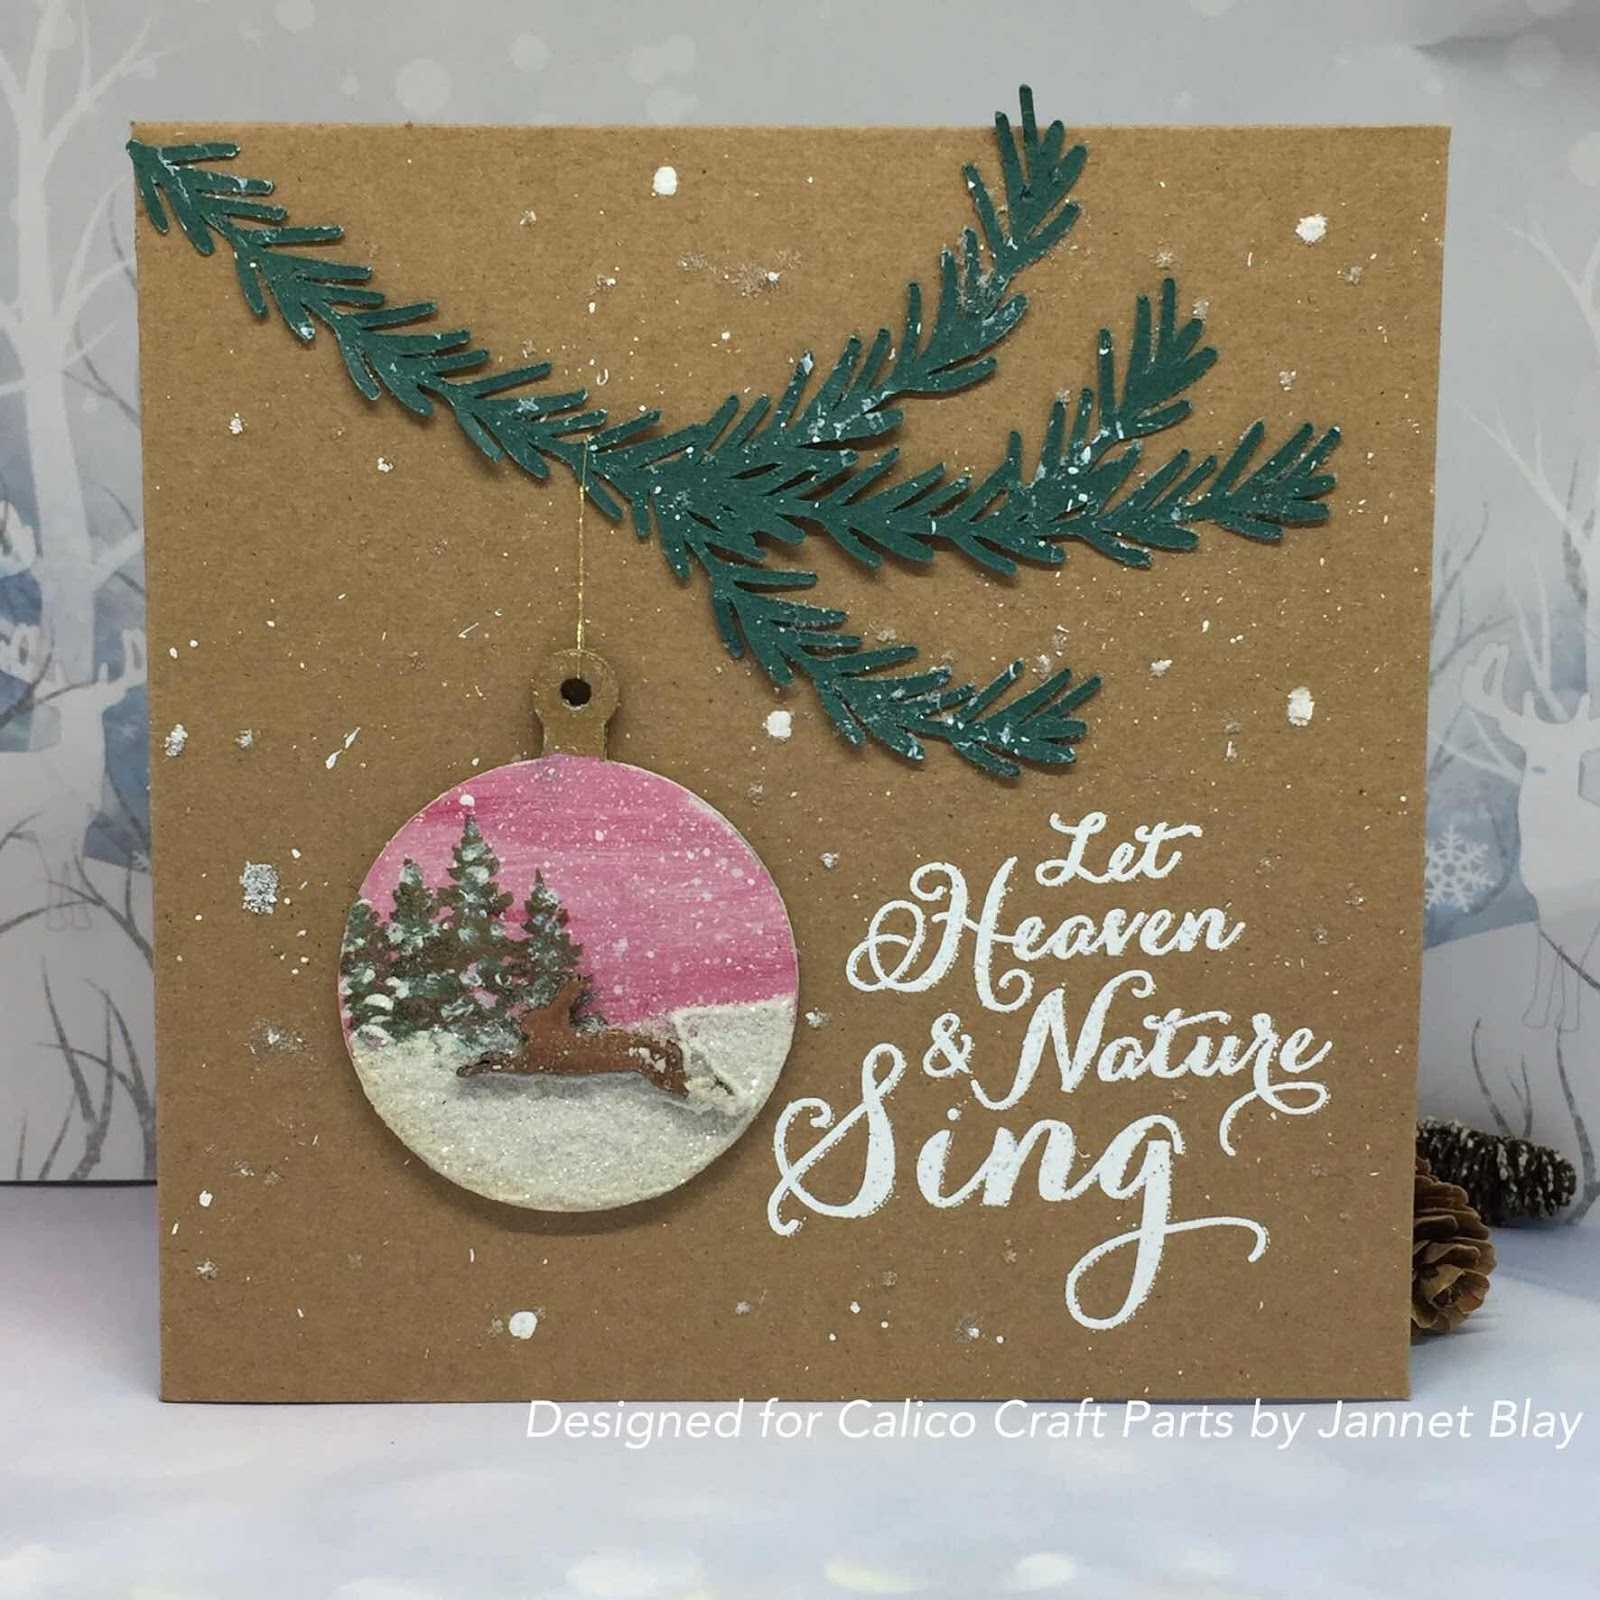
For this one a mini hare jumped into the snow. 


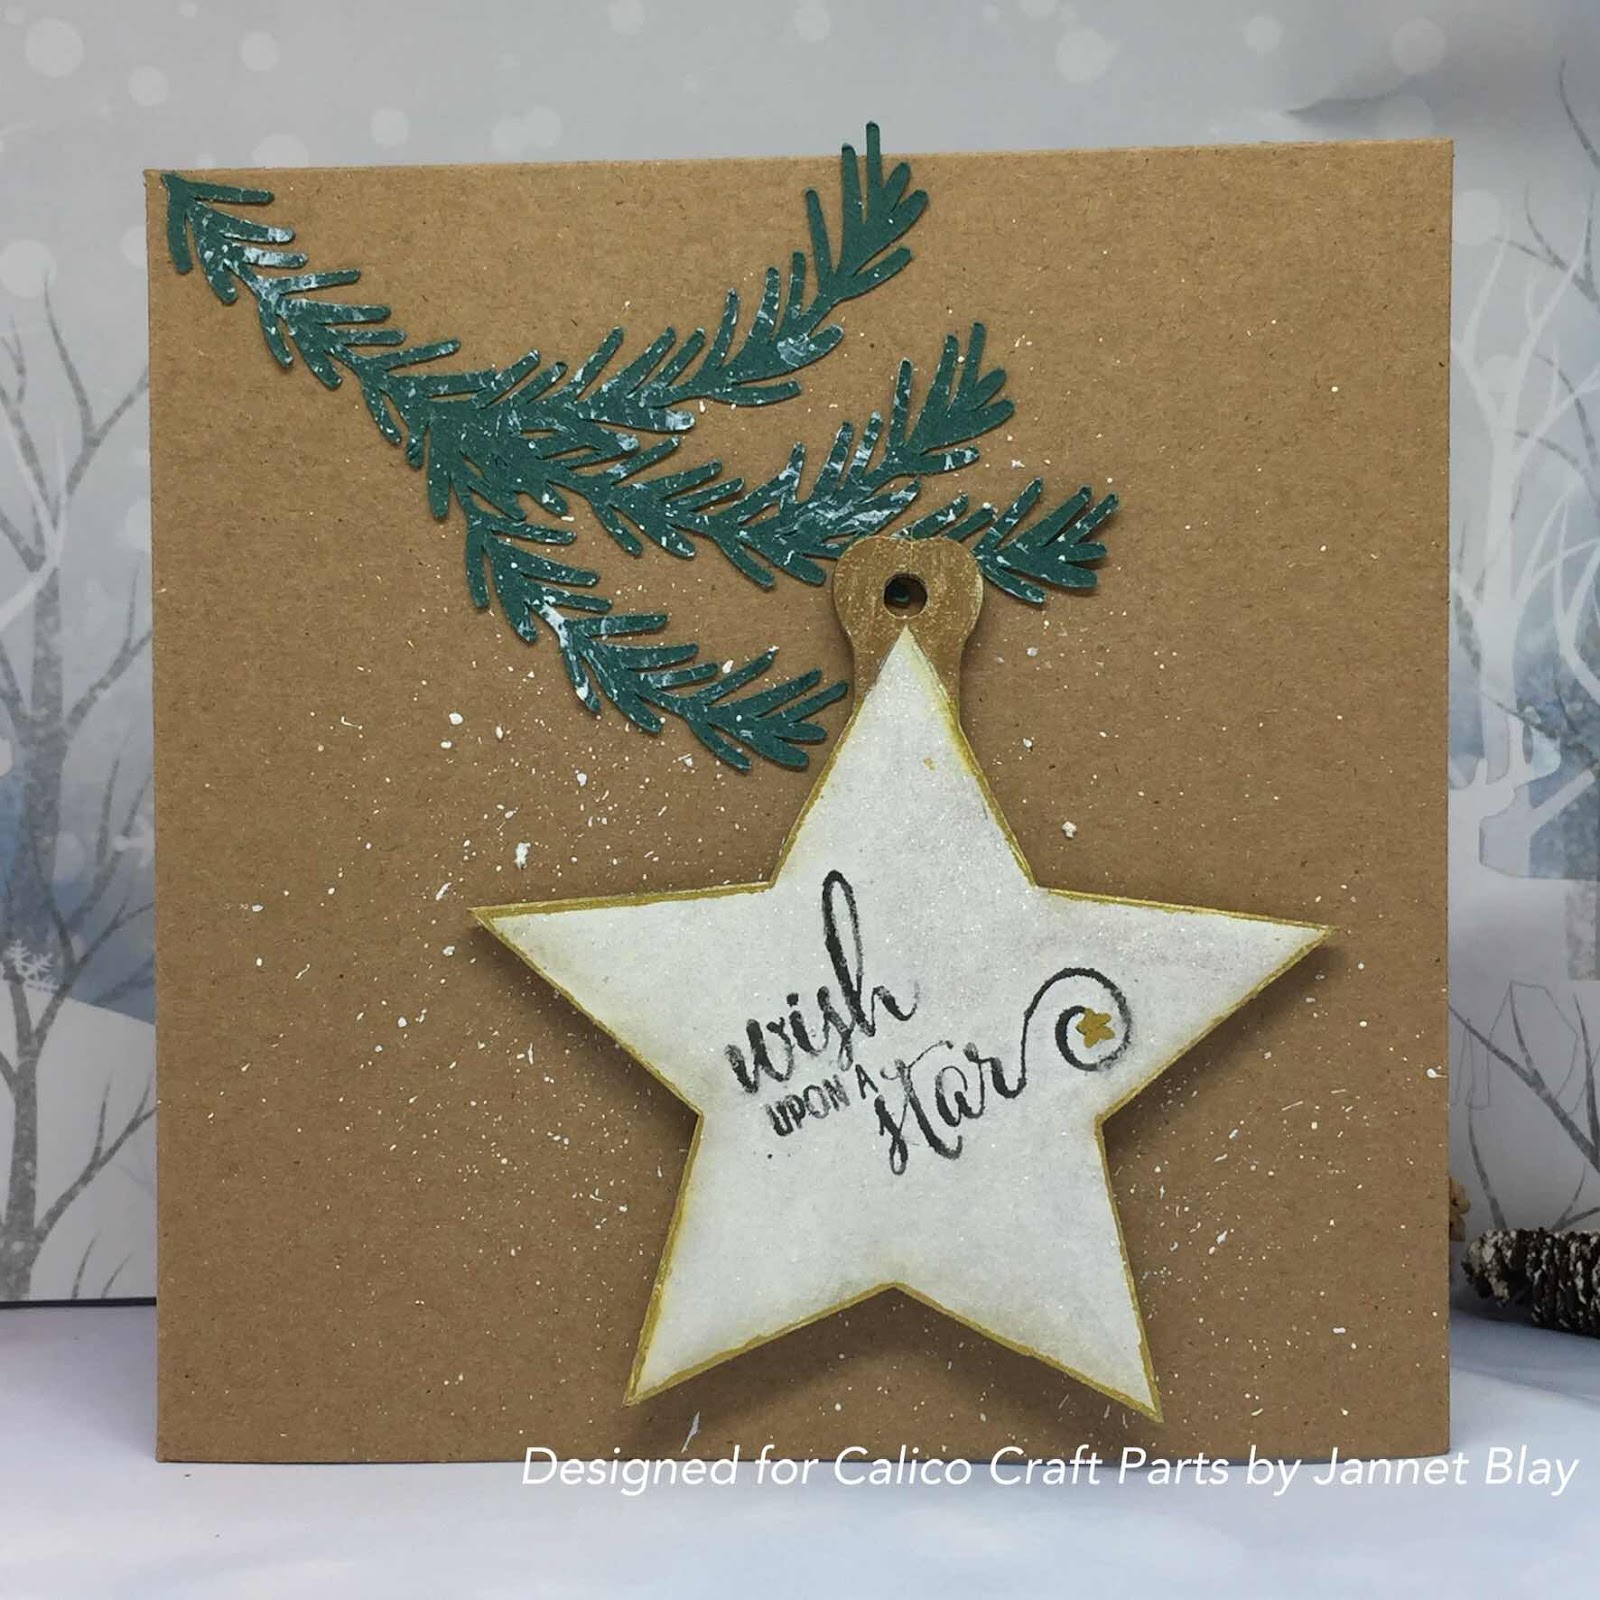
We could all use a wish upon a Star this year, so I thought a wishing star would make a nice gift.


Silent Night is my most favourite Christmas Carol.

As I was making a few cards I kept them fairly simple with a Kraft card base, and a stamped, embossed sentiment along with the branch and hanging bauble. You could of course really go to town with the your card, and use some of the gorgeous Christmas papers and embellishments that are available.  The baubles are available in a good selection of  different styles and sizes. 

Stay safe xx

Calico Craft Parts used

Monday, 29 June 2020

Buzz, Buzz, Buzz by Jannet


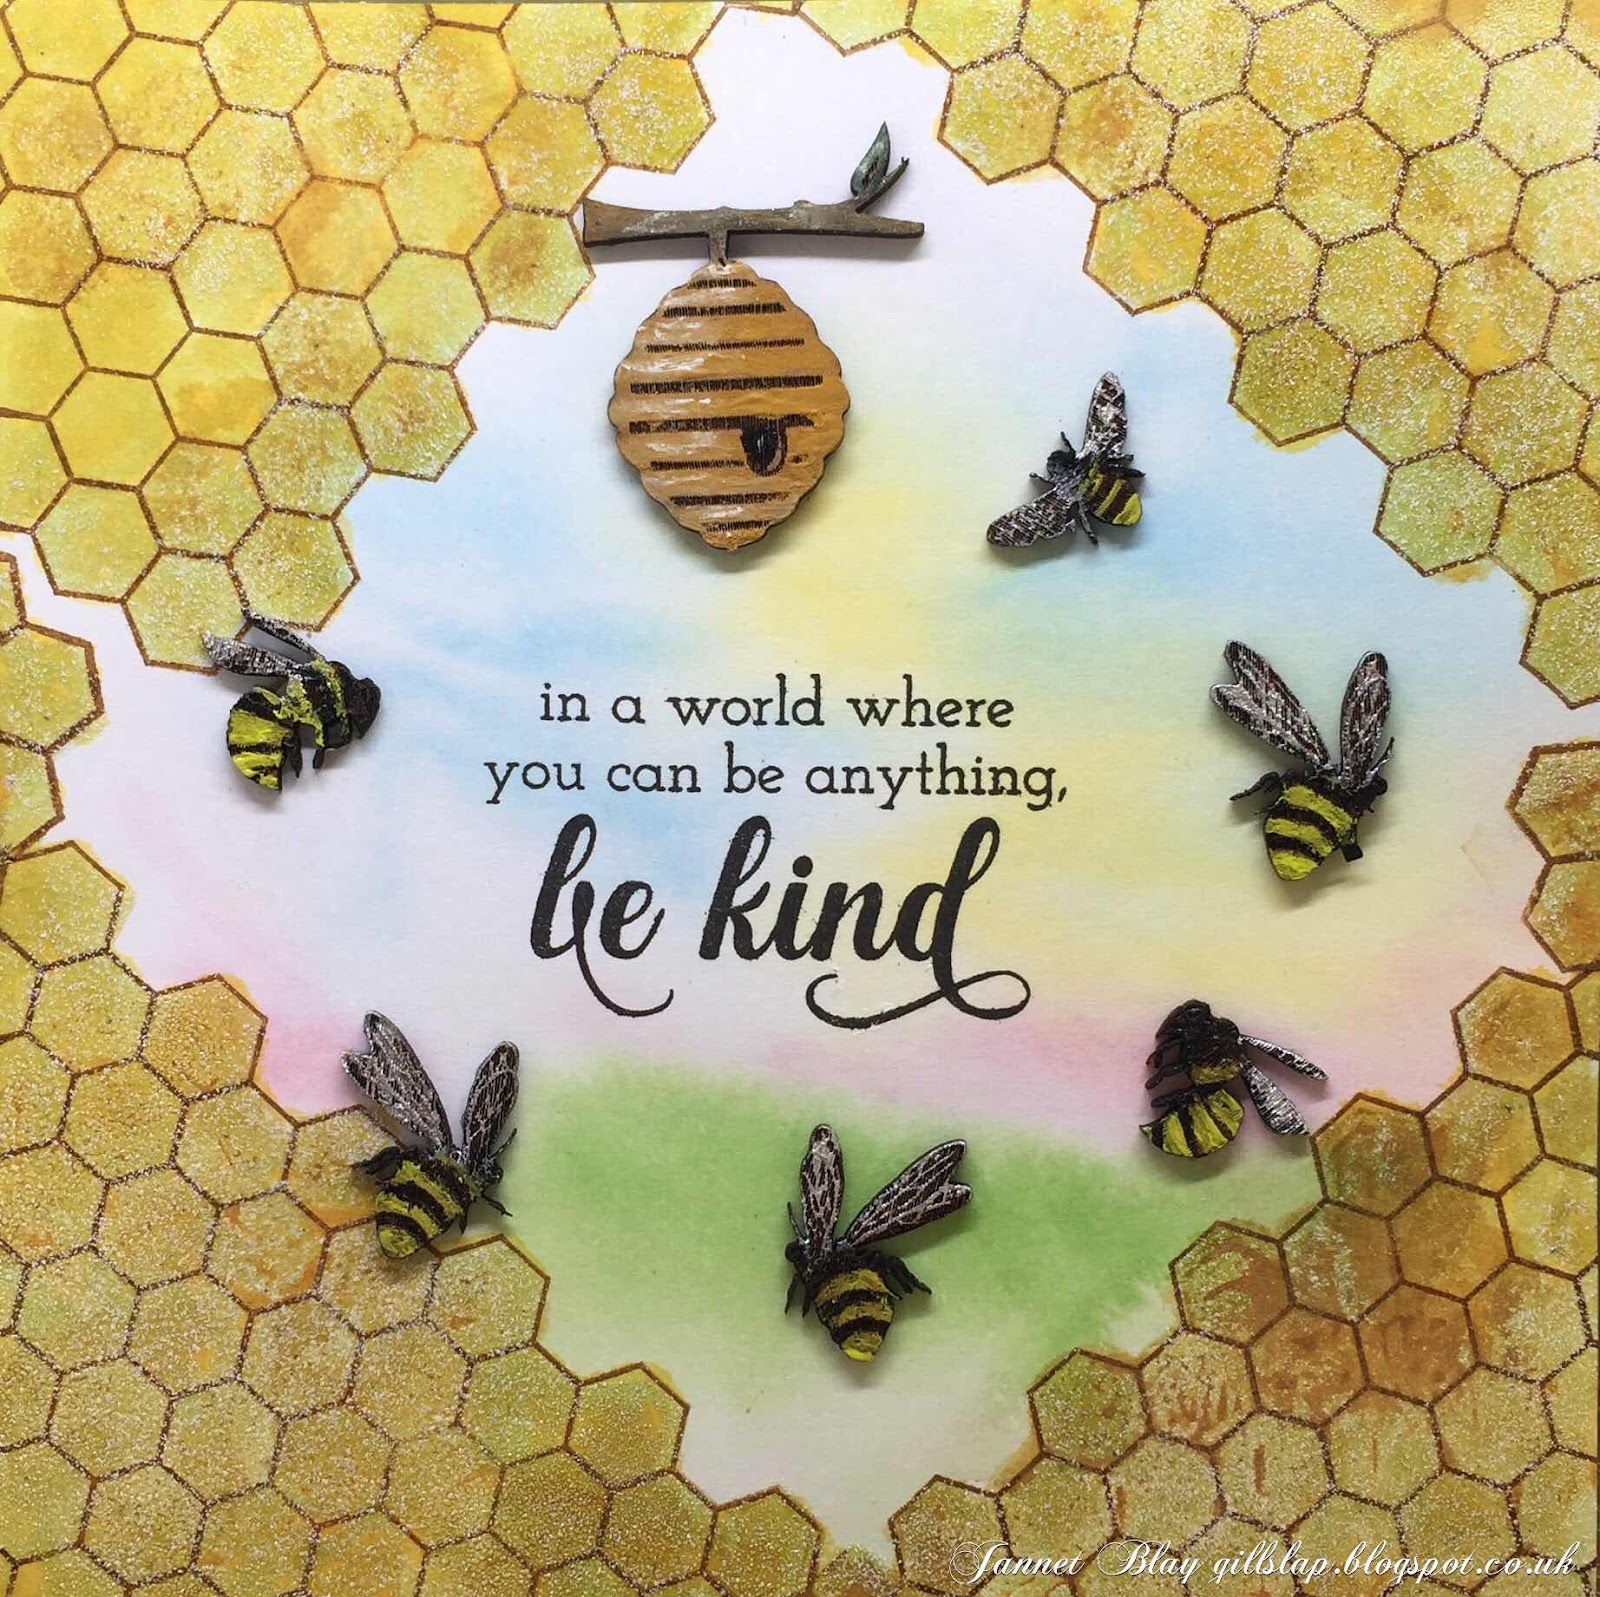
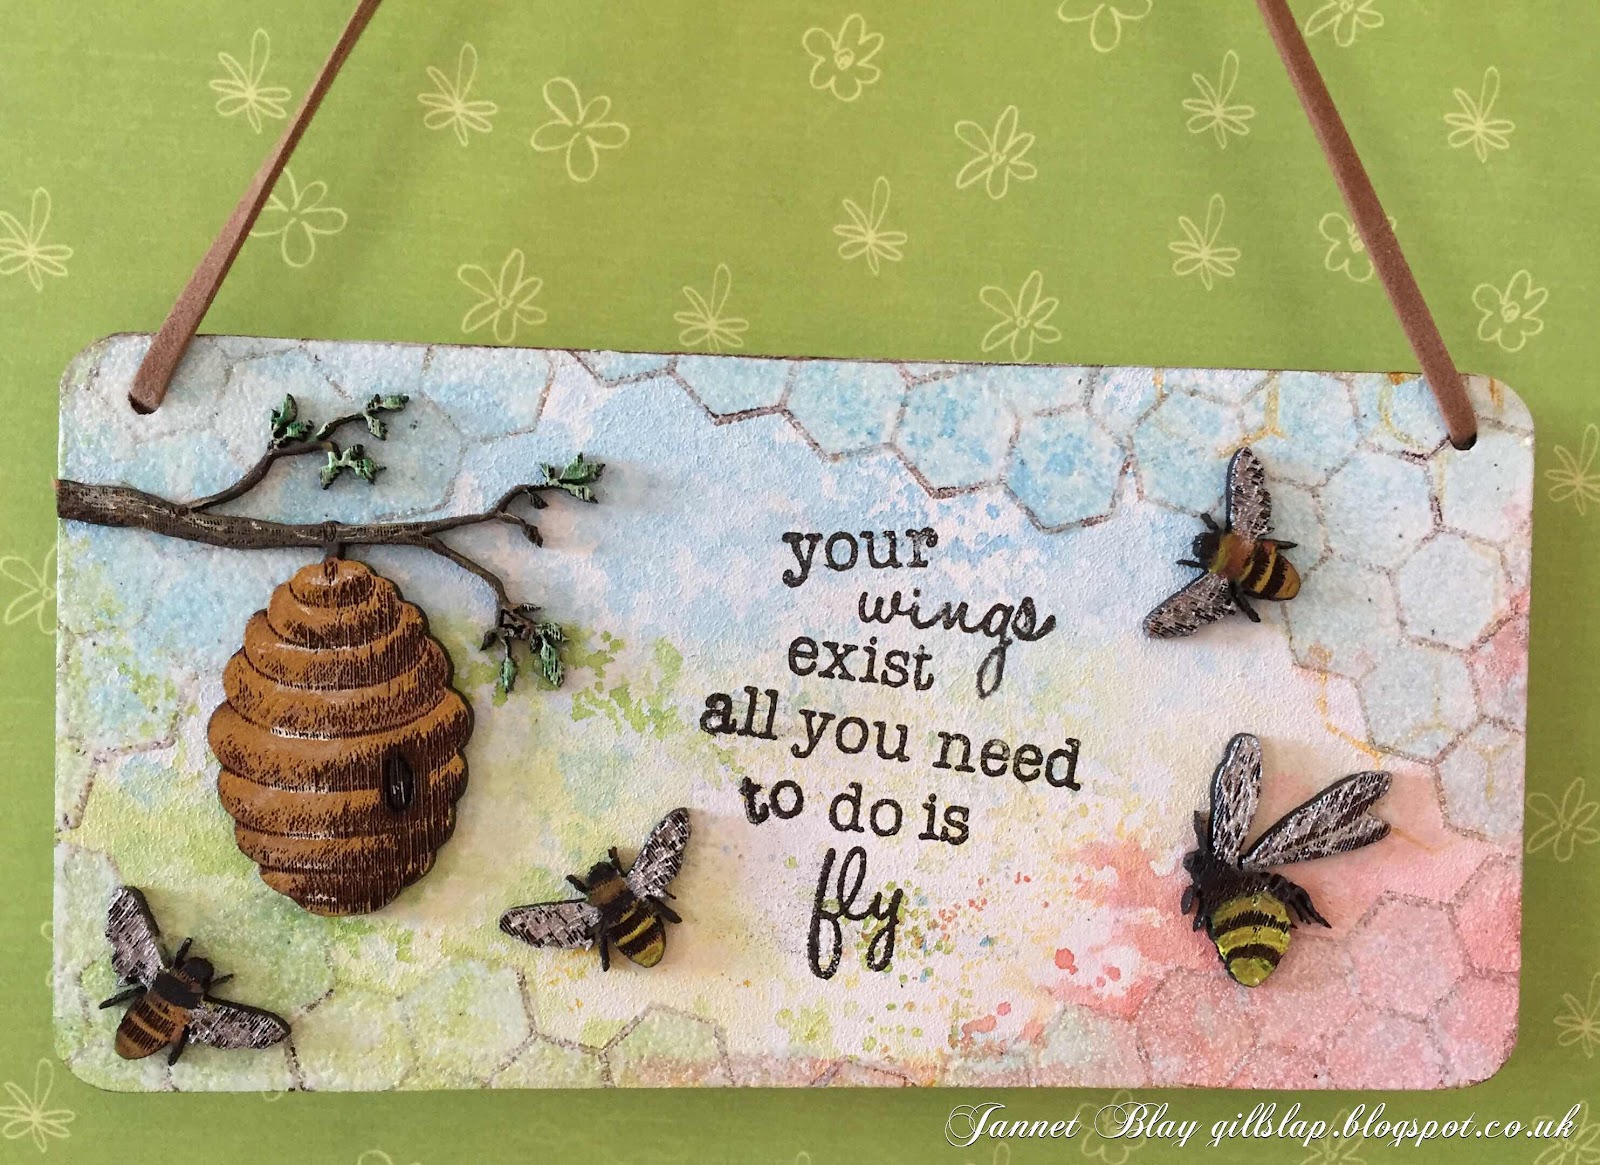
Buzzing Bees speak softly of all things summer. I have used the lovely mini bees and beehive set, to make a 7 x 7 card, and a media board, with lots left over too. 


The bees didn’t want to stay still for very long so I painted them quickly with acrylic paint. To add some glimmer to their wings I used some white mica powder mixed with a little water. After water colouring the background I stamped honeycomb around the edges of the card. I am not sure if it shows in the photo, but I clear embossed over the top of the honeycomb to make it look glossy and honeyish. I stamped the be kind sentiment in the centre, and adhered the bees, and hive. I wasn’t stung once in the process!


I repeated the same process as above this time with a mixed  media board, you can select to have holes put into your media board if you wish. I threaded some faux leather cord through the holes so I could hang it in the porch.  I even have several bees and a hive left over to make another card or whatnot.

Stay safe xx 
Calico Craft Parts Used

Monday, 9 March 2020

Easter Card by Jannet


The first daffodils are coming up, so Spring must soon be here... we hope! I have been thinking about starting to make my Easter cards. The mini Caico Craft parts are so small and lightweight they go very nicely onto a card. 


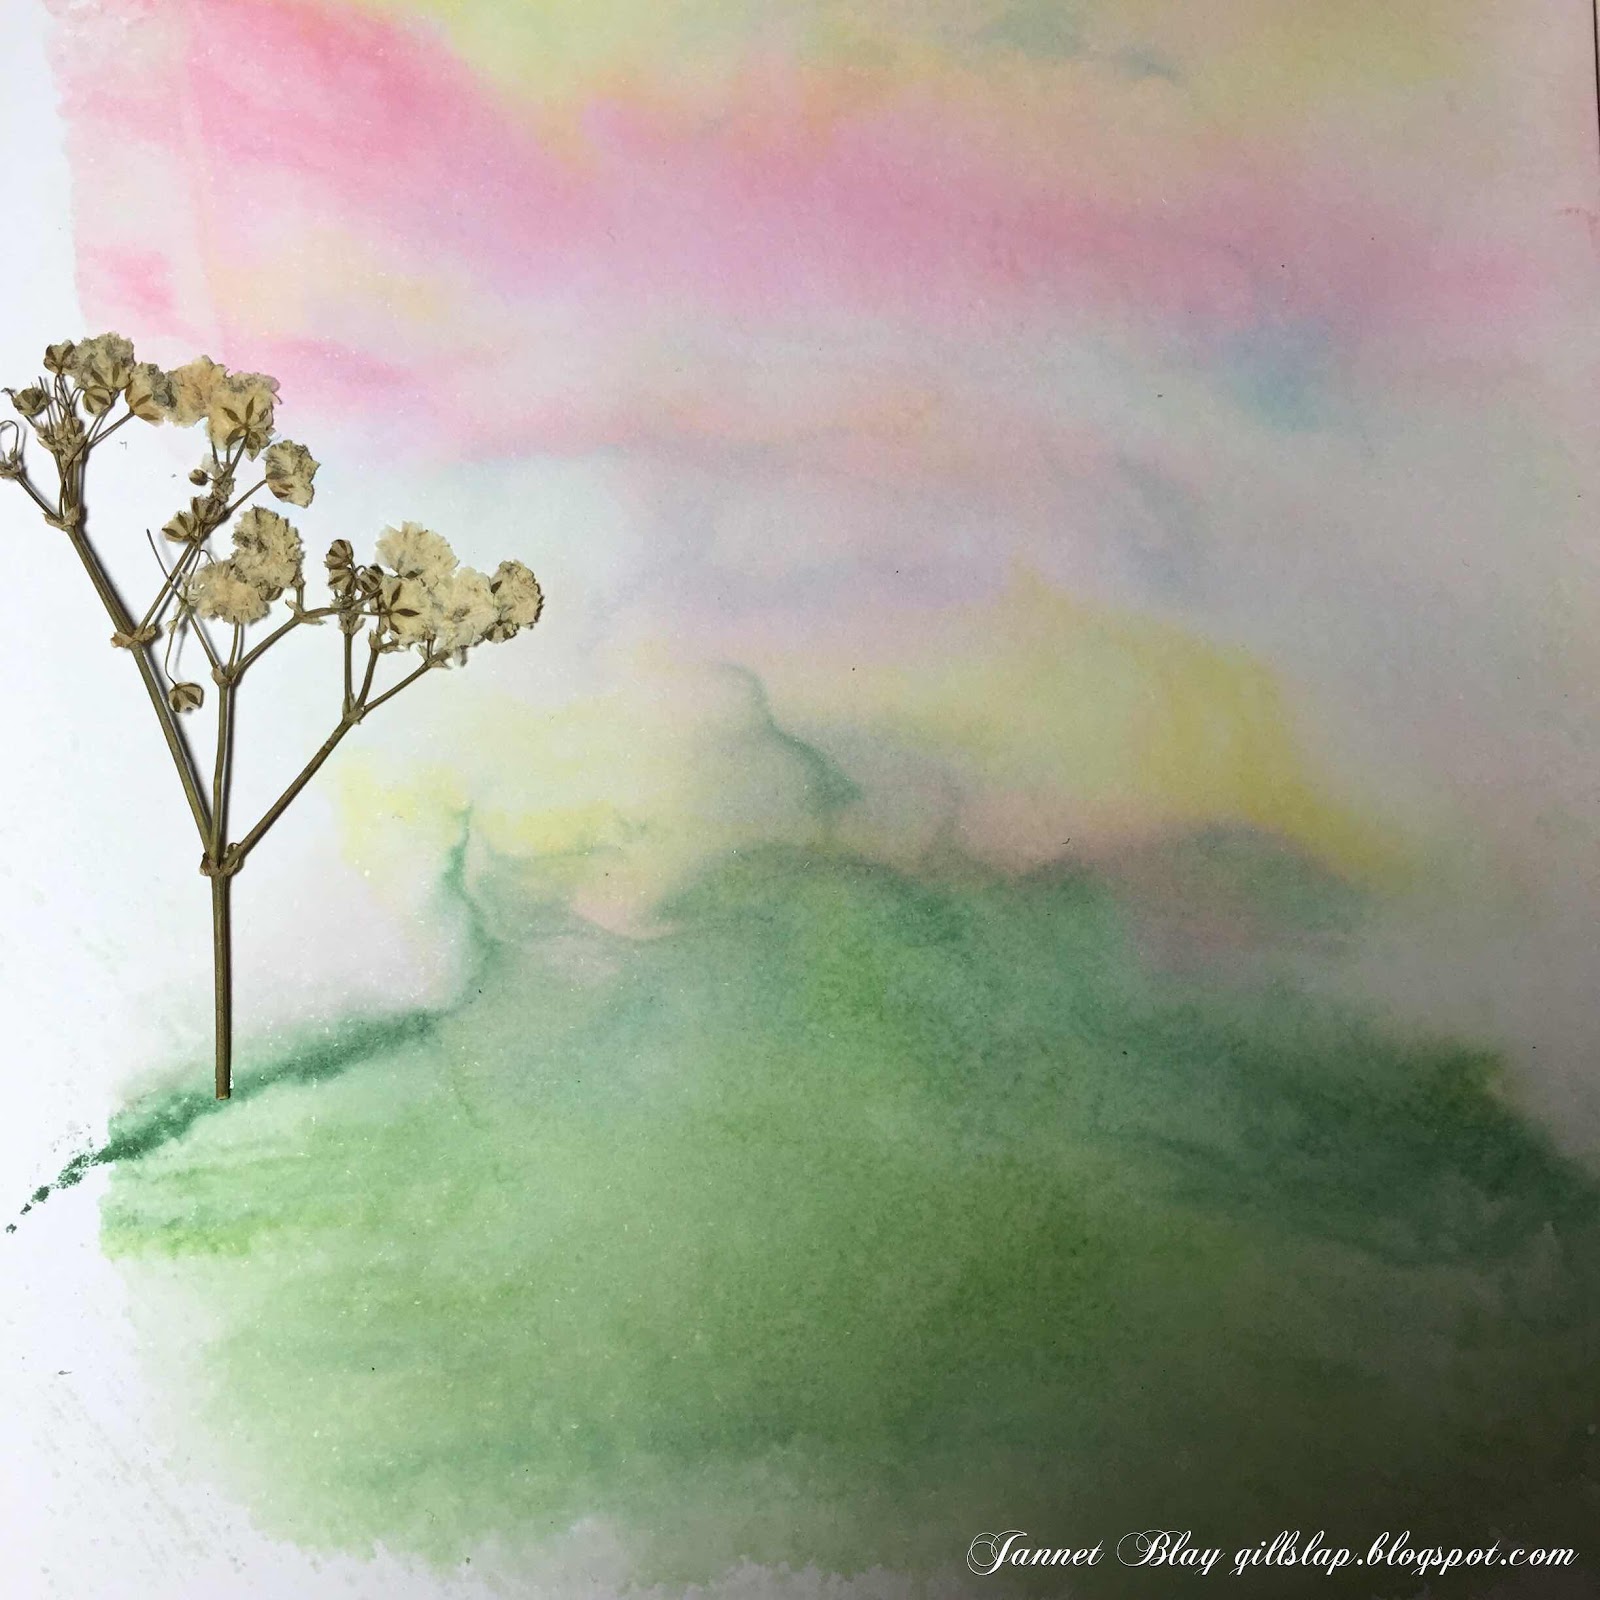
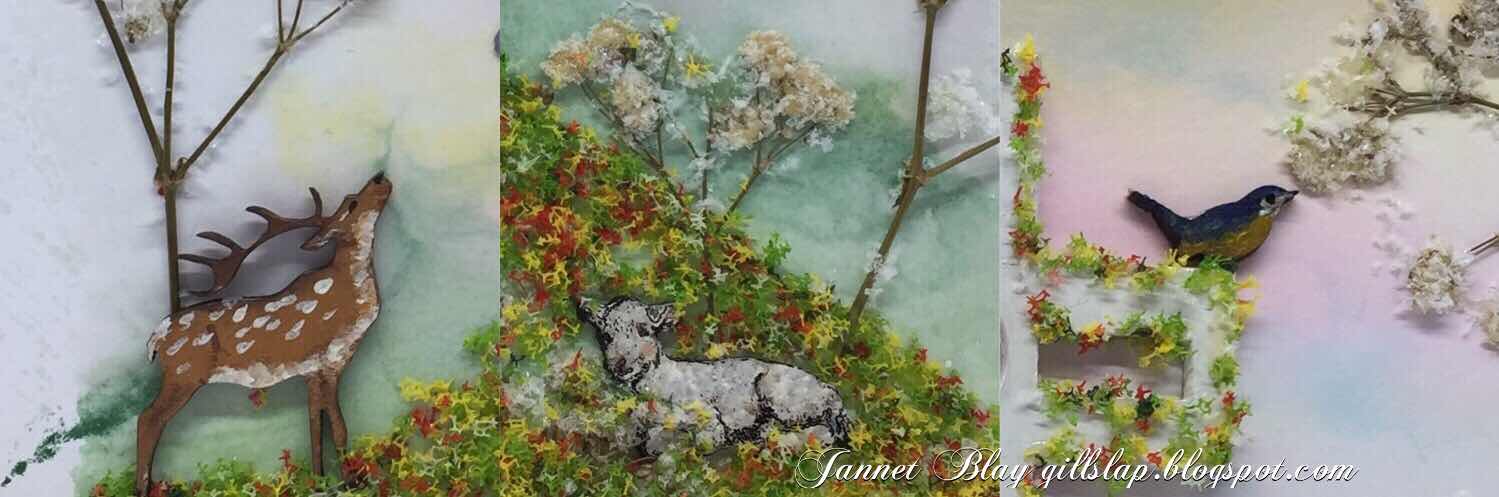
I decided to start by creating  a watercolor background.


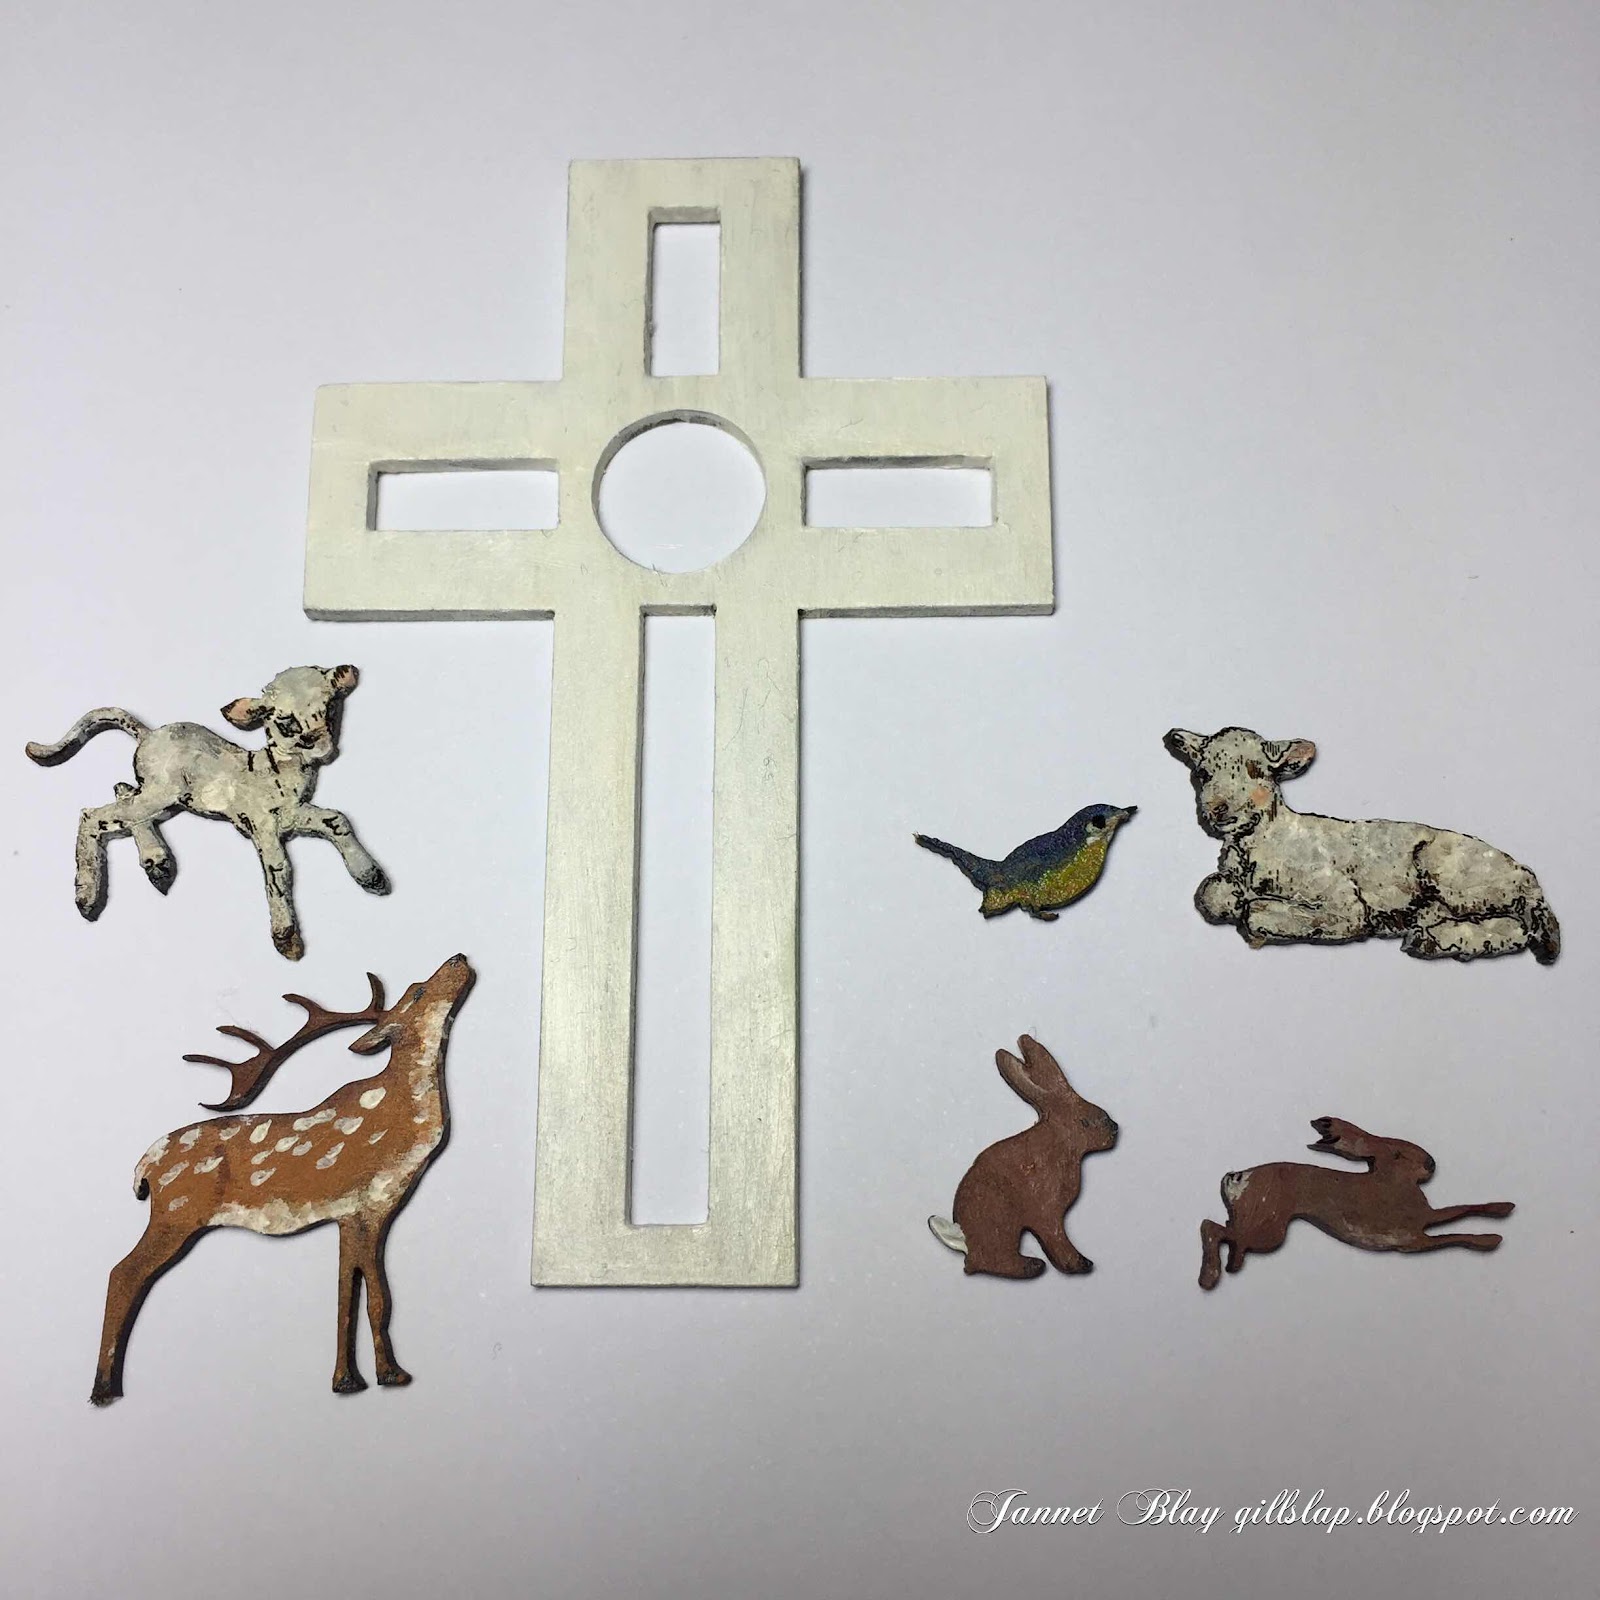
After selecting my cross and animals, I painted them with acrylic paints. 


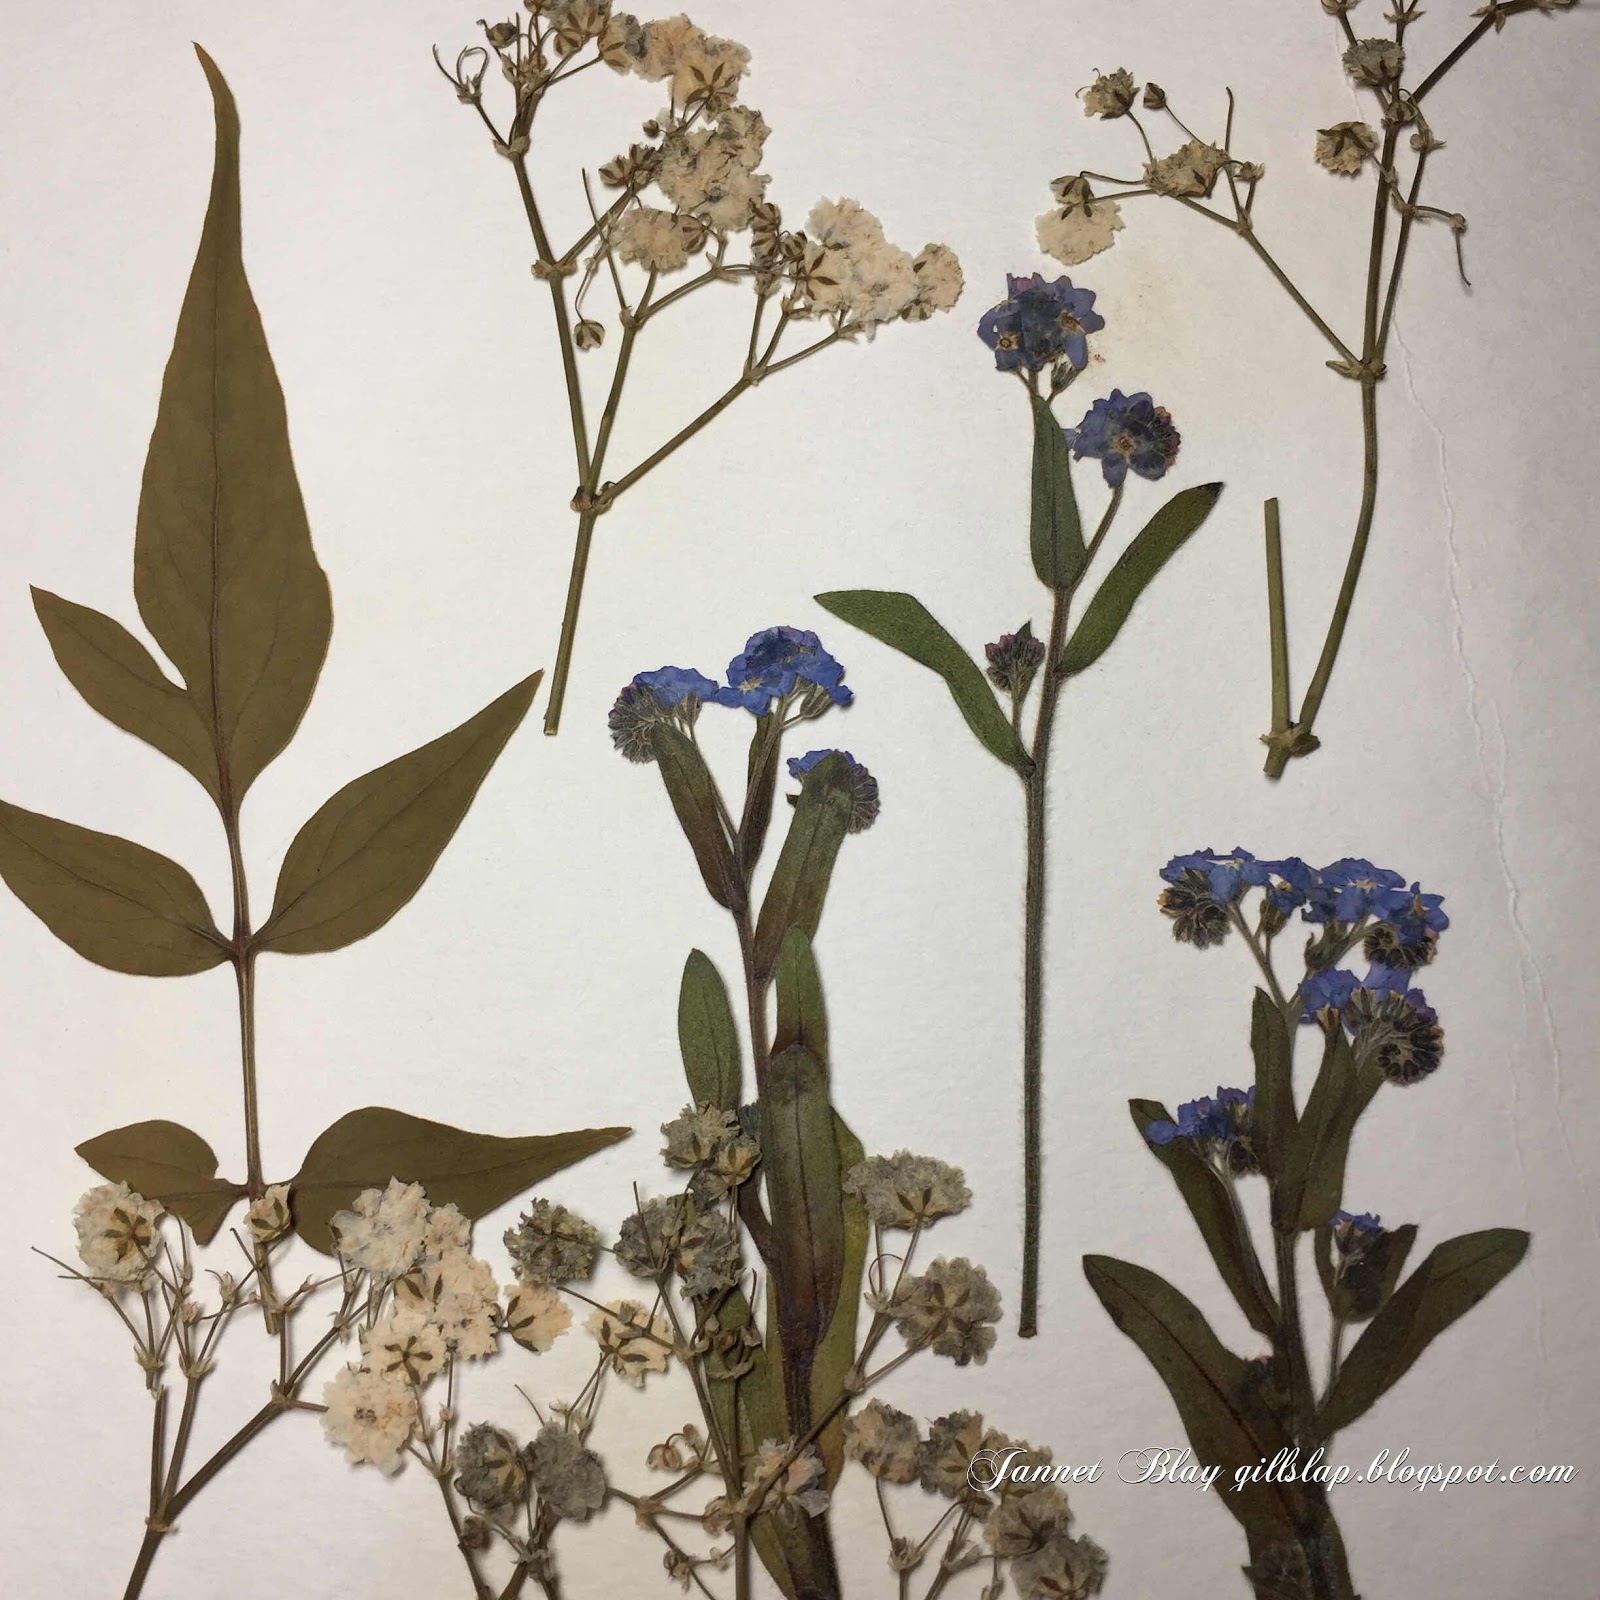
During the summer I like to press lots of flowers from the garden.They are always lovely to use in various crafts. I looked through my box of dried flowers and selected some Forget-Me-Nots, gypsophila, and various green leaves. I shuffled all of the animals and flowers around on my background until they looked ok, and then of course I shuffled them all around again! Finally when I was happy  I adhered everything in place. I used flowersoft around the cross, and also to create the hill.

Thank you for visiting today, I hope you will enjoy making some Spring/Easter cards with these gorgeous mini animals.
The Calico Crafts Parts I used  

Monday, 24 February 2020

Spring Altered Book by Jannet


I was recently looking through some old books in a charity store, when I I came across an old Enid Blyton book “ Brer Rabbit Again” I thought this would be perfect to use with the cute little Calico rabbits.


I thought it would be nice to create a little scene in the book. I began by turning over the first page, as I decided this would become a tree trunk later. I began by sketching out some hills, and tore the pages from the outside edge towards the spine to create the hills. After edging the hills with various shades of green ink, I adhered the torn pages together.

The empty hills needed some rabbits so I painted three different sizes of rabbits. I completed the bunnies by adding flowersoft to each tail, which, made them nice and fluffy. I glued the rabbits onto the hills, some tucked into the tops of the torn pages and some sitting in front. I also added a selection of dried flowers into the hills. A little twig became a branch on top of the page, and a little Bird happily sat amongst the leaves. 

I returned to the first page, and I used a bark texture stamp all over it. When the ink was dry I rolled the page up, and adhered it to the left side of the scene.


There were lots of beautiful illustrations in the book so I lightly coloured them with coloured  pencils, and fussy cut them. One of the images from the book was of the rabbit swinging from a tree I glued him onto some card to add some strength to the fragile paper. After colouring and fussy cutting him I adhered him around the tree trunk so he appeared to be swinging over the scene.
The inside cover was looking a bit sorry for itself so I cheered it up with some of the coloured images and painted Calico Craft Parts mini hares, birds and leaves. 

Thank you for visiting xx

The Calico Craft Products I used


Mini Garden Birds


Wednesday, 31 July 2019

Falling Leaf Journal Page- by Lesley

Hey everyone. Hope you're all keeping cool after the crazy heatwave we had here in the UK!
I have to say, I certainly didn't get a lot of crafting done...…..far too hot!

So, this week......I have a journal page to share with you...….


This was done in a small 6"x6" journal.
The background was originally a mop up page of paint on my craft mat from a previous page.


I added more detail with a stencil and stamps, And then using the large maple leaf, I painted that and used that as a stamp as well. Quite liking this effect!
I added a touch of crackle glaze to the leaf before gluing that to the page.
Yet another way to use craft parts!

Thanks for reading,
L.x

Ingredients used


Saturday, 27 July 2019

Sea Album by Kerstin

Hello everyone!

Today a new inspiration on what you can do with wooden shapes from Calico Craft Parts. Maybe some of you have already seen the first page in my new Happy Home at SASPC ?!

As promised today I am sharing another sea inspired page. 
You will find I have used a lot of mini shapes and small maritime shapes, 
as their size is perfect when you plan to create a photo album with some of your latest summer 
vacation family memories.


some close up's


Here I will later add some memory photos


and here can you see my first page.
I was inspired to use the awesome anchor  collage.
I fixed it with a brad at the upper end, so it can be moved easily!


Calico Craft Parts used:


 Happy summertime!

Kerstin


Saturday, 9 March 2019

Travelalbum 'Moments' by Kerstin

Welcome, creative friends!

I was inspired to create a new mixed media mini album in vintage industrial style that has a touch of steampunk to collect not only some memories from past vacations, but also some  awesome wooden steampunk shapes from Calico Craft Parts inside. Have you seen the latest additions? They're absolutely stunning!

After a longer photo session I will explain
 how to layer wooden shapes in a simple way.


The album was handmade from old calendar sheets, 
leftovers from scrapbook papers, washi tapes, stamps, stencils, tags, metal embellishments
 and cutting dies.


On the many album pages I would like to show that wooden shapes
 can be used in many different ways. 
Either as a single element or as a base for a cabochon, but also for fixing photos 
or layered on top of each other as a special eye-catcher.


Just get inspired!


Calico Craft Parts used: 


Layering with wooden shapes


Firstly I applied Crackle Glaze on one half of the clock face. After drying, I first wiped with DecoArt media Antiquing cream 'Titanium White' on the left side and then Antiquing cream 'Carbon Black' on the right side. 
Then I embossed both parts - Steampunk Cogs & Clock Hands - MDF Wood Corner and the letter 'A' from MDF Letters & Numbers - Steampipe Font - with fine silver  embossing powder.
The letter 'A' was glued in the middle of the clock face and the steampunk corner was fixed to the lower part and I also decorated the gluing with a cap nut.

Thanks for your visit!
Have a beautiful weekend! 

Kerstin