Showing posts with label Ironmongery Fixtures & Fittings. Show all posts

Saturday, 11 February 2023

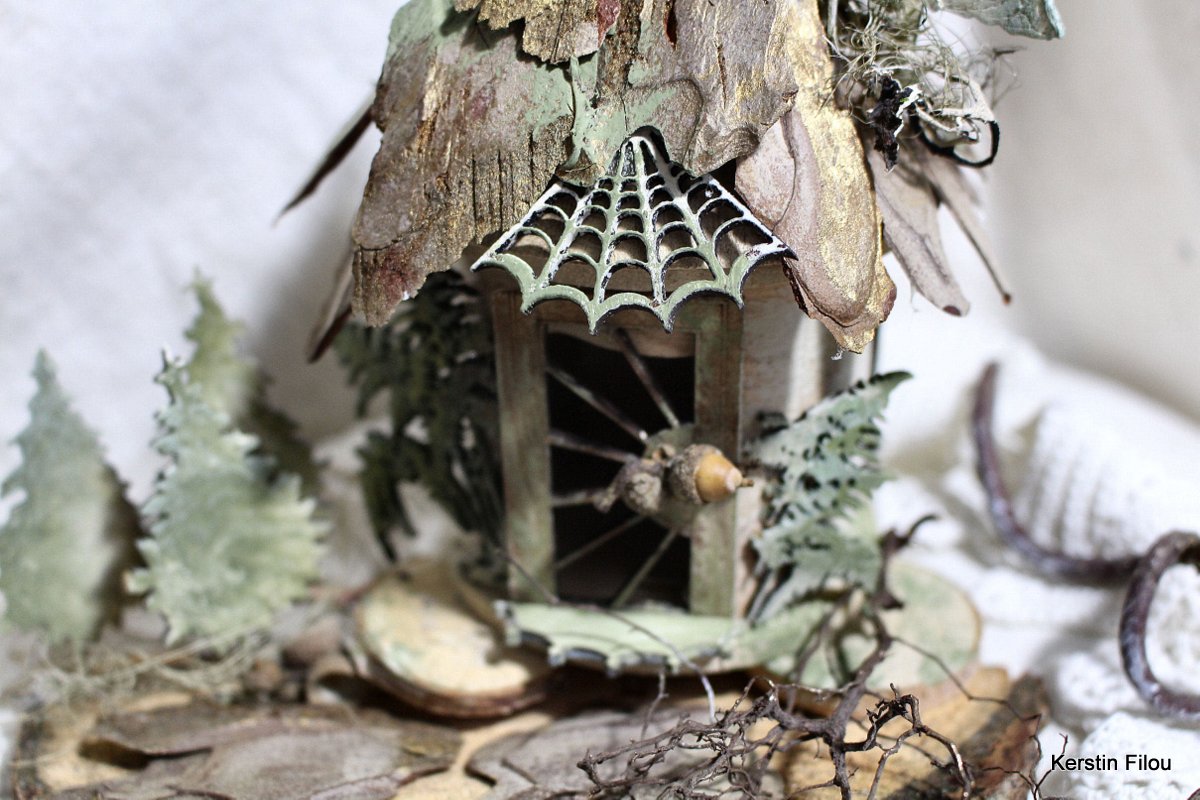
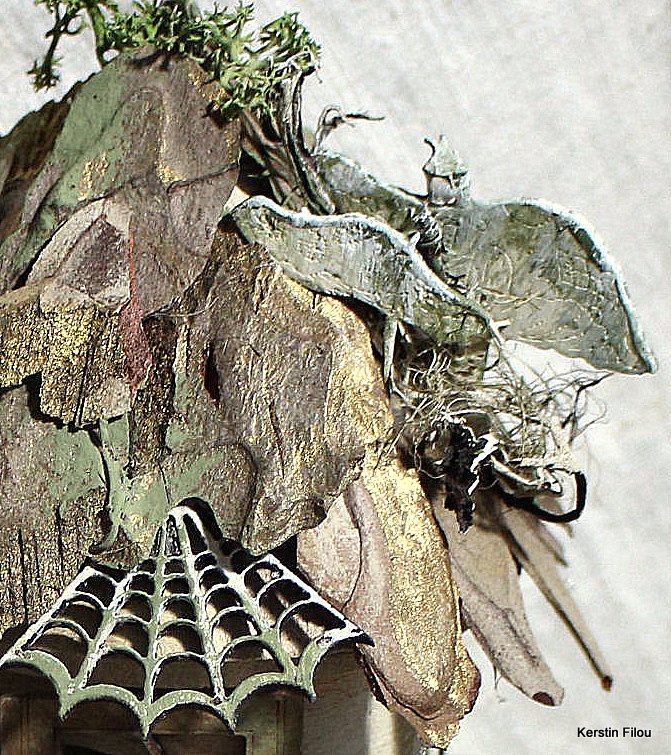
Little forest house


 Hello everyone!


 When I saw the latest Birdhouse Kits
 I was inspired to create a magical little forest house. 
would be very suitable for a similar craft idea.
 
I used a simple wooden birdhouse as base, worked with some
 suitable MDF shapes and natural dried materials. 
 
The perfect addition for me was the sunbeam door 
and the little spider web canopy, they take us into an enchanted world 
where elves feel at home.


used MDF shapes


 Sunbeam Glazed Door

Maidenhair Fern MDF Wood Shape - Style 1

Spider Web - MDF Corner Wood Shape

 Winter Tree Scene MDF Wood Shape - Style 3

Toadstools on Toadstools

 Trefoil Border Shape - MDF Mixed Media Board

 Sheet of Mini MDF Window Wood Shapes


back


side view
 
 
some close up's


 Thanks for your visit!
 
 I hope you find inspiration!


Kerstin


Tuesday, 1 March 2022

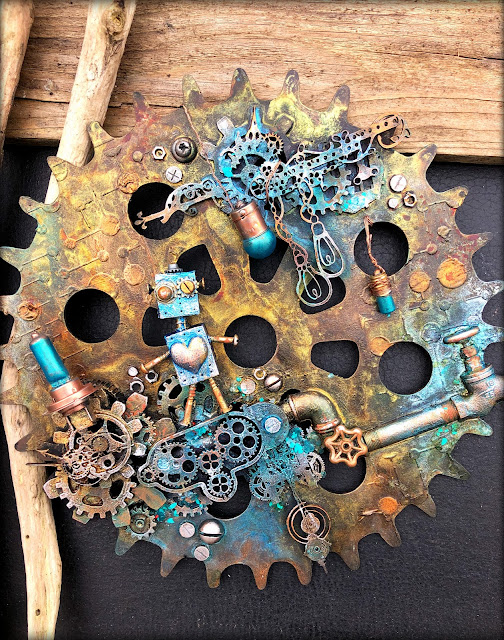
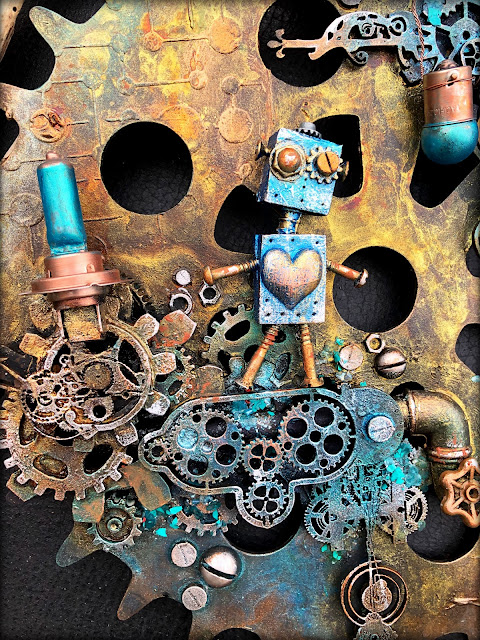
Giant cog - mini robot: by Louise Crosbie (Zuzu)


Hi there folks.

I’m sharing this assemblage that I learned in a class given by Nuneka Box. She used lots of resin pieces and metal embellishments but I decided to try my version using calico craft parts. 

I do love Nuneka’s style and her classes are very inspiring whilst being great fun. This one was part of her patreon membership.

I have used a few bits of resin cast in Finnabair moulds but it’s probably 90%  calico craft parts.


Parts used

Giant cog

Sheet of MDF cogs: 3

Sheet of MDF cogs: 4

Edison bulbs and chains

Mechanical clockwork motif 24

Cogs and clock hands

Mechanical clockworks motif number 16

Mechanical clockworks motif number 27

Sheet of mini hardware 


Tuesday, 15 February 2022

A Dive into the Subconscious - Tag - by Claudia

Servus and thanks so much for stopping by! 

I have taken quite a long break from regularly crafting - mainly caused by moving and adapting to having two studios in two different parts of Austria (which has the benefit of getting to enjoy the beautiful city of Vienna AND the wonderful nature of Austria's beautiful Salzkammergut district). I found that the "new life" also changed a lot of habits - one of these being my former crafting routine. I re-discovered a lot of stamps that I had bought in my early crafting times, when I had just started to dive into the world of rubber stamps of all kinds and special stamping inks, embossing powders and a lot of other cool techniques and crafty miracles. 

So one of these stamp sets was what sparked the idea for this tag and for a new (or maybe old...but in any way different) approach to using the many Craft Parts that I still have in my stash. I also had to find new ways to get back to enjoying a bit of crafting besides developing new routines with the two spots I am now living in - so I am now trying to focus more on experimenting, doing smaller projects or simply not finishing a larger one in one go as I used to. This tag emanated from some very spontaneous and joyful play with what I had at hand mostly...some really cool Calico Craft Parts, a re-discovered stamp set and beautiful and inspiring book pages and collage paper scraps. 


I picked the Craft Parts that spoke to me most and that I felt corresponded with the stamped focal image in a way that the tag could evoke stories in the beholders' heads...stories from the Subconscious. I definitely followed my subconscious when creating this tag. ;)

Calico Craft Parts used:

- MDF Tag Shape - Rounded Rectangle (150x75mm)

- Crucian Carp MDF Fish Wood Shape (small)

- Word Elements - Art & Journaling

- Mini Star Wreath (medium size)

- Star Shape - Mini MDF Wood Plaques

- Sheet of Mini MDF Hardware Wood Shapes

- Sheet of Mini MDF Label Holders

I started with tearing and gluing some book pages to the MDF tag. For that I used matte DecoArt Decou-Page as it dries fast and does not wrinkle the paper too much. I primed all the MDF Wood Shapes I wanted to use with a thin almost dry-brushed on layer of DecoArt Beige Chalky Gesso. Then I painted the fish with a very thin wash of DecoArt media fluid acrylic Prussian Blue Hue, the single star with Titanium White media fluid acrylic and the star wreath and label holder with DecoArt Americana True Red acrylic paint. 

You can also see the fussy cut stamped image of a young woman and pair of wings in the picture, as well as a golden German Dresden Scrap crown that was a perfect fit! 

I had decided to have my stamped fairy queen sit on a Word Element and have a fish swimming in the ocean underneath (=her subconscious). I found this old black and white gel plate print and tore off a scrap to use it as my "deep sea" background.


The bright gold of the crown got toned down using DecoArt media Carbon Black Antiquing Cream and DecoArt media fluid acrylic Metallic Gold was used to paint the two screw heads and the jump ring that I used for the fairy queen's necklace.


I like how the random black and white patterns of the ocean background repeat the irregular black and white patterns from the fairy queen's face and sleeve! Using more Prussian Blue Hue I painted some ocean waves on top - mainly to repeat the blue from the carp. More blue was added by using the thin washi tape above the Word Element band. 
 

My original idea was to use the whole bright red star wreath around my queen's head, but that covered up too much of the crown and other lovely detail, so I had the idea to cut the wreath in two and only use one half on top of the tag...for me these are all the shining brilliant ideas emanating from the fairy queen's thoughts...or maybe her reign is under more than just one good star...

Final touches were added using a white Sharpie pen (the tiny dots border around the tag's edges). The hand painted ocean waves got a white outline too and the fairy queen's cheeks needed a bit of pale red - done! 


I am sure the tag will tell you a different story than the (not too precise) one I had in mind when creating it - or at least different in some aspects. But that was what I wanted - to give you some visual "hints" that will let your minds run free and evoke your own stories. I hope you'll enjoy them (and the tag of course)! ;)


Hugs and happy crafting!

Claudia

xxx


Sunday, 13 June 2021

SciFi police box with a steampunk twist.


Hi everyone. 

When Helen told me they were going to be adding a “Police Box” kit to the range I was super excited. I am a geek... there is no denying it. 

I was very lucky to be sent an advanced one before the shop even had them online to buy and my steampunk pal (our extended household bubble person) and I wasted no time in constructing and decorating it. 

It was so much in advance that there was no pdf with the construction guidelines which did leave us expecting some fun mishaps as there were a lot of parts.  But we still managed it simply by looking at the photo Steve sent of an example he had constructed to make sure the kit worked ok. 

So in honour of a well known SciFi tv series and with a bit of a steampunk twist, here is the completed police box. 


For my engine, I’ve used some resin mould pipes and a propeller, some calico craft parts gears/cogs, a kitchen shape cutter and a little bulb.
I’ve added a sort of fake rivet effect using little hardware screw heads from a mini sheet and as a little vintage Victorian detail,I used a couple of paper fasteners that look like old door pulls/handles.
 Needless to say I predict ordering a second one ๐Ÿ˜„

Supply list.

A selection cogs (gears). 

Monday, 17 May 2021

Ideas for ATC frames: by Louise Crosbie.


Hi there. 
I know a lot of you will make and swap ATCs (Artist Trading Cards) but I also know a lot of you don’t. 
But that doesn’t mean you can’t still make great use of the ATC frames.

An ATC should be the same size/dimensions of all other official trading cards like baseball cards, Pokemon cards etc. And thus, they should fit in to the official trading card pocket pouches for collectors.
Sadly, nowadays, folks call just about any small piece of mixed media or paper raft an ATC, regardless of its actual shape and size. This makes it impossible to collect them the way they were intended. This is the reason I stopped collecting. I have two beautiful large lever arch folders filled with the official collectors pockets and each with a beautiful display of ATCs of the correct dimensions. But in my last few months of swapping, my returns were sadly not proper ATC dimensions and wouldn’t fit in to my collection.

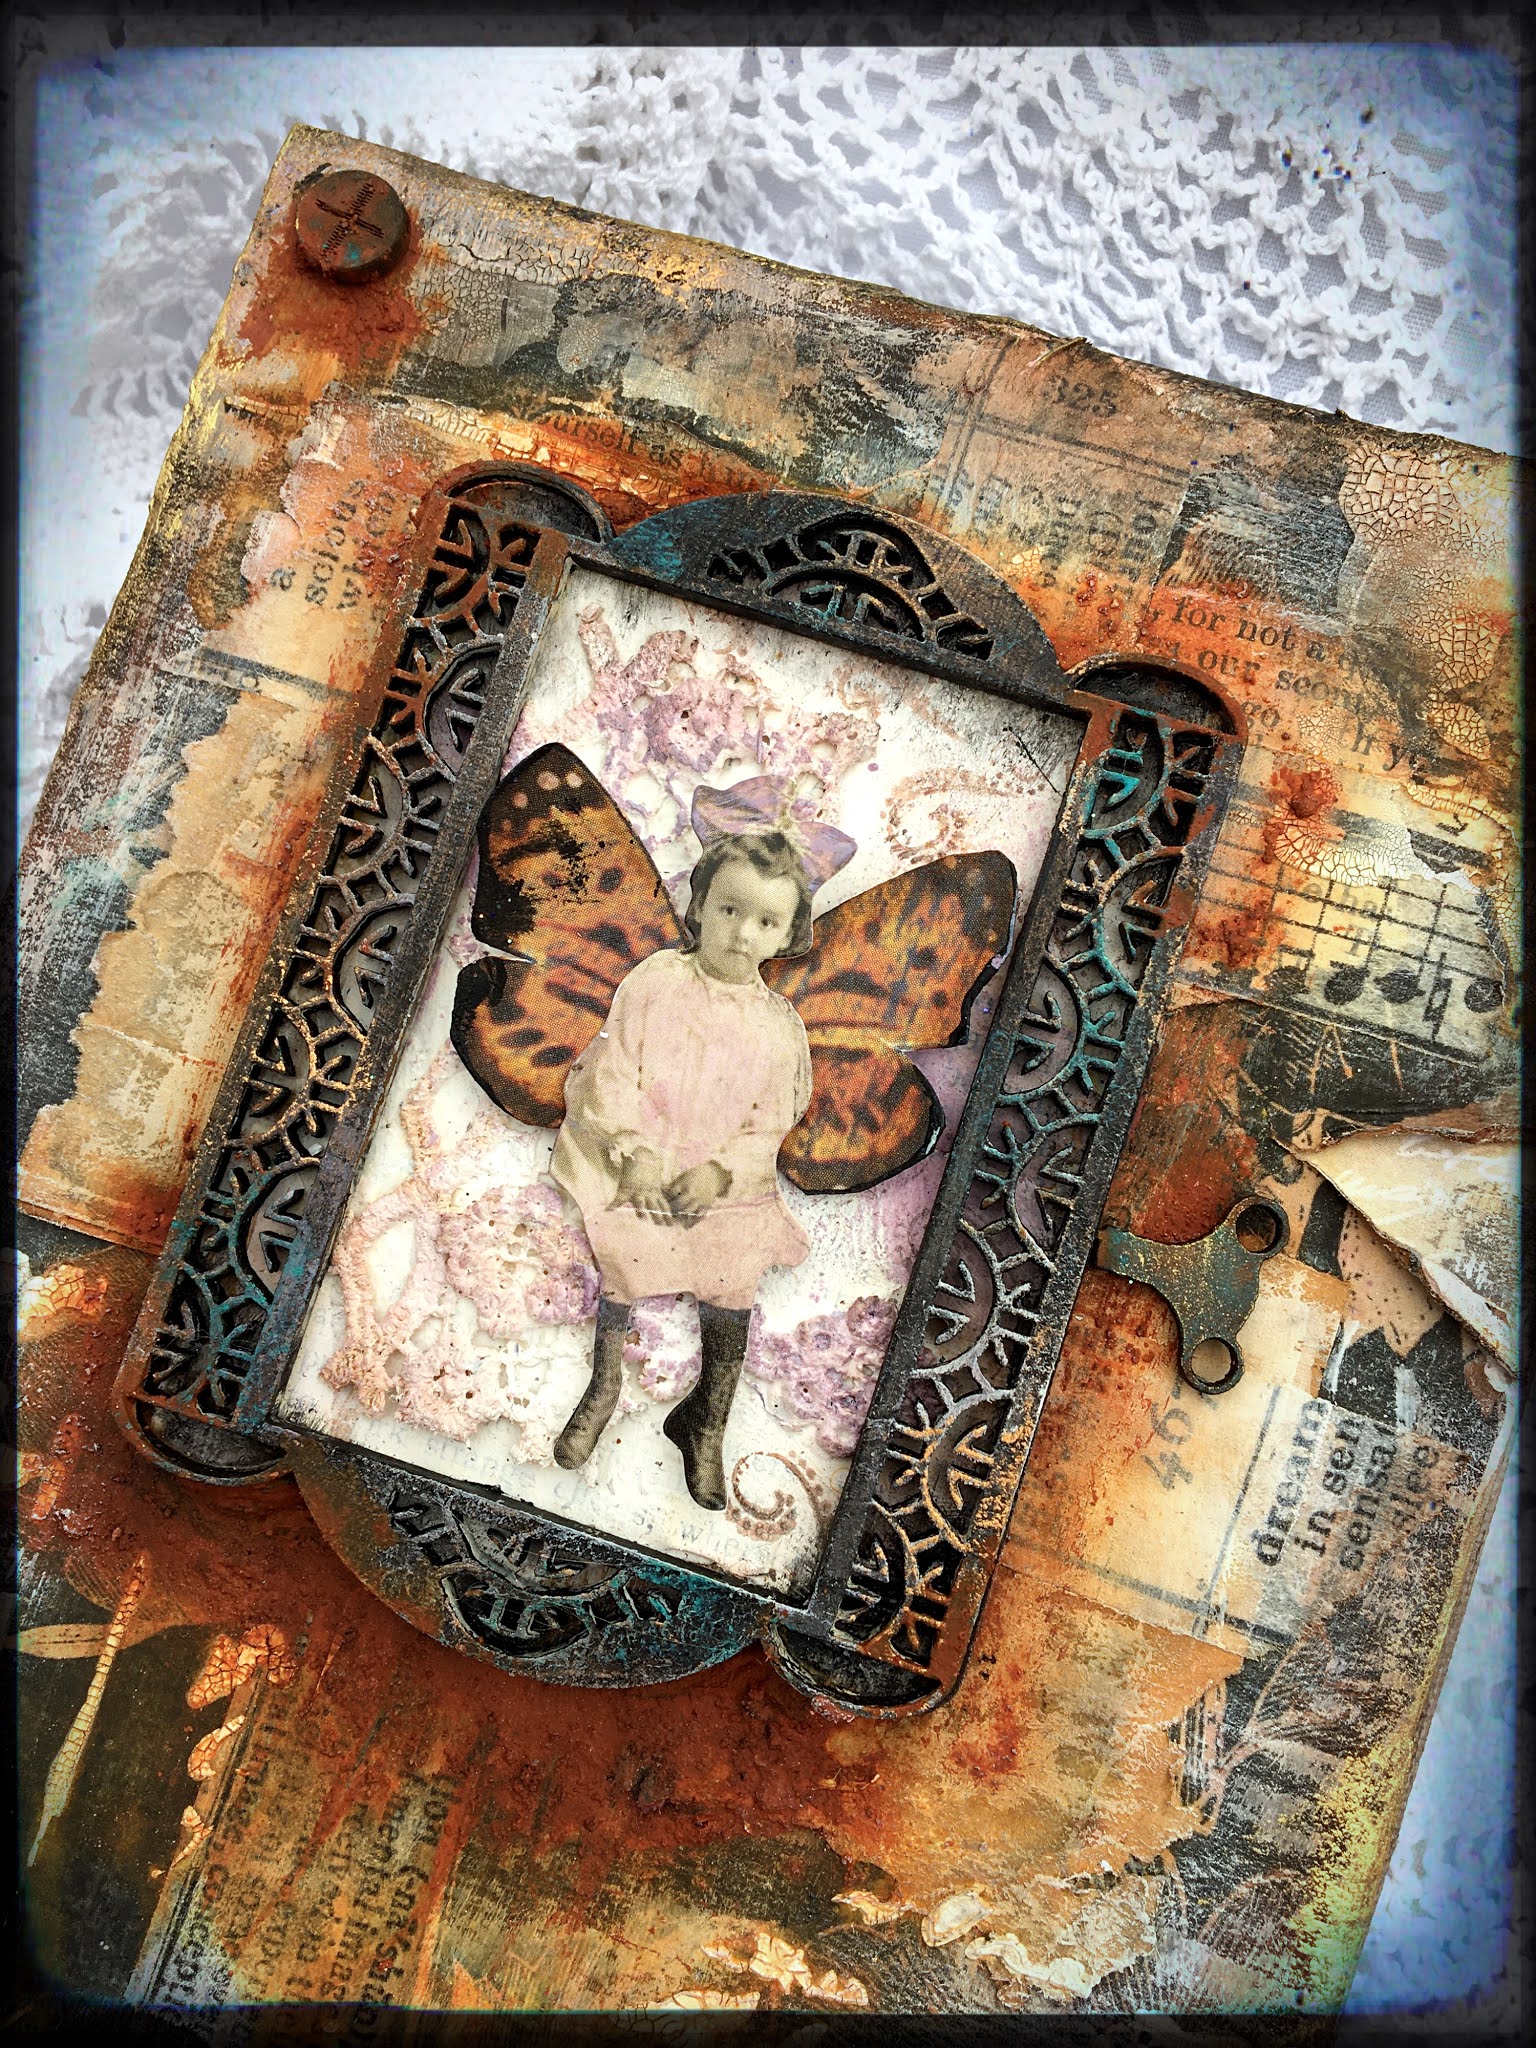
However despite not doing ATCs anymore, I still had some of the gorgeous little (correct dimension lol) ATC frames. 
I turned one into a sort of miniature cabinet card for my little vintage fairy and put it on a rusty canvas. 


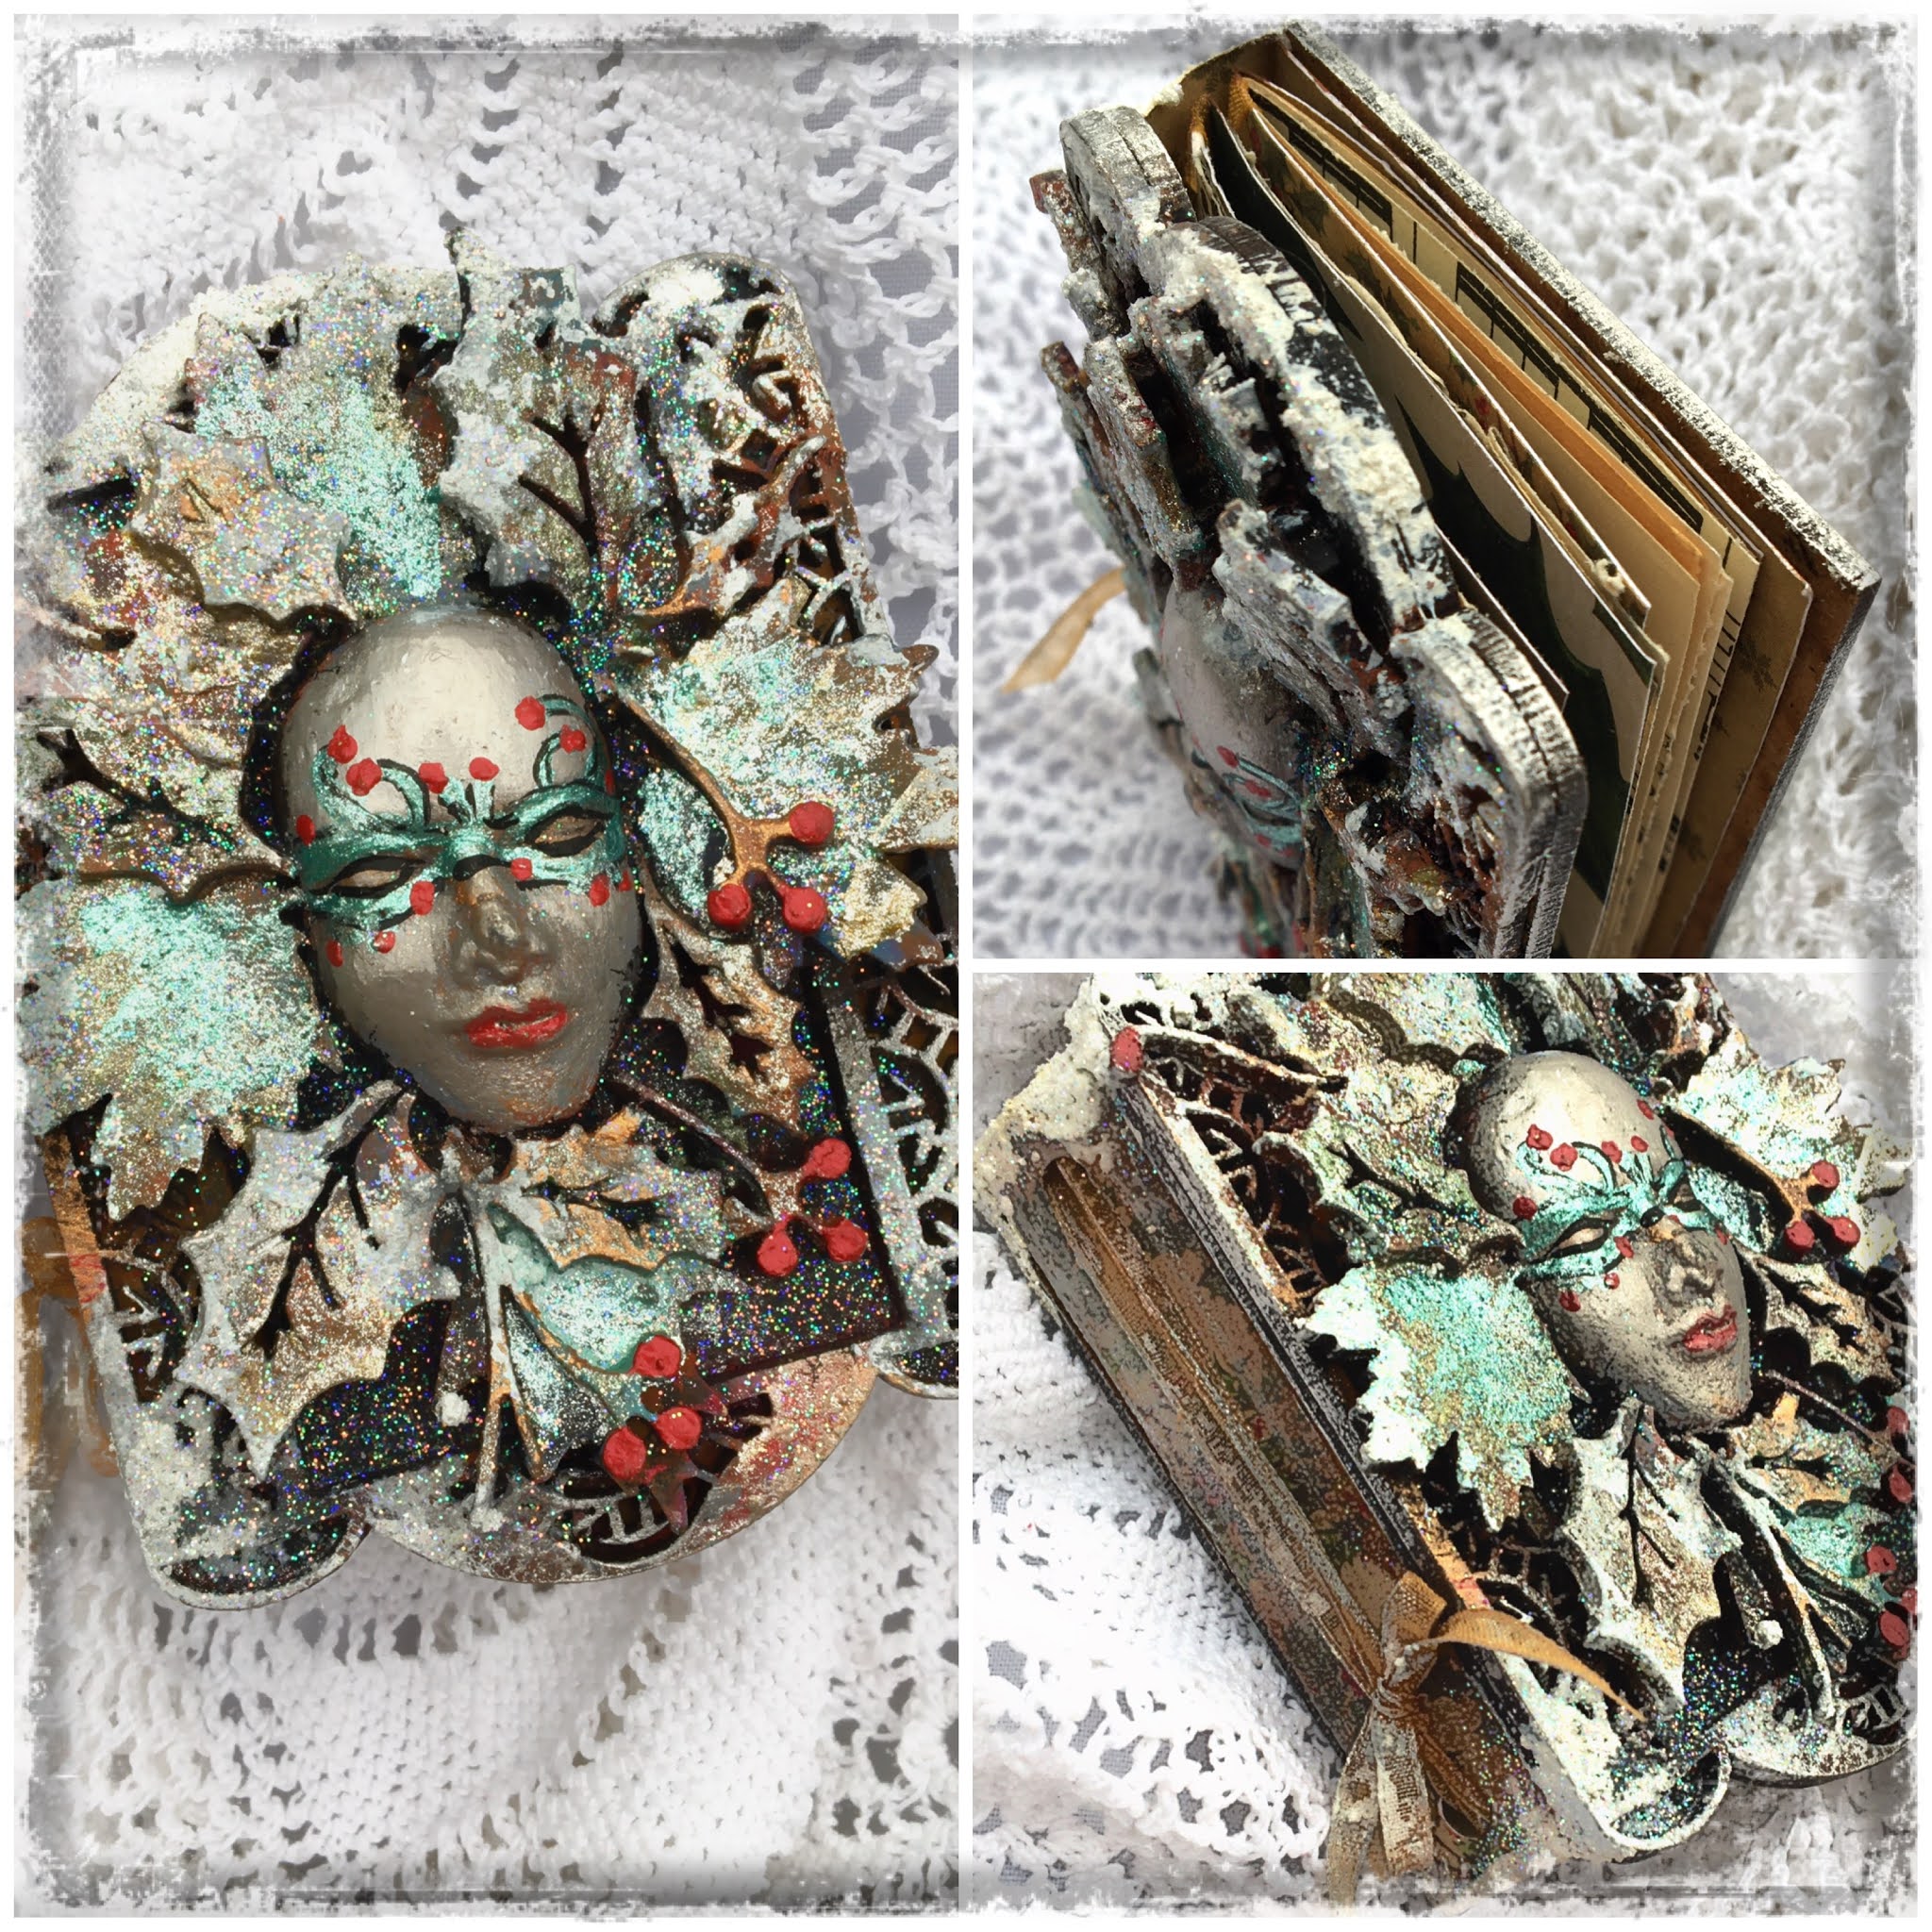
The second frame, I turned into a miniature junk journal which I intend to complete in a Yule theme so I can give it as a stocking filler gift.


These little frames are so versatile. They make great key fobs, wooden tags, embellishments for scrapbook pages and cards... 

Thanks for reading. 

Supply list 

Saturday, 1 May 2021

Art Journal page by Kerstin


Welcome creative friends!


Today I want to share with you another view on projects that you can create 
with Calico Craft Parts shapes. 
I was inspired to work on a new art journal  page 
in a natural vintage and grunge style. 
 
I love to combine materials with different structures and textures. 


 Here I used dried leaves, paper and fabric leftovers, 
stamps and stencils, distress inks and for a kind of 3D effect an amazing key.
some close up's


 I hope I could inspire you !

Happy crafting!

Kerstin

Saturday, 6 March 2021

Home decor for Springtime by Kerstin

 Welcome creative friends!


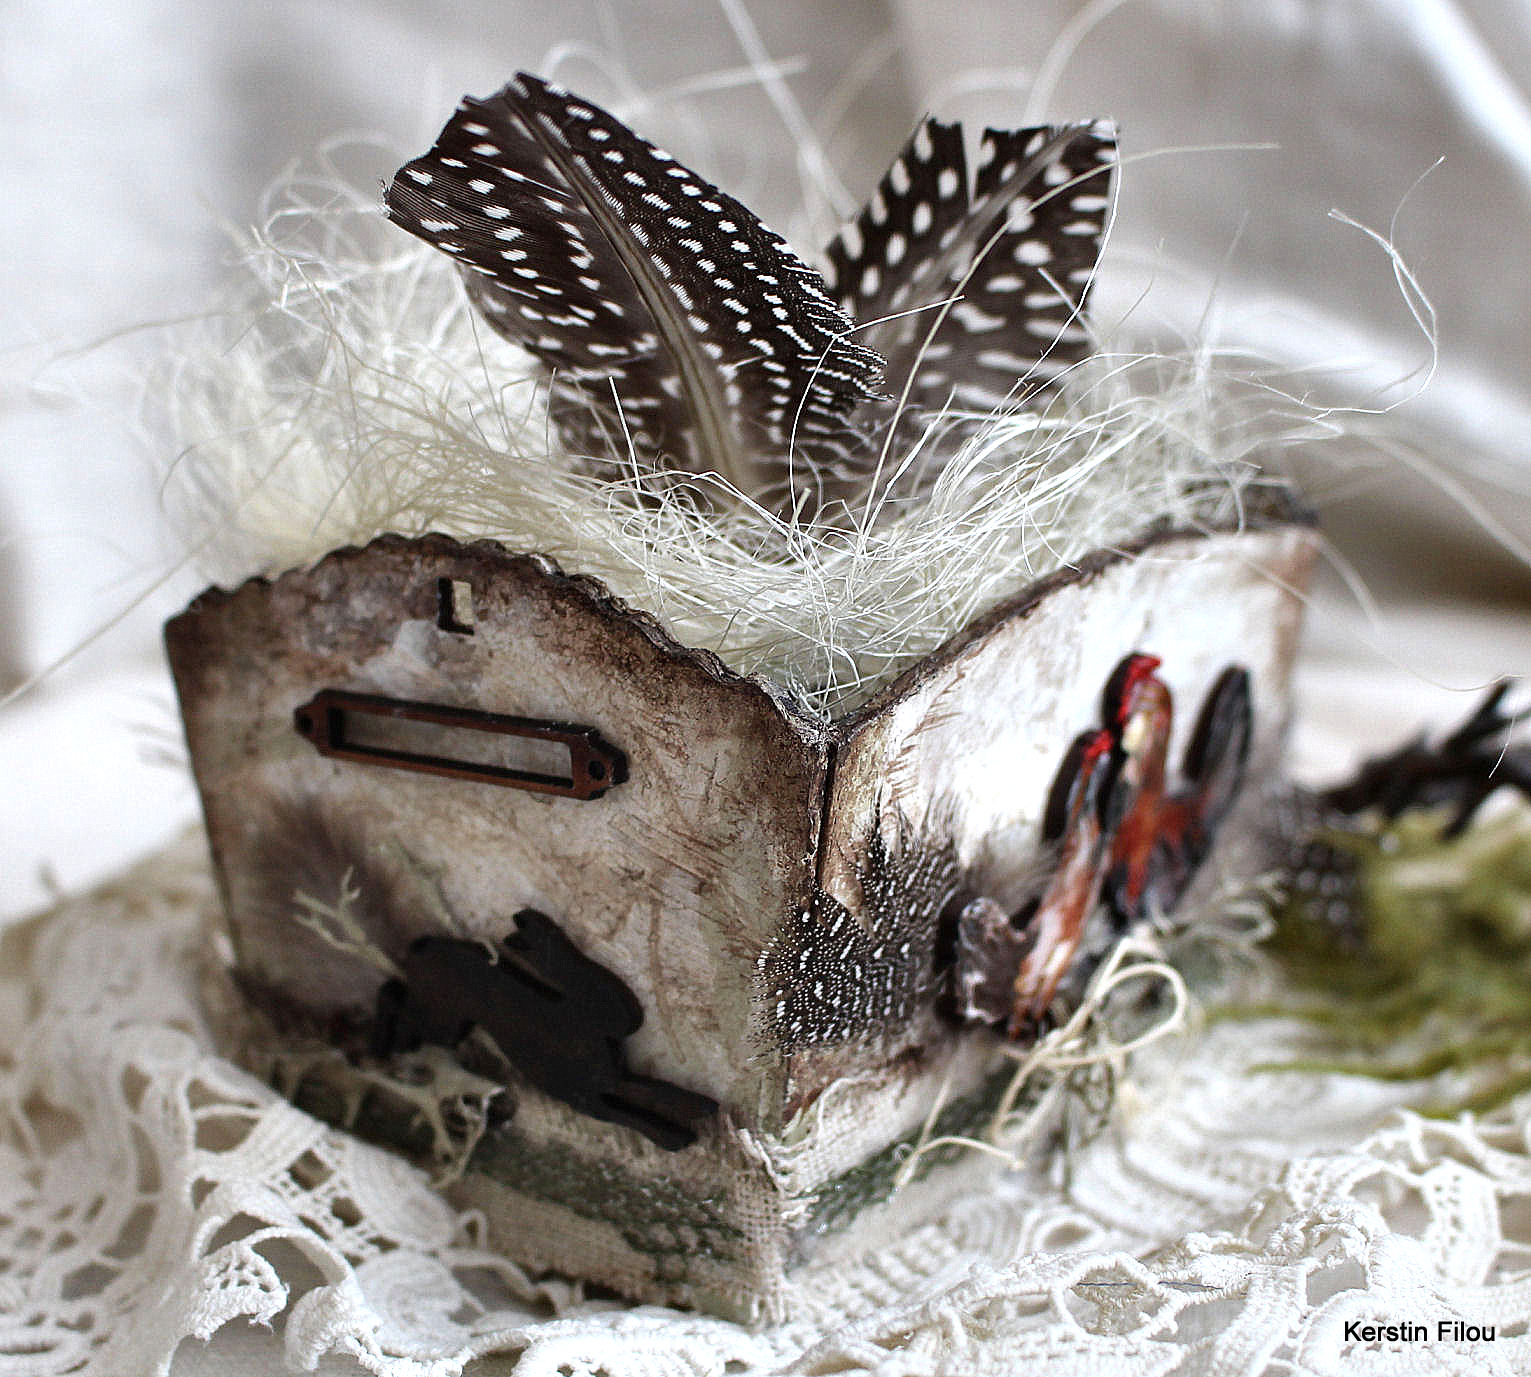
I was inspired to create a rustic easter basket as home decoration for the springtime.

I used the MDF Trug Kit - Style 1

only as basket without the handholds. Single shapes were painted with simple acrylic colours.


some close up's


used Calico Craft Parts


MDF Trug Kit - Style 1

Sheet of Mini MDF Label Holders Wood Shapes

Sheet of Mini Hares - MDF Wood Animal Shapes

Hen & Cockrell Side by Side

Hen & Cockrell Beak to Beak


I hope I could inspire you! 

Have fun realizing your own visions and ideas!


Thanks for your visit!

Kerstin


Saturday, 19 September 2020

Today: Brain is out - Halloween sign by Kerstin

 Hello creative friends!


I was inspired to create a funny Halloween tag. 

May I invite you to a candle light dinner???

 a view at the Halloween Specials Menu card tells you 

- Heart on offer - unfortunately brain is out - ๐Ÿ–ค๐Ÿงก๐Ÿ–ค


background design with 

cutting dies (T. Holtz Sizzix); stamps (Stampers Anonymous); chalky paints (DecoArt)

as base

Rectangle Shape with Notched Corners - MDF Mixed Media Board


some close up's


here I used only a part from Candelabra MDF Wood Shape - Style 4


3D shelf as tablet

menu card

Speciality of the house - Heart - sweet, sour

he had to run so much that he already lost a piece of his leg ;-)

the head was exchanged

 
he sacrificed not only a part of his leg,
 but also his heart, because he had already given his last shirt
 

Calico Craft Parts used :


Rectangle Shape with Notched Corners - MDF Mixed Media Board

Creatures of the Night - Sheet of Halloween Mini Wood Shapes

Skeleton MDF Wood Shape Style 2

 Spider Web - MDF Corner Wood Shape

Sheet of Mini Insects - MDF Wood Shapes Style 1

Apothecary Jar with Heart

Candelabra MDF Wood Shape - Style 4

Candelabra MDF Wood Shape - Style 2

Trefoil Border Shape - MDF Mixed Media Board 50 x 35 mm as shelf (cut in half)


I will gladly answer questions about individual creative details.


Many thanks for your visit!


Happy crafting!

Kerstin