Servus, dear crafting friends and Calico Craft Parts lovers, and thanks for stopping by!
It's the "every other Monday" Monday - so it is my pleasure and turn to share a new
Calico Craft Parts project with you! ;)
As Easter is fast approaching there are some adorable new
Spring and Easter themed Calico Craft Parts designs on the shop site and I just fell in love with this cute cute cute little bunny - so I had to create an Easter ATC with it:
I have used some gold Metallic Lustre on it - but as usual it was hard to capture that bit of bling in a photograph. Here's another attempt:
Ah, well...at least I tried. lol
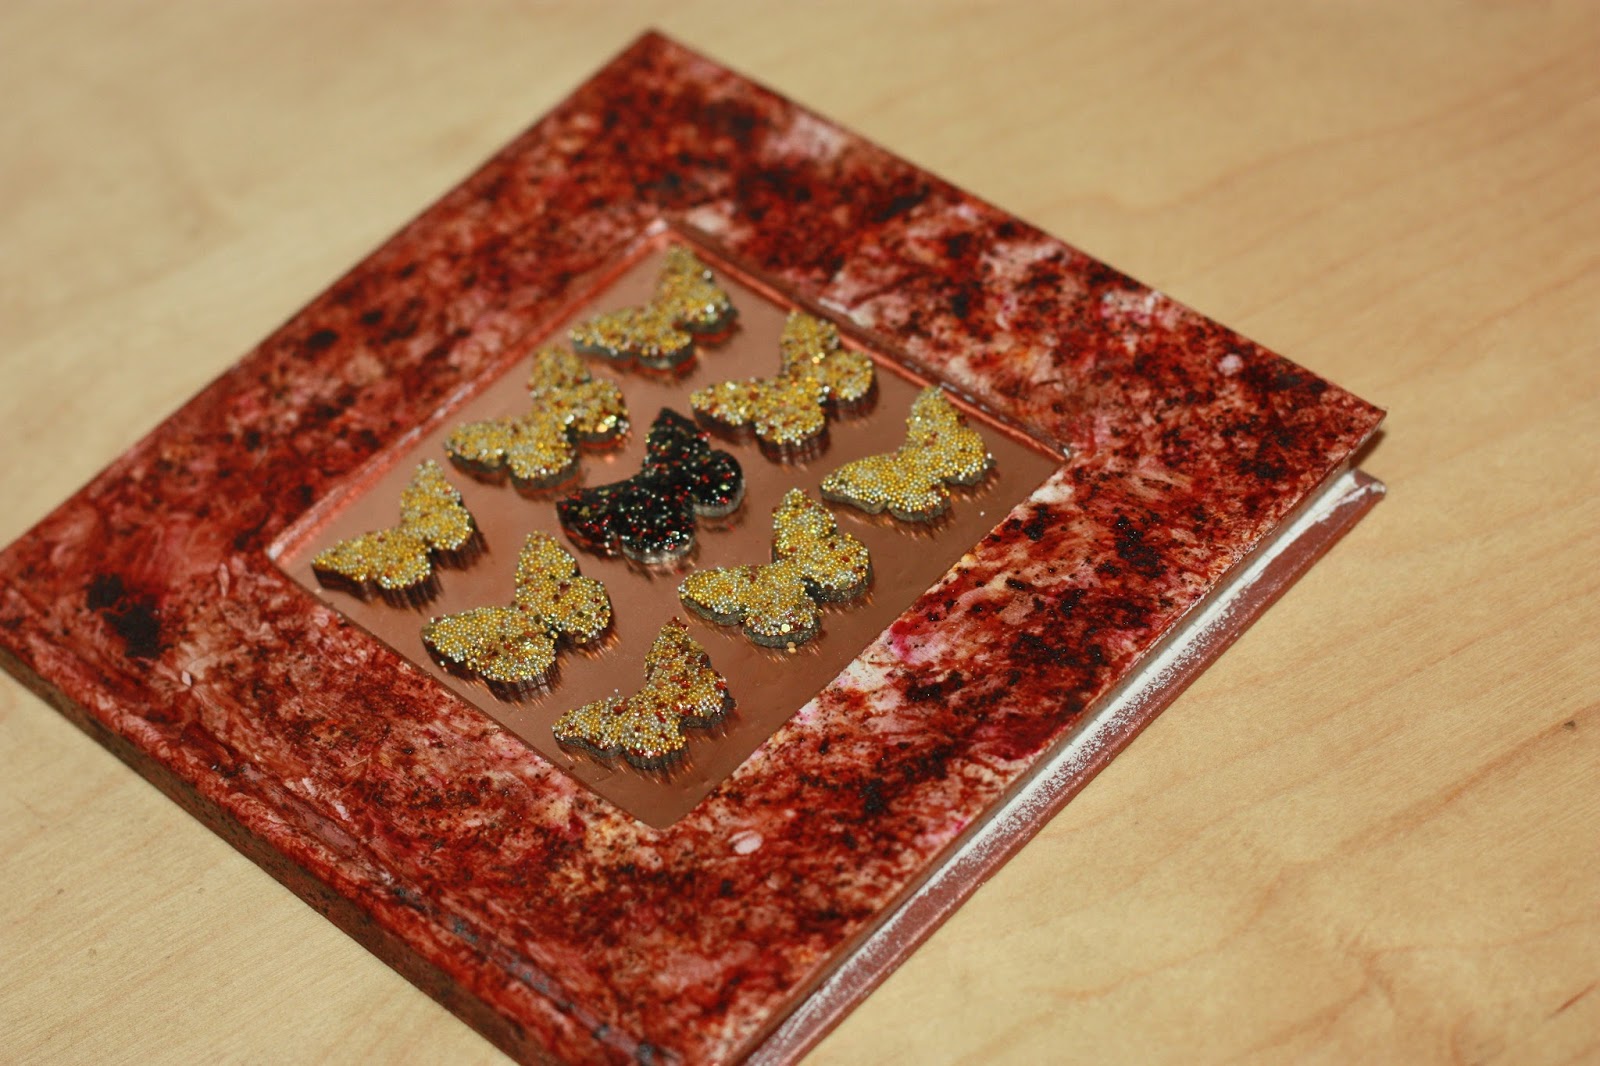
Calico Craft Parts used:
I usually start with dry brushing some white Gesso onto the Calico Craft Parts I want to paint. That makes the colours look brighter and you need to apply less of them as the MDF is "sealed" (and therefore less porous) by applying Gesso to it.
On the DecoArt white Gesso I used DecoArt media fluid acrylics: Green Gold, Viridian, Quinacridone Red, Ultramarine Blue, Titan Buff, Hansa Yellow Medium, Raw Sienna and Raw Umber to paint my cute bunny head.
I also mixed the greens and blues to get different shades of greens for the flower leaves.
I always start with the brightest colour and work towards the darker tones that I mainly use for shading. I work wet on wet as well as by applying paint to the piece and dragging and diluting it with a wet brush.
The back of the ATC was given a coat of "refreshing" DecoArt Chalky Finish paint and set to dry.
Then I applied a coat of Decoart media Clear Crackle Glaze with a palette knife and let that air dry.
In the meantime I painted the ATC frame with DecoArt "smitten" Chalky Finish paint and once that was dry I applied some DecoArt media Liquid Glass around the frame for more dimension and gloss.
I brushed a mix of Raw Umber and Carbon Black Antiquing Creams (also from the DecoArt media line) onto the crackled backpanel and made sure it seeped into all the crevices. I let the Antiquing Cream dry and then I wiped off the excess with a damp cloth.
The ATC frame and back were given some dabs of DecoArt "Gold Rush" Metallic Lustre here and there. I also applied it to the sides of the ATC parts using my fingertip.
I glued the ATC parts together and the bunny and a word sticker in place with some matte Decou-Page. Both were given a thorough coat of DecoArt media Gloss Varnish.
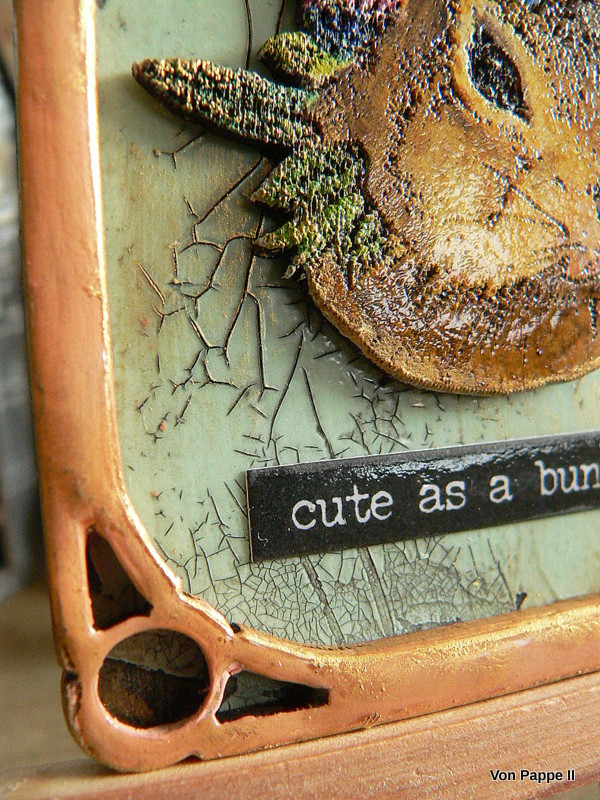
Here's a close up that shows the amazing texture the Calico Craft Parts have:
And here's one more attempt on showing the dabbed on Metallic Lustre...
I think it becomes visible best in this image:
I hope you like my little Easter bunny! Check out the other lovely
Easter and Spring designs too! I promise you will love them all! ;)
Hugs and happy crafting!
Claudia
xxx