Servus, hi and thanks for stopping by!
Claudia here again with a new steampunk project today. You know my obsession for notebooks and journals, don't you? So when I found out that the absolutely amazing "
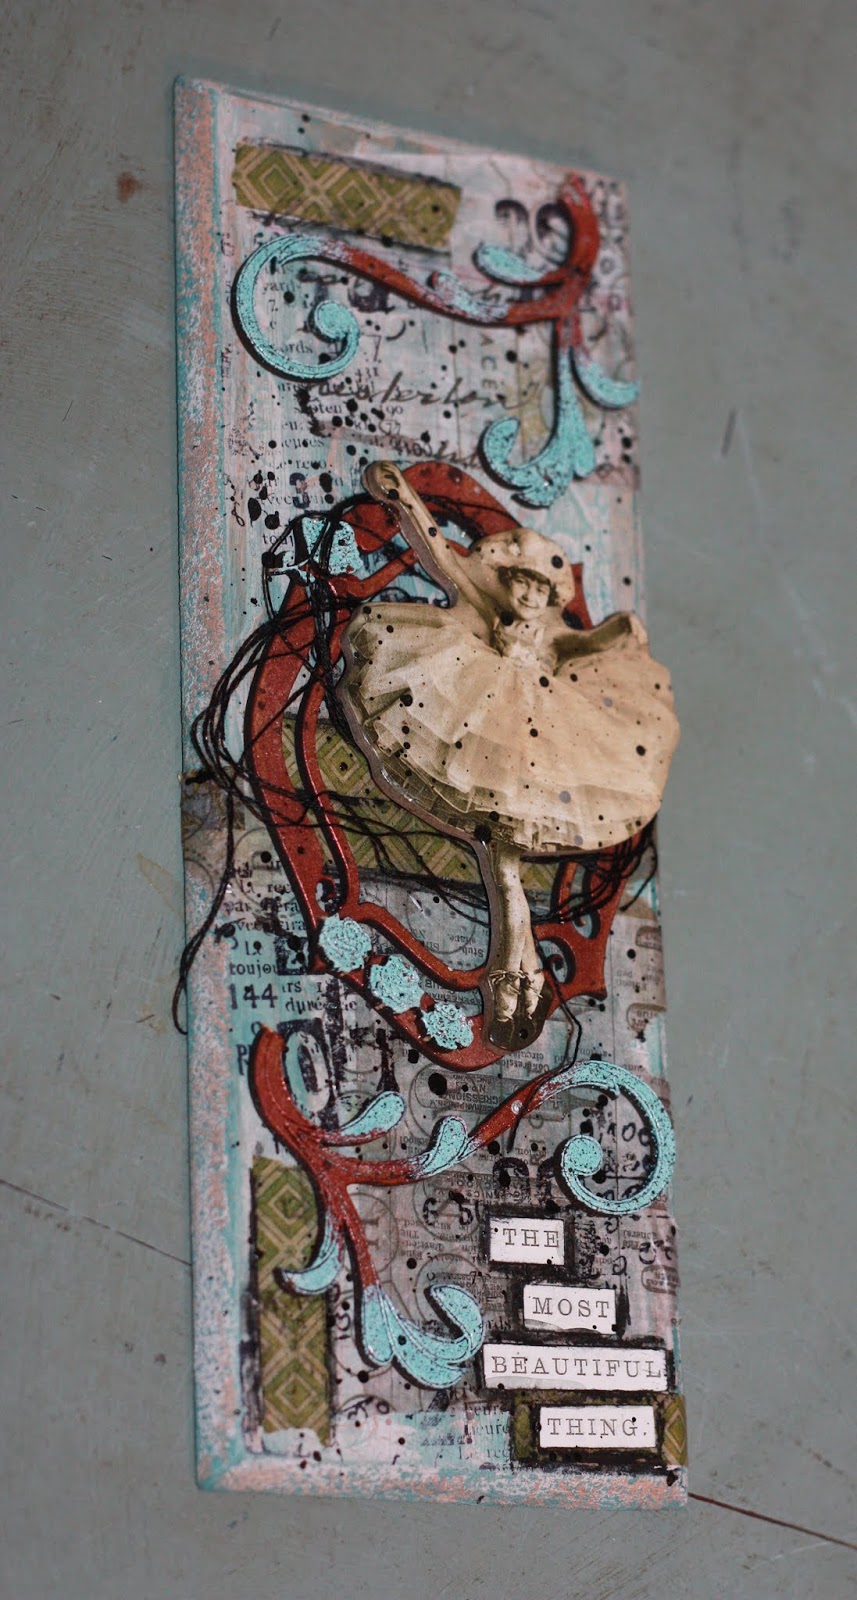
Steampunk Clockworks Motif Style 23" at size "Large" perfectly fits the cover of the Eileen Hull "Passport" book die, that was absolute steampunk heaven for me!
Calico Craft Parts used:
-
Steampunk Clockworks Motif Style 23 - large
-
Steampunk Clockworks Motif Style 24 - small
-
Sheet of Mini MDF Wood Cogs - Style 7
-
Sheet of Mini MDF Wood Cogs - Style 8
-
Sheet of Mini MDF Hardware Wood Shapes
-
Sheet of Mini MDF Label Holders Wood Shapes
-
Word Elements - Steampunk & Vintage
And with the use of some of my favourite go-to DecoArt paints and media it was - as usual - great fun to put all these parts together to create a stunning steampunk journal cover!
Here's an image of all the
Calico Craft Parts I have used and of the journal covers and spine I die cut from
heavy grey board:
I love to use the steampunk gears, cogs, washers, screw heads and other bits from the Mini MDF Sheets as these are perfect to add dimension by creating "mechanical layers" as I like to call them.
As usual I took a picture of the arranged pieces all put in place (for my own reference mainly).
I also made a picture of the whole arrangement taken apart, so you can spot all the small wood shapes I have added.
I love how complex and beautiful the base shape already is! And the laser engraved details even make painting this wood shape a lot easier!
I started with loosely applying
DecoArt premium Warm Grey acrylic paint with a worn bristle brush to the covers and the large base steampunk clockwork panel. I made sure that areas of the original substrate remained untreated here and there!
I also only used vertical brushstrokes to create a pattern that would visually bind all the pieces together. The smaller wood shapes were treated the same way.
Once the paint had dried I applied a light wash of
DecoArt media Quinacridone Gold with a wide, flat soft brush. As the untreated areas of the MDF pieces and the grey board soaked up the pigments while the grey acrylic paint worked as a resist in those areas that had already been painted, I got this beautiful result:
I had also used the different sides of the grey board for the two covers. Grey board usually has a smoother side and one that is rougher. So the different texture will lead to different results from the same painting techniques! I have taken a picture of both covers side by side so you can spot the difference yourself.
I used the "smoother" cover for the back cover as the wood shape there is a lot smaller - so it needs a less textured background to be still well visible.
The outside of the journal's spine was painted in DecoArt premium Burnt Umber acrylic paint and put to the side.
Then I glued all the pieces in place using DecoArt matte Decou-Page. Once that had dried, I loaded a soft brush with slightly diluted DecoArt premium Quinacridone Gold Hue and added some sprinkles to the covers.
I also used the Quinacridone Gold Hue to paint some of the cogs and gears, label holder and screw heads (using a fine detail brush).
I knew I would paint over some of these again but it is always a good starting point when you have "nailed" the shapes and areas where you need darker colours to make your design more interesting and to add tension to your composition.
Then I went in with my detail brush and DecoArt Dazzling Metallics "Venetian Gold" and Matte Metallics "Aged Bronze" and "Pewter".
The result looked quite bright and colourful and way too neat, but I was going to tone that down anyway by adding DecoArt premium Carbon Black acrylic paint on top using the dry brushing technique.
Much better!!!!
To add that final metal bling and also evoke the idea of old, dull metal being "polished" here and there by daily usage of the journal (which means a lot of touching, carrying, putting it in and out of a travel bag...), I used DecoArt "Gold Rush" Metallic Lustre to finish off my journal covers.
The covers' and the spine's edges were also highlighted with Gold Rush, that I simply applied with my fingertip.
I still had some left over "Venetian Gold" paint on my palette, so I sprinkled that onto the covers as well. The same was done with watered down left overs of Carbon Black.
I used more matte Decou-Page to assemble the journal.
I like to use bought note books instead of die cutting my own signatures. Gladly I managed to find some of perfectly matching size! Yay!
So all I needed to do was poke holes in the according spots, thread through some brown waxed cotton string from outside to inside and tie the ends into a knot.
Done!
I hope you have enjoyed your visit and are inspired to browse the wide range of fabulous steampunk wood shapes in the Calico Craft Parts store to find your favourite pieces to put on your own steampunk journal covers!
Hugs and happy crafting!
Claudia
xxx