
Hi, servus and thanks for stopping by today! How about sharing a little crafty inspiration to distract ourselves from all the craziness that's happening in the world these days?!
Have you already seen the new circus themed craft parts in the shop? They're vintage designs and I fell in love with them at first sight.

I especially love the monkey, but the director is just as fab!


Calico Craft Parts used:
- Artist Trading Block Cube Kit - Plain Cube - large
- The Ringmaster - MDF Wood Shape
- Snarling Tiger - MDF Wood Shape
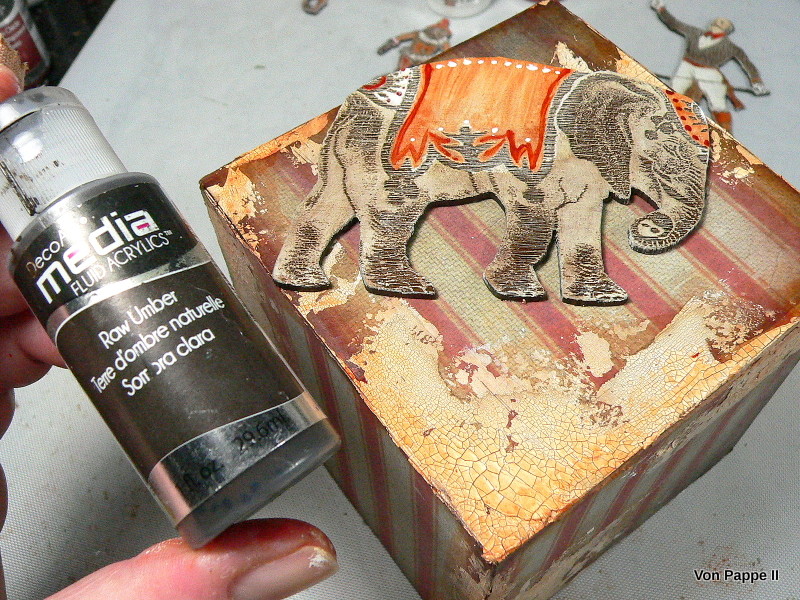
- Circus Elephant - MDF Wood Shape
- Circus Chimpanzee - MDF Wood Shape

I assembled the artist trading block (which is really easy as all joining points are marked with matching letters so you can't go wrong) and covered the sides with some striped vintage designer paper (from a Tim Holtz paper stash) using matte DecoArt Decou-Page. I also used diluted Decou-Page on top of the paper after I had inked the edges with dark brown archival stamping ink and a piece of blending foam.

While that was set aside to dry, I dry brushed all the craft parts with "relic" DecoArt Americana Chalky Finish paint, using a flat, soft brush. This way the engraved patterns started to show beautifully.
Once the cube had dried, I applied DecoArt media white Crackle Paint with a palette knife here and there along the edges and put that on the central heating to speed up the drying and crackling process.


Every circus needs its stars and a bit of bling, doesn't it?!


Absolutely brilliant! Your fabulous weathering techniques are the perfect partner for these gorgeous vintage circus designs... this is wonderful!
ReplyDeleteAlison x
I love this....
ReplyDeleteThanks so much, Alison and Louise! Hugs! xxx
ReplyDeleteCompletely and utterly adorable, I have very eclectic decor and that would fit in just perfectly - would love to try and recreate your design.
ReplyDeleteStunning! 💖💖💖💖💖💖💖💖
ReplyDelete