Monday 26 December 2016

Claudia's Best of 2016


Servus, hi and salut!

I hope you have all enjoyed a wonderful Christmas with your loved ones and are looking forward to some relaxed and peaceful holidays!

I joined this fab DT this year in May after guesting in March (which I enjoyed so much) and I have been enjoying to be on such a talented and relaxed team, to work with the wonderfully inspiring Calico Craft Parts, to have lovely Louise as our DT coordinator (taking great care of us all) and to have a wonderful boss like Helen ever since!

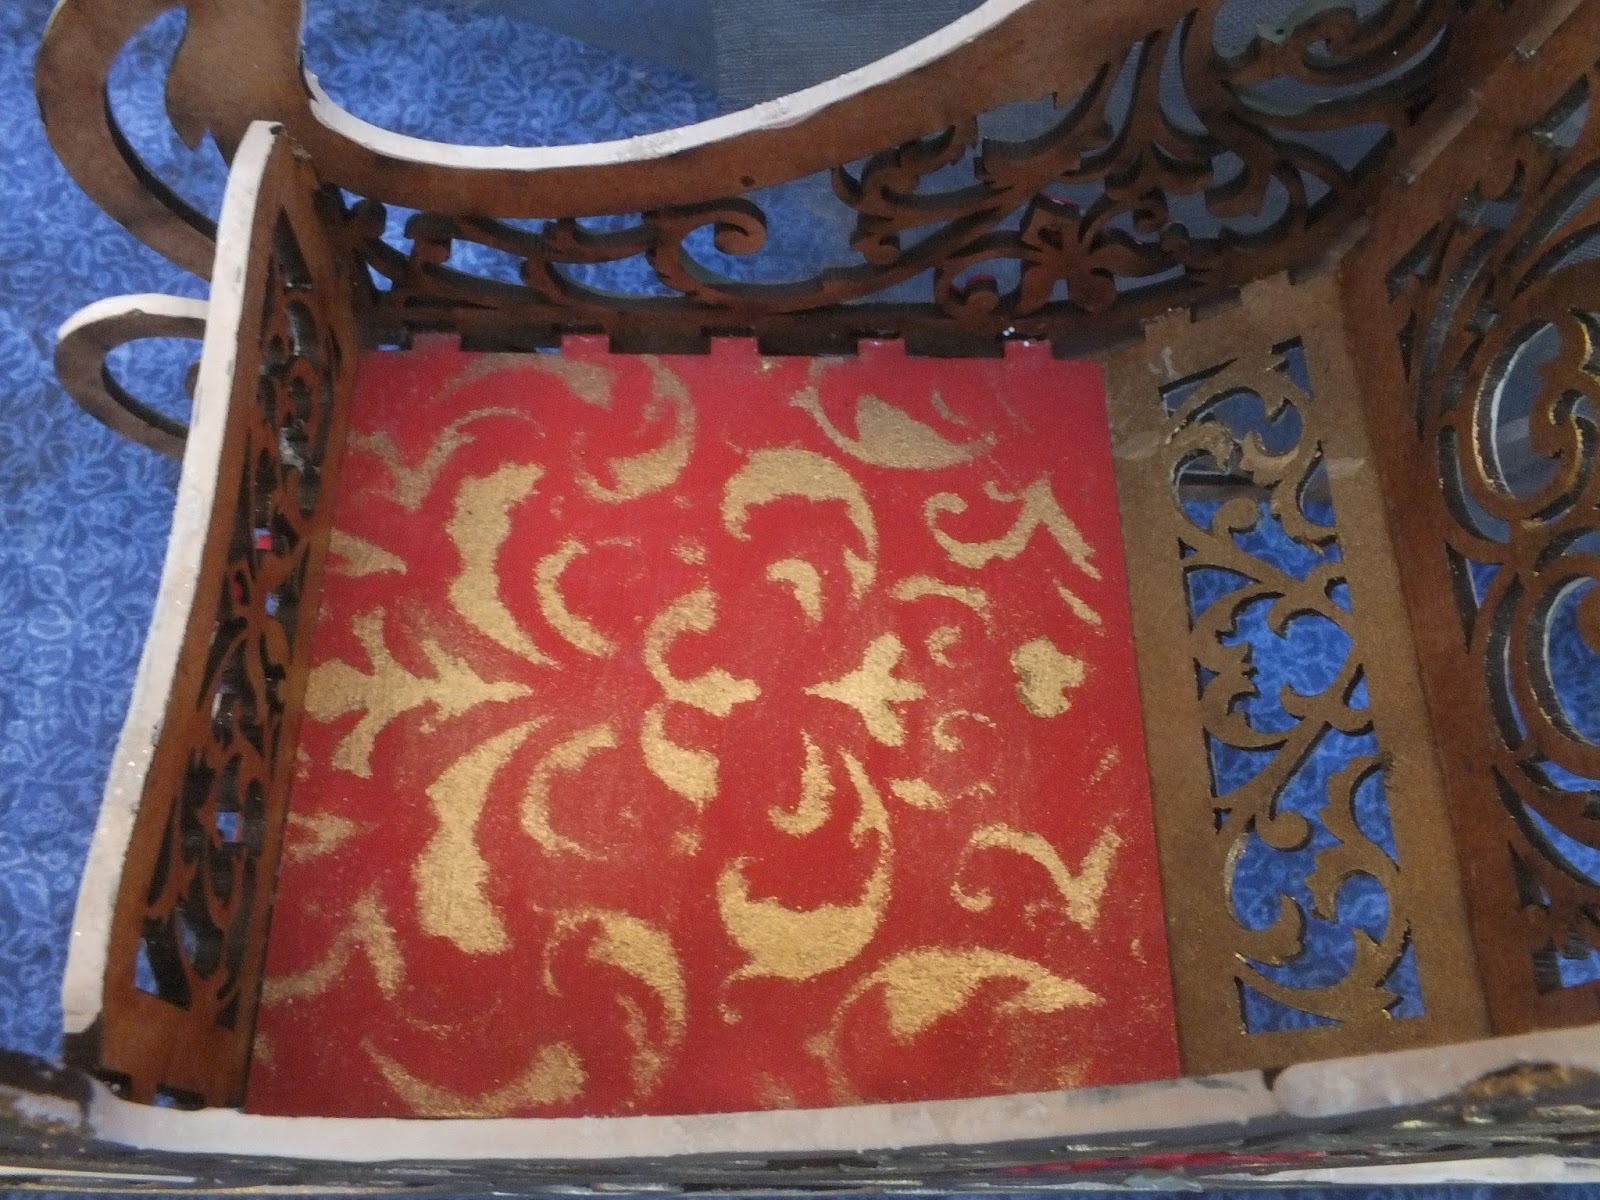
So my first pick for my personal Top 3 among my DT makes for 2016 may come as no surprise - it's the "Forest Love - Part Two" make I did as guest designer - and which made me realize how much the Calico Craft Parts spark my imagination and inspire me to create.


My second pick is the project I had the most fun doing - "Pigs in Space!". Being a great fan of the Muppets Show and especially their "Pigs in Space" series with First Mate Miss Piggy and Captain Hogthrob facing many perils in outer space I enjoyed creating this particular project very much!


And my last and third pick is the "Looking Inside the Box is Looking Outside?" deep sea tunnel box. My son and I are both great lovers of all seep sea life and watch every documentary there is (especially the fab BBC ones) - so making this box was a must - especially as the Calico Craft Parts used with it are utterly fab! And maybe one day my son will be the little diver you can spot to the left....who knows? 


Thank you very much for stopping by today and revisiting these makes with me! I wish you all a happy and creative 2017 and we will meet each other here again in two weeks with the new year already in full swing! ;)

Hugs and happy crafting!
Claudia
xxx


Thursday 22 December 2016

Lesley's Best of 2016

Hey people. Lesley here with my round up of my most favest makes of 2016.........didn't this year just disappear rather quickly!?

My first favourite make is this one....


Which you can find over here. An unusual make for me as in the colours i used.........not the dolls head! ha ha. It was a fun project to do.....and just let go with the use of colour!

My second most favourite make takes us back to September was this unusual assemblage, which you can find here.


I just love the skeleton hands that open to show his heart!

And my final fave was this hanging house dec, which you can find here


Loved, loved, loved making this! These houses that Helen designed are one of  my go to products to use.......along with the mini shapes! I actually ended up making loads of these houses with different things inside of them. I think Helen thought i was mad with the amount of houses i ordered in the run up to Christmas!

Righty-ho.........time to wish you all a very Merry Christmas and a Happy New Year and a massive thank you for all your comments over the last year......it really is appreciated.
I'll be back on the 5th of January for my first make of 2017!
See you on the other side!

L. xxx

Monday 19 December 2016

Nutcracker Sleigh and Characters - Julie Ann

Hello! I hope you're beginning to feel Festive! Sometimes life becomes stressful this close to Christmas, so I suggest you join me for an evening at the Ballet and escape your worries for a while.  I'm not doing 'step by steps' of how I made the little characters, but there are hints and close-ups, and if you want to find instructions of how to make the beautiful Christmas sleigh they are downloadable here. Without further ado, let's put some tiny Calico art dolls through their paces!


Meet Clara! She loves her parents' annual Christmas Eve party, especially the extraordinary gifts the mysterious 'Uncle Drosselmeyer', her godfather creates for the occasion. This year, to her delight, he has given her a nutcracker with a bright red soldier's coat. Her cousin, Frans says he wants it and that it's not a 'girl's toy', but Clara holds her Nutcracker close. She knows that he was made specially for her and that she will discover he's no ordinary nutcracker! 


Clara doesn't want to let go of her gift for a second, but she grows tired with all the excitement. When she is carried off to bed, the Nutcracker falls from her grasp and lands in a muddle of discarded wrapping paper and ribbons under the tree.


In the early hours Clara sits up in bed, wide awake - Where is her nutcracker? She tip-toes down to the living-room. Everything looks strange and rather eerie in the moonlight through the french doors. Then to her horror, Clara sees a large mouse scurrying across the floor with a crown in his hand. She rubs her eyes! Is she dreaming or is he wearing clothes? In dismay she watches her Nutcracker engage in mortal combat with the Mouse King, battling for the crown he has stolen from the Fairy at the top of the tree!


Clara did not need to worry. Her brave Nutcracker is victorious. His triumph over the Mouse King has magical consequences. He is transformed into a prince and he takes Clara with him in an intricately carved wooden sleigh to the Land of the Sugarplum Fairy.


Clara enjoys one magical entertainment after another in a land where sweets grow on trees and rose petals dance and swirl with Snowflakes. As the dawn breaks on Christmas morning, the wonderful fairyland evaporates and Clara finds herself in her bed with her Nutcracker in her arms.


 I wanted room to create character so I replaced the heads provided in the kits, giving Clara and the Sugar Plum Fairy grey-board hearts; the Mouse King a Squirrel's head and the Nutcracker an oval mdf shape. To create the impression of aged wooden toys, the faces are all drawn on crackle. Clara holds a little metal nutcracker charm. I removed the ring from the top with my Dremel. The Nutcracker's hat was made from one of the signs on a sheet of lamp-post shapes! The Mouse King has a squirrel's head and part of a flourish for his tail! Here again a Dremel came in useful for all the cutting!


Instructions for making the wonderfully intricate and easy to assemble sleigh are downloadable here.


I added texture with melted gold UTEE. It was lots of fun dripping Gesso over the edges and sprinkling with glitter to create a snowy impression.


The sleigh is so beautifully detailed that gilding paste and a pearly sequin soon create the impression of a splendid troika.


The seat is painted red with gilding paste applied through a stencil. It is so quick to put together. You just need to make sure that you don't get paint in the slots and that you use a strong glue that dries clear.
I wish you all a Happy and Peaceful Christmas. May your dreams come true and may you be contented and blessed, sharing special time with family and friends.

Calico Craft Parts used on this Project

Art Dolls (Standard) (Small, Style 2) 
Mini Greyboard shapes  (hearts)
Sheet of mini wood Lamp posts (style 3)
Sheet of mini wooden crowns (Style 1)
Sheet of mini wooden wings (Style 1)
Sheet of mini wooden Christmas shapes (Mix 2)
Squirrel wood shape style 11
Curled Vine Fancy Flourish (Style 3)
3D Sleigh Kit (Style 2)

Thursday 15 December 2016

Santa Is on His Way! by Jennie

Hello! Jennie here with you today and thank you for stopping by in this very busy time before Christmas!


Over the last few years I have made a number of vintage white Christmas projects which I bring out each year and display on the Victorian mantlepiece in our old Manse home here in Shetland. I had great fun going through all the wonderful Calico Craft Part Christmas embellishments and choosing just a few (very difficult!) to decorate this ATC cube.


I assembled the cube first and gave it a couple of coats of white gesso. I then added some brown acrylic paint around the edges to give a more vintage look once the DecoArt crackle paint was added.

I apologise that there are no further photographs of my process - we are now in the very depths of winter here with very short daylight hours and so it is very difficult to get any decent photographs!


Once the crackle had dried I added a winter tree scene around each of the sides of the cube. I have just dabbed white acrylic paint on each scene allowing some of the brown of the base colour to show through.


The Santa and Sleigh were first painted in white and then I added a very thin layer of DecoArt Crackle Paint. Again some of the brown base colour shows through quite naturally. But as you will get to know, this is an effect which I love!


I then had lots of fun adding bristle trees, white flowers, berries, bells and some paper curls to the top of the cube.


Once everything is stuck down firmly I like giving everything a light coat of gesso and then some gold paint very lightly here and there, especially around the edges of the flowers and the stamens.


I had also added white lace and a bow to the box and a Merry Christmas ticket which adds a bit of colour !


I think this will be my centrepiece on the mantle this year! 

As I won't be here again until after Christmas may I wish you all very happy 
and peaceful festive period.

Jennie x


Craft Parts Used:


Monday 12 December 2016

Quick Christmas Silhouette Lantern - by Claudia


Servus and merry Christmas, dear Calico Craft Parts friends!

Claudia here to bring you my last Christmas project for Calico Craft Parts for this year. And as it is pretty close to Christmas already I decided to do a really quick project this time - so you can still squeeze it in last minute if you like ;)

The star of my make is this magical silhouette Christmas nativity scene (my favourite from Calico Craft Parts' Christmas scenes ;) and I have used just one as I only made a front side for my lantern (to put it in front of a candle in a glass jar) - but if you like you can of course do all four sides - using the same silhouette four times to create four identical sides and using folded strips to put them all together.


Calico Craft Part used:

- Christmas Nativity Scene MDF Wood Shape - Style 1


I started with colouring my nativity scene silhouette black on one side using a black permanent wide tip marker.


Then I cut two arched frames (both with openings - the left one just wasn't cut when I took the photograph) and a thin strip from heavy black cardstock making sure their measurements would fit with the scene's height and the diameter of the glass for the candle.


Next I glued one of the frame pieces onto a sheet of crumpled and flattened out tissue paper using matte Decou-Page.


Once that had dried I cut off any overlapping tissue and glued the second arch to the backside.


I also stamped my Merry Christmas quote onto a strip of black cardstock using opaque white stamping ink (but you can use white acrylic paint as well - just don't forget to immediately clean your stamp right afterwards if you do).


Then I glued my nativity scene and stamped quote to the front and the bent strip to the back of my arch. Done!


Well, I hope you like my quick and easy Christmas lantern! Of course you can take this idea to any level you like - by embellishing the base or adding stars and such.... but as my lantern sits on the window sill and I really wanted to keep this as short and quick as possible (for last minute Christmas panic crafters like me for example) the one-sided version it is. lol


My, how I do love this scene! *sigh


Merry Christmas to you all! 

Claudia
xxx


Thursday 8 December 2016

A Little Bit of Christmas Spoonage by Lesley

Happy December to you all! I hope you're all busy doing Christmassy type stuff?!

I had an idea in my head that i wanted to alter some old spoons.......but the room of trash (my craft room) is an absolute mess, and i couldn't find them.
Plan B.......was to make my own!


I started by taking a piece of driftwood and a long length of rusty wire. I drilled holes into the driftwood for the wire to go through. The wire, i doubled in length and shaped into an oval and then wrapped around the top of the stick, poking it through the holes to make it more secure.
Once i was happy with the shape, i took some plaster bandage, soaked it in water and wrapped it around the wire frame. I let this go off and harden.


The spoon was then given a watered down coat of silver paint. I stamped some stars onto some tissue paper and glued this down. Then using my finger, i rubbed silver paint over the spoon concentrating on all the lumps and bumps.


Next, i dolloped on some texture paste with a palette knife, and sprinkle on some mica flakes and some micro beads, making sure to cover the back as well.


From the mini shapes number 2 style, i painted a snowflake silver and glued it to the spoon.


The little star was painted silver as well, and with a little spoon charm, i used some silver wire and attached it just under the plaster bandage.


Looking at the finished spoon, i actually think it would look lovely as a napkin decoration. Instead of using a star, you could use one of the mini plaques and write a name on it and attach it to the napkin....would make a pretty table dec! You think?

Anyhoooooo.........i couldn't just make a pretty sparkly spoon......i JUST had to make a rusty one as well! ha ha


The spoon was made exactly as above but once the plaster was set, i used rust paste to cover it all.


I then gave it a super thick coat of melted wax and sprinkled on some micro beads to give it a bit of a twinkle!


I used one of the baubles from the mini shapes and attached it along with a rusty bell using some more wire.

Not quite as Christmassy as the other one.....but certainly more Lesley styley!


Thanks heaps for reading.
L.xx

Ingredients used
Mini MDF snowflakes. Style 2
Mini MDF primitive star shape
Mini MDF Christmas baubles

Monday 5 December 2016

Calico Snow Globe Baubles - Julie Ann

I'm feeling privileged to be here at Calico Craft Parts with Christmas on its way! If you hop over to the shop you won't be disappointed at all the magical, yuletide craft parts to help you create original decorations or add a unique look to a special gift. Even though I'm rather disorganised when it comes to Festive preparations, I can't resist the enchantment of frost and snow! The other day I was in a well-known eclectic Danish store when I spotted some DIY clear baubles. I instantly thought of the snow-globes of my childhood - miniature worlds I always longed to step into - and lo - the baubles found their way into my basket!


I aimed to create miniature scenes using moss, paper clay, iridescent flakes, a few twigs and some distress glitter with - of course - Calico Craft Parts. The Running Buck is a particular favourite of mine. I used him minus his head for a Frida Kahlo homage, but here I wanted to evoke one of my best loved carols: The Holly and the Ivy. My favourite line is 'The rising of the sun and the running of the deer...'


 I painted the buck on both sides with with white craft acrylic and then sprinkled him with a little of the distress glitter. His decorated collar is a piece of broken jewellery, touched with gesso.


 For the forest floor, I simply worked some Paper Clay in my hands until it was malleable and then shaped it into a mound and pressed it firmly into the bauble, so that it would stick, before leaving it to air dry. When the clay had dried out, using heavy gel medium, which dries clear, I adhered the moss, blobbing gesso here and there and sprinkling on flakes and glitter until my fingerss started to resemble those of a mossy glittery monster! When I was satisfied with the result I glued my buck and a twig to the mound, using a non-toxic super glue. Finally, I added white acrylic and glitter to the outside and dotted some white paint onto the surface of the bauble with a cocktail stick.


I was intrigued to see how one of my own little house shapes would look inside a bauble. This is just a basic house cut from a sheet of mdf and collaged with my art work. To add interesting detail, I've used a Calico snowflake and 2 of the mini doors.


Here's the reverse side. and below you can see the bauble where I used the same principle as with my running buck.


I like to imagine the cosy world inside this Christmas cottage!


I really enjoyed experimenting with these other Calico parts too: this hare running through the snow -


and the resting stag, which made me think of medieval Christmas music.


Here they all are, ready to be displayed on some curly hazel branches and - apart from waiting about 24 hours for the clay to dry - they didn't take long to make at all.


The days are growing busy as the Festive Season approaches, so thank you for stopping by today and taking the time to read this post. I hope the weeks to come will be not be too stressful for you, but full of friendship, creativity and fun!


List of Calico Craft Parts used in this project
Running Buck (small)
Running Hare (small) style 6
Resting Stag (small) style 14
Sheet of mini mdf wood door shapes
Sheet of mini mdf wood Christmas shapes - Snowflakes 1