Wednesday, 29 May 2019

Blues ATC by Jennie

Hello and no I don't really have the blues, just messing about with blue pigment powders!


This little ATC and frame has been sitting on my desk for weeks now so I thought I really ought to make something with it.


I always seem to have little pieces of the fleur-di-lis fence left and this is just a perfect size for an ATC.


As you know I always love how the MDF takes all the product you can throw at it.


The tiny slim label holders are just the perfect size for the ATC frame. I spend alot of time looking through my stamps for words that fit! I have scraped a bit of the paint back so it looks a bit rusty.


And a butterfly tucked into the fence both to hold it up! and to add a bit interest in the corner.

As always thank you for joining me and I hope my latest ATCs inspire you to create with these wonderful mini elements.

Jennie x


Calico Craft Parts used:


Monday, 27 May 2019

Steampunk ATC Storage - by Claudia

Hi, servus and thanks so much for stopping by!

My lovely design team colleague Jennie recently mentioned in one of her posts on here that her friends preferred getting ATCs instead of birthday cards from her and I could totally relate ;)
That inspired me to create another - this time smaller - ATC display and storage box (means: smaller than the one I did HERE) for my own little collection of steampunk themed ATCs.

And as the content of my Calico Craft Parts treasure box has been constantly growing since I became a member of their wonderful design team, I always find plenty of left over little pieces to put together or add to some "starring" larger Calico Craft Parts (especially the Mini Craft Shapes sheets go a long way and there's a huge and awesome collection of these to choose frome in the store). It's the layering and adding little dimensional screw heads, hinges, labels and others on larger Craft Parts that make a huge impact on a steampunk design I found.

So this is how my new ATC display box looks like:


with ATCs in it 

 and without - so you can see how the display box looks like and works


Calico Craft Parts used: 

- MDF ATC/Tag Display Box Kit - small
- Steampunk Mechanical Clockwork Heart
- Sheet of Mini MDF Wood Wings - Style 4
- Sheet of Mini MDF Wood Cogs - Style 8
- Sheet of Minie MDF Wood Crowns - Style 3
- Sheet of Mini MDF Hardware Wood Shapes 
- Sheet of Mini MDF Hinges Wood Shapes
- Sheet of Mini MDF Label Holders Wood Shapes
- Word Elements - Blank


I kept the colour scheme quite simple this time and also didn't go too textural in my choice of media used so the Craft Parts and the texture from the embossed card stock that I covered the box with could unfold their full potential.


The whole design came together after some joyful rummaging my Craft Parts treasure box and playing with different combinations.


I started with dry embossing some cut to size black card stock. I simply used the panels from the display box as templates and traced around them with a pencil. I used the 3D "Foundry" embossing folder and misted the card stock with water from the spray bottle before I ran it through my Big Shot.


While I set the embossed pieces to the side to let them dry, I assembled the display box using a flat brush and DecoArt matte Decou-Page.


As that dries rather fast I could continue after about five minutes with adding two layers of DecoArt Raw Umber Student Acrylic to the box's inside.


While I let the paint dry I glued the cut to size and dry embossed black card stock pieces to the outer sides and the back of the display box. I made sure to especially cover the edges and corners thoroughly with the Decou-Page so the glued on card stock would not come off during usage.


Then I added a layer of Raw Umber Student Acrylic to the other Craft Parts using a soft flat brush.


Using my fingertip and in circular motions I gently rubbed some Black Shimmer DecoArt Metallic Lustre onto the dry embossed card stock to add a metallic look.


To glue the painted wings, cogs, screw heads, hinges, word element with label holder and the crown in place I had to stabilise the box with cloths pins while the Decou-Page was drying.


I thought that my ATC display box already looked really nice at that stage and I was quite tempted to leave it like that and call it done, because I liked the contrast of the toned down MDF (that was still visible and gave a lovely texture) against the metal plates look on the outer sides. I had originally thought of using several different tones of DecoArt Matte Metallic paints on the wings, label holder and cogs, but then decided to use just a single colour that would on one side contrast the Raw Umber but on the other also visually fuse the Black Shimmer Metallic Lustre...


...so I painted only smaller parts and areas with DecoArt Pewter Matte Metallics:


I really like the result - the warm brown from the Raw Umber against the cool blue from the Pewter combined with the neutral metallic grey from the Metallic Lustre!


Going for a decent colour scheme was also a good choice because this way the design of the box doesn't compete with the ATCs displayed in it.


I love my small ATC display box for my steampunk ATCs! I think I will also need to do a nature themed one....and a vintage themed one...and...oh, dear...I need more space!!!!

Hope to see you again in two weeks!
Hugs and happy crafting!
Claudia 
xxx


Wednesday, 22 May 2019

Red Floral Shrine-by Lesley

Hi everyone. This week I have altered a small shrine kit.


I have used textured paint in rust colours on the box, and painted the inside black.


I gave the shrine feet by gluing together 5 of the blank scrabble tiles.


I cut apart one of the art deco floral ornament. The top part was used on top and the flower part was glued to 2 vintage pastry cases which I had painted gold.


I added some red dimensional paint to highlight.


Mote scrabble tiles were glued together and then to the back of the pastry cases before adhering to the shrine.


Thanks for reading.
L.x

Ingredients used


Sunday, 19 May 2019

Summer Circus Stars - miniature portraits by Julie Ann

It's lovely to be back at Calico Craft Parts Blog with a project that I found so much fun to create.


I have been taking some on line classes in portraits, as I've always been fascinated by faces. This led me to think about substrates: do portraits always have to be on canvas or paper and does a portrait always have to be landscape or portrait shape?


I was in the mood to experiment, so I grabbed a couple of beautiful, Calico birch ply stars and collaged them with crafting tissue fixed with matt medium.


To create a smooth surface for a portrait, I added a couple of coats of diluted Gesso. It was at this point that I had a rummage through my Calico supplies and found these dolls legs and somehow the idea of Circus Stars took over!


I have been working with photos of my daughter lately, so I took one of my basic sketches from these photos and accentuated certain features, creating a slightly caricatured image. I sketched her first in water-colour pencil, going over this with acrylic ink and a very fine brush. There is also a little shading with grey water-colour pencil.


Now for the fun part! I added colour with water-soluble coloured pencils. Some snazzy leggings and clown's make-up along with a jaunty clown's cap and she is one of the Circus Stars - a group of tumblers and acrobats.


Matilda's companion is Iris who specializes in the high wire. Iris is a character from my imagination, a little face that I just sketched intuitively on to the centre of the star shape. I think she ran away to the circus, although I'm not sure why. One thing I know is, that like Matilda, she is a dreamer. She's at her happiest above the crowd on her high wire, performing an elegant dance, perfectly balanced.


Now I feel inspired to create a whole troupe of characters!


This is such a quick and fun way to create mini portraits/art dolls you could even create a kind of bunting from them. And if you're not into portrait painting or caricatures, you could always create faces from digital downloads or magazine cuttings - maybe you could make a unique face using the features from a number of different images, either your own art or photos? The possibilities are endless. Wishing you a creative time until we meet again here on the Calico Blog in a fortnight's time.
Calico Craft Parts used in this Project
6 Pointed Star Birch Plywood Plaque
Standard Jointed Art Doll Kit Style 1 (Medium and Large sizes)

Wednesday, 15 May 2019

Summer Sunshine ATC by Jennie

Hello and welcome to you all. 


We seem to have had some lovely weather just lately which put me in the mood of summer sunshine.  I am not normally a "yellow" person but thought I would give this colour a little outing for a change in one of my favourite ways to craft - on an ATC.


I have layered my ATC with a rounded rectangle shape to give it a bit of interest. I love the way the MDF will take anything thrown at it. This was really yellow when I first added the pigment powders so it took alot of water to get them thinned down to a colour I was happy with.


One of my favourite go to Calico Craft Parts pieces ...... the lovely keys.


And not forgetting the little tags which are always so useful.


A bit of fun and a simple ATC which my friends seem to love in lieu of birthday cards! It is always lovely to see these miniature art pieces adorning a mantlepiece long after the birthday.

As always thank  you for joining me today and happy crafting .... and I hope the summer sunshine continues!

Jennie x


Calico Craft Parts used:


Monday, 13 May 2019

Busy Buzzy Tag - by Claudia

Hi, servus and thanks so much for stopping by today!

Sorry for the four weeks break.  Some sudden health issues including a stay at the hospital and a lot of visits with various doctors in the weeks after have been keeping me away from my studio. I am still not back to feeling really well or being my old self again, but at least I am almost back to a normal daily routine by now. And I can finally create at my workdesk again, which is something that always makes me feel better and helps keeping sad or stressful thoughts at bay.

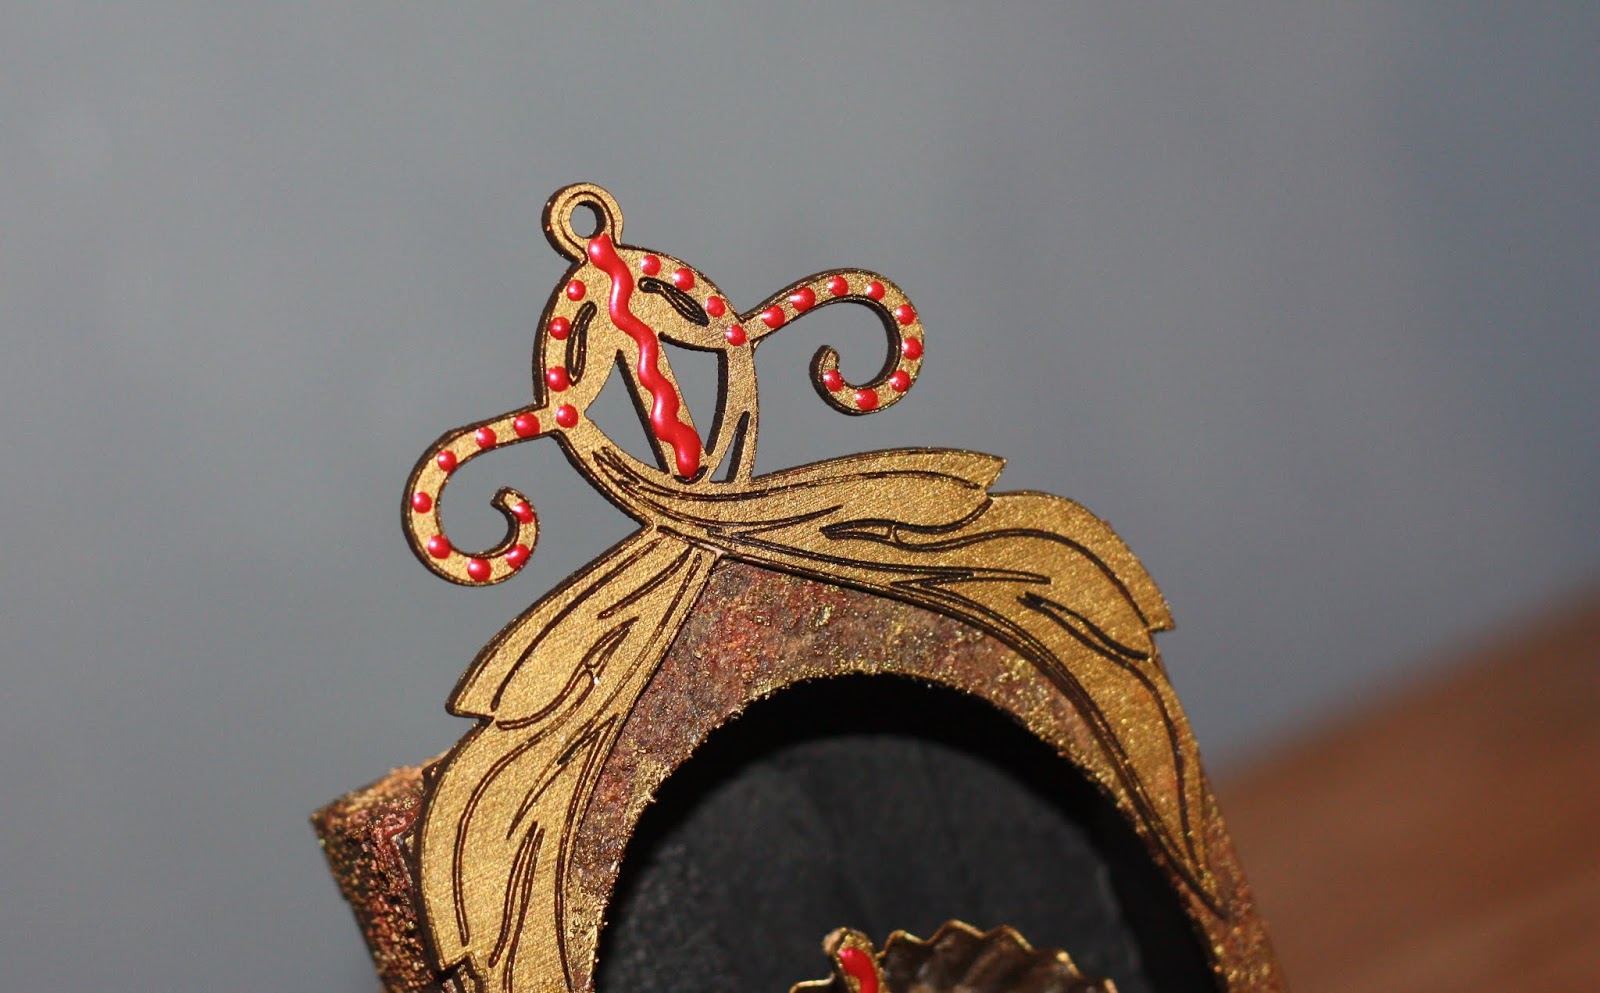
The total loss of any daily routine has also made me loose my creative mojo a bit. But often browsing your stash helps with getting it back - so I browsed my "Calico Craft Parts Design Team Treasure Box" and unearthed the gorgeous Sheet of Mini MDF Bees & Beehives and the Bees & Honeycombs Sheet and decided to use these on a Calico Craft Parts MDF Classic Tag.

Wild Bees have even been nesting on our balcony on the 6th floor during the last years. The first wild bee I saw there tried to nest in one of the holes used to tilt our beach chair , so I immediately went and bought an insect hotel to provide it a proper nesting place.
During the last years we have always had some wild bees nesting on our balcony and I always love it when I find that one or the other has hatched after a long winter.


Looking closer at the "bees" on the MDF sheet I found that some rather looked like wasps and others also a bit like bumble bees - so I united all of them on my tag. And combining parts of the awesome honeycomb parts with a blank Word Element made for a perfect base to put a quote on.


"Summ summ summ" is German (and the title of a very common German children's song) and means "buzz buzz buzz". (You pronounce it like "zoommm zoommm zoommm" with the "oo" spoken rather shortly).

This is a picture of the Calico Craft Parts I've used.


As you can see I have also used the lovely "Wildflower Wood Shape" - so the bees on my tag had some flower to get their pollen and nectar from. As it was the only wood shape on my tag that didn't have any laser engraved texture, I decided to add some texture myself.

To do so I used DecoArt white Modeling Paste, a palette knife and some thin wire (to engrave the leaves and petals patterns into the still wet paste).


I first applied a thin even coat of the Modeling Paste with the palette knife and then "drew" the leaves' veins and petals with the thin wire (I used the wire because it was what was closest at hand. I could as well have used a pokey tool or something else that has a fine tip).

More white Modeling Paste was scraped onto the tag using the palette knife. I made sure I created several layers and a lot of texture.


The Modeling Paste also worked as my adhesive to put the Craft Parts in. First the ones that formed the base layer. Then I scraped on more Modeling Paste to fix the insects to the honeycomb layer.  (I also used matte Decou-Page where I didn't have a honeycomb base).


I also used the Modeling Paste and the very tip of my palette knife to create the look of "filled and closed" honeycombs here and there.


This is how these looked once the tag was done.


But first I had to create a colour base layer. I used DecoArt media Misters White, Orange and Primary Yellow and mixed these wet on wet. 


I started with a thorough white base layer and let that dry and then partly sprayed and sprinkled on the Orange and Yellow Mister paints.


Once these had dried I used an old plastic pipette and cut off the narrowest part of its tip, so I could use it to pick up some DecoArt clear Pouring Top Coat and fill some of the honeycomb cells with it. 


Time for the Pouring Top Coat on the tag (and for me) to rest over night. The next day I went on with painting the wasps, bumble bees and bees and other shapes with DecoArt media fluid acrylics Diarylide Yellow, Hansa Yellow Medium, Burnt Sienna, Carbon Black and Sap Green.


I mixed Diarylide Yellow and Burnt Sienna to create a wash for the branch.


A mix of Diarylide Yellow and Hansa Yellow Medium was used to paint my bee (in the picture below) while I used pure Hansa Yellow Medium to paint the wasps.


The wings were first dry brushed using DecoArt Americana Snow White. Then I added DecoArt media Interference fluid acrylic Turquoise on top (once the white layer had dried).


The wildflower's stem and leaves were given a wash of Sap Green fluid acrylic paint.


The wash especially highlighted the patterns I had engraved into the Modeling Paste.


As I felt I still needed more texture on my tag I mixed some DecoArt media white Crackle Paint with some drops of Hansa Yellow Medium media fluid acrylic paint and applied that mix in several spots with either the palette knife or a brush (in those parts where the palette knife didn't reach).


I let that dry naturally and then went in with my favourite mix of diluted DecoArt media Antiquing Creams Carbon Black and Raw Umber.


 This way the background was toned down which made all the prominent parts stand out and also the gorgeous crackle from the Crackle Paint became more visible.


To finish off my tag I stamped my quote onto the blank Word Element using archival black stamping ink and some letter stamps.


Voilá!


In this picture you can also see one of the sources that inspired me to create this tag and go for that specific colour scheme. It's an empty wasps nest I found on one of my walks with my dog girlie Bluna.

I hope you like my busy buzzy tag! 
See you in two weeks!

Hug and happy crafting!
Claudia
xxx