Saturday 27 February 2021

A very gothic birthday.... by Ambika Bakshi-Patton


Hello friends

Here is a project that may inspire you to try something a little bit different.
My youngest daughter, and my step daughter have reached their "Goth" phase, which is fantastic since I never really grew out of mine!
I had a lot of fun making an easel card that the more conservative side of my family would be appalled at! After all, what is the point of being a Goth if you cant shock the "Normies"!


I decided to rearrange the gravestones by trimming the frame and re-glueing the smaller tombstone on the opposite side.
I used a circle mask to create a basic blended ink night sky for the left tombstone. I used self-adhesive rhinestones on the coffin to add extra detail, then painted all the chipboard pieces with black gesso, ocassionally stippling for extra texture.
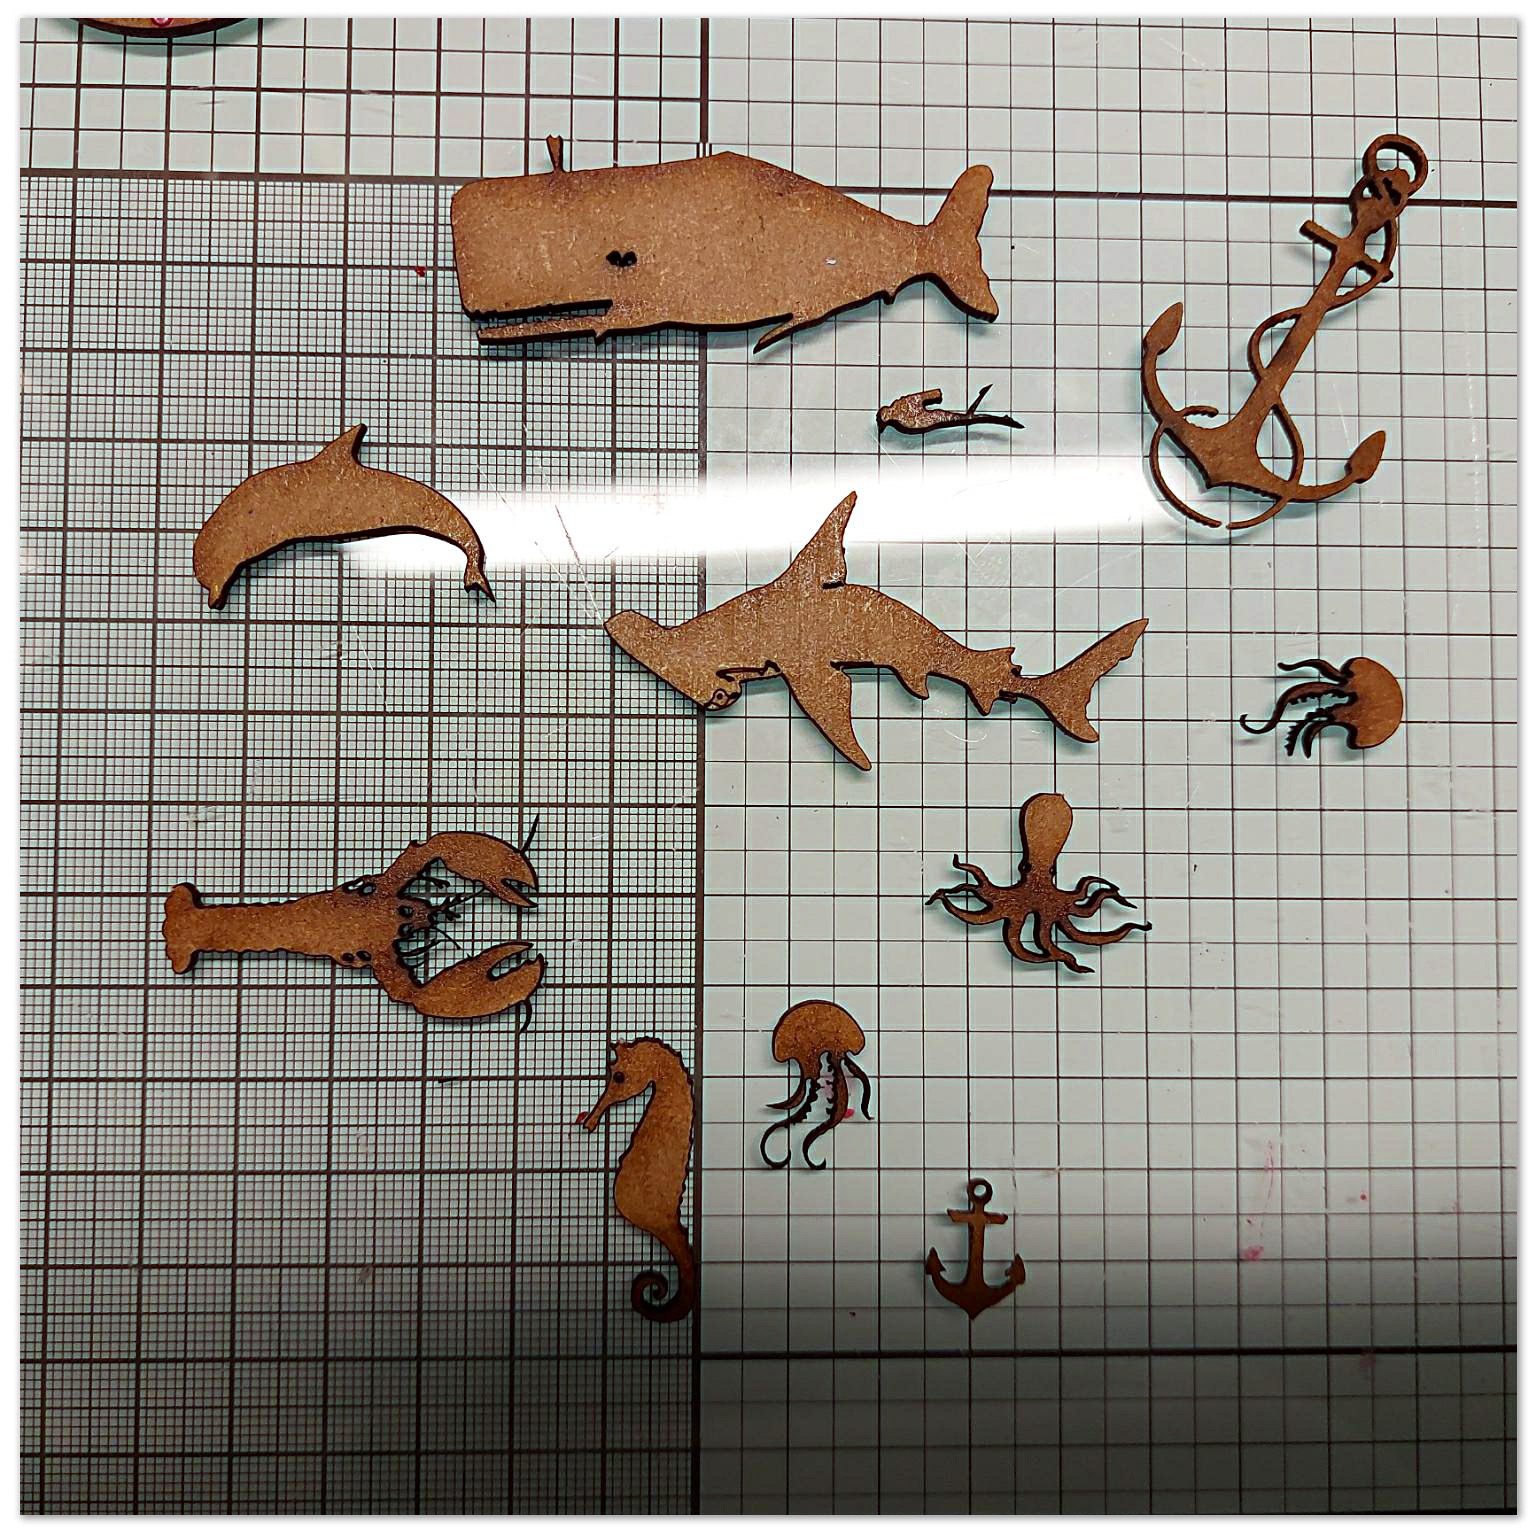
I coloured the chipboard pieces with green and bronze rubbing wax, and used silver to highlight the finer details.


I created the background with blue card and black gllitter past and a stencil. I coloured some paper flowers red and purple, and used some broken jewellery and black polymer clay roses to bulk out the focal point which I die cut and embossed. 

The grey frame was made of card covered in crackle paste and painted over with a thin black wash. The background is some design paper from my stash.
For the wood efffect on the cofffin and the inside of the card I used 3D embossing folders.
I deided to make a birthday card as one of my baby Goths had a birthday coming up, but I could just as easily have made this into a slightly macabre get well soon card!
I hope you like this, and are inspired to create something unconventional of your own!

Calico Craft Parts Used 


Saturday 20 February 2021

Shadow frame - Country Live by Kerstin


 Welcome creative friends!


I was inspired to create a rustic weathered wooden shadow frame in mixed media style.

 Background was made with decoupage technique, stencils, stamps and distress ink. 

I love taking parts apart and putting them back together again.

I divided the house and converted it into a chicken coop.

 The two chickens were also separated, probably because the couple had just had a fight, 

and a spatial separation is always a good idea ;-).


some close up's 


used Calico Craft Parts


Block Style MDF House Kit - Wide

Picket Fence Panel MDF Wood Shape - Style 1

Hen & Cockrell Beak to Beak

Sheet of Mini MDF Window Wood Shapes

Word Elements - Blank


I hope I could inspire you! 

Have fun realizing your own visions and ideas!


Thanks for your visit!

Kerstin


Saturday 13 February 2021

Mermaid mobile. By guest designer Ambika Bakshi-Patton


Hello everyone.


I was very excited to be invited by the design team coordinator to be the Calico Craft Part guest designer for February. With so many to choose from it was difficult to decide what I was going to make. 


I fell in love with this seahorse frame. I selected both sizes, but ended up using the larger one to make a mermaid mobile. I’ll use it as a wall decoration, so I have kept the back fairly plain. 


First I used a liquid dimensional medium to add some detail to the frame and the seahorses. I tied lengths of thread to the smaller chipboard pieces and used the dimensional medium to disguise the thread and add some texture and details. 

While these were drying I cut a circle from a background I had made, using water based inks and a jell plate, and did some stamping to create an underwater scene. For the smaller circles in the frame I used design paper.


I painted the chipboard frame and pieces with black gesso. On the frame I used copper and green rubbing wax, then highlighted the texture with silver. I painted the sea creatures with a variety of metallic paints then attached them to the back of the paper with lengths of clear thread. 
I glued a loop of ribbon to the paper, and used another circle of design paper to cover up the glue. 

The mermaid was made from polymer clay and glued to the frame and background using gel medium. I then used a selection of self adhesive pearls, gems, sequins and glass cabochons to finish it off.


I hope this will inspire you to try something new.

Calicocraft parts used:


Saturday 6 February 2021

# Coffeebreak by Kerstin


 Welcome creative friends!


 Coffee is always a good idea, or?!

A good cup of coffee in the morning awakens your spirits and energy.


As I saw the little and big cups at Calico Craft Parts I thought, 

yes, they are very suitable for a mixed media coffee project in grundge style. 

Together with a clock face and some gear wheels I created a shadow frame

 that you can use as a gift or for your own kitchen.


The best thing about coffee is the aroma and the scent,

 so I also use some real coffee beans and coffee powder, 

that makes the whole thing more lively.


some close up's 


Steampunk Multi Frame - Cogs

 was completed with a single cog and two clock hands 

which were embossed with black  powder


 Teacup & Saucer

was disassembled into two parts and the plate was glued on again as a saucer in 3d optics


 here I glued a bigger and a smaller cup on top of each other, 

stamped them after painting and added some aromatic coffee powder to it

 Swirl Flourish

 I had to disassemble it too and used it as a cloud of scent wafting through the room

😃

used Calico Craft Parts

Teacup & Saucer

MDF Wood Cog - Style 12

 Steampunk Multi Frame - Cogs

Sheet of Mini MDF Wood Cogs - Style 1

Clock Hands - MDF Add On Sheet

Rustic Roman Numeral Clock Face

 Swirl Flourish


I hope I was a inspiration for your creative imagination! 


Happy crafting!!


Many thanks!

Kerstin