Monday 24 August 2020

Sharing Book Case by Jannet


Hello, I hope everyone is staying safe, and finding some happy times in this very different summer. I am not sure how widespread this is,  but during these difficult times people where  I live have been  hand making  little bookcases from cardboard boxes, and wooden crates. and placing them in their front gardens. They fill them with books, so anyone can take or swap a book. I am not much of a book reader myself, but this is such a lovely idea I thought I would make a miniature version, using the Punch and Judy Kit

To make a change from painting my wooden kit  pieces, I decided to cover them with paper. I drew around the edge of the pieces, and cut them out before adhering them to the wooden pieces. I decided  that I would share children’s books in my little bookcase, so I called it Mother Goose.

I made lots of little books in various shapes and sizes to stock up my little bookcase.


Wishing you a very happy bank holiday this weekend, I hope you have time for some crafting. xx
My Enchanted Place Blog


Calico Craft Parts used

Saturday 22 August 2020

Minialbum - Art Journal by Kerstin

Hello, creative friends!
 
 Some of you might remember my mini album project 'FantaSEA' from some years ago...
 
 
This time I was inspired to create a new art journal spread for my sea inspired mood book. 
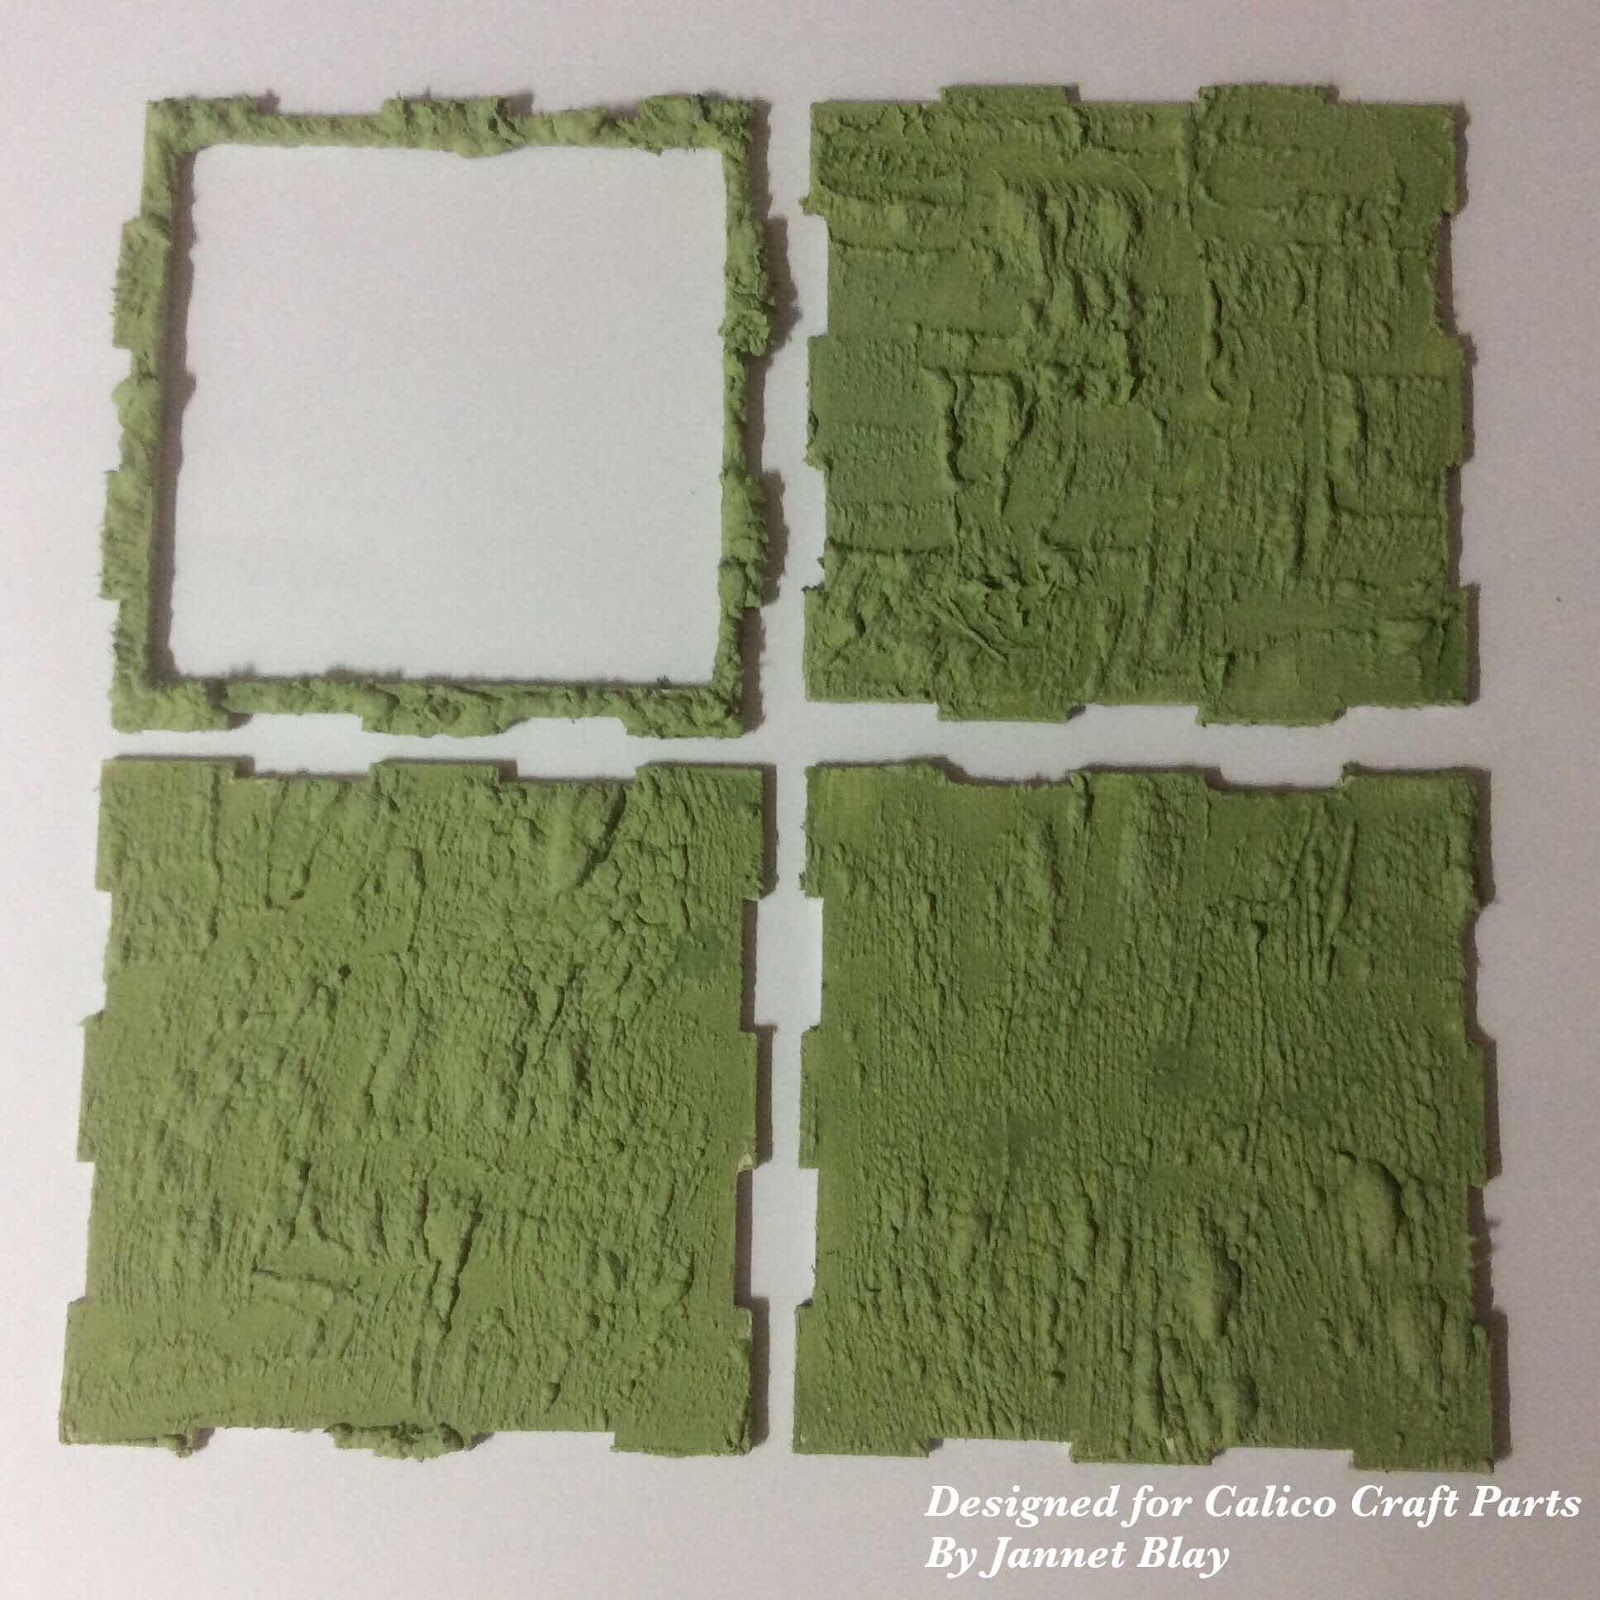
 I love to create in distressed vintage style and I have used a mix of various materials -
I worked with fabric, lace and paper scraps.  


Two colour shades were enough for me,
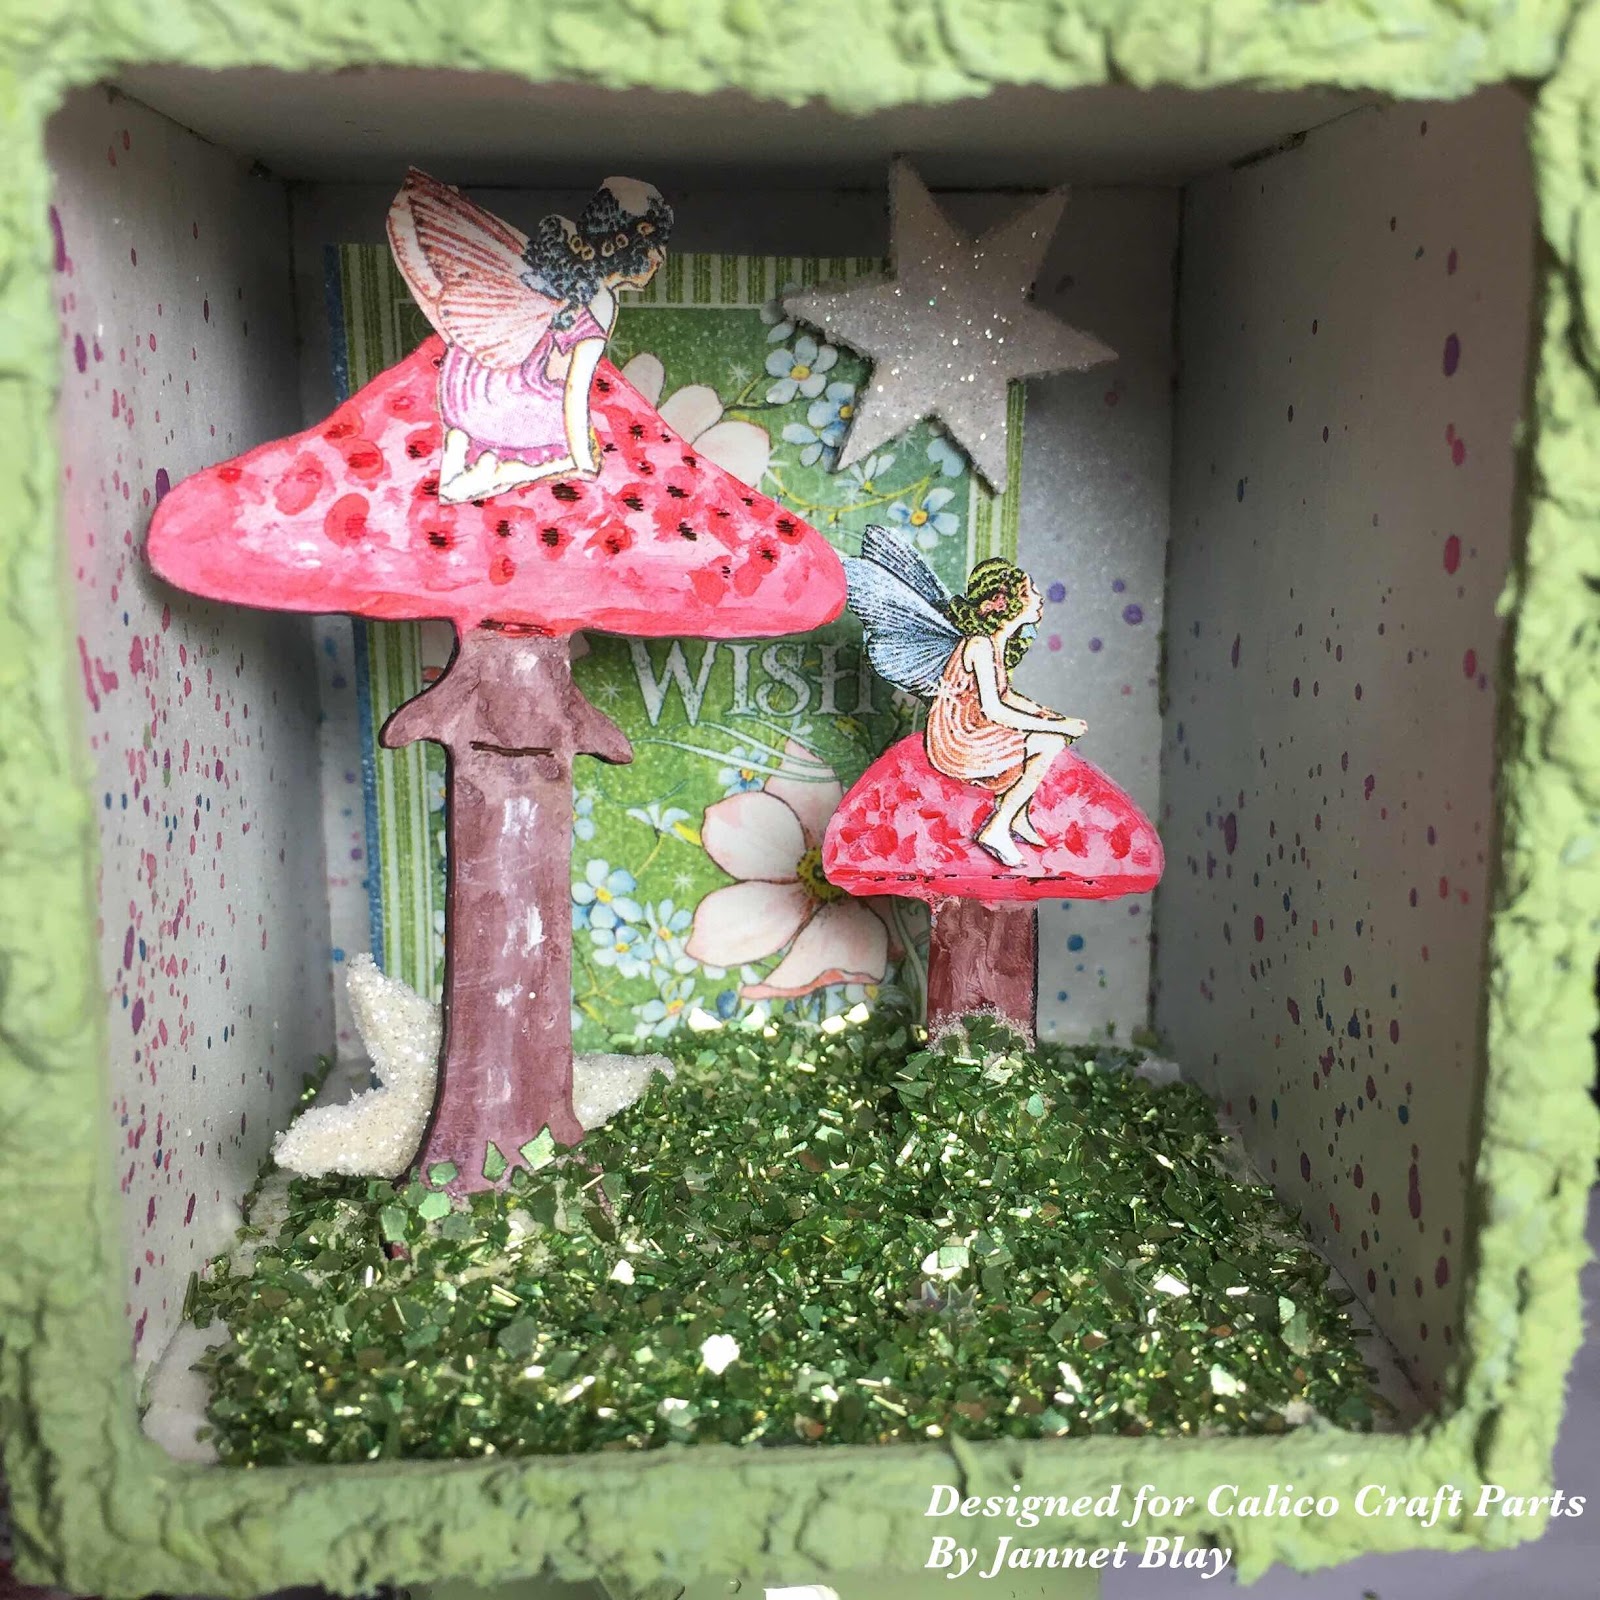
 but I preferred once more to play with 3D effects. 
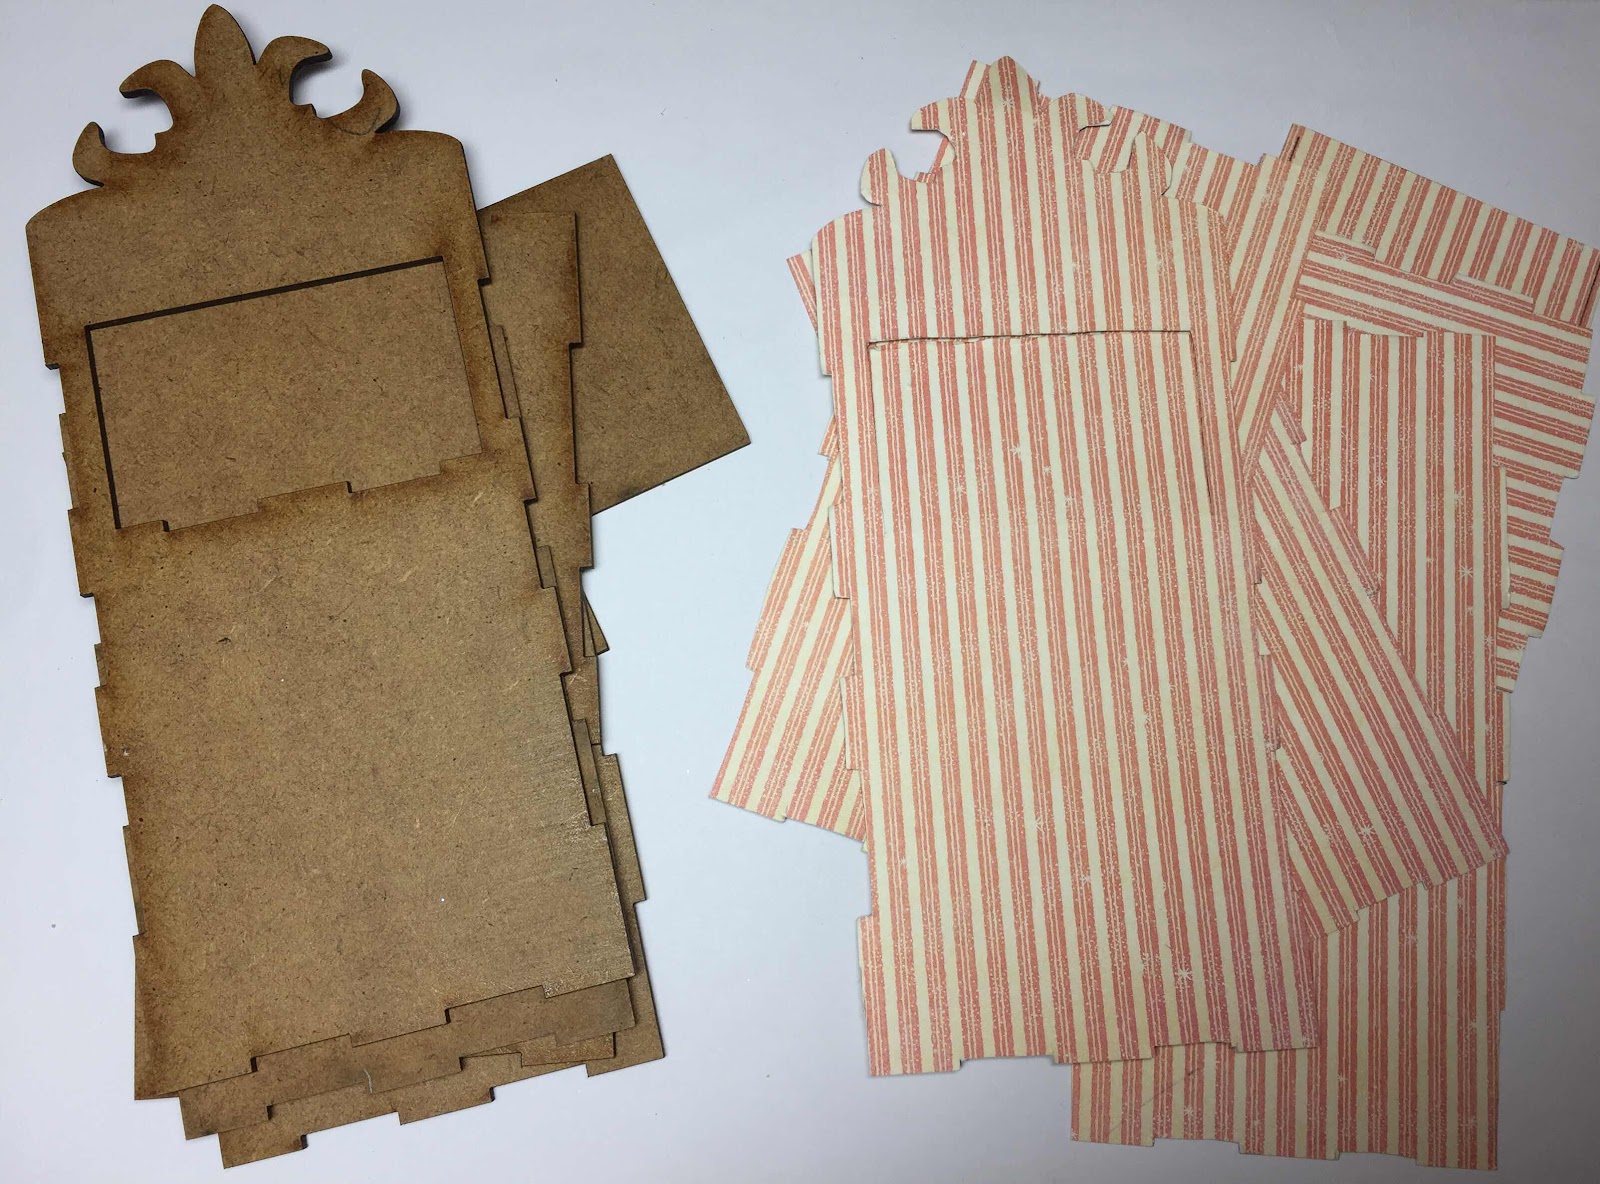
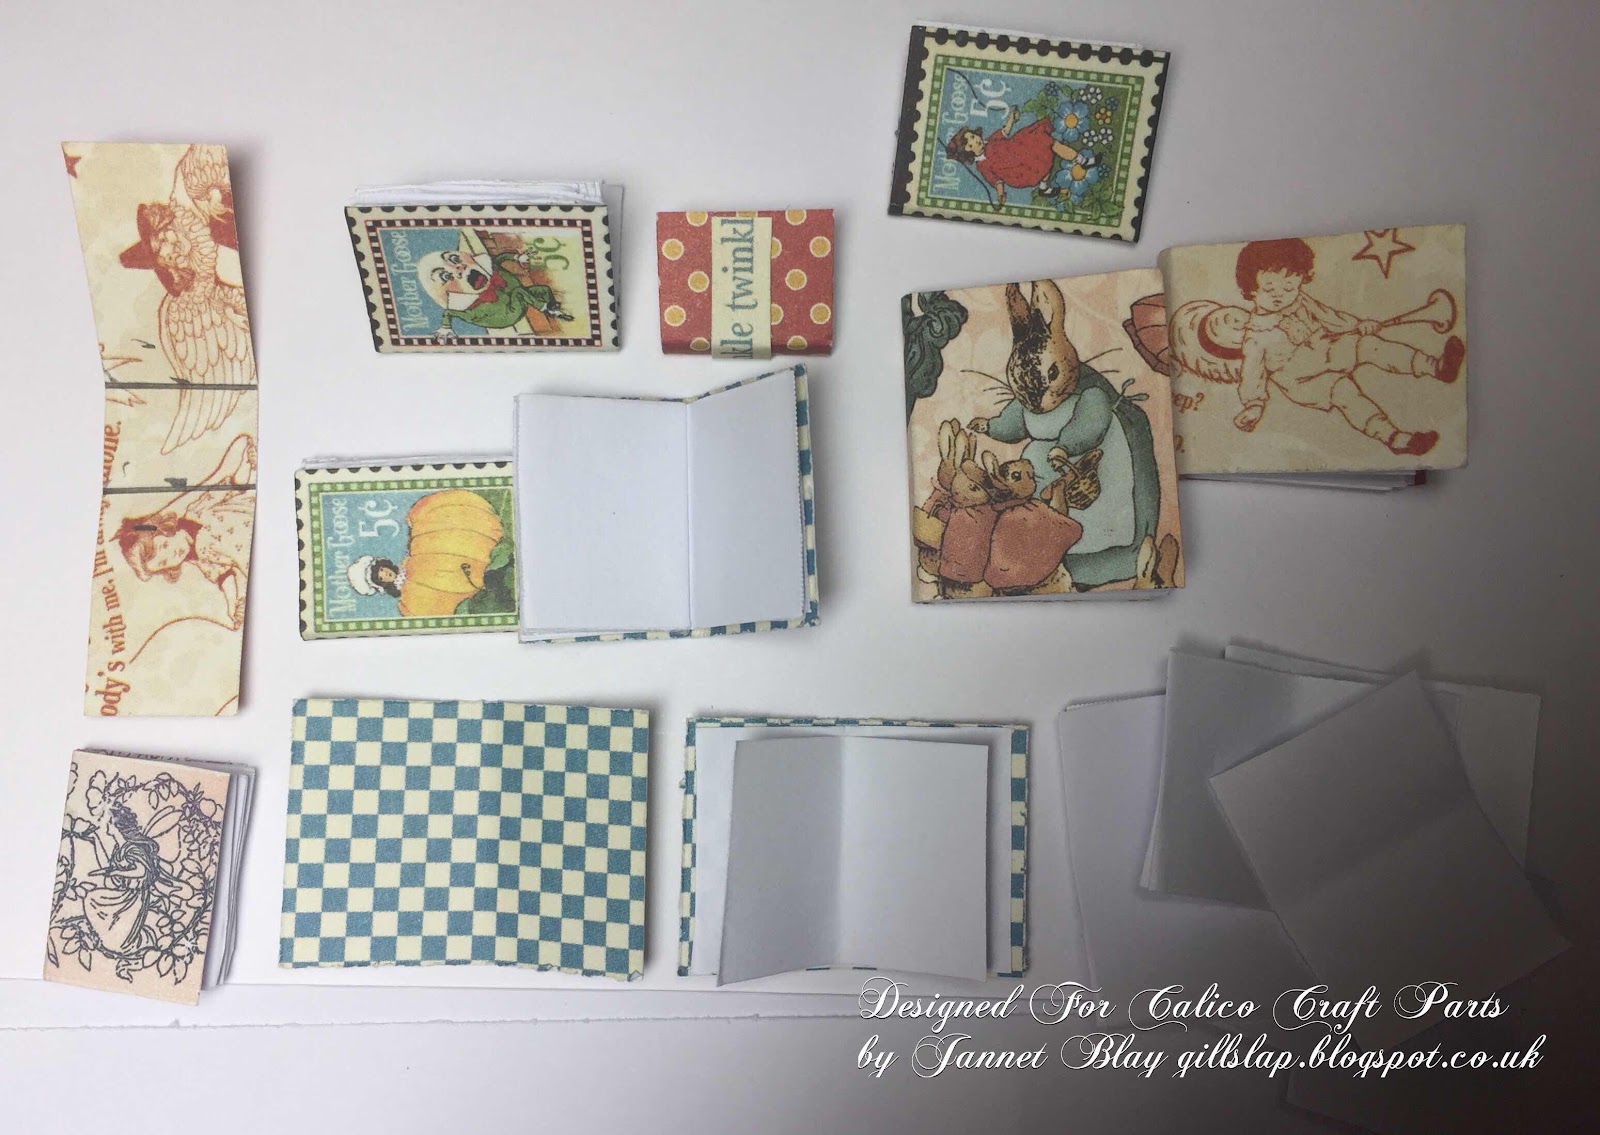
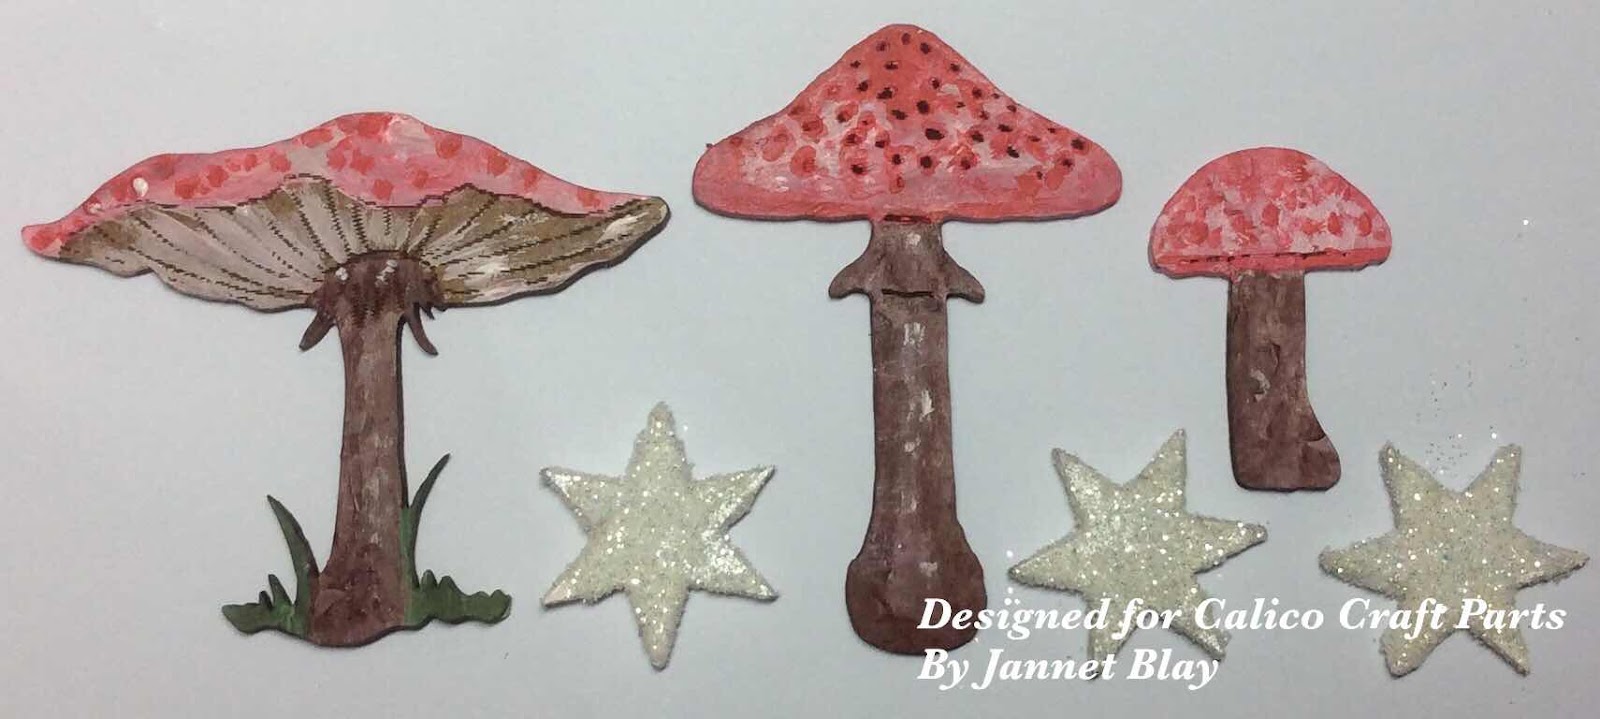
The
 
 
were perfect to create interesting eye-catchers 
 
 
... and not only for mini albums; there are a lot of other creative possibilities with
 
tags, cards, ATC's, bookmarks, gift vouchers and whatever else you can think of ...

You can leave them in their original state or just add some small coloured accents .
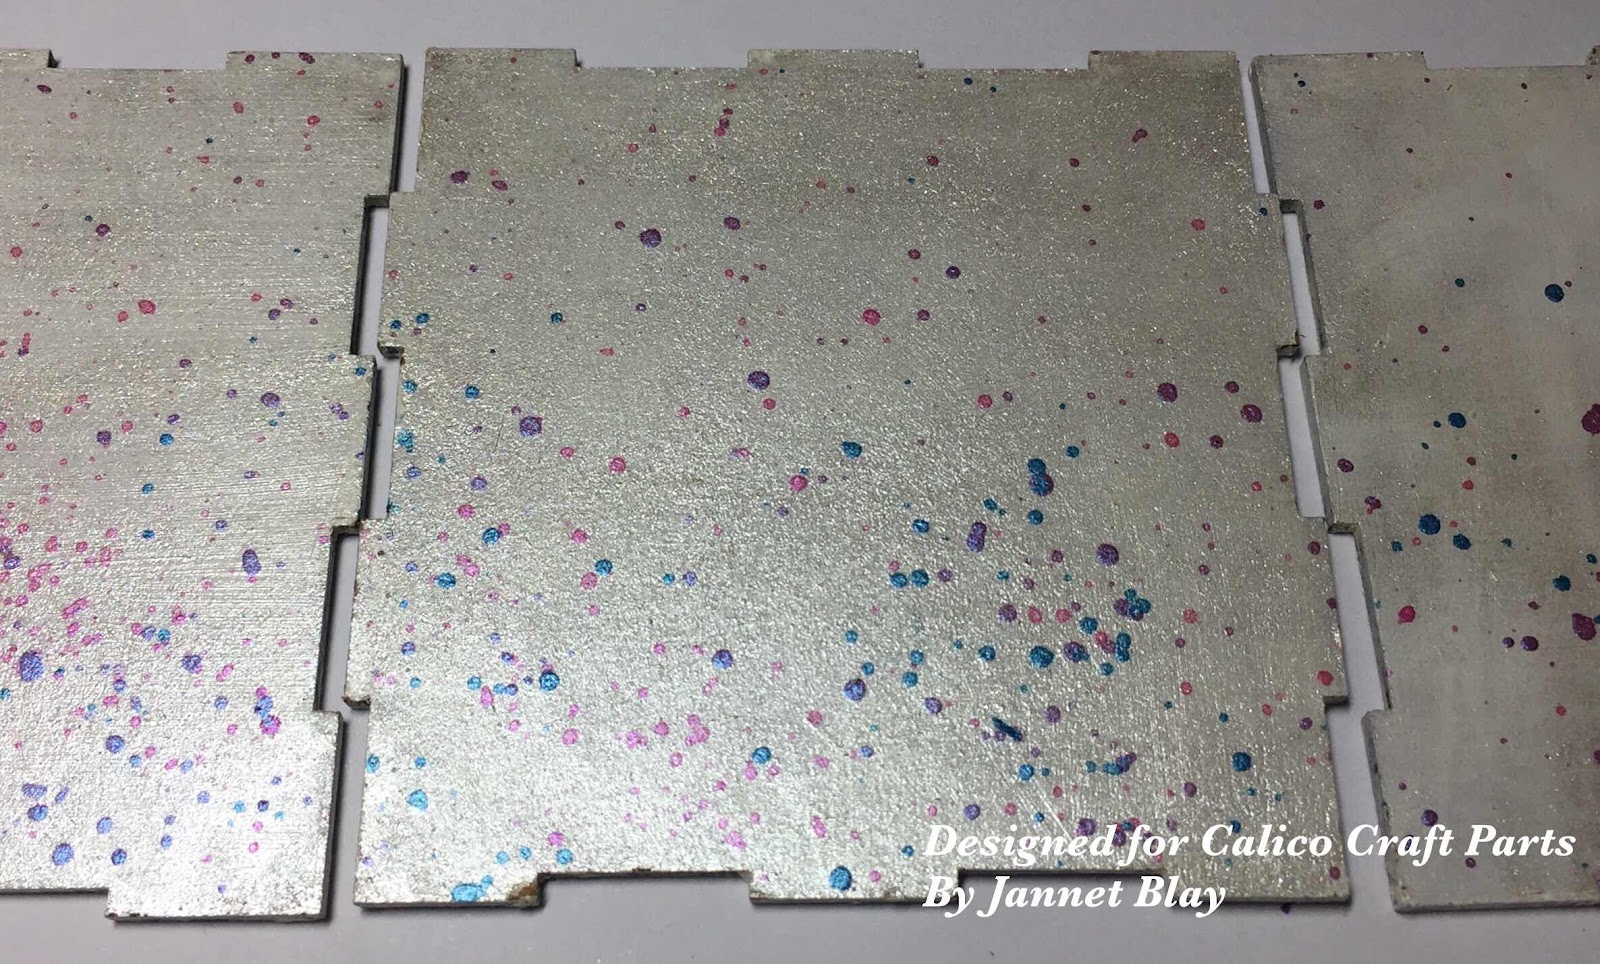
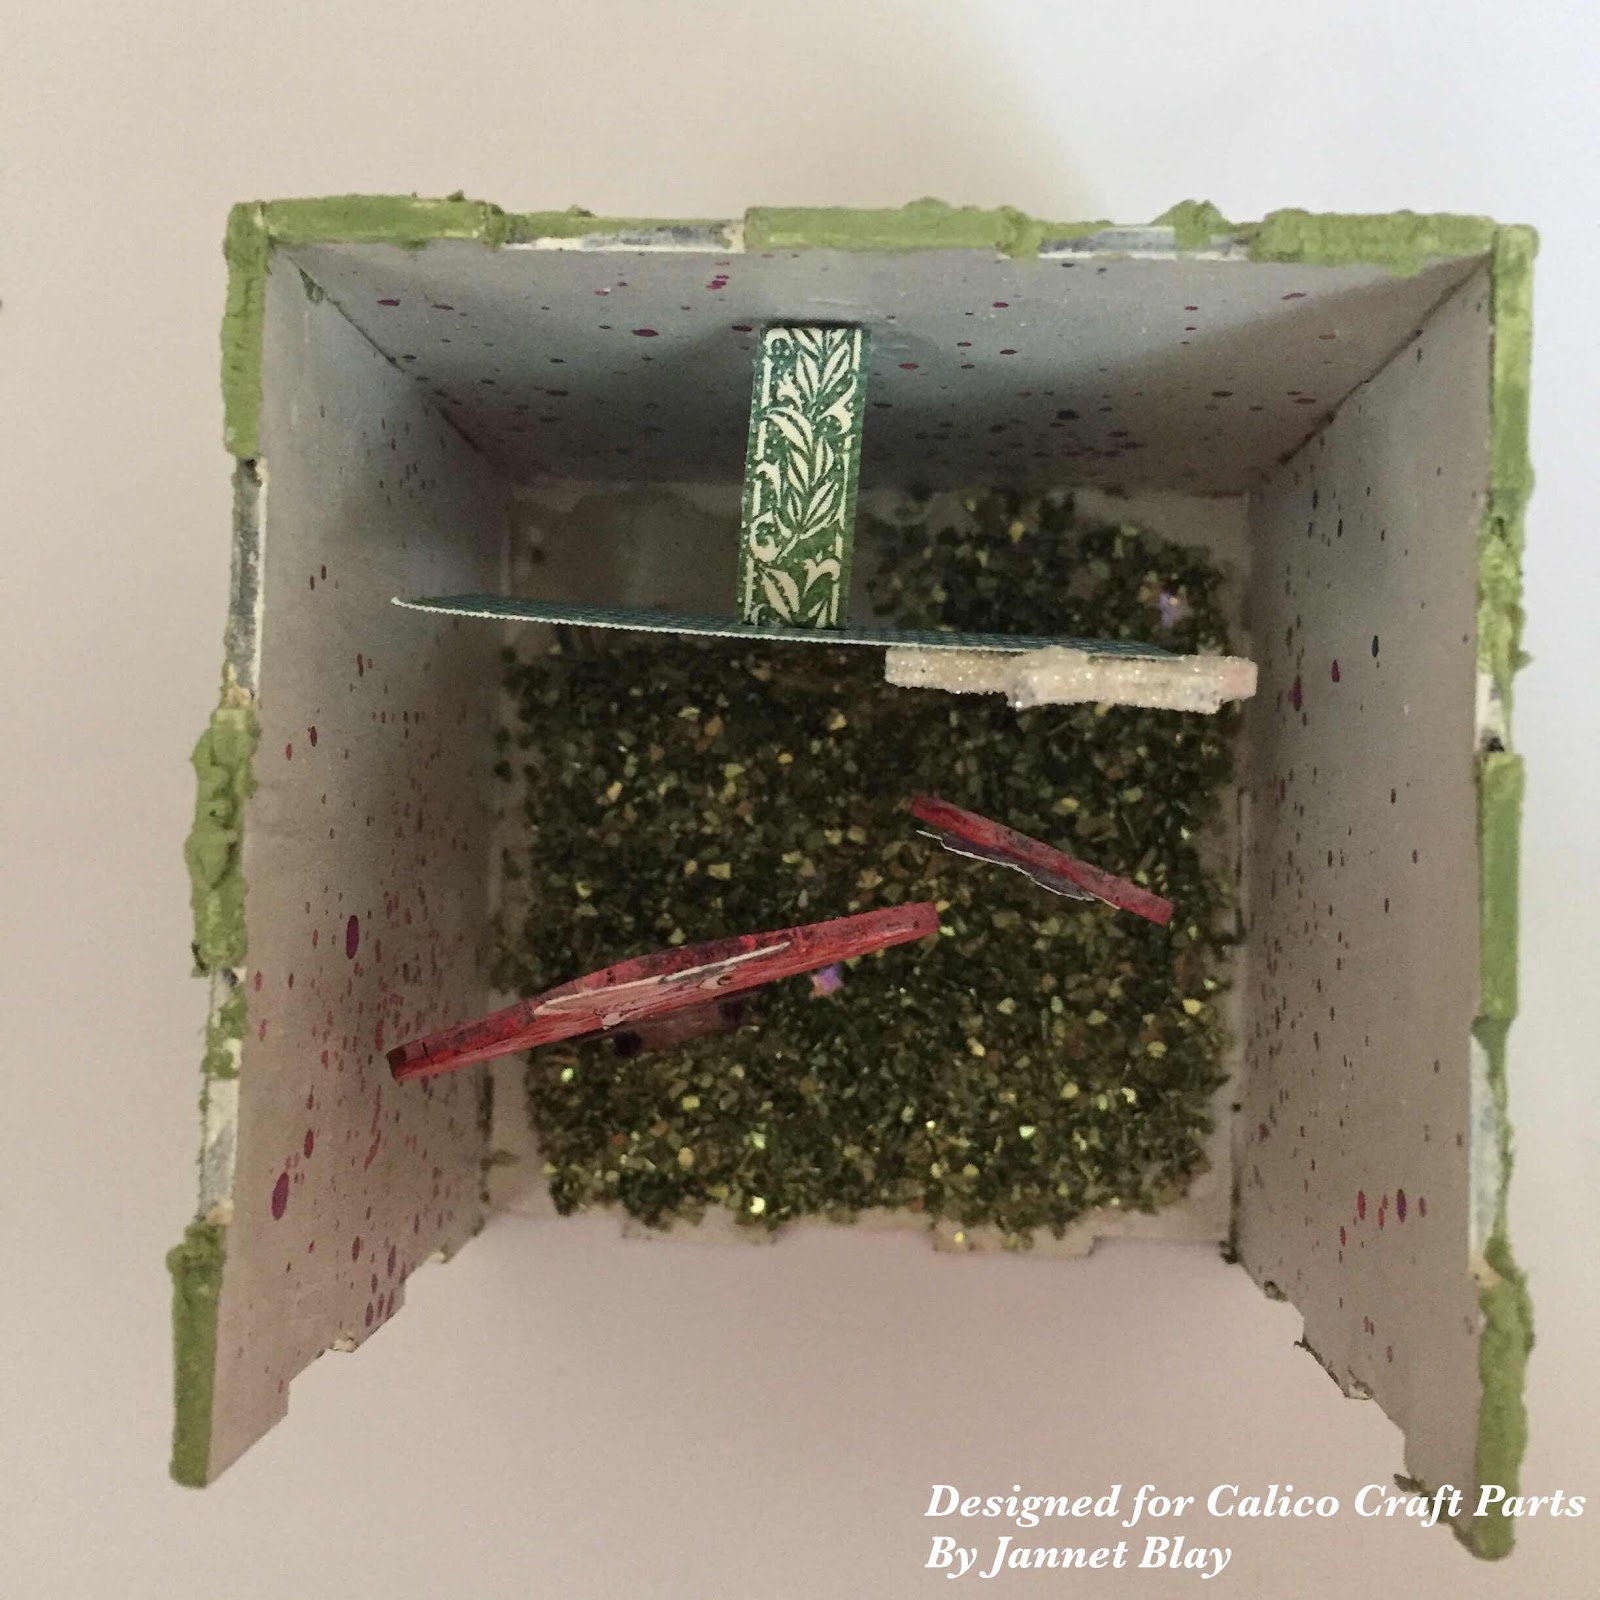


some close up's


Some small Art Stones, added with heavy Gel Medium on the clock,

white crackle paint on the steering wheel and some drawn fine black lines...

Small blue stripes as coloured accents, done with distress marker


Calico Craft Parts used:


Wednesday 12 August 2020

The number on the door... By Magda


Hello crafters,

I’m still living with tones of boxes waiting to move house. Fortunately, from mid September, I’ll start my creative journey in Oxfordshire. Hopefully I’ll get my studio back! 
Today I want to show you a very special order I’ve made for a special person. I’ve created little plaques with house numbers. They will be hung on a front porch, under a roof. 


I used:
Rectangle shape with notched corners mixed media board 
Trio of Winter Fir Trees MDF
Sheet of mini Deer and Antlers MDF
Sheet of Mini Alphabet Letters - Copperplate Gothic 
Square MDF beer mat


Have a creative weekend! 
Magda.

Monday 10 August 2020

Fairy Hollow by Jannet


I am taking a trip to a magical land today, to visit some special friends in their little fairy house. I selected one of the Cube kits to turn into a fairy hollow. The kits are very easy to put together, even if you are new to crafts.


I wanted to create a toadstool sort of a roof for my house. So I got out my air drying clay and made a ball to fit onto the top of the cube, after shaping it, I used a large embossing tool to make round indents into it. As you can see I am no expert on using air drying clay, but it is always good to try something new. As the clay is very thick, I left it to dry in our sunny porch for 2 days. Then I painted it using acrylic paints. 


On the internal cube sides I painted 1 coat of gesso, 1 coat of white acrylic paint, and then one coat of white pigment powder which I had mixed with a little water. I used different colours  of pigment powder mixtures to create magical splatters over the walls. 


I painted the external sides with 3D paint, and heated it with a heat gun which gave it a lovely natural texture. 


I painted some toadstools, and after painting the stars I added some white glitter, wherever there are fairies there has to be glitter! I fussy cut the fairies and a Make a Wish sentiment from some lovely papers. I sat the fairies on the toadstools, so they could watch everything that is happening in the Forest. 


After assembling the cube I applied Decoart texture paste to the base and placed the toadstools and sentiment into it. I made a paper anchor to hold the paper sentiment up.


Some gorgeous green sparkles completed the fairy scene. 

If you have never crafted with wooden parts before, you may like to give it a try, it is always fun to try something new. Have fun, and stay safe.


My blog Enchanted Place

Calico Craft Parts used 

Saturday 8 August 2020

Beach houses by Kerstin

Hello, creative friends!

I was inspired to create a canvas in altered art style, which means I used the canvas from the other side as a shadow frame.
Have you yet seen the beautiful beach houses at the Beach and Seasides section??
If not - check them out! You'll love them!

I especially  love the old photographs from our grandparents' times, where you can find these awesome mobile bathing carts. The beach huts so remind me of these nostalgic times.

I wanted to create my project in a grungy weathered wood based style, to have it look very naturally aged and shaped by blowing winds and the salting sea.


Tips & Tricks


I used the

Block Style MDF House Kit - Cube in medium size as a base.

First I glued it together completely and found 
it was too deep for my canvas. So I decided to take the saw and split it into two houses!

You can see on the left picture that the beach houses' front sides are a little bit bigger, but that wasn't a problem for me. 


layout plan


Originally I wanted to use a brown monochrome colour scheme, but that was too gloomy for a summer project, so I decided to use muted chalky paints

some close up's


side view with 3D effect


grunge beach house look with crackle medium, distress paints and jute


a cosy beach chair with white crackle paste and 'Walnut Stain' distress ink


 a cord from an old  paper gift bag,  simply knotted and glued on


I love to work with natural materials, like in this project with driftwood, shells and lichen

Calico Craft Parts used:


Beach Hut with Life Buoy in two sizes small and medium

Striped Beach Hut with Flag Large

Deck Chair

Wild Grass MDF Wood Shape - Style 4

Word Elements - Summer & Seaside

Sheet of Mini MDF Wood Birds - Seagulls


Thanks for your visit!

Happy summer time!


Kerstin

Wednesday 5 August 2020

Little Alice house.

Hi there.

Today I am sharing a little Alice themed house I decorated for my friend instead of a birthday card. 
I don't know if you feel the same but I think its hard to make these kind of things as gifts for fellow crafters. But for friends who have never been a part of our little craft world, they are so happy to get them and often impressed to the point I feel guilty about how easy it actually was to make...

Thankfully this friend is not in any way involved in the craft world so she was actually super pleased to get it as she is such an Alice fan. (I gave it to her before this post went live on the blog).
I used one of the little house kits .
 
I like to attach my papers before assembling the kit but make sure to sand down all the edges. In particular into the little notches otherwise it won't assemble correctly.
Zuzu x