Monday 23 March 2020

Courage Dear Heart by Jannet


Today I was originally going to post an Easter Wreath, but I thought at the present time we could all certainly do with some encouragement. I have made this plaque for everyone, but especially for those of us who are in the vulnerable group. 

I have always loved snowdrops - they look so beautiful and delicate. Despite their fragile appearance you often see them strongly pushing up through the frost and snow.


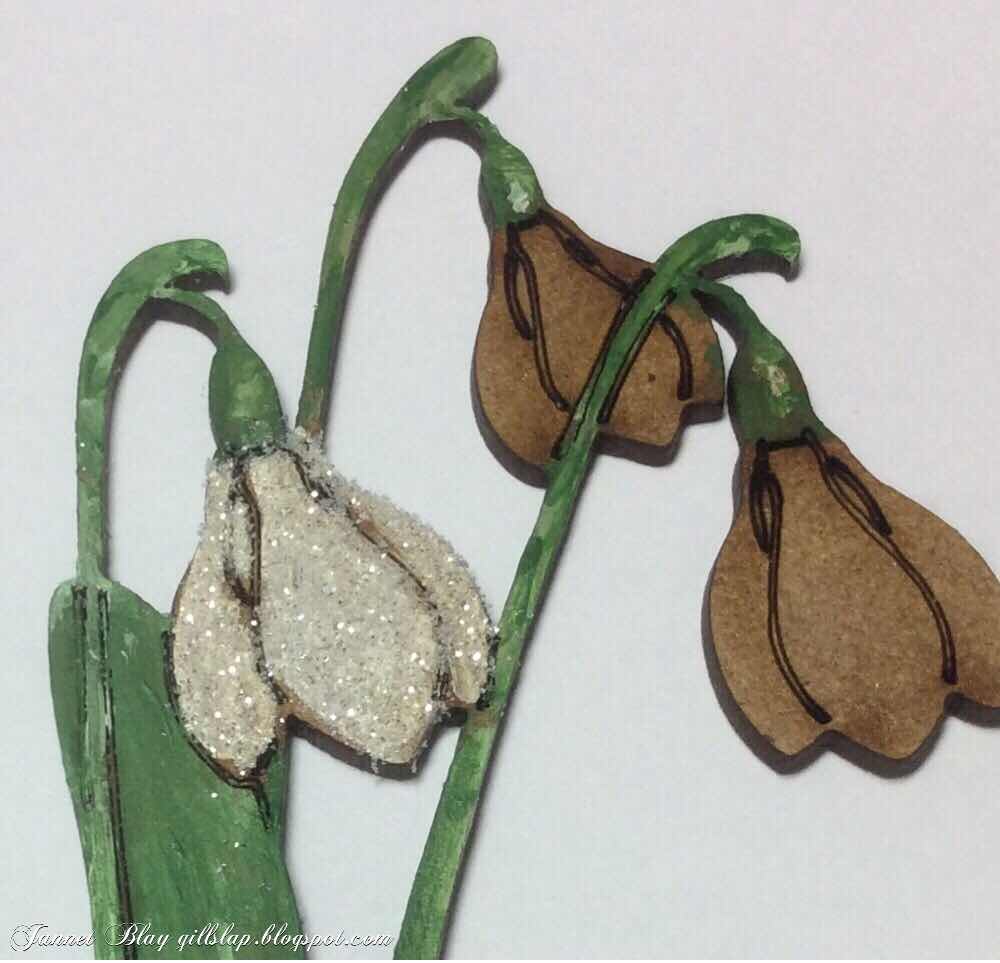
I used medium sized Snowdrops and coloured  them with acrylic paints. After painting the delicate white petals, I sprinkled the wet paint with ultra fine white glitter. This gave them a frosty glittery look.


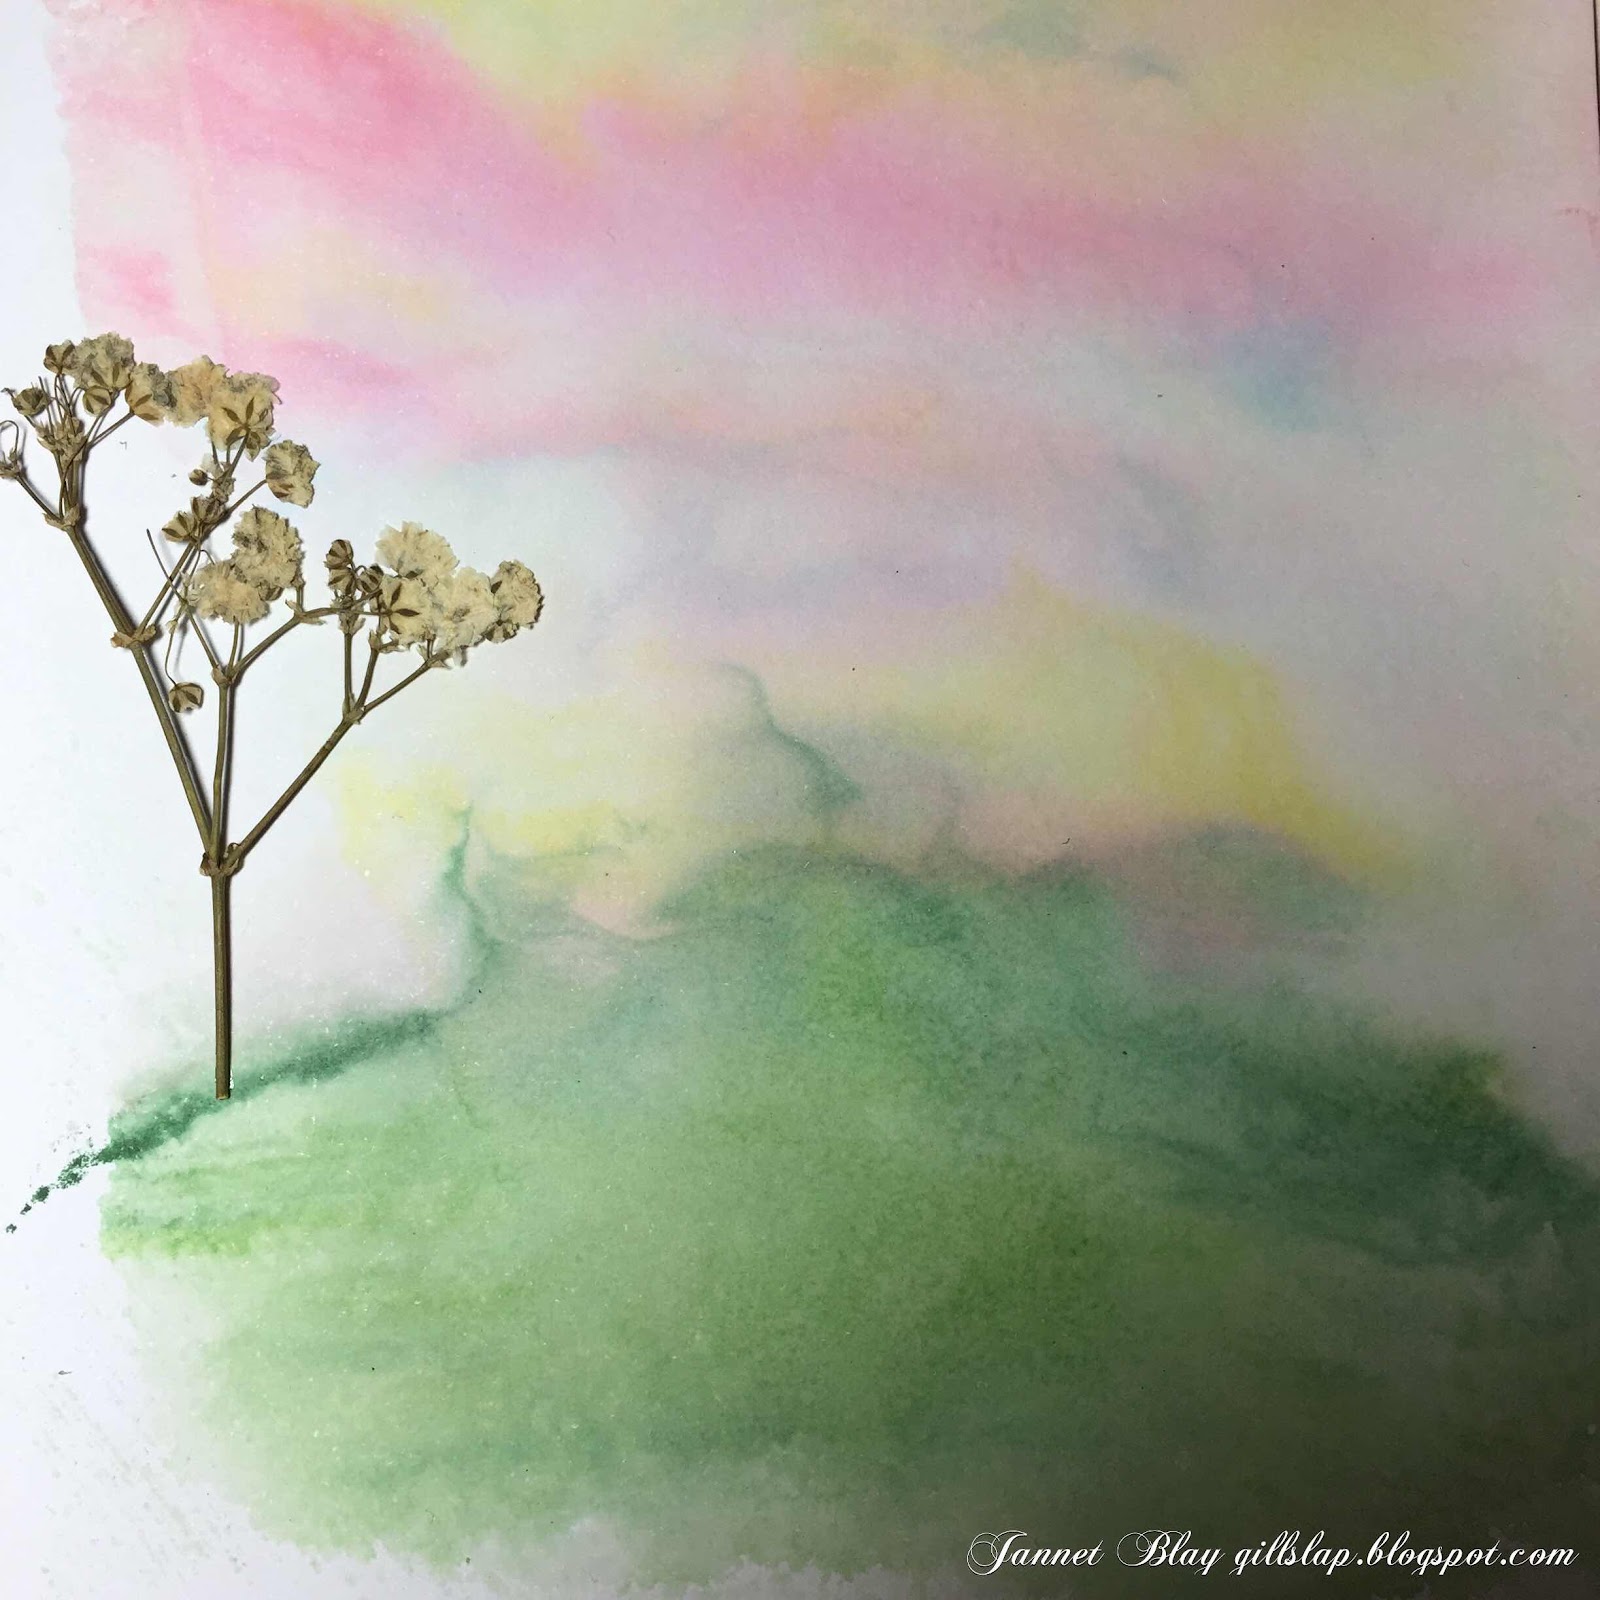
For the plaque I used a 100 x 100 mm mixed media board with two holes in the top. I dabbed on DecoArt Gesso. The dabbing motion gave the Gesso some texture. Once the Gesso had dried, I painted it a lovely shade of blue.  

“Courage, dear heart!” is a wonderful quote from C.S. Lewis. I stamped and heat embossed it in white. You could of course also write a personal message onto the plaque, or print one out and then glue it in position.


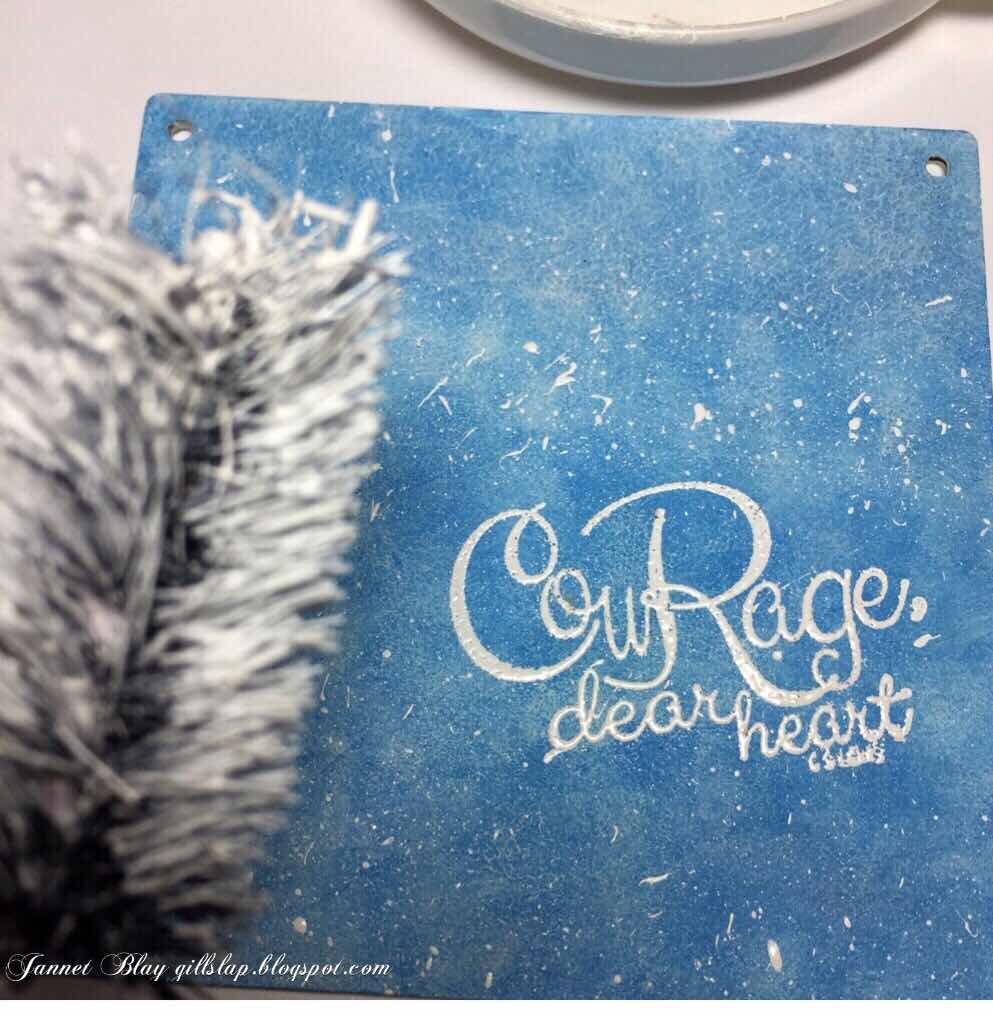
  I added some white paint splatters and then adhered the snowdrops, finishing up my piece by tying some white ribbon through the holes for hanging. 


Courage, Dear Hearts! 

xxxxx 


Calico Craft Parts used:


Saturday 21 March 2020

Barrow Cart by Kerstin

Hello creative friends!

Especially in these days it's difficult to clear your head and to function.
but being creative helps me to recharge my batteries.

Today I would like to share a new piece of spring home decoration. I created a pushcart in vintage style and put a small nest in there where my new Calico chickens feel very well.


This wheelbarrow is done quickly and you get a weathered old cart, which you can use for all kinds of decoration ideas - suitable for Easter eggs, found objects, dried herbs for a fragrance potpourri or whatever else comes to your mind.


The very descriptive assembly instructions for the Wheelbarrow or Cart Kit can be found here.

It is not too complicated, but you have to work very accurately when gluing.
I always use cold wood glue. 

Afterwards I first applied Weathered Wood crackle Medium (DecoArt) and  after the drying process a thicker layer of white acrylic paint, only the car wheels got some additional black acrylic paint.


 I like to use DecoArt media Fluid Acrylics for painting the MDF parts - they are very well mixable with a satin finish. After I had applied the colours, I took a detail brush and finally added some fine white strokes for the feathers.


Some close up's:


Calico Craft Parts used: 

MDF Wheelbarrow or Cart Kit

Hen & Cockrell Beak to Beak


I arranged my vintage chicken cart in a shabby chic bowl 
to match my home spring decoration, but I'm sure it will get redecorated in summer as well, 
I just want to mention the keyword "Provence" :-)

I hope I could inspire you!

Hope you are all safe and well!!


Thanks for your visit!

Kerstin

Thursday 19 March 2020

Door hanger box by Magda

Hello crafty friends!
I'm bringing you a little bit of colour and cuteness in these strange times.
A little creatures are created by me. Textures and colours, experiments as always!

For this project I used:
Door hanger box
Standard heart shape 
MDF tag shape


Magda :)


Monday 16 March 2020

Hoppy Easter Tag - by Claudia

Hi, servus and welcome to my first Easter themed project for this year!


This time I have created a watercolour look on the gorgeous Calico Craft Parts that was  mainly inspired by the look of the lovely clock face. 

Calico Craft Parts used:


As always I started with priming the wood shapes - this time with a loosely brushed on layer of DecoArt media white Gesso. 


Then I borrowed Kerstin's fabulous idea of building a little shelf for my rabbit to sit on using two of the blank Word Elements - one as the shelf and the other to kind of "squeeze in" the shelf between the ATC frame on top and the Word Element below.


From the Spring themed ATC wood blank I only used the frame and glued that to a Classic MDF Tag instead to its original ATC back panel. As I had "lost" the two tiny flowers at the sides of the ATC frame during gesso-ing, I glued these back in place now before I primed them carefully with white Gesso as well.


At that point I had already glued the ATC frame to the tag and the clock face on top of the ATC frame. The clock hands, screw head and rabbit had to wait until I had finished painting my tag.


I used DecoArt media fluid acrylics Green Gold, Hansa Yellow Light, Cobalt Teal Hue, Phtalo Green-Blue and Naphtal Red Light with loads of spritzed on water to create a watercolour look.


Adding Titanium White, Phtalo Green-Yellow and a mix of the Yellow and Red I painted the tinier shapes using a detail brush. I also added outlines here and there and my "hoppy Easter" quote.


In the top right corner you can see some left overs from used up Mini Wood Shapes sheets - I love to use these for building up layers and stack them where necessary to create more depth and dimension - in this case I stacked two tiny bits to glue the rabbit in place. It was also time to fix the clock hands and screw head to the finished clock face.


Finally I went in with more Hansa Light Yellow, Cobalt Teal Hue and Naphtal Red Light to paint some blossoms and add borders here and there. 


Done!

Some detail shots:


and once more the finished

"hoppy Easter" 
tag. 


Thanks so much for stopping by!
Easter is fast approaching and there are loads of gorgeous new
in the Calico Craft Parts online store! 


Claudia
xxx


Thursday 12 March 2020

Secrets by Lesley

Howdy everyone.

This week I've been playing around with a few of the new pieces that have arrived in the shop!


I started off with a plain MDF board which I covered with an old book page .


The three sticks are kebab sticks!


I layered the craft parts onto the sticks. And included a picture of a young boy behind the clock.


I use lots of different coloured embossing powders over the top. Love the effect it has given.


Thanks for reading
L.x


Ingredients used

Art Deco and Nouveau style 65
Art Deco and Nouveau style 51
Art Deco and Nouveau style 8
Rustic Roman numeral clock face
Rounded Rectangle shape, MDF Media Board

Monday 9 March 2020

Easter Card by Jannet


The first daffodils are coming up, so Spring must soon be here... we hope! I have been thinking about starting to make my Easter cards. The mini Caico Craft parts are so small and lightweight they go very nicely onto a card. 


I decided to start by creating  a watercolor background.


After selecting my cross and animals, I painted them with acrylic paints. 


During the summer I like to press lots of flowers from the garden.They are always lovely to use in various crafts. I looked through my box of dried flowers and selected some Forget-Me-Nots, gypsophila, and various green leaves. I shuffled all of the animals and flowers around on my background until they looked ok, and then of course I shuffled them all around again! Finally when I was happy  I adhered everything in place. I used flowersoft around the cross, and also to create the hill.

Thank you for visiting today, I hope you will enjoy making some Spring/Easter cards with these gorgeous mini animals.
The Calico Crafts Parts I used  

Saturday 7 March 2020

Shadow Box Country Life by Kerstin

Hello creative friends!


I was inspired to create a new home decor piece suitable to 
my shabby chic Spring decoration this year.

It's an altered art project - a wooden box with an "inner life".
I love the vintage look and because the parts were given a very unique used touch,
 they didn't look too expressionless and cold.


 With only a few means, some stamps, Distress ink, Art Stones, old book pages, some fabric leftovers, eggs, feathers
 and sisal my little chicken farm was quickly completed. 

I was amazed when I discovered these beautiful chicken shapes and found it almost impossible to decide  in which colours to paint them, because there are so many different kinds of beautiful chicken.


 some close up's


I chose only white, black and a silver metallic paint for the feathering and of course not to forget red for the cockscomb.


 I'm always in love with this wonderful filigree ivy wood shape! I've been using it a lot as it's just perfect for a natural romantic look. I have left it in its original condition and only applied some metallic wax from DecoArt (Metallic Lustre 'Champagne Ice').


Calico Craft Parts used:

Ivy Leaf Garland

 Hen & Cockrell Beak to Beak

Cockrell Foraging


And this is what the box looks like from the outside.
 I used the same technique as in my last home decor spring project to paint its lid.

Many thanks for your visit!
Kerstin